

Checking if stamped parts are properly installed after assembly sounds simple PPAP documentation 1. It is not. On our production lines, a bracket that “looks fine” has still caused field failures, rework, and angry downstream calls.
To check if stamped parts are properly installed after assembly, verify three things: presence, location, and retention. Use visual inspection for defects, dimensional tools for position, checking fixtures for fit, and force or torque tests to confirm the part will stay secure in service.
That is the short answer. The full answer depends on the part type, its function, and its risk level. Let me walk you through each check, step by step.
What visual and dimensional checks should I perform on stamped parts after assembly?
Last year, our QC team in Vietnam caught a batch of Z-clips seated slightly proud of the mounting surface. The naked eye missed it. A 45-degree lighting setup did not.
Perform visual checks for missing parts, misalignment, burrs, dents, coating damage, and tilted seating under strong lighting. Then verify critical dimensions—hole position, seating height, flange angle, and edge gaps—using calipers, height gauges, or a CMM against the drawing tolerances.
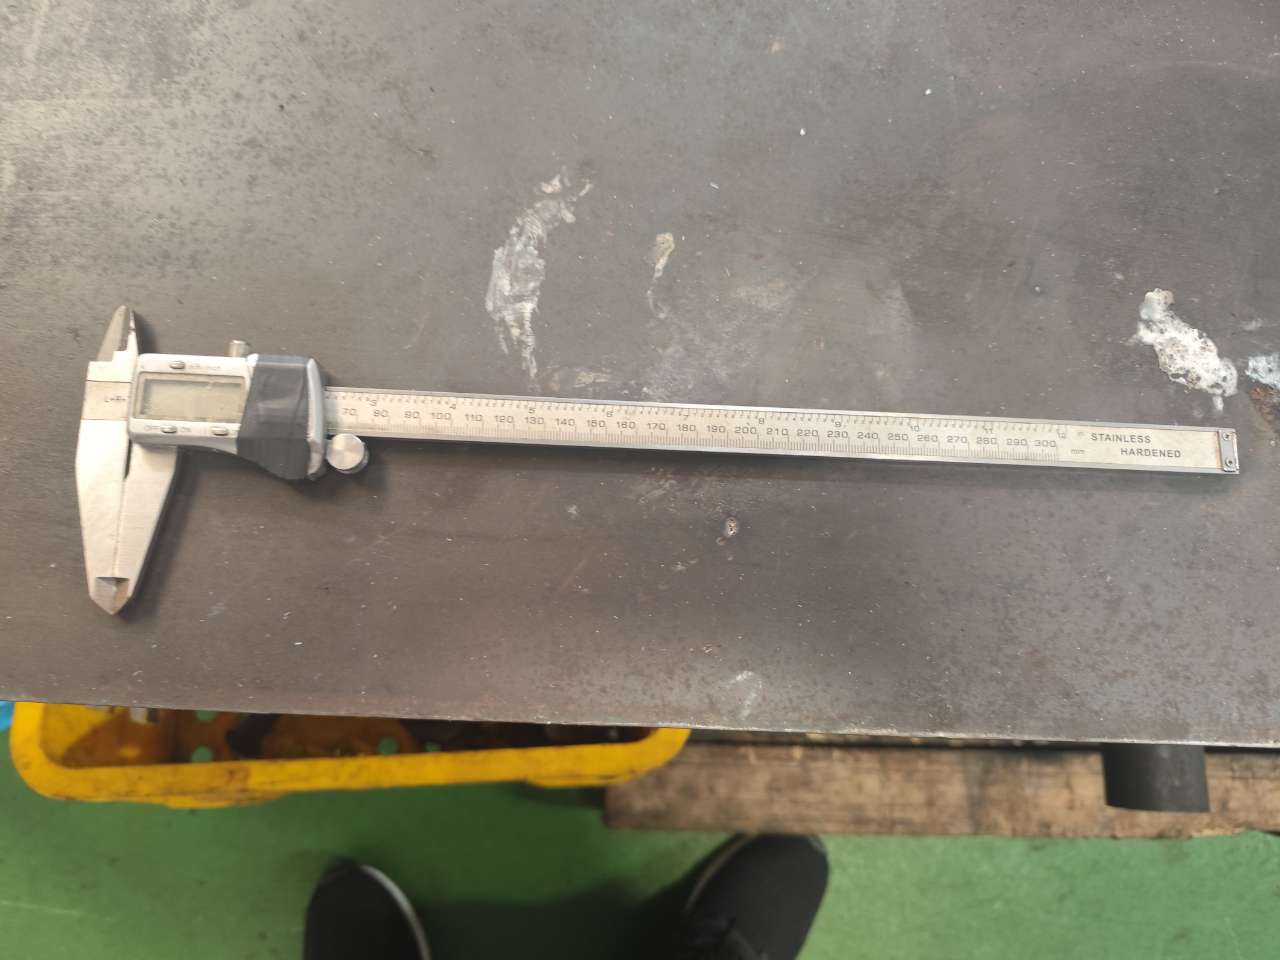
Visual and dimensional checks are your first line of defense. They are fast, cheap, and catch most obvious installation errors. But you need a structured method, not a casual glance.
Start with a structured visual scan
We train our inspectors to follow a fixed scan path on every assembly. Random looking misses defects. A fixed sequence does not. Here is what the eye should hunt for:
- Missing clips, brackets, or hardware
- Parts installed backwards or flipped
- Gaps between the mounting tab and the mating surface
- Burrs or sharp edges at contact points
- Scratches, dents, or coating damage caused during installation
- Oil stains or debris trapped under the part
Strong lighting matters. We use bright directional light and view surfaces at roughly 45 degrees. This angle makes shallow dents, corrugation, and proud seating pop out visually. For zinc-plated or champagne-finished brackets, we also check that installation tools did not scrape through the coating. Coating damage invites corrosion later.
Then move to dimensional verification
Correct dimensions do not guarantee proper installation. coordinate measuring machine 2 But wrong dimensions guarantee problems. So dimensional checks are the necessary baseline. Focus on the features that control fit.
| Feature to Measure | Typical Tool | Why It Matters After Assembly |
|---|---|---|
| Hole-to-edge position | Calipers, 2.5D vision system 3 | Confirms fastener alignment with mating part |
| Seating height | Height gauge, depth micrometer | Detects proud or tilted installation |
| Flange angle | Angle gauge, CMM | Springback 4 can shift angles post-forming |
| Gap to mating surface | Feeler gauge | Reveals interference or poor seating |
| Slot length and width | Calipers | Confirms adjustment range is preserved |
One caution from experience: stamped parts have springback. A flange measured immediately after forming can shift slightly once clamped in the assembly. So measure critical features in the installed state, not only at the part level. On projects we manage for US clients, we define these installed-state dimensions on the drawing itself, so there is no argument later about what "correct" means.
How can I verify fit and alignment issues before they cause bigger problems downstream?
A buyer once told me his previous supplier shipped brackets that fit the gauge perfectly—yet jammed on his customer's chassis. The gauge did not simulate the real assembly position. Ours now does.
Verify fit and alignment using checking fixtures that simulate the actual assembly position. Load the part, locate it on pins, clamp it, and inspect gaps and hole alignment. Catching misfit at this stage prevents interference, stress, and failures further down the line.

Fit problems compound. A bracket that sits half a millimeter off may still assemble. But it preloads the joint, stresses the fastener, and shifts the next component. Three stations later, nothing lines up. That is why we push fit verification as early as possible.
The fixture-based workflow
The standard workflow we use on stamping projects has four steps:
- Load the part into the fixture in its assembly orientation.
- Locate it on datum pins and surfaces that mirror the real mating part.
- Clamp it with the same style of clamping force the assembly applies.
- Inspect gaps, flushness, and hole alignment with go/no-go pins and feeler gauges.
The fixture is not just a measurement tool. It is a proxy for real-world assembly behavior. If the part seats cleanly in a well-built fixture, it will almost always seat cleanly in the product. This is especially valuable when the stamped part becomes hidden after the next assembly step. Once a clip is buried under a panel, you cannot probe it. Check it before it disappears.
Watch for these specific alignment failures
From years of managing final inspection for export orders, these are the fit issues that cause the most downstream pain:
- Hole misalignment. The fastener goes in at an angle or cross-threads.
- Interference with adjacent parts. A flange touches a component it should clear.
- Tilted seating. One mounting tab contacts, the other floats.
- Slot position drift. The elongated hole no longer covers its adjustment range.
- Stack-up shift. The part is in tolerance, but the accumulated stack pushes the next part out.
We also run a simple but effective test: install the fastener by hand through the assembled stack. If it does not thread smoothly with fingers alone, alignment is off, even if every individual dimension passes. Simple checks like this cost seconds and save weeks.
What tools or methods work best for inspecting stamped parts installation without disassembly?
Choosing between a manual check and an automated station is a trade-off we weigh on almost every project: cost and flexibility on one side, speed and repeatability on the other.
The best non-destructive tools are checking fixtures, feeler gauges, borescopes, vision systems, laser profile sensors, and torque or pull testers. Combine a fixture fit check, a vision scan for presence and position, and targeted force testing to verify installation without taking anything apart.

Nobody wants to tear down a finished assembly just to check a clip. Disassembly costs time, risks damage, and often destroys the evidence you wanted to inspect. Fortunately, a layered toolkit lets you verify installation in place.
Match the tool to the question you are asking
Each tool answers a different question. Do not buy a CMM to answer a question a feeler gauge can answer. Here is how we map tools to inspection goals:
| Question You Need Answered | Best Tool or Method | Speed | Skill Required |
|---|---|---|---|
| Is the part present and oriented right? | Vision system or camera check | Very fast | Low (after setup) |
| Is it seated flush, not proud or tilted? | Feeler gauge, height gauge, laser profile sensor | Fast | Low to medium |
| Are hidden features correct? | Borescope 5, mirror and light | Medium | Medium |
| Is the position within tolerance? | CMM with probing, 2.5D measurement | Slow | High |
| Will it stay retained under load? | Pull tester, push-out tester, torque wrench 6 | Medium | Medium |
| Is the fastener properly seated? | Torque-angle signature analysis | Fast inline | Medium |
Layer the methods for critical assemblies
For higher-risk parts—load-bearing brackets, safety clips, automotive chassis components—we recommend at least three layers. First, a fixture fit check confirms geometry. Second, a vision inspection catches missing or mislocated features at line speed. Third, CMM measurement or force testing validates a sample at defined intervals.
Retention testing deserves special mention. A clip can be present, aligned, and still loose. For spring clips like the Z-fold fasteners we source, we specify a minimum retention force and pull-test a sample from each lot. For threaded inserts, we check torque-out and push-out values. Presence is not the same as secure retention. Only a force test proves the difference.
Manual methods still have a place. Touch inspection and light-oil surface checks reveal burrs and micro-dents that cameras miss. But manual results depend on inspector skill. Automated systems are more repeatable, though they need capital and careful calibration. On our client projects, we usually blend both: automation for presence and position, trained inspectors for surface and edge quality.
How do I know if my supplier's stamped parts consistently pass post-assembly quality checks?
Greg, a purchasing manager we work with in the US, once put it bluntly: he did not want inspection reports after a failure—he wanted proof the failure could not ship in the first place. That reframed how we structure supplier verification.
Judge supplier consistency by evidence, not promises: PPAP documentation, in-process control plans with hold points, calibrated and certified checking fixtures, retention-test records, and stable trend data across lots. Consistent suppliers define acceptance criteria on the drawing before production ever starts.

You cannot inspect quality into a shipment at the receiving dock. By then, the cost is already sunk. The real question is whether your supplier's process reliably produces parts that install correctly, every lot, every time.
Demand evidence at four stages
When we audit stamping suppliers in Vietnam and across Asia for our US clients, we look for proof at four distinct stages:
- Before production. Acceptance criteria are defined in writing: tolerances, seating height, retention limits, sample sizes, and whether tests happen before or after coating. Vague "looks fine" standards are a red flag.
- During production. In-process checks and hold points exist. Operators inspect stamped features before they become hidden by the next operation. First-article inspection 7 is documented for every run.
- At final inspection. Fixture checks, dimensional reports, and functional tests are recorded per lot with traceable serial or lot numbers.
- Over time. Trend data shows stability. One good lot proves nothing. Twenty consecutive conforming lots prove a process.
Fixture and gauge discipline tells you a lot
Ask a simple question: when was your checking fixture last certified? Good suppliers certify fixtures annually or biannually and check daily for loose clamps and bent locating pins. A worn fixture passes bad parts. If a supplier cannot answer, their "100% fixture check" means little.
| Supplier Signal | What It Tells You |
|---|---|
| PPAP package with measured results | Process was validated, not assumed |
| Control plan with named hold points | Defects get caught in-process, not at the end |
| Fixture certification records | Fit checks are actually trustworthy |
| Retention and torque test logs | Installation security is measured, not eyeballed |
| Lot traceability | Problems can be contained and root-caused fast |
In our supply chain 8 work, we act as the client's local eyes: we run supplier audits, witness first articles, and perform independent final inspection before anything ships to the US. That last independent check is what turns "the supplier says it passed" into "we verified it passed." If your supplier resists third-party verification or written acceptance criteria, that reluctance is itself your answer.
Conclusion
Improper installation hides until it fails—then it costs rework, delays, and trust. Verify presence, location, and retention with layered checks, and demand documented proof from your supplier. That is how stamped parts stay installed right.
Frequently Asked Questions
What visual and dimensional checks should I perform on stamped parts after assembly?
Last year, our QC team in Vietnam caught a batch of Z-clips seated slightly proud of the mounting surface. The naked eye missed it. A 45-degree lighting setup did not.
How can I verify fit and alignment issues before they cause bigger problems downstream?
A buyer once told me his previous supplier shipped brackets that fit the gauge perfectly—yet jammed on his customer's chassis. The gauge did not simulate the real assembly position. Ours now does.
What tools or methods work best for inspecting stamped parts installation without disassembly?
Choosing between a manual check and an automated station is a trade-off we weigh on almost every project: cost and flexibility on one side, speed and repeatability on the other.
Footnotes
1. ISO relevance for standardized supplier quality documentation and process validation. ↩︎
2. Explains CMM technology referenced for dimensional verification of stamped parts. ↩︎
3. ISO standards context for machine vision inspection systems used in quality control. ↩︎
4. Background concept explaining why stamped flanges shift dimensions after forming.