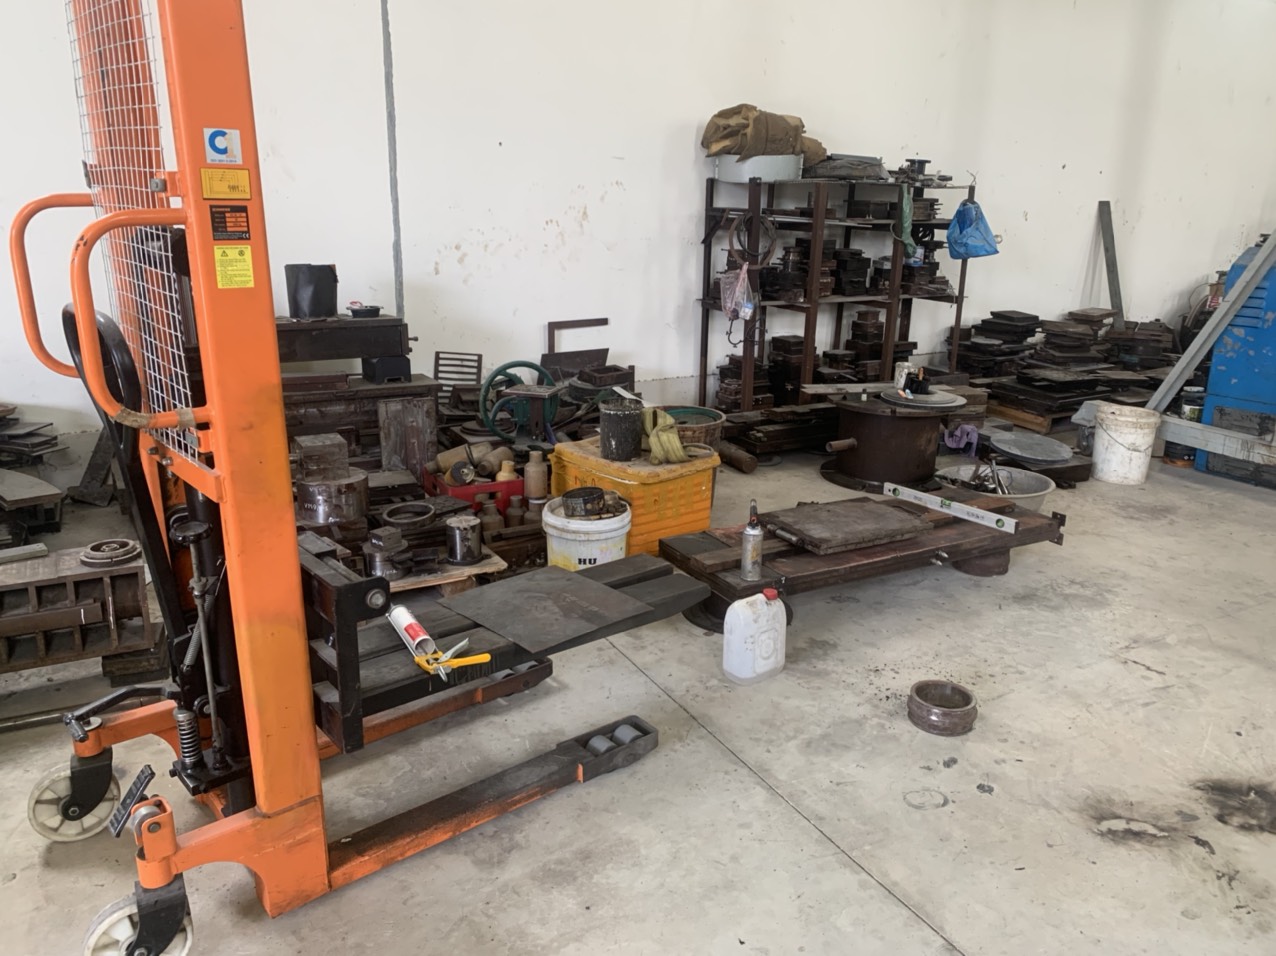

Choosing between progressive and single-stage dies 1 is a decision we help U.S. buyers navigate on nearly every custom stamping project that crosses our desks in Singapore and Vietnam.
To choose between progressive and single-stage dies when sourcing stamping parts, evaluate your production volume, part complexity, tooling cost budget, and delivery schedule. Progressive dies suit high-volume, complex parts with lower cost per part, while single-stage dies offer flexibility for low-volume or prototype runs.
The wrong die choice can inflate your unit cost, delay your launch, or create quality headaches that ripple through your entire supply chain 2. Below, I break down the four questions our purchasing-manager clients ask most often — and the answers that keep their programs on track.
How do I determine if my order volume justifies the higher cost of progressive die tooling?
A conversation I had last year with a buyer in Ohio made this crystal clear: he was ordering 500 brackets per quarter and his supplier pushed a progressive die that cost four times more than necessary progressive die tooling 3.
Your order volume justifies progressive die tooling when annual demand exceeds roughly 10,000–20,000 parts, because the higher upfront tooling cost is offset by a dramatically lower cost per part and reduced labor at scale.

Understanding the Cost Crossover Point
The decision starts with simple math. A single-stage die might cost $3,000–$8,000 to build, while a progressive die for the same part could run $15,000–$60,000 or more depending on die design complexity tight tolerances 4. But progressive dies complete multiple operations — piercing, bending, forming — in one press stroke. That automation level slashes the per-piece price once you reach enough volume.
Here is how the economics typically break down:
| Factor | Single-Stage Die | Progressive Die |
|---|---|---|
| Tooling investment | $3,000–$8,000 | $15,000–$60,000+ |
| Cost per part (at 1,000 pcs) | Lower total cost | Higher total cost |
| Cost per part (at 50,000 pcs) | Higher total cost | Significantly lower total cost |
| Labor per part | High (manual handling) | Low (automated coil feed) |
| Ideal volume range | Hundreds to low thousands | Tens of thousands to millions |
How to Run Your Own Quick ROI Check
I walk clients through a three-step check before we even contact a stamping supplier:
- Estimate annual volume. Include forecasted growth over 2–3 years, not just the first PO.
- Get budgetary quotes for both die types. Ask for tooling cost plus unit price at your projected volume.
- Calculate break-even. Divide the tooling cost difference by the per-part savings. If you hit that break-even quantity within 12–18 months, progressive tooling pays for itself.
When Single-Stage Still Wins
Single-stage dies — and sometimes a compound die 5 that performs two operations in one stroke — remain the smart pick for pilot runs, prototype validation, and products with uncertain demand. Our team in Vietnam recently managed a project for a U.S. engineering firm that needed 800 custom mounting clips. A single-stage setup let them test fit and function, iterate the design twice, and move to production without burning $40,000 on a progressive tool they might never fully amortize.
Production volume is the primary decision driver, but it is not the only one. Part complexity, material thickness, and your delivery timeline all feed into the final call.
Which die type will best ensure my complex custom parts meet strict drawing requirements?
One lesson I learned early in our quality-control work is that dimensional accuracy 6 on a stamped part depends as much on the metal stamping process you choose as on the supplier's skill.
For complex custom parts with tight tolerances, multiple bends, and intricate cut-outs, progressive dies deliver superior consistency because each station is precisely aligned and the strip never leaves the tool — eliminating the handling variability that plagues single-stage operations.

Why Progressive Dies Excel at Complexity
In a progressive die, a steel coil feeds continuously through a series of stations. Each station performs one operation — a pierce here, a form there, a trim at the end. Because the strip is piloted (located by precision pins) at every station, each feature is positioned relative to the others with repeatable accuracy. This matters enormously when your drawing calls for positional tolerances of ±0.05 mm between holes and bend lines.
With single-stage dies, the operator — or a robot — must remove the part from one die, reposition it in the next, and press again. Every transfer introduces a small positioning error. Over a run of 5,000 parts, those errors accumulate into scatter that can push you outside spec.
Matching Die Type to Part Geometry
| Part Characteristic | Recommended Die Type | Reason |
|---|---|---|
| Flat blank with 1–2 holes | Single-stage or compound die | Simple geometry; no sequential operations needed |
| Single bend with piercing | Single-stage | Manageable in one or two setups |
| Multiple bends + slots + forming | Progressive die | Sequential stations handle each feature precisely |
| Tight positional tolerances (±0.05 mm) | Progressive die | Piloted strip maintains datum alignment |
| Frequent design revisions expected | Single-stage | Cheaper and faster to modify tooling |
| Material thickness > 4 mm | Evaluate carefully | Progressive dies handle thicker stock but need higher-tonnage presses |
A Real-World Scenario
We sourced a bridge-style bracket last year — an angular part with two right-angle bends, a circular hole, and an elongated oval slot on separate flanges. The U.S. client's drawing required the slot-to-hole distance to hold ±0.08 mm. A single-stage approach would have needed three separate setups. Our supplier in Vietnam proposed a five-station progressive die instead. The result: Cpk values above 1.33 on the critical dimension right from the first PPAP run. No rework, no returns.
Design Flexibility Trade-Off
The trade-off is real, though. If you are still iterating your part design, locking in a progressive die too early can be expensive. Modifying a single station in a progressive tool can cost thousands of dollars and add weeks of lead time. Our recommendation to clients in early development: start with a single-stage or transfer die setup for the first 1,000 pieces, validate the design with end-users, then commit to progressive tooling for mass production.
How will my choice between progressive and single-stage dies impact my project delivery schedule?
Delivery delays are the number-one complaint we hear from U.S. purchasing managers who source custom stamped parts from Asia. The die type you select directly shapes two timelines: how long it takes to build the tool and how fast parts roll off the press.
Progressive dies require longer tooling lead times — often 8 to 14 weeks — but deliver faster production throughput once running. Single-stage dies can be built in 3 to 6 weeks, yet their slower per-part cycle times and multiple setups extend production schedules for larger orders.

Tooling Lead Time vs. Production Speed
Think of it as a front-loaded investment in time. A progressive die is a complex piece of precision engineering. Our die-making partners typically need 8–14 weeks to design, machine, assemble, and trial a progressive tool. A single-stage die, being simpler, can be ready in 3–6 weeks. But once the progressive die is in the press, it runs at 30–100+ strokes per minute with automatic coil feed — producing a finished part every stroke.
A single-stage operation, by contrast, might achieve 10–20 parts per minute and still require manual loading between operations. For a 50,000-piece order, progressive stamping can finish in days what single-stage takes weeks to complete.
A Side-by-Side Timeline Comparison
| Timeline Phase | Single-Stage Die | Progressive Die |
|---|---|---|
| Die design & engineering | 1–2 weeks | 3–5 weeks |
| Die fabrication | 2–4 weeks | 5–9 weeks |
| Trial & adjustment | 1 week | 1–2 weeks |
| Total tool lead time | 3–6 weeks | 8–14 weeks |
| Production rate | 10–20 parts/min | 30–100+ parts/min |
| Time to produce 50,000 parts | 2–4 weeks | 1–3 days |
| Total project time (tool + production) | 5–10 weeks | 9–15 weeks (but faster for repeat orders) |
How We Manage the Schedule Trade-Off
When a client has a tight launch window, we sometimes recommend a hybrid approach. We build a single-stage die first to produce an initial shipment of 2,000–5,000 parts so the client can begin assembly. Meanwhile, the progressive die is under construction. Once it is ready, all subsequent orders run through the progressive tool at full speed. This strategy protects the delivery schedule without sacrificing long-term cost efficiency.
Our project management team in China tracks every milestone — steel procurement, rough machining, heat treatment, wire EDM 7, assembly, first-article inspection — so there are no surprises. We send weekly photo and video updates during die build, and we schedule PPAP approval before mass production begins.
Repeat Orders and Long-Term Throughput
The delivery advantage of progressive dies compounds over time. Once the die exists, reorder lead times drop to pure production time plus shipping. For a part you reorder quarterly, a progressive die might deliver 20,000 pieces in two days of press time. The same order on single-stage tooling could tie up a press for two weeks.
What technical capabilities should I verify to ensure my supplier gets my stamping dies right the first time?
Getting it right the first time is not a slogan — it is a cost-control strategy. Every time a die needs rework, you lose weeks and thousands of dollars.
Verify your supplier's die design software proficiency, in-house wire EDM and CNC capacity, material-simulation capability, past PPAP records, and experience with your specific material thickness and part geometry before committing to any stamping die order.

The Five Capabilities That Matter Most
Over hundreds of custom stamping projects, our audit teams have identified five technical areas that predict whether a supplier will nail the die on the first attempt or need costly revisions.
-
Die design and simulation software. The supplier should use professional CAD/CAM tools (e.g., AutoForm, DYNAFORM, or equivalent) to simulate the metal stamping process before cutting steel. Simulation catches springback, cracking, and thinning problems on screen — not on the shop floor.
-
In-house precision machining. Wire EDM, CNC milling, and surface grinding should all be in-house. Outsourcing these steps adds communication gaps and schedule risk. For progressive dies, wire EDM accuracy of ±0.005 mm is standard for punch and die inserts.
-
Material and thickness experience. A supplier experienced with 0.5 mm stainless steel may struggle with 3 mm high-strength steel. Ask for sample parts in similar material thickness and grade.
-
Trial and adjustment process. A capable shop runs a structured die trial: first hit, measure, adjust, second hit, measure, confirm. They document every adjustment. Ask to see trial reports from past projects.
-
PPAP and quality system. Full PPAP documentation 8 — including dimensional reports, material certificates, control plans, and process flow diagrams — shows the supplier understands what "right the first time" means in your industry.
What to Ask During a Supplier Audit
When our team visits a stamping supplier — whether in Vietnam, Taiwan, or India — we use a structured checklist. Here are the questions that reveal the most:
- Can you show me a progressive die you built for a part with similar complexity?
- What is your typical die trial cycle — how many iterations before sign-off?
- Do you run forming simulation, and can you share a simulation report?
- What is your press tonnage range, and which presses would run my part?
- How do you handle a die station failure mid-production run?
- What is your standard lead time for die repair or modification?
For a deeper dive into what to look for during facility visits, see our guide on how to evaluate suppliers when sourcing high and low-volume stamping parts.
Comparing Supplier Readiness Levels
Not every supplier is equipped for every die type. Here is a quick way to categorize what you find during due diligence:
| Capability | Basic Supplier | Intermediate Supplier | Advanced Supplier |
|---|---|---|---|
| Die design | 2D drawings only | 3D CAD, no simulation | 3D CAD + forming simulation |
| Machining | Outsourced EDM | Partial in-house | Full in-house CNC, EDM, grinding |
| Progressive die experience | None | Simple progressive (3–5 stations) | Complex progressive (8+ stations) |
| Quality documentation | Inspection report only | Partial PPAP | Full PPAP with SPC data |
| Press capacity | Single press, low tonnage | Multiple presses, mid tonnage | High-tonnage presses with servo feed |
| Die maintenance | Reactive only | Scheduled maintenance | Predictive maintenance with sensors |
Why "Right the First Time" Saves More Than You Think
A single die revision typically costs $2,000–$10,000 and adds 2–4 weeks to your timeline. On a progressive die with eight stations, a design error in station three can cascade through every downstream station. We have seen projects where a supplier's failure to simulate springback on a 60-degree bend resulted in three rounds of rework, a 10-week delay, and a 30% budget overrun. That is why we insist on simulation before any steel is cut and why we run first-article inspection at the supplier's facility before approving mass production.
Technology integration is also changing the game. Progressive dies now incorporate in-die sensors that monitor punch force, strip feed accuracy, and part ejection in real time. These sensors catch problems within the first few strokes rather than after 10,000 defective parts have been stamped. When evaluating suppliers, ask whether they use or can accommodate sensor-equipped tooling.
Conclusion
Choosing between progressive and single-stage dies comes down to volume, complexity, timeline, and supplier capability — weigh all four, and your stamping program will hit cost, quality, and delivery targets. To avoid surprises in your quotes, it also helps to understand how to identify hidden costs in sheet metal fabrication unit prices before you commit to a supplier.
Frequently Asked Questions
How do I determine if my order volume justifies the higher cost of progressive die tooling?
A conversation I had last year with a buyer in Ohio made this crystal clear: he was ordering 500 brackets per quarter and his supplier pushed a progressive die that cost four times more than necessary progressive die tooling 3 .
Which die type will best ensure my complex custom parts meet strict drawing requirements?
One lesson I learned early in our quality-control work is that dimensional accuracy 6 on a stamped part depends as much on the metal stamping process you choose as on the supplier's skill.
How will my choice between progressive and single-stage dies impact my project delivery schedule?
Delivery delays are the number-one complaint we hear from U.S. purchasing managers who source custom stamped parts from Asia. The die type you select directly shapes two timelines: how long it takes to build the tool and how fast parts roll off the press.
Footnotes
1. Compares single-stage and progressive dies for metal stamping applications. ↩︎
2. Defines supply chain management and its critical role in business operations. ↩︎
3. Details the components, process, and benefits of progressive die tooling. ↩︎
4. Explains what tight tolerances mean in manufacturing and how they are achieved. ↩︎
5. Explains what a compound die is, its advantages, and typical applications. ↩︎
6. Defines dimensional accuracy and its importance in manufacturing and quality control. ↩︎
7. Describes the wire electrical discharge machining process, its benefits, and applications. ↩︎
8. Outlines the essential documents and requirements for the Production Part Approval Process. ↩︎
9. Explains how simulation software is used to predict defects in metal forming processes. ↩︎