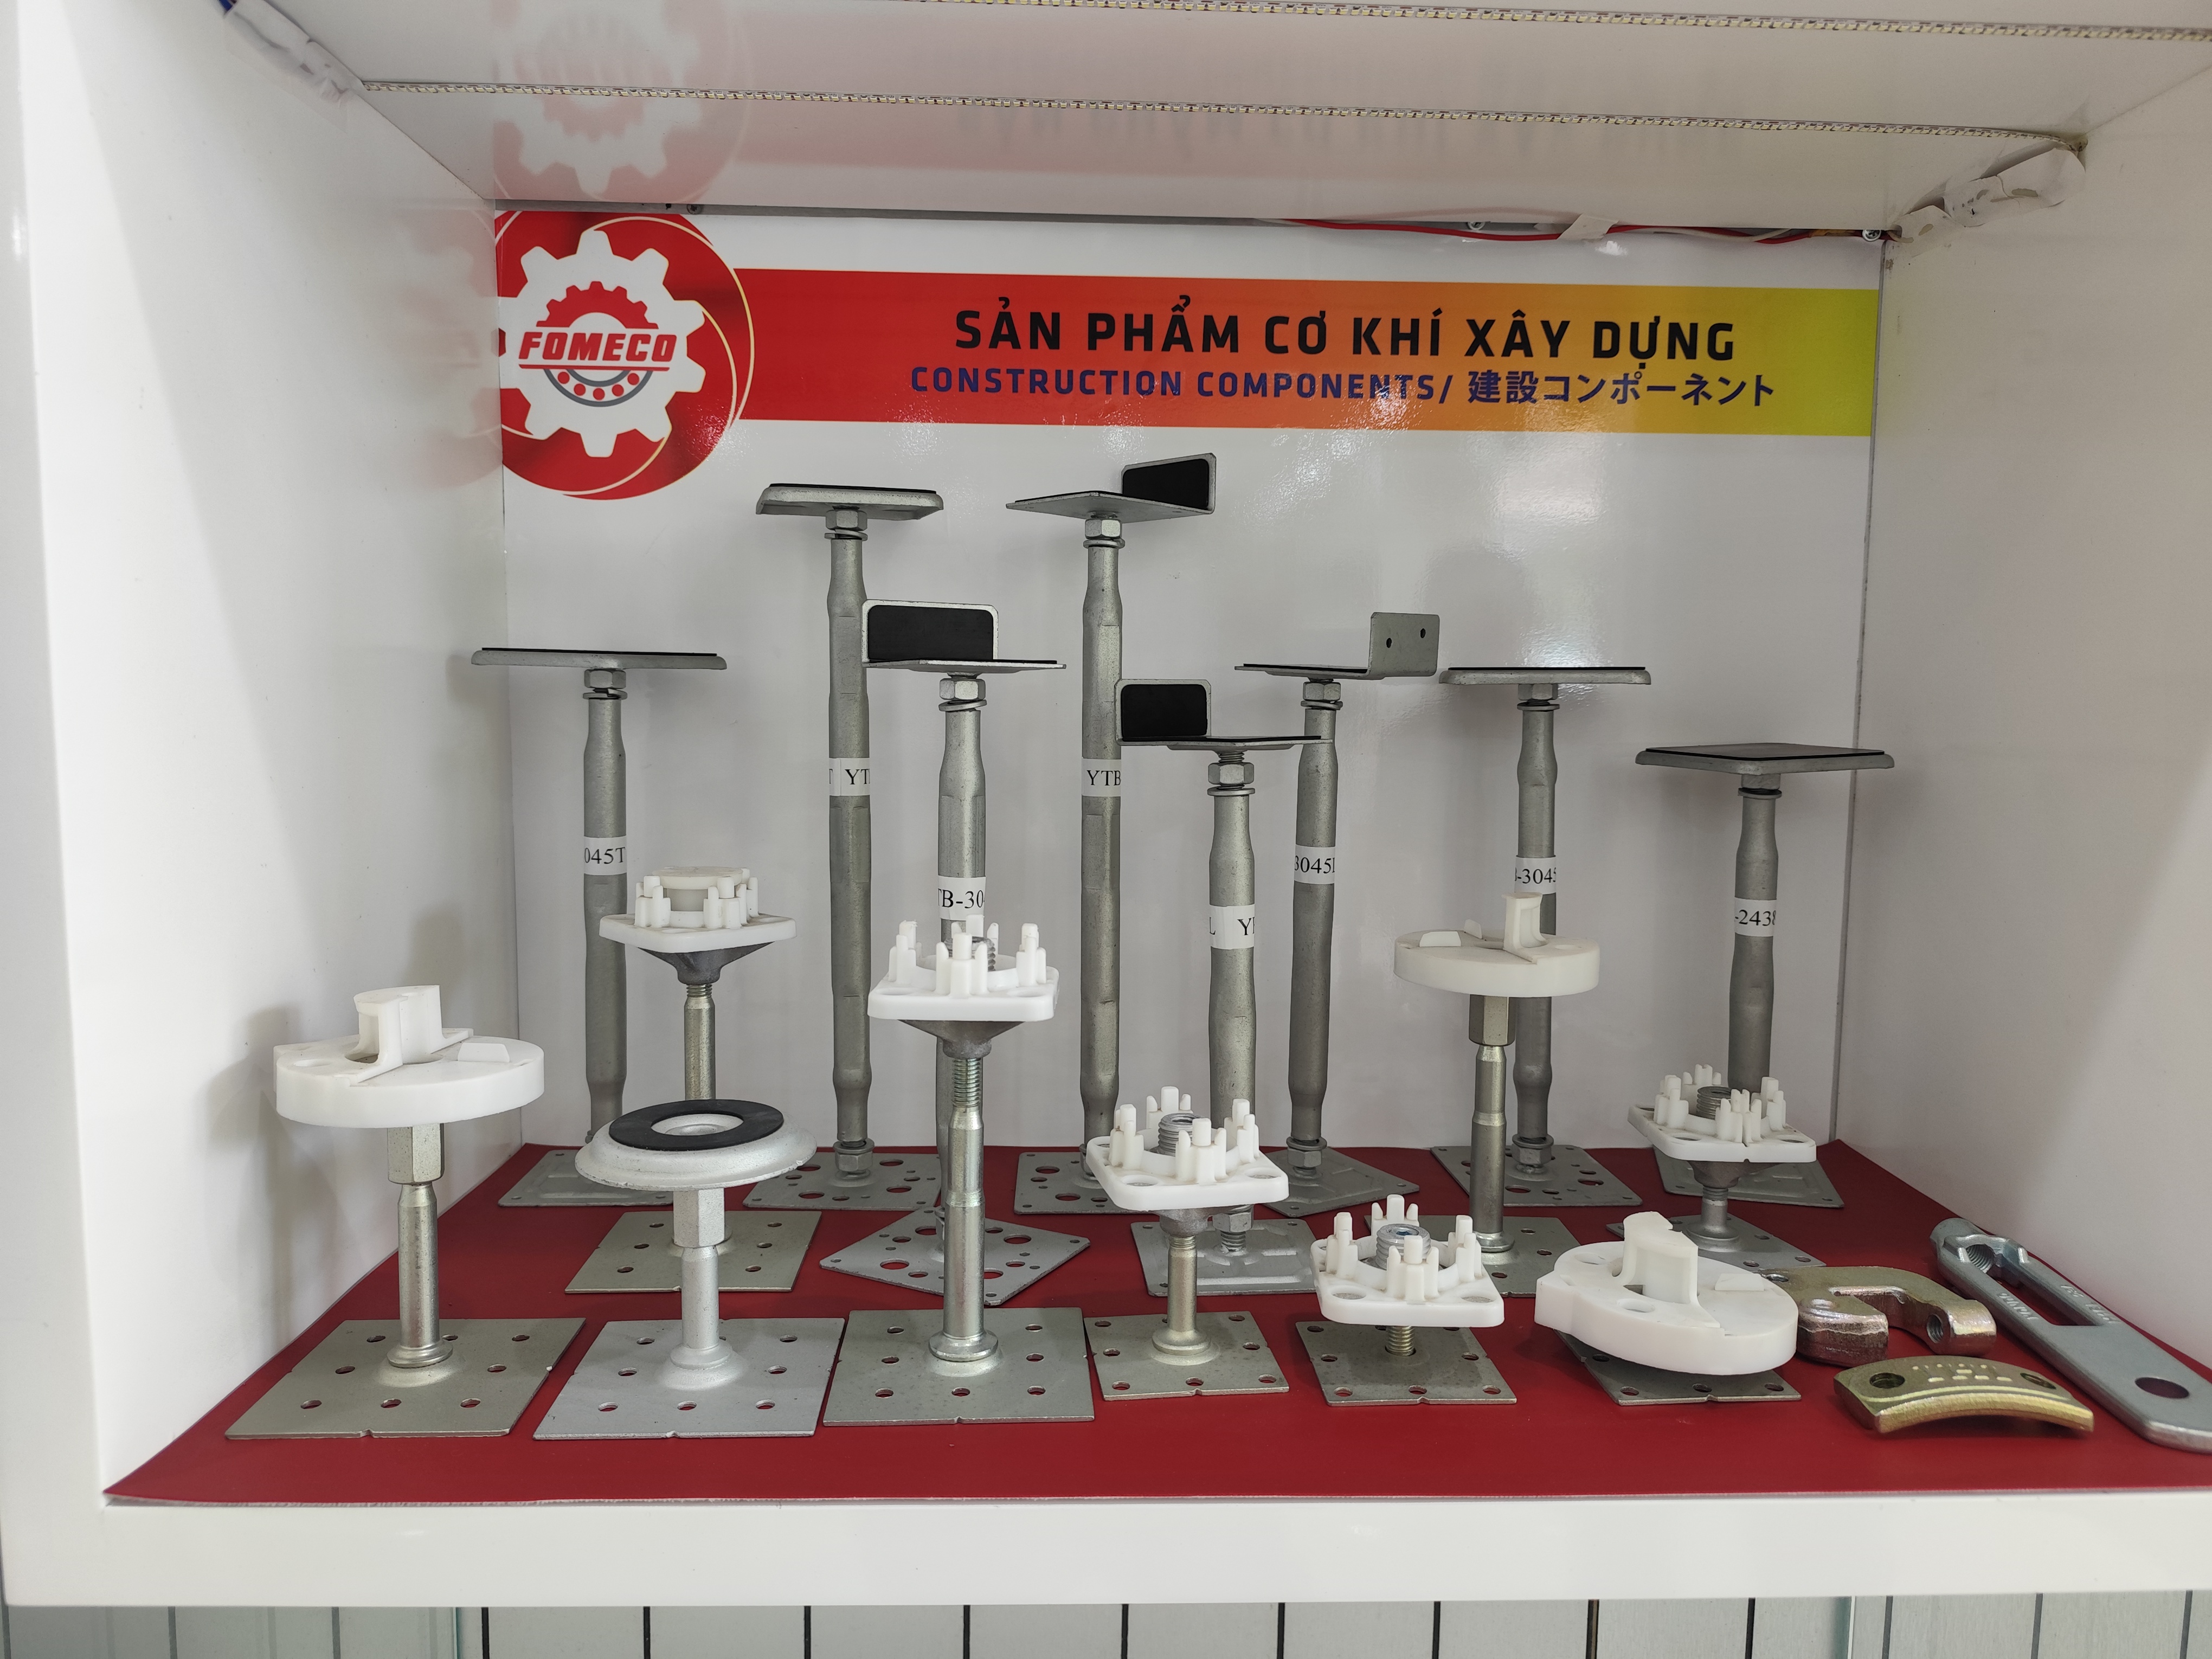

[Replacement stamping parts](https://dewintech.com/blog/what-individual-buyers-consider-purchasing-replacement-stamping-parts/) fail fast when installed carelessly. I have seen rushed swaps ruin whole assemblies on our clients’ lines. The fix is a controlled, measured installation process every time.
To correctly install replacement stamping parts, verify the part against original specifications, clean and inspect all mating surfaces, position the part loosely to check orientation and alignment, hand-thread fasteners before torquing in sequence, then confirm fit, clearance, and function before returning to service.
That short answer covers the framework. But each stage has details that decide whether the part lasts years or fails in weeks. Let me walk you through each step, based on what we see across real sourcing projects.
How do I verify replacement stamping parts match my original specifications before installation?
A while back, our Vietnam team caught a batch of stamped brackets 1 with a bend angle off by two degrees. The buyer would never have spotted it by eye. Measurement saved that install.
Verify replacement stamping parts by confirming the part number against your drawing, measuring critical dimensions with calipers or gauges, checking hole positions and bend angles, inspecting for shipping damage or burrs, and comparing material thickness and finish to the original specification before any installation work begins.

Verification is the cheapest step in the whole process. Yet most installation failures we investigate trace back to skipping it. A visual match is not a dimensional match. Stamped parts can look identical while hiding differences in thickness, hole location, or spring-back angle that only a gauge will reveal.
Start with the paperwork
Before you touch a tool, match the part to the record. Check the part number on the packaging against your purchase order and your drawing revision 2. Drawings change. A part made to an old revision may bolt on but fail in service. In our PPAP process 3, we tie every shipment to a specific drawing revision for exactly this reason. Ask your supplier to do the same.
Measure what matters
You do not need to measure everything. You need to measure the features that control fit and function. Here is a practical checklist we use during final inspection:
| Feature to Check | Tool | Why It Matters |
|---|---|---|
| Material thickness | Micrometer or calipers | Wrong gauge changes stiffness and fastener grip |
| Hole diameter and position | Pin gauges, calipers | Misplaced holes force stressed, misaligned mounting |
| Bend angles | Angle gauge or protractor | Spring-back variation shifts the whole fit |
| Flange flatness | Surface plate, feeler gauge 4 | Warped flanges rock and loosen under vibration |
| Surface finish / coating | Visual, thickness gauge | Bare spots invite corrosion at contact points |
| Burrs and sharp edges | Visual and touch | Burrs prevent flush seating and cut wiring |
Inspect for transit damage
Stamped sheet-metal parts 5 are strong in their designed direction but easy to bend during shipping. Look for tweaked tabs, flattened lips, and dented flanges. Set any suspect part aside. Do not try to bend it back and use it. Re-bending work-hardens the metal and can start a crack you will not see until the part fails in service.
Reject anything out of tolerance now. It costs minutes here. It costs hours after the part is installed.
What tools and preparation do I need for a smooth stamping parts installation?
One trade-off we discuss with buyers constantly: spend ten minutes preparing the work area, or spend an hour fighting a misaligned part. Preparation always wins that math on our projects.
A smooth stamping parts installation requires calibrated measuring tools, a torque wrench, the correct fasteners, cleaning supplies for mating surfaces, alignment aids such as pins or jigs, proper lighting, and a safe, powered-down work area with the original setup documented before removal begins.
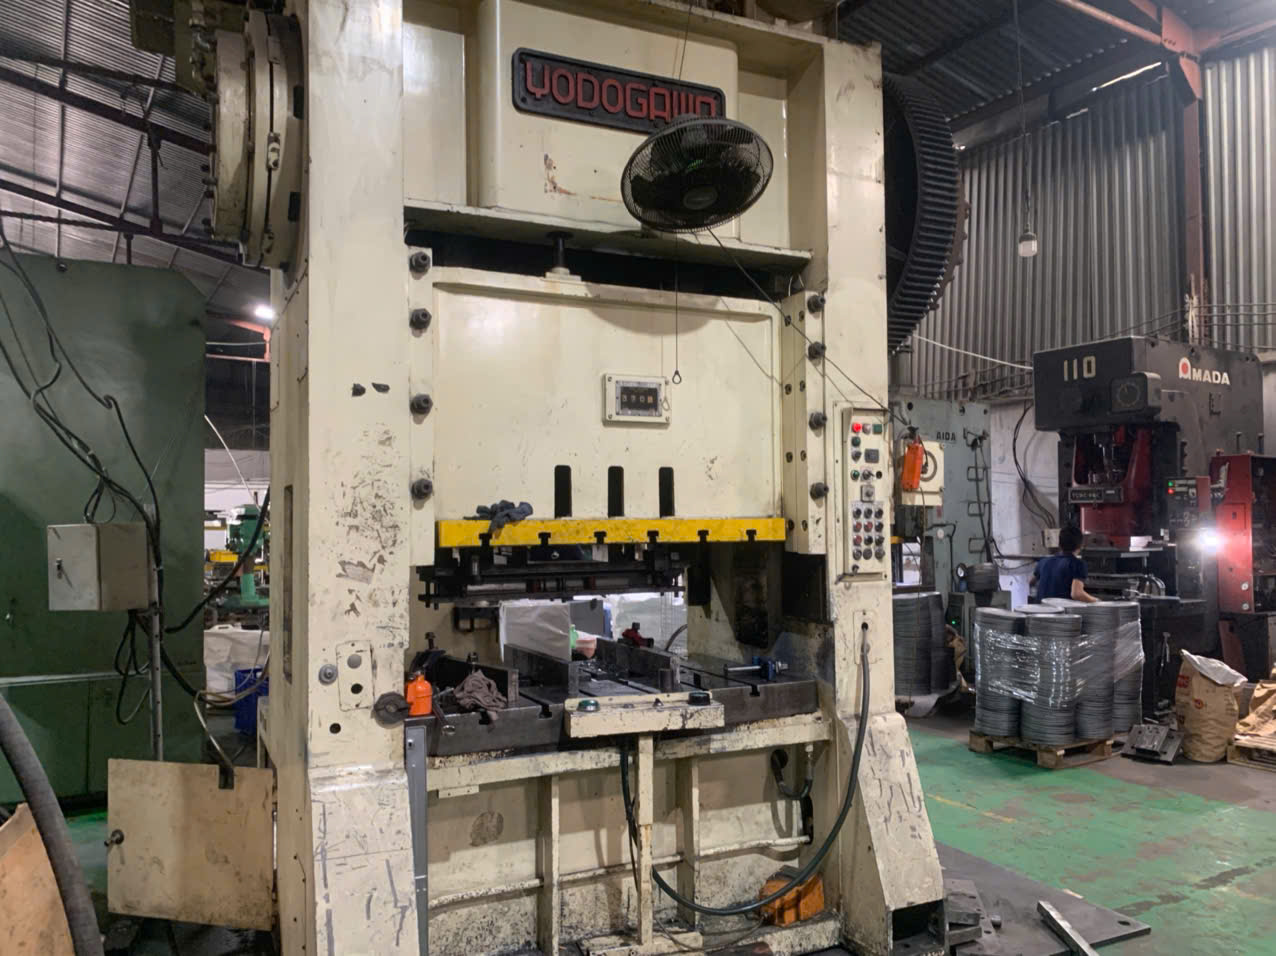
Preparation splits into three areas: tools, the work area, and the removal of the old part. Each one deserves attention before the new part comes out of its packaging.
Gather the right tools first
Stopping mid-installation to hunt for a tool is when parts get dropped, bent, or forced. Lay everything out before you start.
| Category | Items | Purpose |
|---|---|---|
| Measurement | Calipers, feeler gauges, straightedge | Confirm fit and gaps during installation |
| Fastening | Torque wrench, correct-size drivers, new fasteners | Apply specified torque without stripping |
| Alignment | Drift pins, alignment jigs, clamps | Hold position before final tightening |
| Cleaning | Wire brush, solvent, lint-free cloths | Prepare mating surfaces properly |
| Safety | Gloves, eye protection, lockout tags | Protect hands from sharp stamped edges |
Stamped edges are sharp. Cut-resistant gloves 6 are not optional. Our inspection team handles thousands of stamped brackets, and glove policy is one rule we never relax.
Make the machine or assembly safe
Shut down the equipment. Lock out power where the part sits near moving components. Let hot systems cool. This sounds basic, but rushed replacements on live equipment cause both injuries and botched installs.
Document before you disassemble
Photograph the old part in place from several angles. Note the position of every shim, spacer, washer, and clip. These small pieces set the alignment of the original installation. If they go back in the wrong spot, the new part will never sit right. Then remove components in reverse order of installation. Never force a stuck part free with a pry bar against the mating surface. A gouged mounting face will ruin the fit of even a perfect replacement.
How do I avoid common alignment and fitment issues when installing stamping parts?
A purchasing manager we support once returned a full batch of clips as defective. Our audit found the clips fine. The mounting surfaces on his line still carried old sealant residue. Alignment starts with clean surfaces.
Avoid alignment issues by cleaning mating surfaces to bare, flat metal, placing the part loosely before tightening anything, confirming orientation and seating at every contact point, hand-threading all fasteners first, then torquing gradually in a cross or specified sequence to prevent warping.
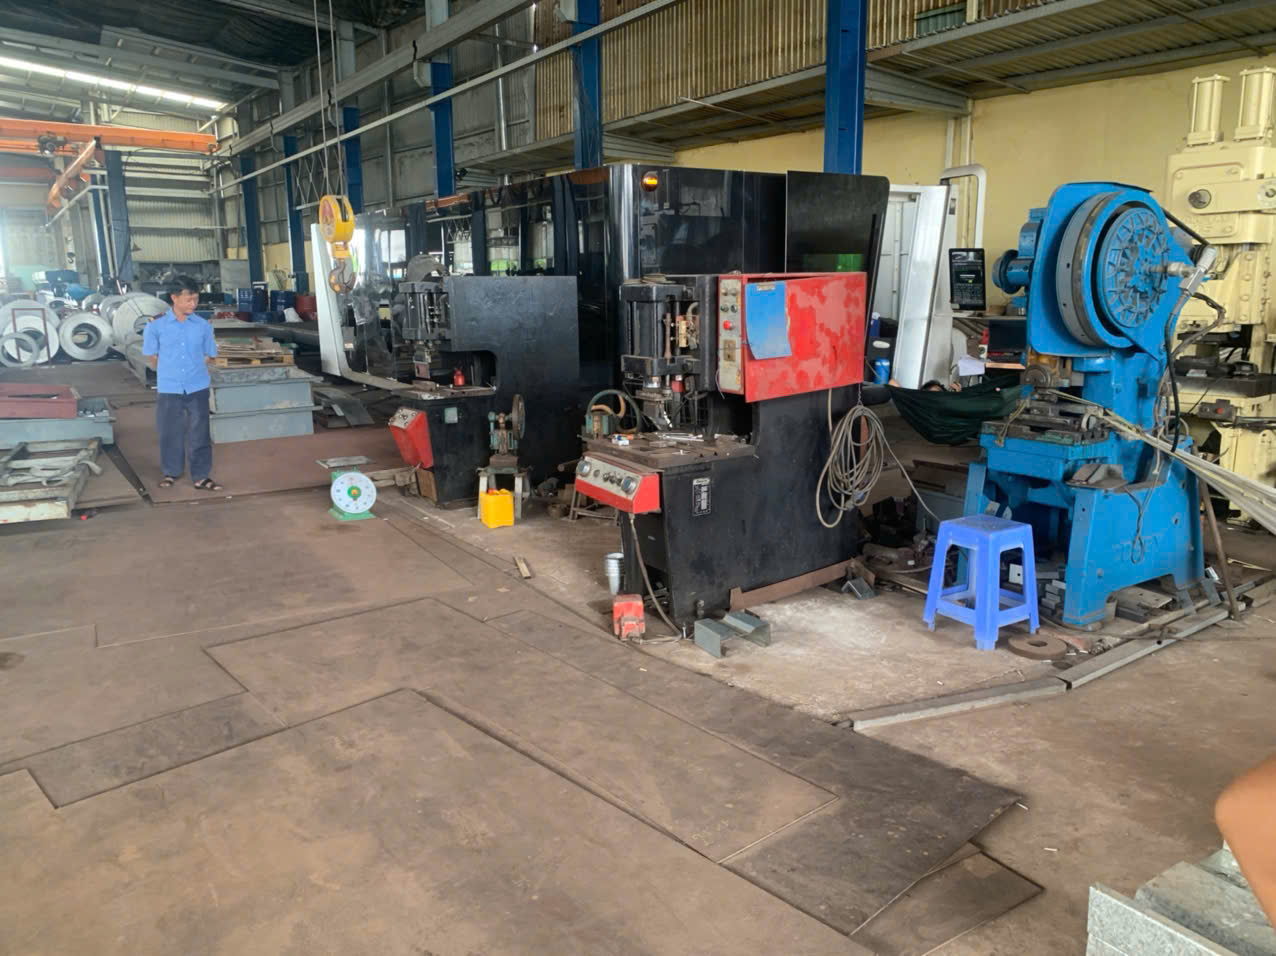
Fitment problems almost never come from one big error. They come from small errors stacking up. A little debris under a flange, a fastener snugged too early, a tab facing the wrong way. Break the installation into a strict sequence and each risk gets caught in turn.
Follow the fit-check-first sequence
- Clean the mating surfaces. Remove old sealant, corrosion, paint flakes, and burrs. Wipe with solvent and let the surface dry fully. Debris creates false alignment; the part sits high on a spec of grit and the error spreads through the assembly.
- Inspect the mounting surface itself. Check for cracks, elongated holes, and deformation. A new part cannot compensate for a damaged mount. Fix the surface first.
- Dry-fit the part loosely. Set it in place without any fasteners. Confirm orientation. Many stamped brackets have a top and bottom, or a keyed feature, and they will physically fit backwards while failing functionally.
- Check seating at every contact point. All flanges should sit flush. If the part rocks, find out why before proceeding. Use a feeler gauge on suspect gaps.
- Hand-thread every fastener. Start all fasteners by hand before tightening any of them. This prevents cross-threading and lets the part float into its natural aligned position.
- Torque gradually and in sequence. Bring fasteners to final torque in stages, working in a cross pattern or the sequence your documentation specifies. Tightening one corner fully first warps thin stamped metal and locks in misalignment.
Respect spring-back and stack-up
Stamped parts hold residual stress 7 from forming. Clamping force can shift dimensions slightly compared to the free state. This is normal. It is why you check clearances after torquing, not just before. Also watch temperature: a part installed in a cold warehouse will grow slightly in a hot operating environment. For tight-tolerance assemblies, install under conditions close to service conditions when you can.
What quality checks should I perform after installing replacement stamping parts to ensure long-term performance?
The hardest lesson from our early sourcing projects was this: an installation is not finished when the last bolt is tight. It is finished when the assembly proves itself under real conditions.
After installation, verify torque on all fasteners, check clearances and alignment with gauges, cycle the assembly slowly to confirm free movement, run a small first-article test under real operating conditions, inspect the output or function, and record all measurements as your new maintenance baseline.
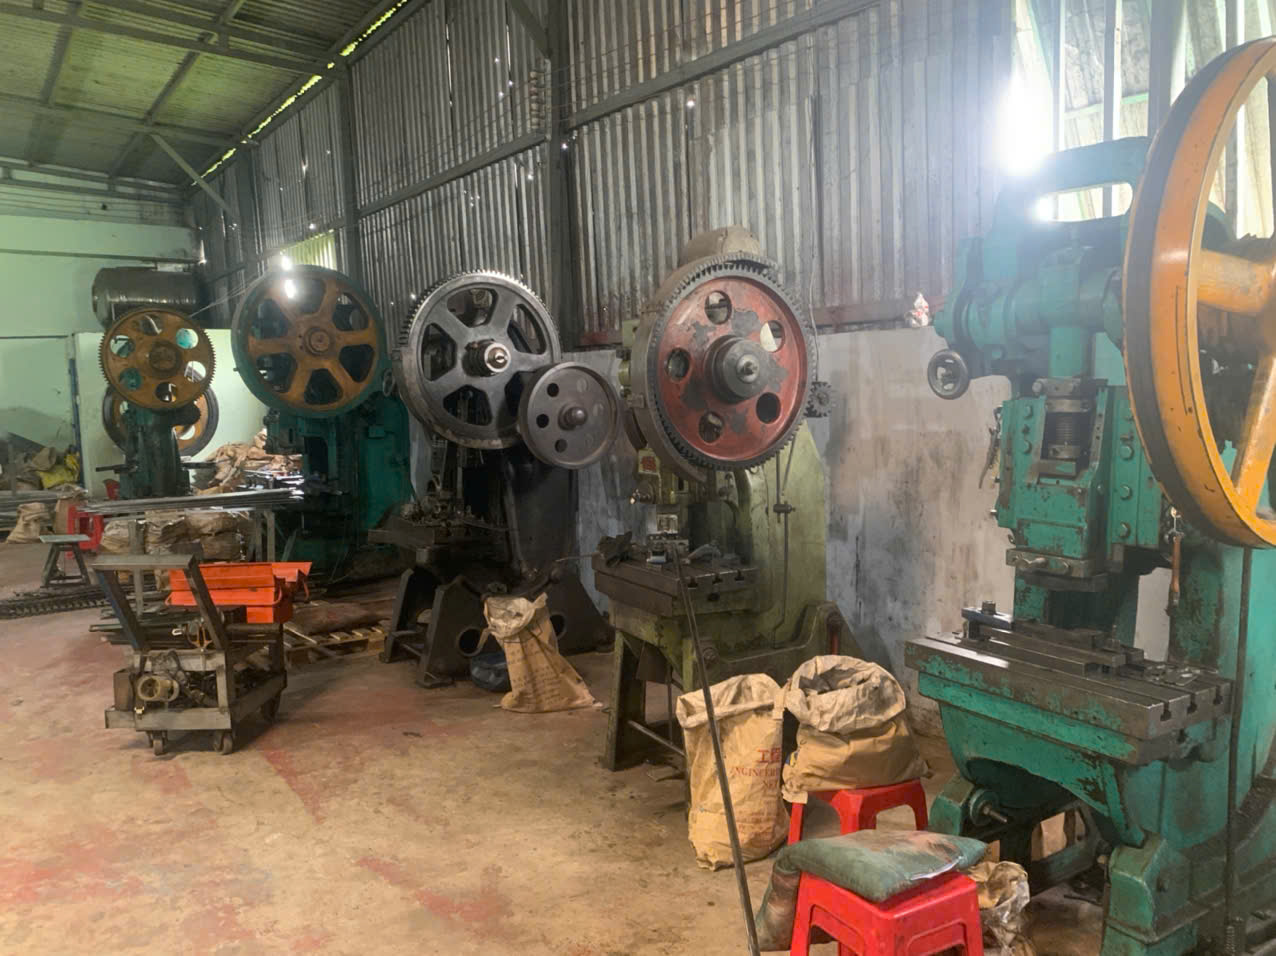
Post-installation checks split into three phases: static checks, functional checks, and documentation. Skipping any of them means you are guessing about long-term performance instead of confirming it.
Phase one: static checks
With everything torqued, go back over the assembly cold. Confirm every fastener reached its specified torque. Check gaps and clearances at multiple points with a feeler gauge, not just at one convenient spot. Look for any daylight under flanges. Confirm nothing contacts wiring, hoses, or adjacent components. In press and die applications, this is where you close the die slowly at inch speed without material and watch for any rubbing or interference. Any contact you did not design for is a defect. Correct it now.
Phase two: functional validation
Static checks pass? Then run the assembly gently. Cycle moving components by hand or at slow speed first. Then run a small sample under real production conditions. In industrial stamping work, a first-article run of roughly five to twenty parts at production speed is the standard proof. Inspect that output against full requirements: burr height, hole sizes, feature locations, surface condition. For structural brackets, load the assembly progressively and watch for shifting or noise. The parts themselves are the final judge. Do not declare the job done until they pass.
Phase three: document the new baseline
Record what you measured. Those numbers become the reference point for all future wear tracking.
| Record This | Why |
|---|---|
| Final torque values | Detect loosening at next inspection |
| Clearance and gap readings | Track wear trends over time |
| First-article measurements | Prove the install and set the quality baseline |
| Part number, lot, and date | Support traceability and warranty claims |
| Installer and conditions | Aid root-cause analysis if issues appear |
Then schedule a follow-up check after initial service, ideally within the first days or weeks of operation. Vibration loosens fasteners on thin stamped parts more than on machined blocks. Early re-torque and a crack inspection at bend radii catch fatigue problems while they are still cheap to fix. We push our clients to log this data in a maintenance record, because on the next replacement, that baseline turns a day of trial and error into an hour of routine work.
Conclusion
Correct installation of replacement stamping parts follows three stages: verify the part, validate the fit, and prove the output. Measure, clean, align, torque, test, and document every time.
Frequently Asked Questions
How do I verify replacement stamping parts match my original specifications before installation?
A while back, our Vietnam team caught a batch of stamped brackets 1 with a bend angle off by two degrees. The buyer would never have spotted it by eye. Measurement saved that install.
What tools and preparation do I need for a smooth stamping parts installation?
One trade-off we discuss with buyers constantly: spend ten minutes preparing the work area, or spend an hour fighting a misaligned part. Preparation always wins that math on our projects.
How do I avoid common alignment and fitment issues when installing stamping parts?
A purchasing manager we support once returned a full batch of clips as defective. Our audit found the clips fine. The mounting surfaces on his line still carried old sealant residue. Alignment starts with clean surfaces.
Footnotes
1. Leading B2B marketplace for sourcing stamped metal brackets and replacement parts. ↩︎
2. ISO standards govern document and revision control referenced in part verification. ↩︎
3. Background on the Production Part Approval Process standard mentioned for revision control. ↩︎
4. NIST oversees measurement standards underlying precision gauges used for clearance checks. ↩︎
5. Background on sheet metal properties relevant to shipping