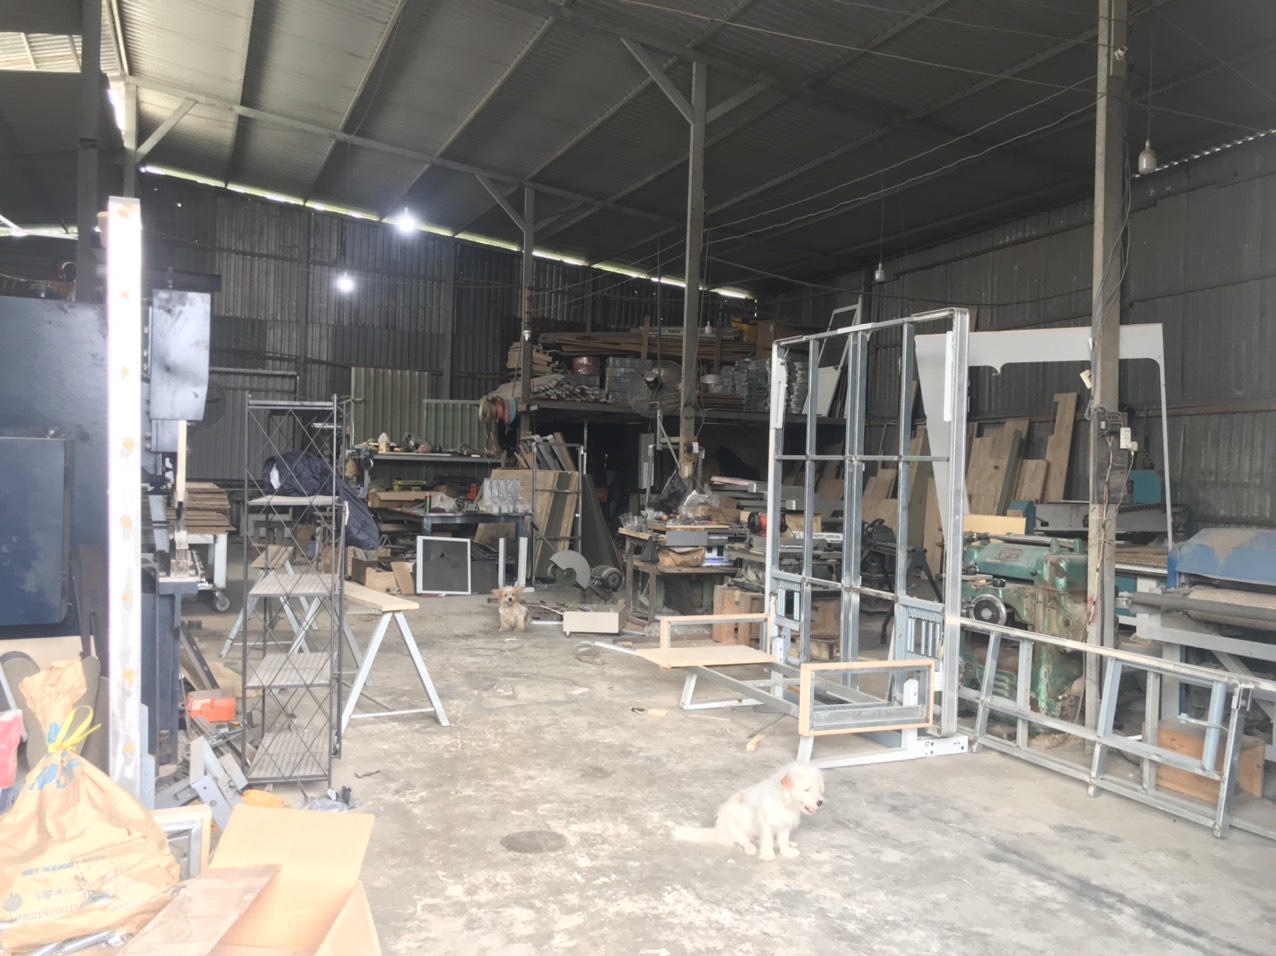

Every rejected shipment of custom sheet metal parts traces back to one root cause: a missing or incomplete product acceptance checklist 1. I learned this the hard way after our Vietnam office received a batch of mounting brackets with bend angles off by four degrees — a costly mistake that delayed our client’s assembly line by three weeks. The problem is not that fabricators are careless. The problem is that buyers often skip the upfront work of defining exactly what “acceptable” means BS EN 10025 2. Without a structured checklist tied to your engineering drawings 3, you are gambling with every purchase order.
A product acceptance checklist for sheet metal fabrication should cover five phases: drawing validation, material verification, in-process monitoring, final dimensional inspection, and documentation review. It must define pass/fail limits for tolerances, surface finish, weld quality, and assembly fit before production starts.
This guide walks through each phase step by step. I will share the specific checks our quality control process 4 uses when sourcing custom fabrication from factories across Asia. Whether you are a purchasing manager or an engineer, you will find actionable rules and tables you can apply immediately.
What essential dimensions and material specifications should I include in my sheet metal checklist?
A buyer once sent us a drawing with no revision number and no default tolerance block. The fabricator in Vietnam interpreted the dimensions his own way. Two hundred parts arrived, and not a single one fit the client's assembly jig.
Your checklist must include critical hole positions, bend radii, material grade and thickness, dimensional tolerances for every feature, and Mill Test Certificates. Specify which dimensions are critical versus general, and require material verification against BS EN or ASTM industry standards.
Start with Drawing Completeness
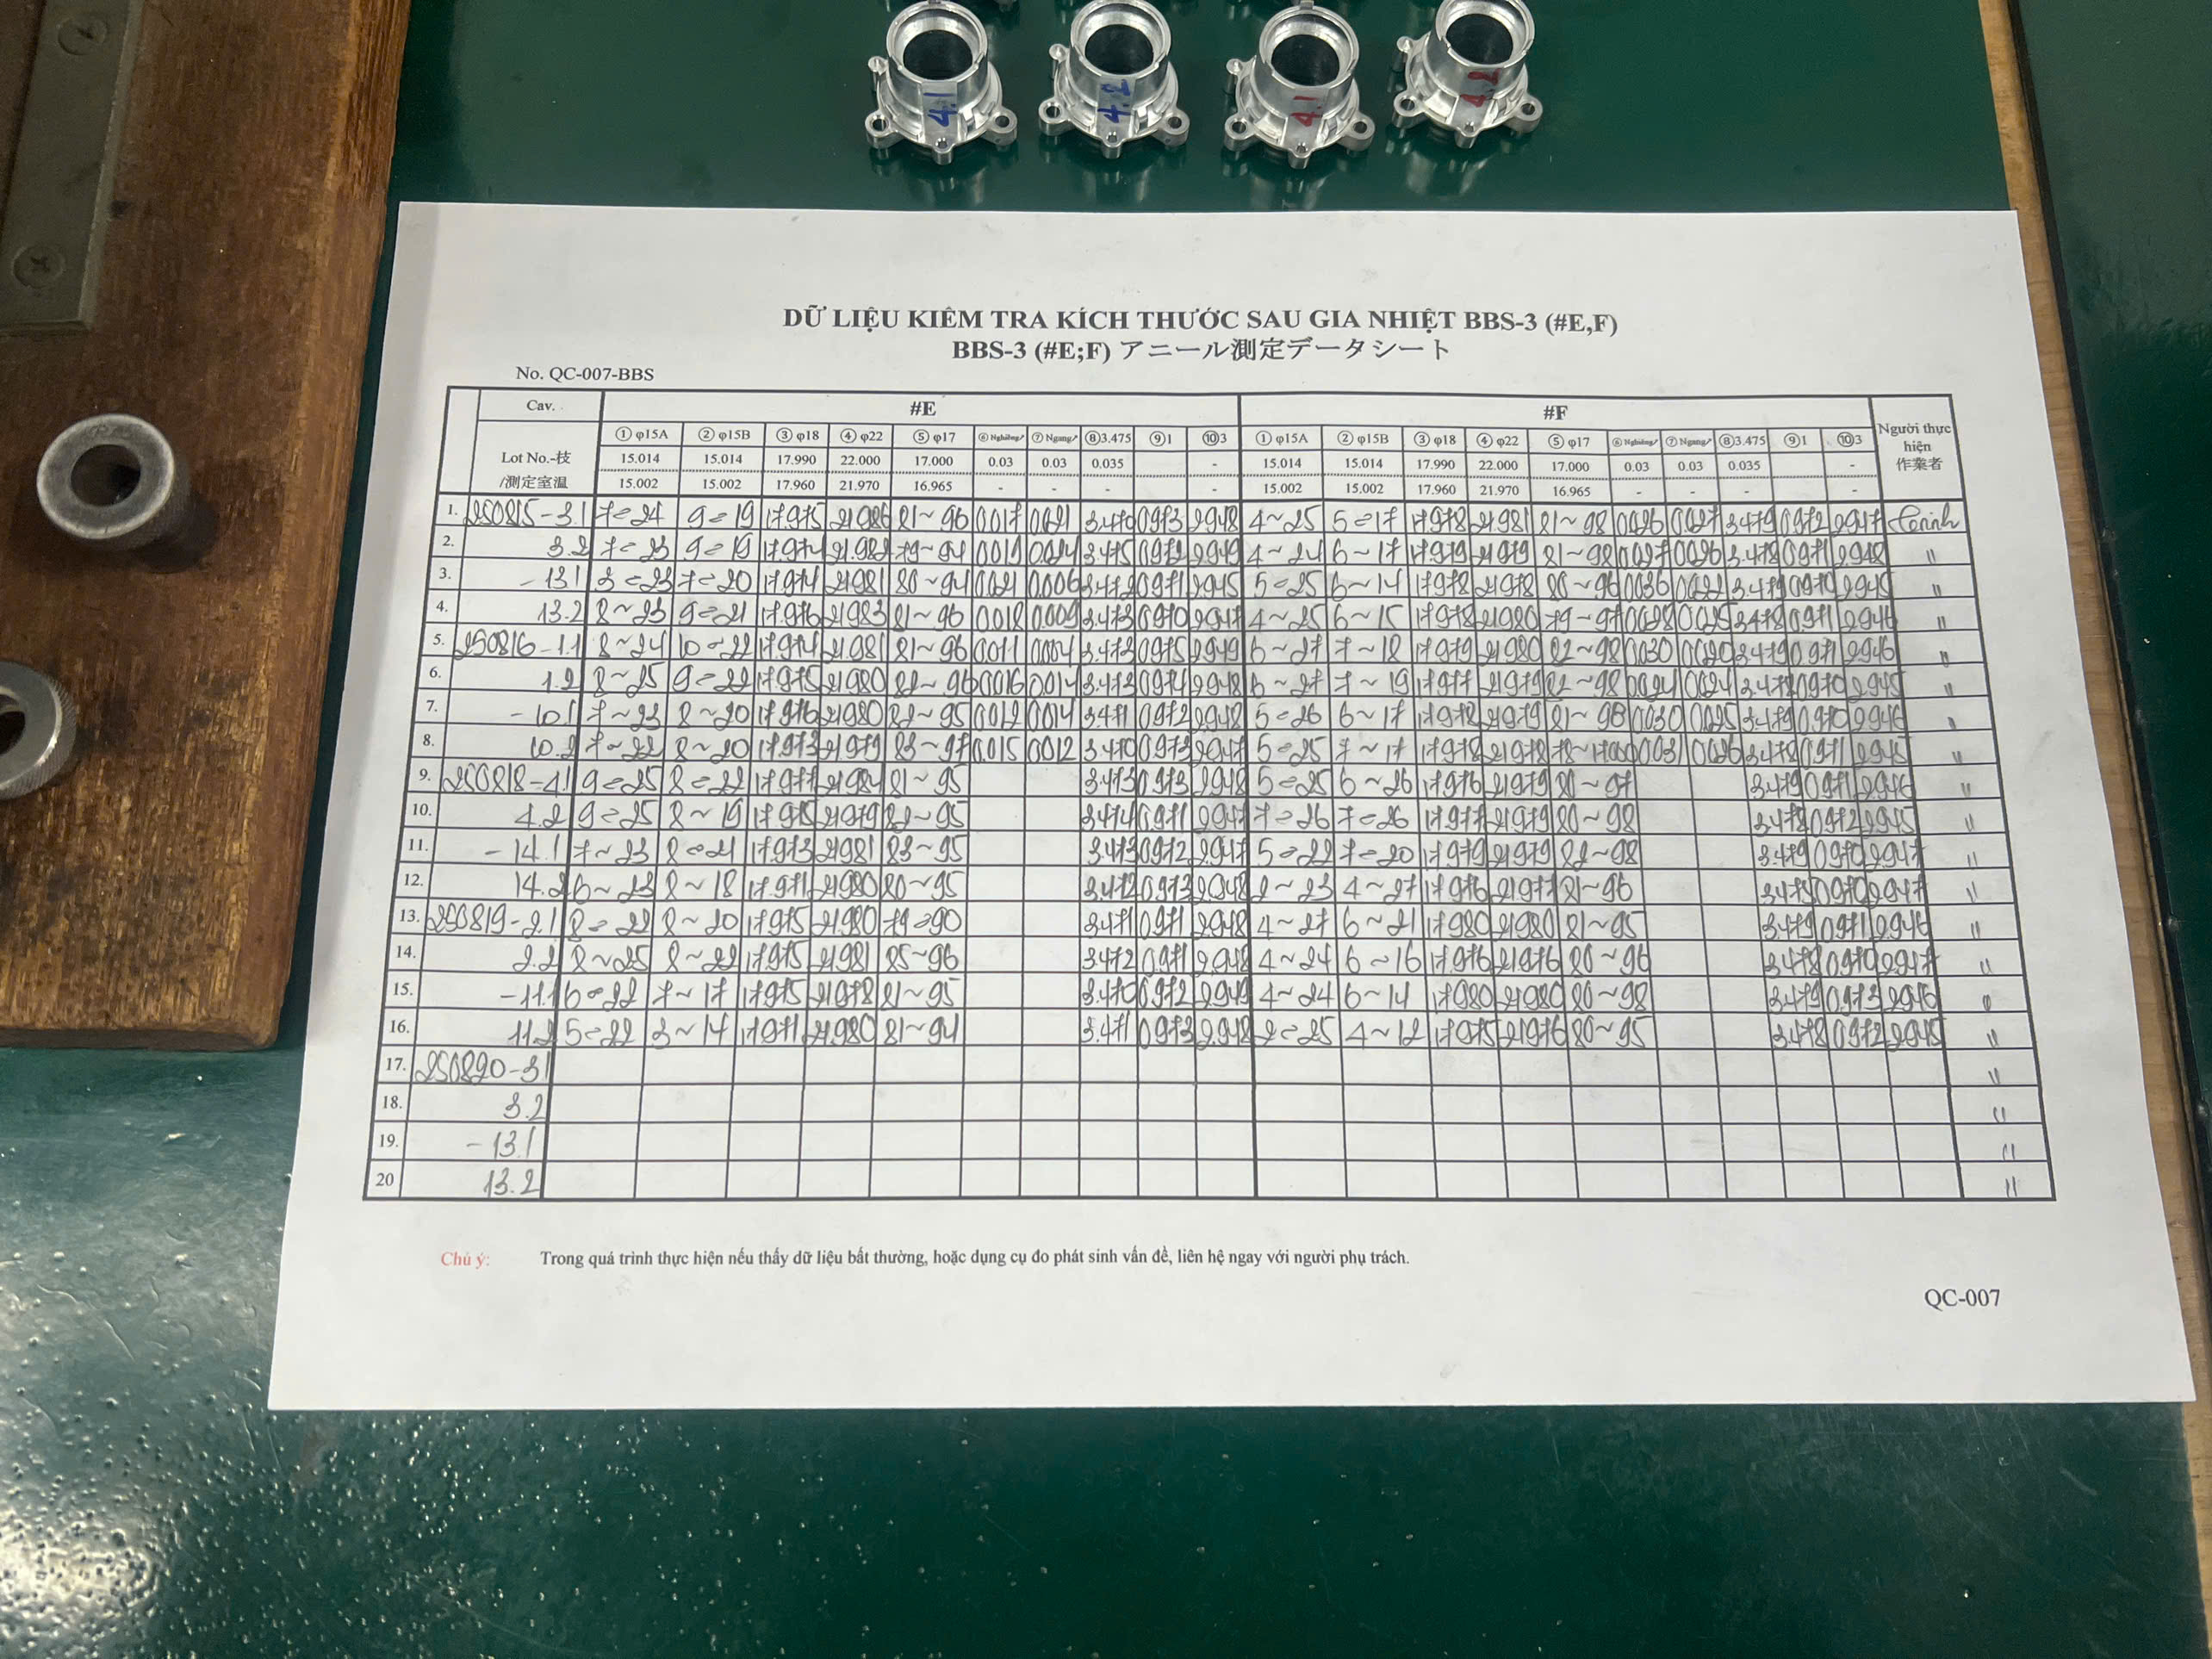
Before you send a drawing to any supplier, confirm it includes these basics: company name, part number, revision level, projection angle (first or third), default units (inches or mm), and a general tolerance block. Missing any of these creates ambiguity. Ambiguity creates defects.
Our engineering team reviews every drawing before it goes to a fabricator. We check that the tolerance strategy makes sense. Tight tolerances cost more. So we only specify them on features that truly need them — mounting holes, sealing surfaces, mating edges. Everything else gets a general tolerance.
Define Material Requirements Clearly
Material verification is the first physical checkpoint. You need to specify the exact grade, thickness, and finish. Then you need proof. A Mill Test Certificate (MTC) confirms the material matches your spec. Mill Test Certificates 5 For structural steels, reference BS EN 10025. For stainless steels, reference BS EN 10088. You can learn more about how to develop incoming inspection standards for sourcing sheet metal fabrication to strengthen your material verification process.
| Material Attribute | What to Specify | How to Verify |
|---|---|---|
| Grade | e.g., SS304, A36 | Mill Test Certificate |
| Thickness | e.g., 2.0 mm ± 0.1 mm | Micrometer measurement |
| Surface Condition | e.g., 2B finish, hot-rolled | Visual inspection |
| Compliance | RoHS / REACH 6 | Supplier compliance certificate |
| Edge Quality | No cracks, laminations | Visual and tactile inspection |
Critical Dimension Rules for Sheet Metal
Certain geometric rules prevent manufacturing defects before they happen. These are not optional suggestions — they are hard constraints driven by how sheet metal behaves under force.
| Feature Rule | Minimum Requirement |
|---|---|
| Hole distance from edge | ≥ 2× material thickness |
| Hole-to-hole spacing | ≥ 6× material thickness |
| Slot distance from bend | ≥ 4× thickness + bend radius |
| Bend radius (soft material) | 1× plate thickness |
| Bend radius (high-strength, >250 MPa) | >2× plate thickness |
| Corner fillet radius | ≥ 0.5× material thickness |
When our team reviews a client's design, we flag any feature that violates these rules. A hole placed too close to a bend will bulge. A missing fillet will create a sharp edge that cuts a worker's hand during assembly. These checks are part of our Design for Manufacture review, and they happen before any metal is cut.
Standardize Where Possible
One lesson we have learned from managing production across multiple factories: minimize the number of different material thicknesses in a single project. Every thickness change means a tooling change. Tooling changes mean downtime and scrap. If your design uses 1.5 mm, 1.6 mm, and 2.0 mm sheets, ask your engineer whether you can consolidate to two thicknesses. The cost savings can be significant.
How can I ensure my supplier's inspection process aligns with my specific drawing requirements?
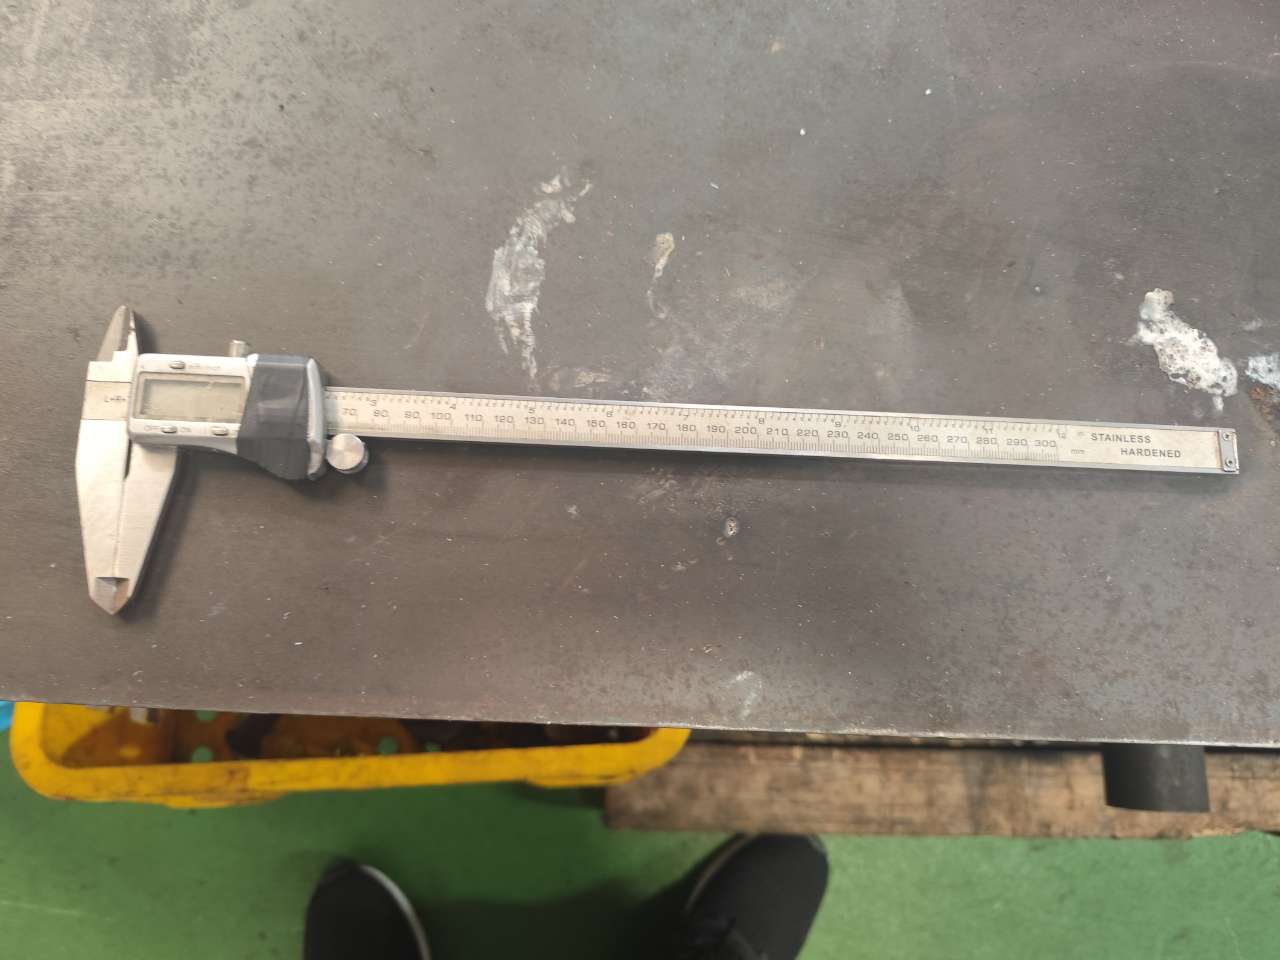
Last year, we onboarded a new fabrication partner in Vietnam for a U.S. client's custom bracket project. The supplier had modern laser cutters and CNC press brakes. But when we audited their quality control process, we found they were measuring parts with a basic tape measure instead of calibrated calipers. The equipment was excellent. The inspection was not.
Align your supplier’s inspection process by requiring a First Article Inspection report, mandating calibrated measurement tools, specifying which dimensions need CMM verification, and reviewing process logs with operator signatures before approving mass production.
The First Article Inspection Is Non-Negotiable
A First Article Inspection 7 (FAI) is the single most important quality gate in custom fabrication. The supplier produces a small quantity — often one to five pieces — and measures every dimension against the drawing. The results go into a formal FAI report. You review it. You approve it. Only then does full production begin. For a detailed walkthrough of how to request a First Article Inspection report when sourcing sheet metal fabrication, we have published a separate guide.
Our team treats the FAI as a Production Part Approval Process 8 (PPAP) milestone. We do not release the production order until the FAI data is clean. This is where 80% of problems get caught — and fixed cheaply.
What to Require in Process Documentation
You cannot stand next to the machine for every part. But you can require documentation that proves the process was controlled. Here is what we ask our fabrication partners to provide:
- Equipment calibration records — CNC machines, laser cutters, press brakes, and all measuring instruments must have current calibration certificates.
- Process parameter logs — Cutting speed, laser power, welding amperage, and bend force settings for each batch.
- Operator sign-off — The name of the operator and inspector for each production step, with date and time.
- In-process inspection results — Sample measurements taken at defined intervals during the run.
Match the Inspection Method to the Feature
Not every dimension needs a Coordinate Measuring Machine 9. But critical features do. Here is a practical guide we use internally:
| Feature Type | Recommended Inspection Method | When to Use |
|---|---|---|
| Overall length/width | Calipers or tape measure | General dimensions |
| Hole position (critical) | CMM or optical comparator | Mounting and alignment holes |
| Bend angles | Digital protractor | Every bend |
| Flatness / twist | Surface plate + feeler gauge | Large panels, base plates |
| Surface finish (Ra) | Profilometer | Coated or mating surfaces |
| Weld penetration | Visual + NDT (if structural) | Load-bearing welds |
The key principle is simple: the inspection method must be capable of measuring to at least one-tenth of the tolerance. If your tolerance is ±0.1 mm, your measurement tool must resolve to 0.01 mm. Anything less, and the measurement is meaningless.
Demand Transparency Before You Order
A growing trend in supplier quality management is asking for QC documentation before work starts, not after. When we evaluate a new fabrication partner, we request their inspection procedure, their equipment list, and a sample inspection report from a previous job. If they cannot produce these documents, that tells us everything we need to know.
What critical surface finish and welding defects should I look for during my final product review?
One project taught me a painful lesson about surface finish inspection. A batch of powder-coated enclosures looked perfect under the factory's fluorescent lights. When our client unpacked them in Texas under natural daylight, orange peel texture and pinhole blisters were visible everywhere. The finish passed the supplier's visual check but failed the customer's expectations. Now, every final review includes defined lighting conditions and acceptance criteria for surface quality.
During your final review, look for weld porosity, undercut, incomplete fusion, spatter, and cracking. For surface finish, check for orange peel, blistering, uneven coating thickness, scratches, and poor adhesion. Define acceptance limits with reference photos before production starts.
Common Welding Defects and How to Spot Them
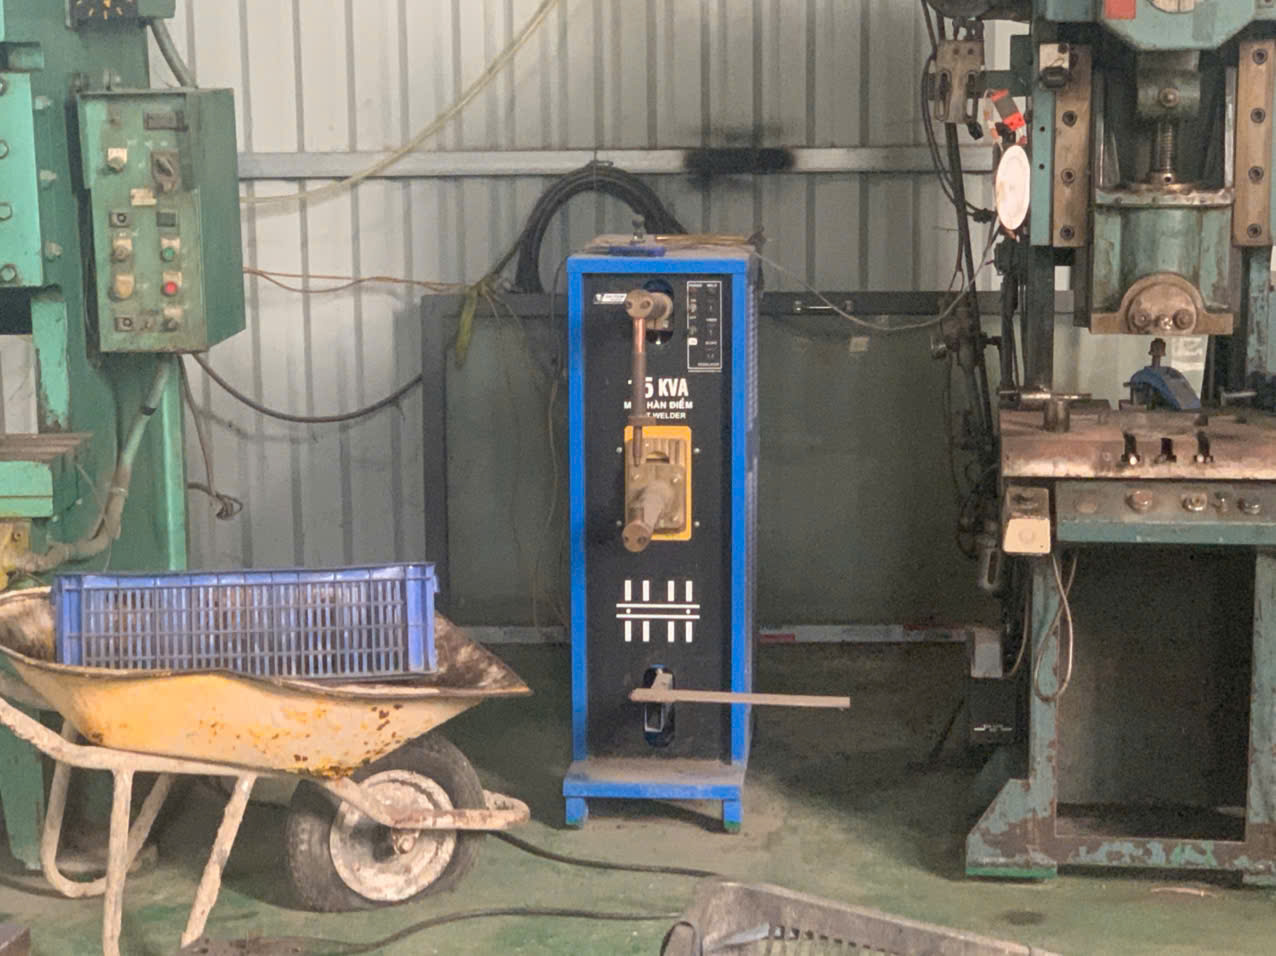
Welding is where many sheet metal fabrication projects succeed or fail. A weld that looks smooth on the surface can hide internal porosity or incomplete fusion. Here are the defects I have seen most often when inspecting parts from contract manufacturers:
- Porosity — Small gas pockets trapped in the weld bead. Caused by contaminated base metal, moisture, or incorrect shielding gas flow. Visible as tiny holes on the surface or detected by X-ray.
- Undercut — A groove melted into the base metal alongside the weld. Weakens the joint. Usually caused by excessive heat or wrong torch angle.
- Incomplete fusion — The weld metal does not fully bond to the base metal. Often hidden beneath the surface. Requires ultrasonic testing to detect in critical joints.
- Spatter — Small droplets of molten metal scattered around the weld. Not structurally harmful, but cosmetically unacceptable on visible surfaces.
- Cracking — The most serious defect. Can occur during or after welding due to thermal stress, improper filler metal, or poor joint preparation.
For structural welds on load-bearing brackets like the gunmetal-grey mounting brackets we recently inspected, we require non-destructive testing. For non-structural cosmetic welds, a trained visual inspection with defined acceptance criteria is usually sufficient.
Surface Finish Inspection Criteria
Surface finish inspection depends on the end use of the part. A bracket hidden inside a machine cabinet has different requirements than an enclosure panel the end user sees every day. Our checklist adapts to the application:
- Coating thickness — Measure with a dry film thickness gauge. Powder coat typically requires 60–80 microns.
- Adhesion — Perform a cross-hatch adhesion test per ASTM D3359. The coating should not peel.
- Color consistency — Compare against an approved color sample under standardized lighting (D65 daylight equivalent).
- Surface defects — Document any orange peel, runs, sags, pinholes, or bare spots. Use reference photos to define what is acceptable and what is not.
A simple pass/fail approach works best. Before production, agree on a set of reference photos: one showing an acceptable finish, one showing a borderline case, and one showing a rejection. Attach these photos to your purchase order. There is no room for interpretation.
The Importance of Defined Lighting
I cannot stress this enough. Manufacturing defects that are invisible under the factory's overhead lights become obvious under natural light or the client's inspection lamp. We now specify inspection lighting conditions in our acceptance checklist — typically 500 lux minimum, at a 45-degree viewing angle, with no direct glare. This small detail has eliminated many disputes.
How do I manage the risk of receiving non-conforming parts when sourcing custom fabrication from Asia?
The single biggest concern I hear from U.S. purchasing managers is this: "What happens when the parts arrive and they are wrong?" It is a valid fear. Shipping custom parts across the Pacific takes weeks. A rejection means months of delay. Our entire business model at DEWIN exists to solve this problem — we sit between the buyer and the factory, running quality gates at every stage so the risk of a bad shipment drops close to zero.
Manage non-conformance risk by implementing a multi-gate quality process: validate drawings before production, require First Article Inspection approval, conduct in-process audits, perform 100% or statistical final inspection, and establish clear rework or replacement terms in your purchase agreement.
Build Quality Gates, Not Just Final Inspections
The mistake many buyers make is relying entirely on a final inspection. By the time you inspect finished parts, the cost of non-conformance is already baked in. Raw material is consumed. Machine time is spent. The fabricator has little incentive to scrap and redo.
Instead, build a series of quality gates:
| Gate | Timing | What You Check | Who Is Responsible |
|---|---|---|---|
| Gate 1: Drawing Validation | Before RFQ | DfM compliance, tolerance strategy, completeness | Buyer's engineering team |
| Gate 2: Material Verification | Before production | MTC, grade, thickness, edge quality | Supplier + buyer's QC agent |
| Gate 3: First Article Inspection | After first pieces | All dimensions, fit, finish | Supplier submits; buyer approves |
| Gate 4: In-Process Audit | During production | Process parameters, sample measurements | Buyer's QC agent or third party |
| Gate 5: Final Inspection | Before shipment | Full dimensional, visual, functional check | Buyer's QC agent |
Our team in Vietnam and China performs Gates 2 through 5 on behalf of our U.S. clients. We physically visit the factory, calibrate our own instruments, and issue inspection reports with photographs. This is not something you can do from an office in Ohio.
Statistical Sampling vs. 100% Inspection
For high-volume orders, inspecting every single part is impractical. We use statistical sampling based on AQL (Acceptable Quality Level 10) tables. For critical dimensions, we often tighten the AQL to 0.65 or even zero defects. For cosmetic attributes, AQL 2.5 is common.
But for low-volume, high-value custom parts — like the mirrored mounting bracket pairs with multiple pre-drilled holes and complex angular bends — we perform 100% inspection on critical features. Every hole position. Every bend angle. Every weld. The cost of inspecting 50 brackets is trivial compared to the cost of shipping 50 wrong ones. You can also create a sample testing plan to verify sheet metal fabrication capabilities before committing to a full production run.
Contractual Protections
Your purchase agreement should spell out what happens when parts fail inspection. We always include these clauses:
- Rework at supplier's cost — If parts can be corrected, the supplier bears the expense.
- Replacement timeline — The supplier commits to a specific lead time for replacement parts.
- Root cause analysis — The supplier must submit a written corrective action report before the next production run.
- Payment hold — Final payment is released only after inspection approval. This is where open account (credit) payment terms become a powerful tool. We offer 60–90 day payment terms to our clients, but we tie supplier payments to quality milestones.
The Value of a Local Team
Having people on the ground in Asia is the single biggest risk reducer. When our inspector walks the factory floor, checks the material certificates, watches the first parts come off the press brake, and measures them with calibrated tools — that is when problems get caught. Not when the container arrives at a U.S. port.
Many purchasing managers try to manage Asian suppliers remotely. It works for simple, repeat orders. For custom sheet metal fabrication with tight dimensional tolerances, complex geometry, and specific surface finish requirements, remote management is a gamble. A local presence changes the equation entirely.
Conclusion
A product acceptance checklist is not a document you create after problems appear. It is a prevention tool built before the first sheet of metal is cut. Define your tolerances, verify your materials, inspect at every gate, and put the right people on the ground. That is how you get it right the first time.
Frequently Asked Questions
What essential dimensions and material specifications should I include in my sheet metal checklist?
A buyer once sent us a drawing with no revision number and no default tolerance block. The fabricator in Vietnam interpreted the dimensions his own way. Two hundred parts arrived, and not a single one fit the client's assembly jig.
How can I ensure my supplier's inspection process aligns with my specific drawing requirements?
Last year, we onboarded a new fabrication partner in Vietnam for a U.S. client's custom bracket project. The supplier had modern laser cutters and CNC press brakes. But when we audited their quality control process, we found they were measuring parts with a basic tape measure instead of calibrated calipers. The equipment was excellent. The inspection was not.
What critical surface finish and welding defects should I look for during my final product review?
One project taught me a painful lesson about surface finish inspection. A batch of powder-coated enclosures looked perfect under the factory's fluorescent lights. When our client unpacked them in Texas under natural daylight, orange peel texture and pinhole blisters were visible everywhere. The finish passed the supplier's visual check but failed the customer's expectations. Now, every final review includes defined lighting conditions and acceptance criteria for surface quality.
Footnotes
1. Defines the purpose and elements of a product acceptance checklist in manufacturing. ↩︎
2. Provides information on the European standard for hot-rolled structural steels. ↩︎
3. Explains what engineering drawings are and their role in defining product requirements. ↩︎
4. Details the systematic process of quality control in manufacturing and its importance. ↩︎
5. Clarifies what Mill Test Certificates are and their significance in material verification. ↩︎
6. Explains the environmental compliance directives RoHS and REACH and their differences. ↩︎
7. Describes the First Article Inspection process and its critical role in quality assurance. ↩︎
8. Found a comprehensive guide on Production Part Approval Process from a reputable quality management site. ↩︎
9. Found an authoritative and comprehensive explanation of Coordinate Measuring Machines on Wikipedia. ↩︎
10. Found an authoritative and comprehensive explanation of Acceptable Quality Level on Wikipedia. ↩︎