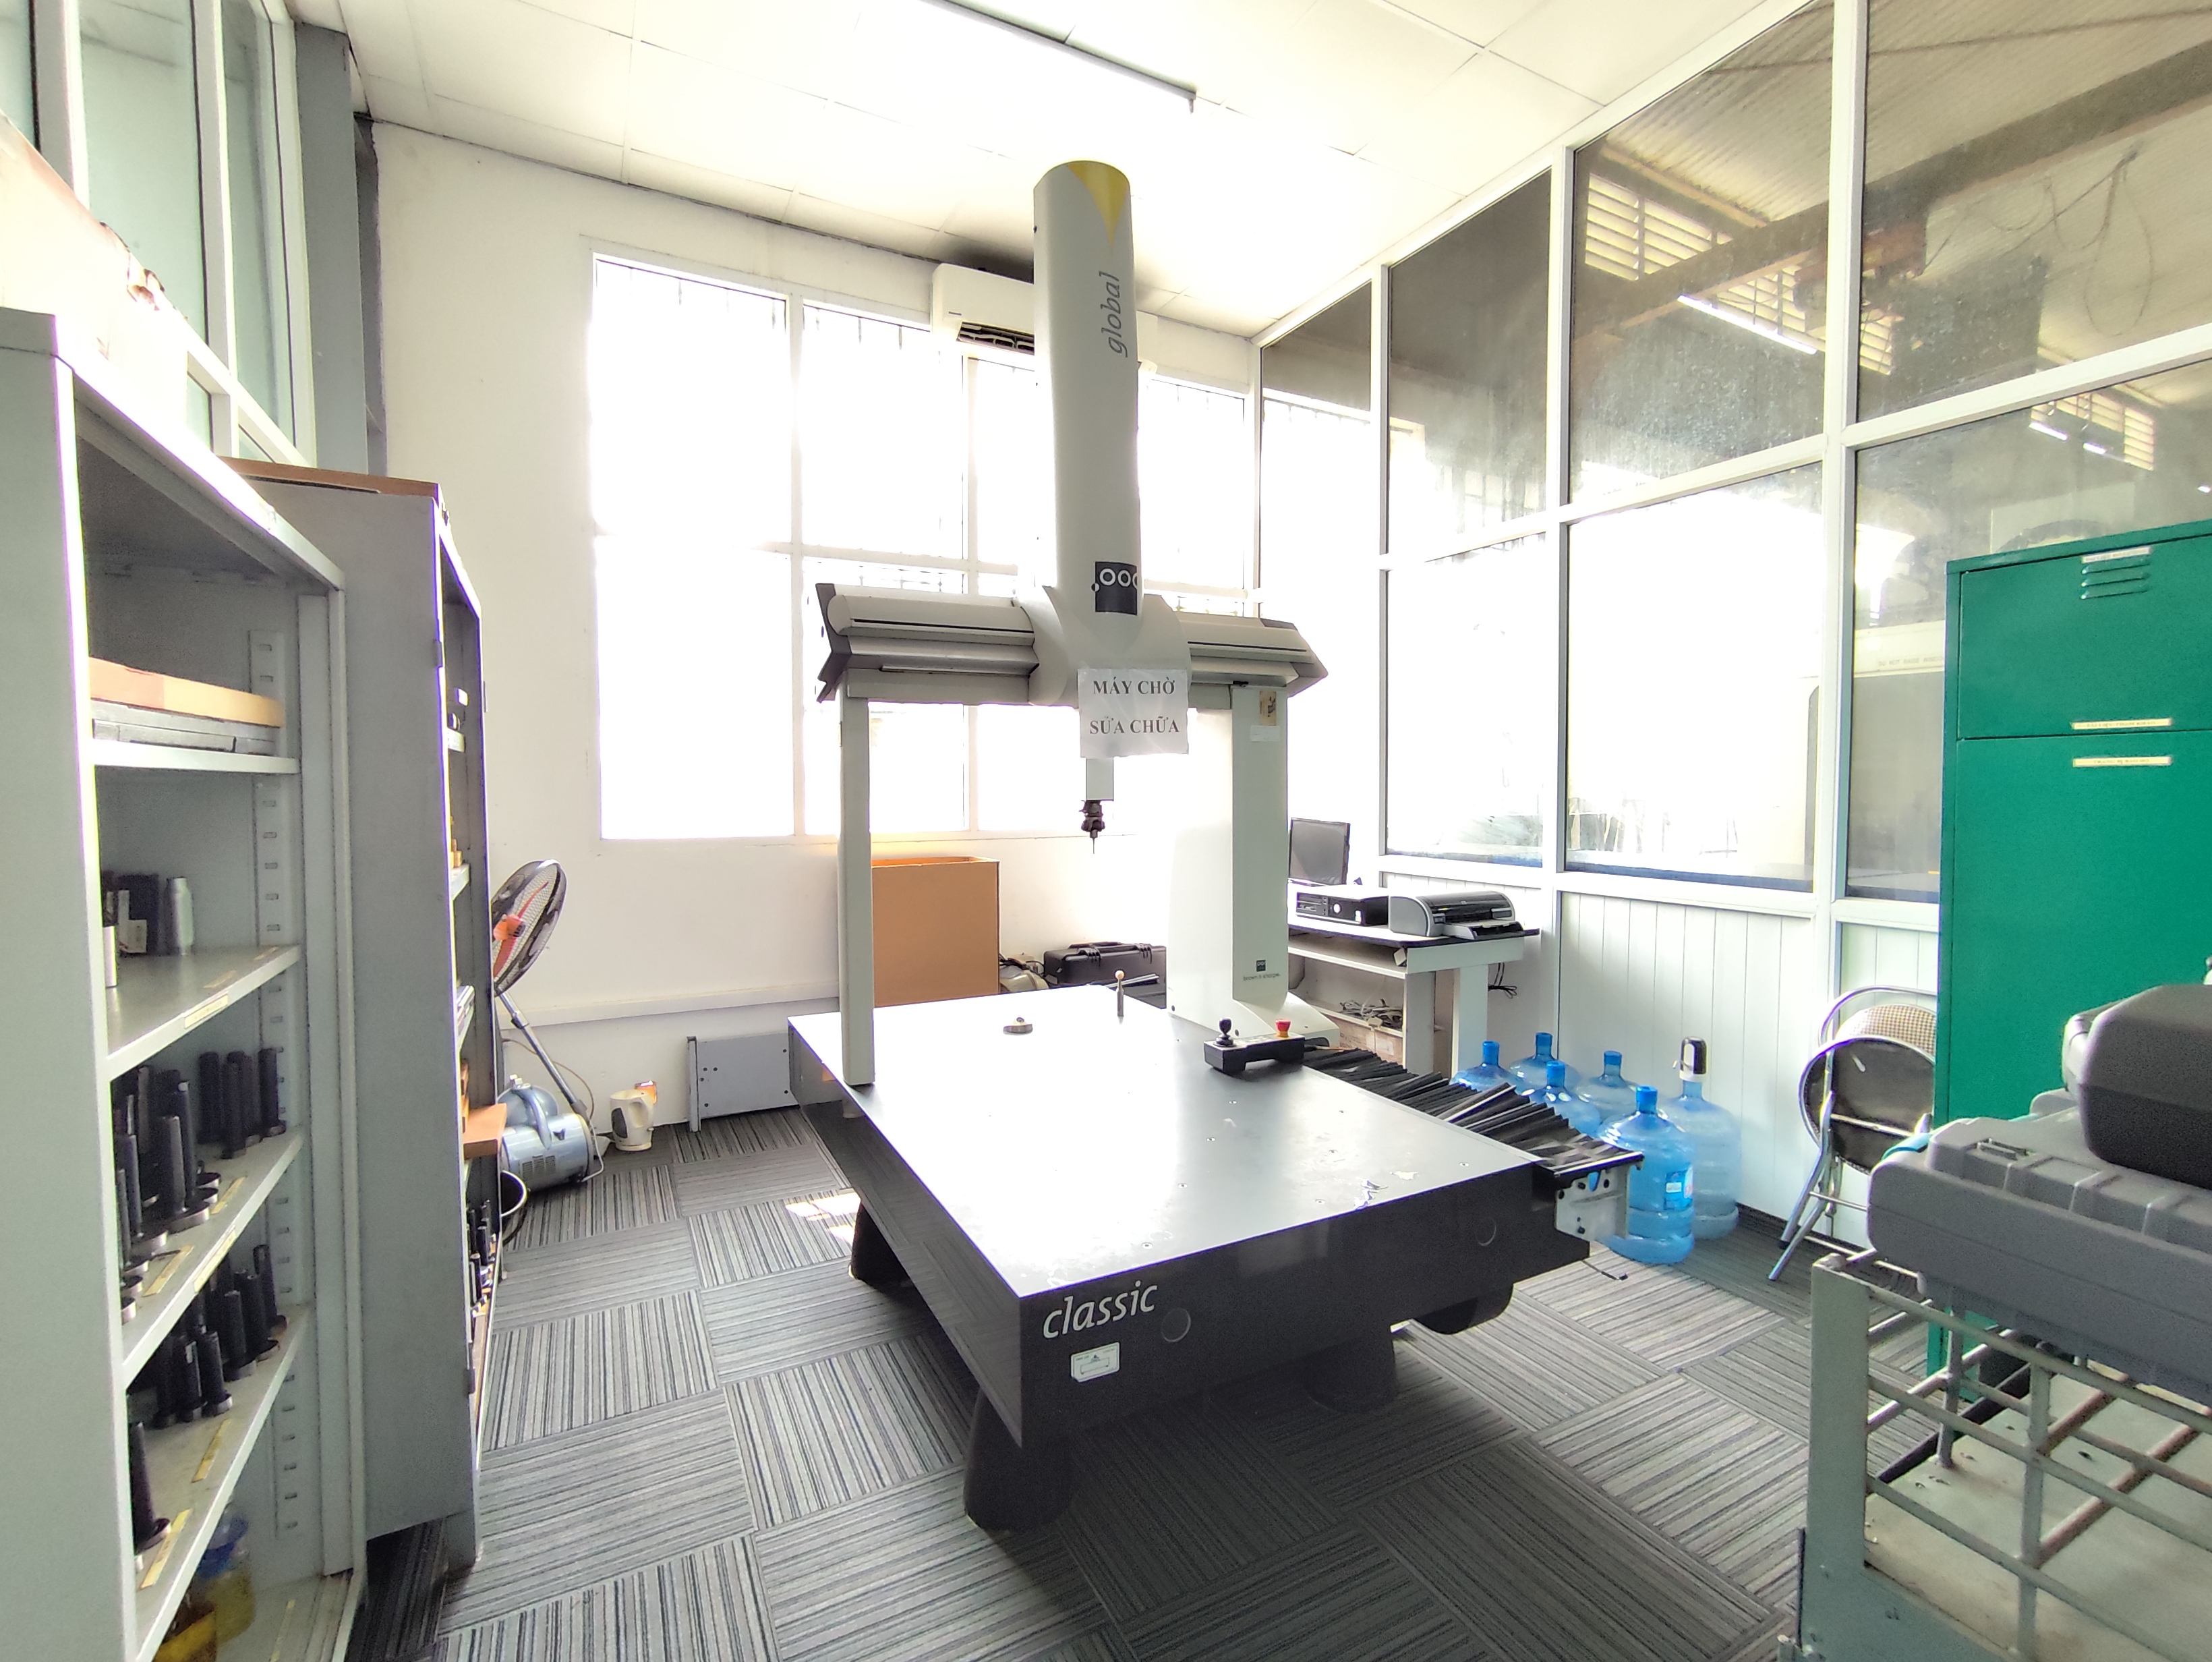

An AQL sampling inspection plan for stamping parts saved one of my client projects last year. Without it, a burr problem on stamped brackets would have shipped straight to the US and triggered a costly return.
To develop an AQL sampling inspection plan for stamping parts, define the lot size, classify defects as critical, major, or minor, assign AQL values to each class, select General Inspection Level II, then use ANSI/ASQ Z1.4 tables to find the sample size and accept/reject numbers.
That is the short version. The details are where most plans fail. Below, I break down each decision step by step, using real lessons from stamping projects we manage across Vietnam and China.
What AQL Level Should I Choose for My Stamping Parts Inspection?
A buyer once asked me to apply a single AQL of 2.5 to every feature on a stamped mounting clip. I pushed back, and it saved his assembly line.
Choose AQL values by defect class, not by part. Use 0 or 0.065 for critical defects, 1.0 to 2.5 for major defects like hole position errors or excessive burrs, and 2.5 to 4.0 for minor cosmetic issues, adjusted to your customer's risk tolerance.

The AQL value is your risk dial. A lower number means tighter acceptance. A higher number means more tolerance. The mistake I see most often is applying one blanket number to all defect types. Stamped parts do not fail in only one way. A crack near a bend line is not the same problem as a light scratch on a non-visible surface. So the plan must treat them differently.
Classify Defects First, Then Assign AQL
Before you touch any table, sit down with the drawing and define what counts as critical, major, and minor for that specific part. On a stamped bracket, we typically classify defects like this:
| Defect Class | Stamping Part Examples | Typical AQL |
|---|---|---|
| Critical | Cracks, missing holes, dimensions that block assembly, safety-related failures | 0 or 0.065 |
| Major | Hole position out of tolerance, excessive burr height, deformation, coating failure, flatness beyond spec | 1.0 – 2.5 |
| Minor | Small scratches, slight discoloration, minor handling marks | 2.5 – 4.0 |
Tie every definition to the drawing revision and an approved sample. Vague words like "no bad burrs" cause disputes later. Write "burr height max 0.1mm, measured per drawing note 5" instead.
When Customer Requirements Override the Table
Some industries do not allow standard AQL logic for critical features. Automotive programs under IATF 16949 1 often demand zero-defect sampling on critical dimensions, no matter what the table says. In our PPAP submissions 2 for US clients, critical-to-quality dimensions frequently carry a zero-acceptance rule. The AQL table is a starting point. The customer specification is the final word.
How Do I Calculate the Correct Sample Size for My Stamping Parts Order?
During a final inspection in Vietnam last spring, our QC team pulled 200 pieces from a 15,000-piece bracket run. The buyer asked why exactly 200. The table decided, not us.
Match your lot size to General Inspection Level II in the ANSI/ASQ Z1.4 table to get a code letter. Cross-reference that letter with your chosen AQL to find the sample size and the accept/reject numbers. Larger lots require larger samples.
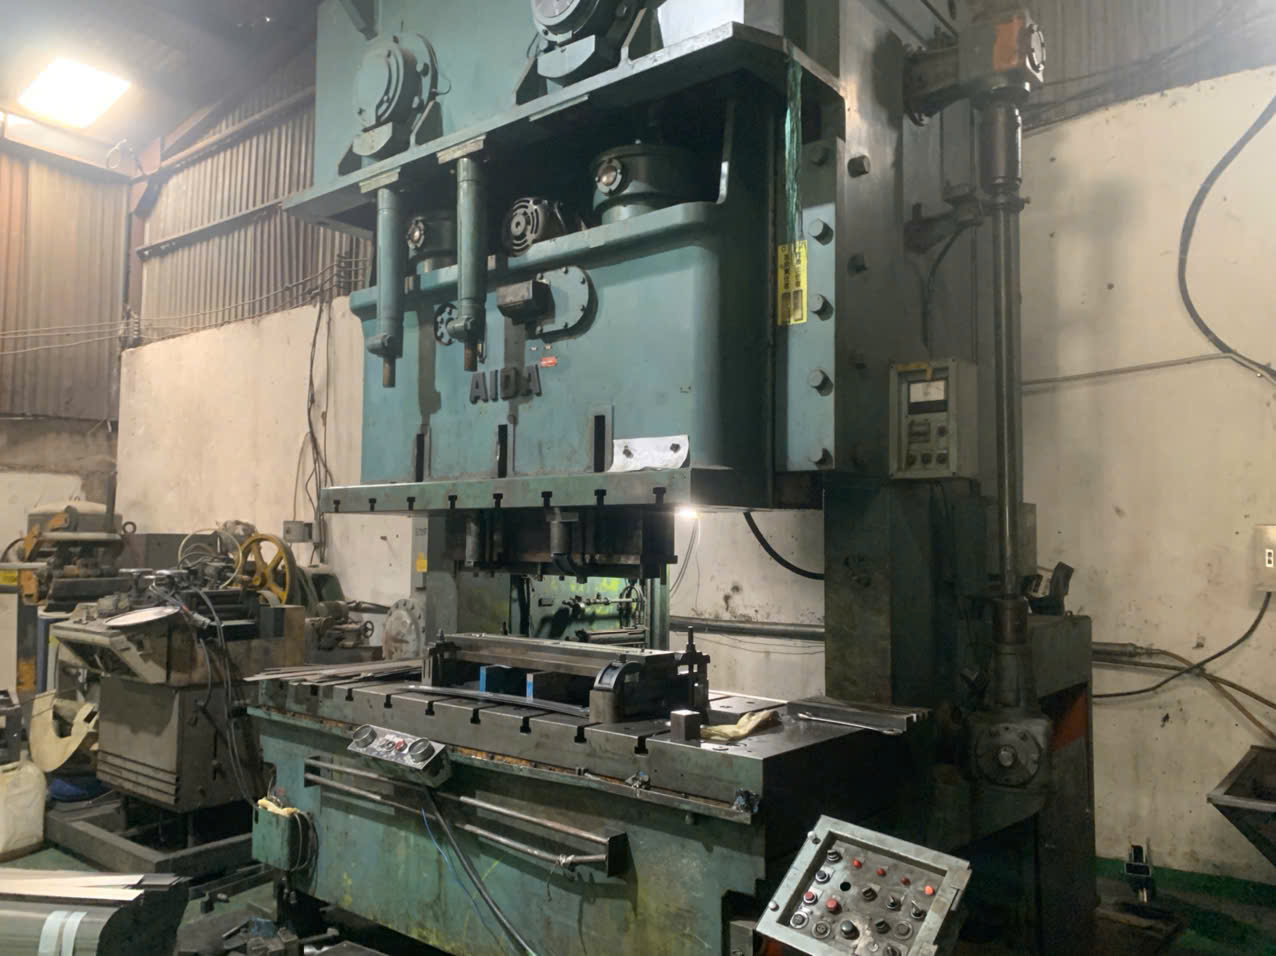
The calculation itself is mechanical. The judgment is in the inputs. Here is the sequence I follow on every stamping order we inspect.
The Five-Step Calculation Process
- Define the lot precisely. Is it one press run, one shift, one pallet, or one shipment? Stamped parts often ship in mixed cartons, so the lot definition must match how parts are actually packed and traced.
- Pick the inspection level. General Level II is the default. Use Level III for new suppliers or high-risk parts. Use Special Levels S-1 to S-4 for destructive or time-consuming tests like plating thickness.
- Find the code letter. Cross the lot size with the inspection level in the first Z1.4 table.
- Find the sample size. The code letter gives you the number of parts to physically check.
- Read the Ac/Re numbers. For each AQL value, the table gives the maximum defects allowed (Ac) and the number that fails the lot (Re).
Example Sample Sizes at General Level II
| Lot Size | Sample Size | Ac/Re at AQL 2.5 (Major) | Ac/Re at AQL 4.0 (Minor) |
|---|---|---|---|
| 281 – 500 | 50 | 3 / 4 | 5 / 6 |
| 1,201 – 3,200 | 125 | 7 / 8 | 10 / 11 |
| 3,201 – 10,000 | 200 | 10 / 11 | 14 / 15 |
| 10,001 – 35,000 | 315 | 14 / 15 | 21 / 22 |
One more point matters. Single sampling plans are simplest and most common for stamping parts. Double sampling can cut inspection cost on borderline lots, but it complicates the workflow. For most of our clients, single sampling with clear rules beats a clever plan nobody follows.
What Critical Defects Should I Include in My Stamping Parts Inspection Checklist?
Tool wear taught me this lesson the hard way. A progressive die that ran clean for 80,000 strokes started producing oversized burrs near the end of its cycle, and only a well-built checklist caught it.
Include cracks and splits at bend lines, missing or mispunched holes, dimensions that prevent assembly, excessive burr height, out-of-spec hole position, flatness and springback deviations, coating or plating failures, and material thickness errors, each tied to the drawing revision.

A checklist for stamped parts must reflect how metal forming actually fails. Generic consumer-goods checklists miss the defects that matter most in a press shop. Here is how I structure ours.
Dimensional and Functional Defects
These come straight from the drawing. Focus on the critical-to-quality features. For a typical Z-fold mounting clip or a multi-bend bracket, that usually means hole diameter, hole-to-hole position, bend angle, flange height, and overall flatness. Specify the measuring equipment and the datum reference for each. A caliper reading without a datum callout is an argument waiting to happen.
Process-Driven Defects Unique to Stamping
Stamping defects follow the process. Tool wear causes dimensional drift and burr growth over a run. Springback varies with material thickness and grain direction. Handling and packaging cause scratches after the press. Your checklist should sample across the full run, because a part made at stroke 5,000 differs from one made at stroke 95,000.
| Checklist Category | What to Verify | How |
|---|---|---|
| Bend integrity | No cracks or splits at bend radii | Visual plus 10x magnification if specified |
| Burrs and edges | Burr height within drawing limit | Burr gauge or micrometer |
| Hole features | Diameter, position, no partial punches | Pin gauges, CMM, or fixture |
| Flatness / springback | Within tolerance across the part | Surface plate and feeler gauge |
| Finish | Plating thickness, coverage, no bare spots | Thickness gauge, visual standard |
| Cosmetics | Scratches and marks within visual standard | Defined lighting, distance, and time |
For cosmetic checks, define the viewing conditions in writing: light level, viewing distance, and inspection time per part. Also agree on boundary samples. Our team in Vietnam keeps signed limit samples at the inspection station, so "acceptable scratch" is never a matter of opinion.
How Can I Ensure My Supplier Follows the AQL Plan Consistently for Every Shipment?
A US purchasing manager once told me his biggest frustration: the first shipment was perfect, the third one was not. Nothing had changed on paper. Everything had changed on the floor.
Lock the AQL plan into the purchase order and quality agreement, require documented random sampling across cartons, demand inspection reports with traceability for every lot, audit the supplier's process periodically, and define escalation steps in writing before the first shipment leaves.

Consistency is a systems problem, not a trust problem. In our supply chain 4 work between Asia and the US, we treat the AQL plan as a contract document, and we build controls around it.
Make the Plan Contractual and Specific
Attach the full sampling plan to the PO and the quality agreement 5. It should state the lot definition, defect classes, AQL values, inspection level, sample sizes, measuring methods, cosmetic conditions, and report format. Reference the drawing revision. If the drawing changes, the plan changes with it, formally.
Verify Random Sampling, Not Convenient Sampling
Inspectors under time pressure pull parts from the top of the first pallet. That hides tool-wear drift and packing damage. Require parts to be pulled from multiple cartons across the full run, and require the report to record which cartons were sampled. When we run final inspections for clients, carton selection is documented with photos.
Close the Loop When a Lot Fails
A rejection without escalation just repeats itself. Define the sequence in advance: quarantine the lot, notify the buyer, sort or 100% inspect, document the defect pattern, complete root cause and corrective action 6, and agree on rework or resubmission terms. Suppliers with strong process discipline can also earn reduced or skip-lot sampling once critical dimensions demonstrate sustained capability, with Cpk above 1.33 7 as a common threshold. That reward structure gives the supplier a reason to keep the plan alive, shipment after shipment.
Conclusion
A weak sampling plan lets defective stamped parts cross the ocean. Define defect classes, set AQL values, calculate samples properly, and enforce the plan contractually. Need help? Our team handles it daily.
Frequently Asked Questions
What AQL Level Should I Choose for My Stamping Parts Inspection?
A buyer once asked me to apply a single AQL of 2.5 to every feature on a stamped mounting clip. I pushed back, and it saved his assembly line.
How Do I Calculate the Correct Sample Size for My Stamping Parts Order?
During a final inspection in Vietnam last spring, our QC team pulled 200 pieces from a 15,000-piece bracket run. The buyer asked why exactly 200. The table decided, not us.
What Critical Defects Should I Include in My Stamping Parts Inspection Checklist?
Tool wear taught me this lesson the hard way. A progressive die that ran clean for 80,000 strokes started producing oversized burrs near the end of its cycle, and only a well-built checklist caught it.
Footnotes
1. Background on the automotive quality standard referenced for zero-defect sampling requirements. ↩︎
2. Links PPAP quality documentation practice to ISO’s authoritative standards resource. ↩︎
3. Explains the acceptance sampling standard underlying the AQL methodology discussed throughout. ↩︎
4. Background concept for the cross-border supplier management practices described in the article. ↩︎
5. ISO provides authoritative guidance on quality management agreements referenced in supplier contracts. ↩︎
6. Background on the corrective action methodology mentioned for failed lot escalation. ↩︎
7. Defines the process capability index metric used to justify reduced sampling. ↩︎