

A batch of stamping parts we sourced for a U.S. client failed a 96-hour neutral salt spray test last year — red rust bloomed along every cut edge, and the entire shipment was rejected ASTM B537 1. The problem wasn’t the coating itself; it was a chain of small oversights that started at the quoting stage. That painful lesson reshaped how our team in Vietnam and China now manages corrosion requirements from day one.
To ensure stamping parts pass salt spray corrosion tests, you must align material selection, edge protection, surface preparation, coating specification, and ASTM B117 test parameters before production begins — because no single coating can compensate for ambiguous specs or exposed cut edges.
Below, I break this into four actionable areas: choosing the right coating, selecting the right base material, verifying supplier compliance, and building quality control steps that prevent corrosion failures in the field.
How can I choose the right coating or plating for salt spray resistance in stamping parts?
One trade-off we weigh on nearly every custom stamping project is cost versus corrosion life. A client may request 500 hours of salt spray resistance, but the geometry of the part — with deep bends, slotted holes, and exposed sheared edges — makes a cheap coating risky. The coating decision must match the part's real service environment, not just a generic hour target.
Choose a coating by matching the required salt spray hours to your service environment: zinc-nickel plating offers 720+ hours to red rust, e-coat provides uniform edge coverage protection, and powder coating durability suits parts needing both corrosion and impact resistance.
Coating Performance Comparison
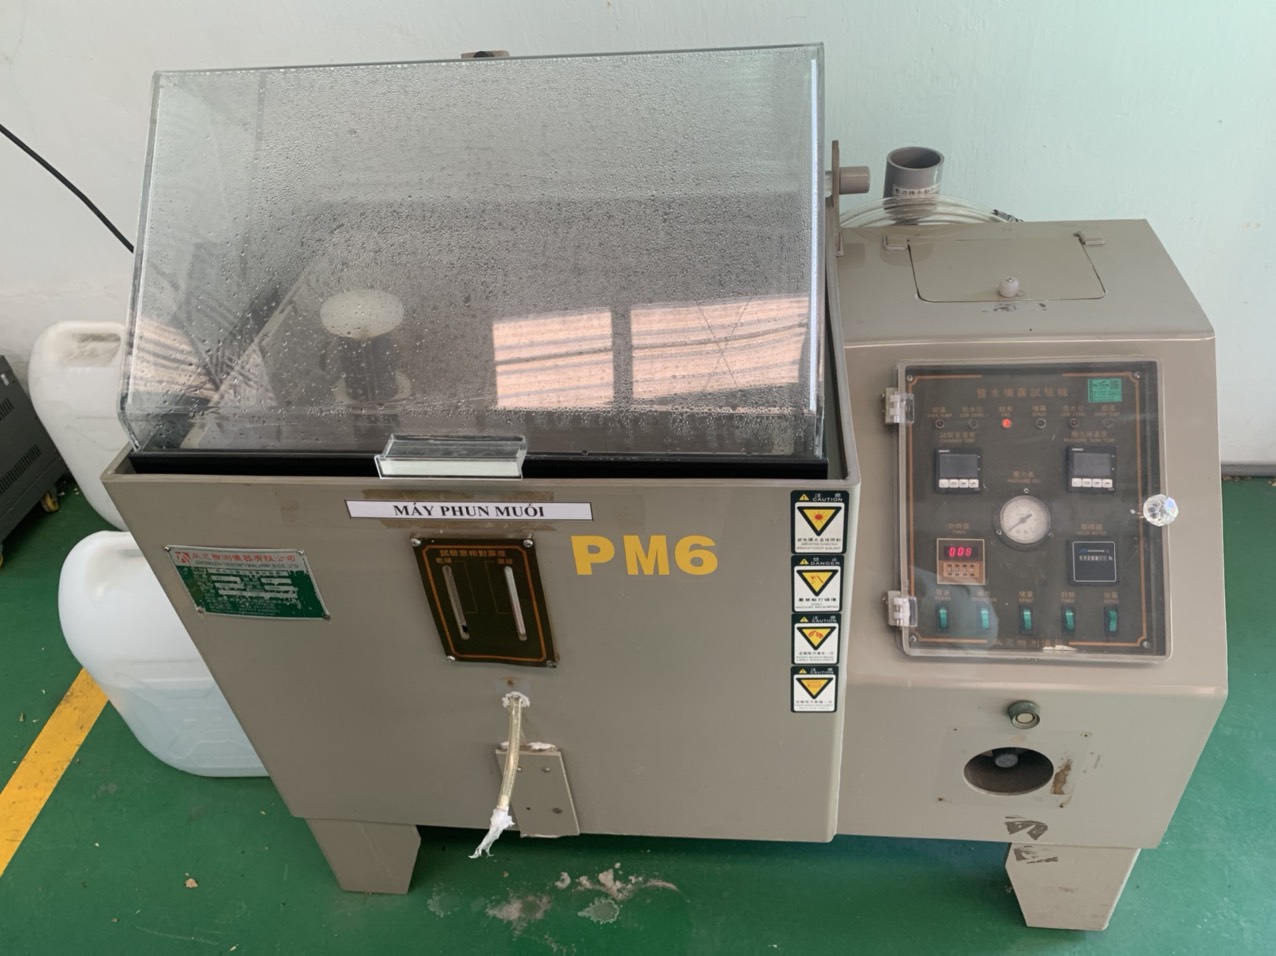
Not every finish performs equally under the ASTM B117 2 standard. The table below compares common coatings we specify for stamped steel brackets, clips, and mounting hardware.
| Coating Type | Typical Hours to White Rust | Typical Hours to Red Rust | Edge Coverage | Relative Cost |
|---|---|---|---|---|
| Zinc electroplating (clear passivation) | 8–24 h | 72–120 h | Moderate | Low |
| Zinc electroplating (trivalent passivation + sealant) | 48–96 h | 200–500 h | Moderate | Low–Medium |
| Zinc-nickel plating (12–15% Ni) | 120–200 h | 720–1,000+ h | Good | Medium–High |
| E-coat (cathodic electrocoat) | N/A | 500–1,000 h | Excellent | Medium |
| Powder coating (epoxy or polyester) | N/A | 500–1,500 h | Very Good | Medium |
| Zinc flake (mechanical deposit) | 200+ h | 720–1,000+ h | Excellent | High |
Why Electroplating Thickness Matters
A common mistake is specifying a coating type without stating the minimum electroplating thickness 3. Zinc plating at 5 µm behaves very differently from zinc plating at 12 µm. On our production line, we require incoming plating thickness reports measured at flat surfaces, bends, and inside holes. Recessed areas and sharp corners always receive less deposit, so we ask plating vendors to confirm readings at these critical spots.
The Passivation Process Makes or Breaks Performance
Trivalent chromate passivation adds a chemical conversion layer on top of zinc plating. This passivation process 4 can double or triple the hours to white rust. But passivation degrades if the part is handled with bare hands or stored in humid conditions before testing. We learned to require sealed VCI bags within two hours of passivation for any parts headed to a salt spray lab.
Matching Coating to Geometry
Stamped parts with deep Z-bends, like the mounting clips and brackets we regularly produce, create recesses where electrolytic current density drops. That means thinner plating in exactly the spots where moisture collects. For these geometries, e-coat or powder coating often outperforms electroplating because the coating flows into recesses and covers edges more uniformly. When a client's drawing shows multiple right-angle bends and slotted holes, we flag this early and recommend a coating that offers reliable edge coverage protection.
What material selection factors affect my stamping parts' corrosion test results?
During a recent project review with a U.S. client, we discovered that switching from cold-rolled steel SPCC 5 to a pre-galvanized substrate cut their post-plating cost and still met the 200-hour salt spray target. That conversation saved weeks of back-and-forth on coating specs. Material choice is the foundation; coatings are only the second line of defense.
Your base material dictates corrosion behavior: pre-galvanized steel provides built-in zinc protection at cut edges, stainless steel grades like 304 or 316 resist red rust formation without plating, and carbon steel demands robust post-stamping surface treatment to pass any neutral salt spray test.
Base Material Options for Corrosion-Critical Stamping
| Material | Inherent Corrosion Resistance | Post-Stamping Treatment Needed | Cost Level | Typical Application |
|---|---|---|---|---|
| SPCC / CRS (cold-rolled steel) | Very Low | Yes — plating, e-coat, or paint required | Low | Indoor brackets, non-exposed hardware |
| SGCC / Pre-galvanized steel 6 | Moderate (zinc layer intact on surfaces) | Minimal — may need edge touch-up | Low–Medium | HVAC brackets, electrical enclosures |
| 304 Stainless Steel | High | Usually none — passivation optional | High | Food equipment, marine clips |
| 316 Stainless Steel | Very High | Usually none | Very High | Marine, chemical processing |
| 5052 Aluminum | Moderate | Anodizing or chromate conversion | Medium | Lightweight structural parts |
The Cut-Edge Problem
When a stamping die shears through pre-galvanized steel, it exposes bare steel along every cut edge. These exposed edges are the primary initiation point for red rust formation during a neutral salt spray test. Our engineering team always asks: will the cut edges be visible and exposed in the final assembly? If yes, we either specify a post-stamping coating or recommend the client accept white rust at edges as a non-failure criterion. Defining this before the first sample run prevents disputes later.
Cold-Work and Corrosion
Stamping introduces cold work into the metal. Heavily bent flanges experience grain deformation that can create micro-cracks in any subsequent coating. These areas also develop higher electrochemical potential compared to flat zones, which accelerates galvanic corrosion 7 in a salt fog environment. We address this by specifying minimum bend radii that reduce strain and by requiring plating thickness checks specifically at bend apexes.
Deburring and Edge Condition
Sharp burrs left from stamping act like tiny knives that puncture thin coatings. Our standard work instruction requires deburring all edges before any surface preparation cleaning step. Tumble deburring or vibratory finishing rounds the edges enough for the coating to wrap around them. Without this step, even a well-applied zinc layer will thin out on a sharp burr and fail within hours.
How do I verify supplier salt spray test compliance before mass production?
A lesson we learned the hard way: one of our Chinese plating sub-suppliers tested flat coupons dipped alongside our stamped brackets — the coupons passed 500 hours, but the actual brackets failed at 120 hours because nobody tested the formed geometry. Now, our PPAP process requires that the exact stamped, bent, and deburred part goes into the chamber, not a surrogate coupon.
Verify supplier compliance by requiring salt spray tests on actual stamped parts (not flat coupons), demanding photo documentation of chamber setup, reviewing temperature and pH logs, and defining pass/fail criteria for white rust, red rust, and blistering before any samples are produced.

The RFQ Checklist
Before we issue a purchase order, our quality team sends the supplier a checklist that covers every variable. Here is what we require:
- Material and geometry confirmation — grade, thickness, and a note on whether cut edges are exposed.
- Finish specification — coating type, minimum electroplating thickness, passivation chemistry (trivalent vs. hexavalent), sealant, or topcoat.
- Test standard — ASTM B117 or ISO 9227 8, duration, number of samples, and the lab performing the test.
- Acceptance criteria — separate thresholds for white rust and red rust, with reference to ASTM D610 9 or ASTM B537 rating scales.
- Pre-conditioning — whether samples should be bent, welded, or cleaned before entering the chamber.
- Packaging requirements — VCI bags, humidity indicators, or desiccant for transit.
Chamber Setup Verification
We ask every testing lab to photograph the chamber with our parts inside. We check the following:
| Parameter | Required Value | Why It Matters |
|---|---|---|
| Sample angle | 15°–30° from vertical | Prevents pooling and ensures uniform fog contact |
| Spacing | No part touching another or the wall | Prevents drip contamination and flushing |
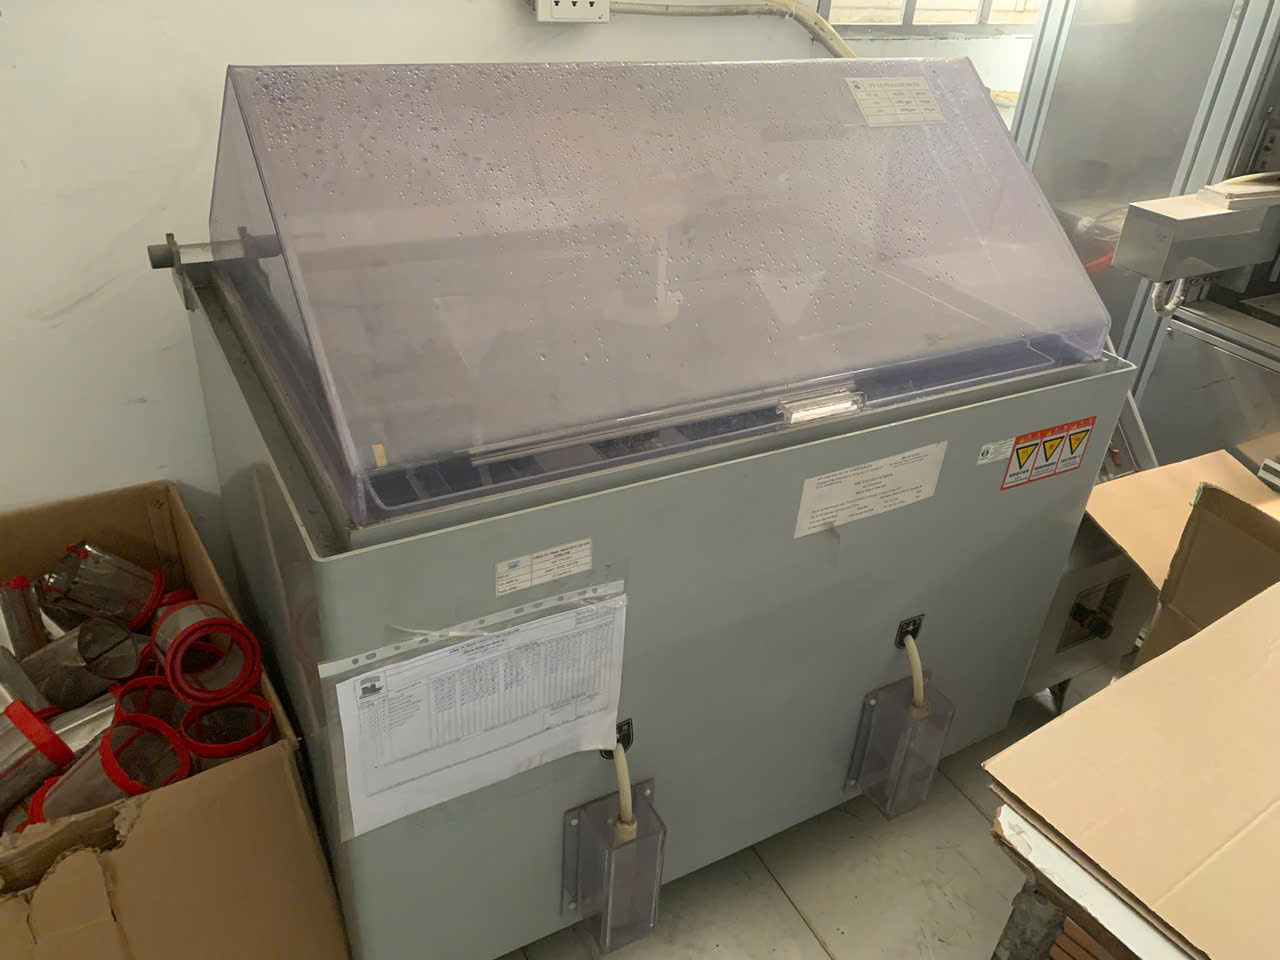
| Temperature | 35°C ± 1°C (95°F ± 2°F) | Deviation changes oxidation kinetics |
| Solution pH | 6.5–7.2 | Outside this range, corrosion accelerates or slows unpredictably |
| Collection rate | 1.0–2.0 mL/hr per 80 cm² | Confirms fog density is within ASTM B117 limits |
| Solution refresh | Every 48 hours | Prevents contamination buildup |
Beware of "Corrosion Runs" and False Positives
During post-test inspection, a single corrosion spot can send a stream of rust-colored liquid down the face of the part. This "corrosion run" makes the surface look far worse than it actually is. Our inspectors rinse each part under hot running water immediately after removal and dry with compressed air at 40 psi before evaluation. Only corrosion within the correctly oriented test zone counts. We also require the lab to note any anomalies — such as parts that shifted during the test or solution that was not refreshed on schedule — so we can discount invalid results.
Flat Coupons vs. Real Parts
Some suppliers push back on testing actual stamped parts because flat coupons are cheaper and give better results. We insist on testing the real part. The reason is simple: a flat coupon has no cut edges, no bends, and no holes. It tells you nothing about how the coating performs on the actual geometry. If a supplier cannot pass the test on real parts, the coating process needs adjustment — and it is better to discover that during PPAP than after 50,000 pieces arrive at a U.S. warehouse.
What quality control steps can prevent corrosion failures in my custom stamping parts?
When our Vietnam office onboarded a new stamping supplier last year, we built a 12-point inspection protocol specifically for corrosion-critical parts. The first three points all happen before the part ever sees a coating line. That upstream focus is what separates a "right first time" outcome from a costly rework cycle.
Prevent corrosion failures by controlling surface preparation cleaning before coating, verifying electroplating thickness at critical points (edges, bends, holes), enforcing proper packaging with VCI protection, and running periodic salt spray audits on production samples — not just first-article parts.
Surface Preparation: The Most Overlooked Step
Stamping lubricants contain extreme-pressure additives that bond at the molecular level to the metal surface. A simple alkaline wash may not remove them. On our projects, we specify solvent-vapor degreasing for parts that require high corrosion resistance ratings. After degreasing, a waterbreak test confirms the surface is completely clean — if water sheets evenly without breaking into droplets, the surface is ready for coating. If not, the part goes back for another cleaning cycle.
For parts with specific finishes, the cleaning protocol changes:
- Phosphated and oiled parts: Do not clean. The oil is the protective layer being tested.
- Anodized aluminum: Wipe with acetone or isopropyl alcohol only.
- Hard chromium plated parts: Clean with magnesium oxide paste until waterbreak-free.
- Painted parts: Protect bare edges with paraffin wax or tape; score an "X" only if testing through-defect corrosion resistance.
In-Process Thickness Checks
We require the plating vendor to measure coating thickness at five points on each part: one flat surface, two bend radii, one hole interior wall, and one cut edge. This reveals the real distribution of the coating. A part might average 10 µm overall but drop to 3 µm inside a slotted hole — well below the minimum needed to survive a 200-hour test.
Post-Coating Handling and Packaging
Fingerprints on a freshly passivated part introduce chloride and organic acids that initiate corrosion within days. We mandate that all operators wear lint-free gloves and that parts are sealed in VCI bags within two hours of final processing. For ocean shipments to the U.S. or Europe, we add humidity indicator cards inside each carton so our client can verify conditions on arrival. Understanding rust prevention and storage for stamping parts is critical to maintaining coating integrity throughout the supply chain.
Ongoing Salt Spray Audits
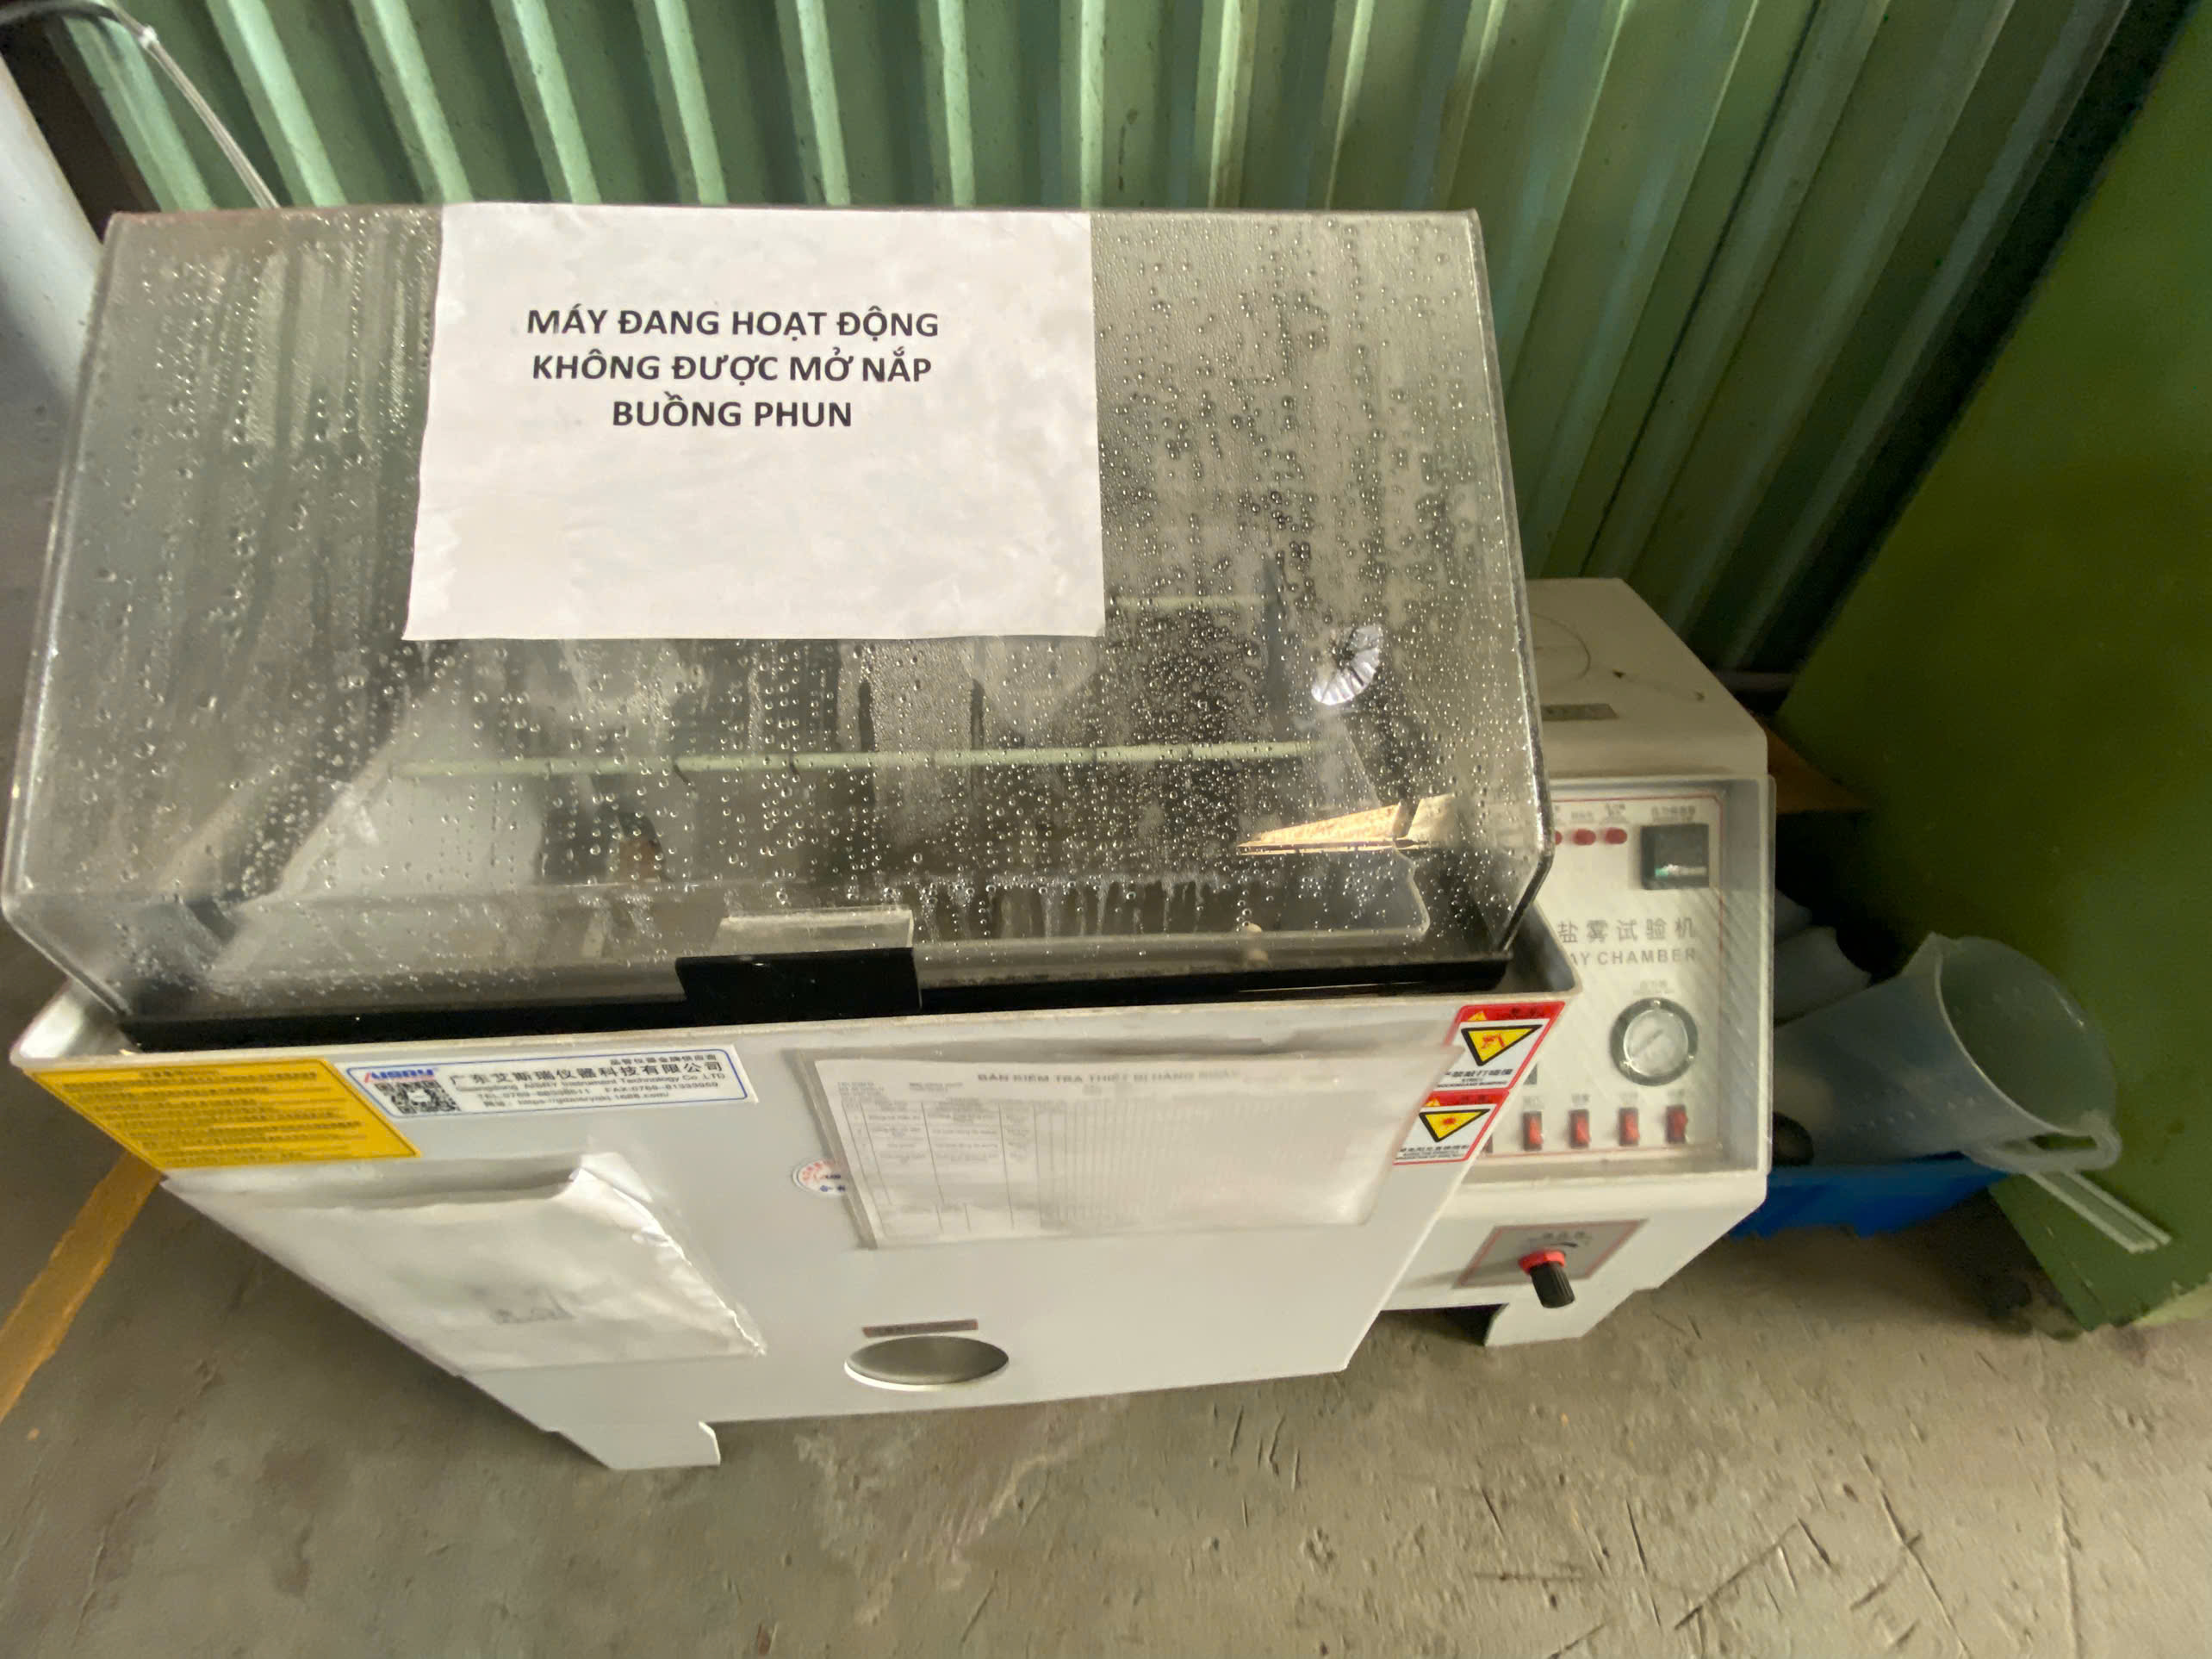
A first-article test proves the process can work. It does not prove the process is stable. We pull random samples from every fifth production lot and submit them for a salt spray testing evaluation of corrosion resistance at an independent lab. If any lot fails, we trigger a containment protocol: hold the shipment, investigate the root cause (bath chemistry drift, insufficient rinse, contaminated degreaser), and re-test before release. This ongoing audit discipline is what gives our clients confidence that lot 50 will perform the same as lot 1.
Conclusion
Passing salt spray corrosion tests on stamping parts demands a system — not a single fix. Define your acceptance criteria early, choose coatings matched to your geometry, test real parts, and audit every production lot. Our team at DEWIN is here to help you get it right the first time.
Frequently Asked Questions
How can I choose the right coating or plating for salt spray resistance in stamping parts?
One trade-off we weigh on nearly every custom stamping project is cost versus corrosion life. A client may request 500 hours of salt spray resistance, but the geometry of the part — with deep bends, slotted holes, and exposed sheared edges — makes a cheap coating risky. The coating decision must match the part's real service environment, not just a generic hour target.
What material selection factors affect my stamping parts' corrosion test results?
During a recent project review with a U.S. client, we discovered that switching from cold-rolled steel SPCC 5 to a pre-galvanized substrate cut their post-plating cost and still met the 200-hour salt spray target. That conversation saved weeks of back-and-forth on coating specs. Material choice is the foundation; coatings are only the second line of defense.
How do I verify supplier salt spray test compliance before mass production?
A lesson we learned the hard way: one of our Chinese plating sub-suppliers tested flat coupons dipped alongside our stamped brackets — the coupons passed 500 hours, but the actual brackets failed at 120 hours because nobody tested the formed geometry. Now, our PPAP process requires that the exact stamped, bent, and deburred part goes into the chamber, not a surrogate coupon.
Footnotes
1. ASTM guide for rating electroplated panels subjected to corrosion testing referenced for acceptance criteria. ↩︎
2. Primary standard governing neutral salt spray testing referenced throughout the article’s methodology. ↩︎
3. Background concept explaining the plating process behind thickness measurement discussed in the article. ↩︎
4. Background on the chemical conversion coating process referenced for improving corrosion resistance. ↩︎
5. ASTM specification for cold-rolled carbon steel sheet commonly used in stamping applications. ↩︎
6. ASTM specification defining zinc coating requirements for galvanized steel sheet used as base material. ↩︎
7. Explains the electrochemical mechanism accelerating corrosion at bend areas as described in the text. ↩︎
8. International alternative standard for salt spray corrosion testing mentioned as acceptable test method. ↩︎
9. Standard rating scale for evaluating degree of rusting on painted steel surfaces. ↩︎