
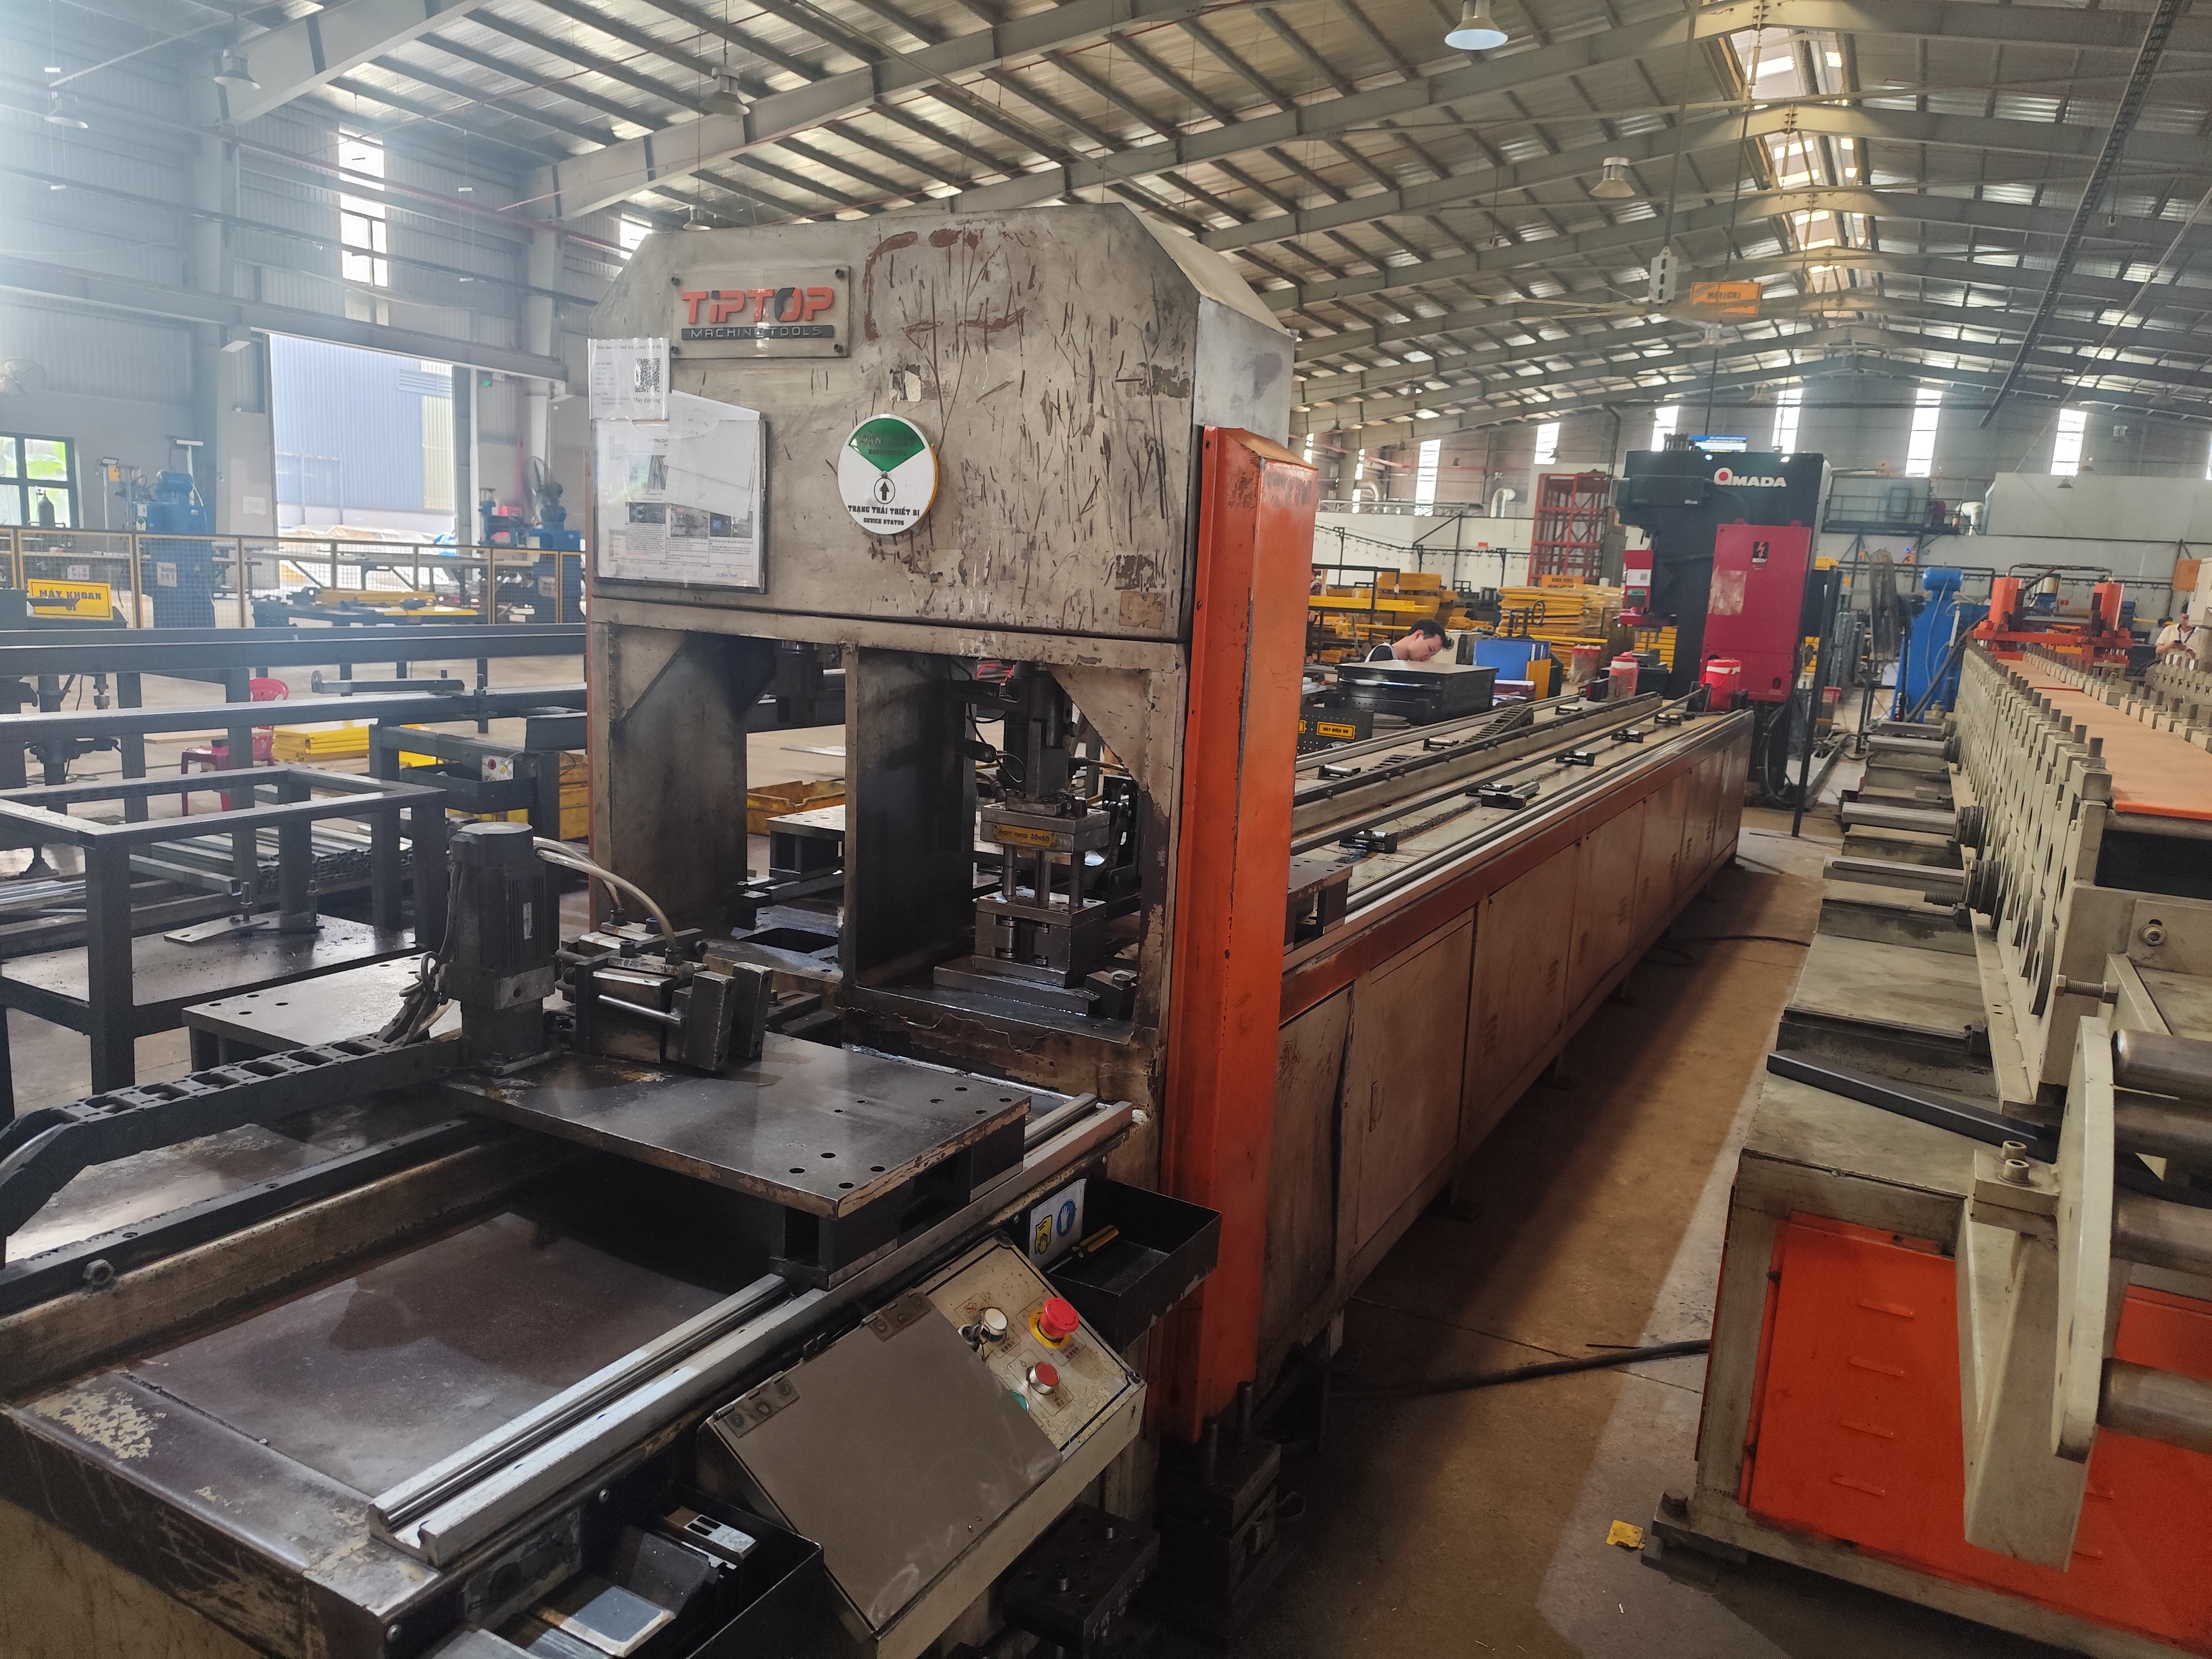
[Incoming inspection standards for stamping parts](https://dewintech.com/blog/how-establish-effective-incoming-inspection-standards-stamping-parts/) often exist only in someone’s head. I learned this the hard way when a client’s brackets arrived with reversed burrs.
Establish incoming inspection standards for stamping parts by documenting critical dimensions with GD&T callouts, defining an AQL sampling plan per ISO 2859-1, listing stamping-specific defects like burrs and flatness errors, and formalizing everything in a signed Supplier Quality Manual before the first shipment arrives.
That single sentence covers the framework. But each element deserves a closer look. Below, I break down the four questions buyers ask us most often, in the order you should tackle them.
What Key Dimensions and Tolerances Should I Include in My Stamping Parts Inspection Checklist?
During a supplier audit in Vietnam last year, our team found an inspector measuring only the overall length of a stamped mounting clip. Every functional feature—hole position, formed height—went unchecked.
Your stamping parts inspection checklist should cover hole size and position, slot width, formed height, bend angles, flatness, burr height and direction, edge condition, and overall envelope dimensions—each tied to the drawing's dimensional tolerance specifications and prioritized by functional criticality.
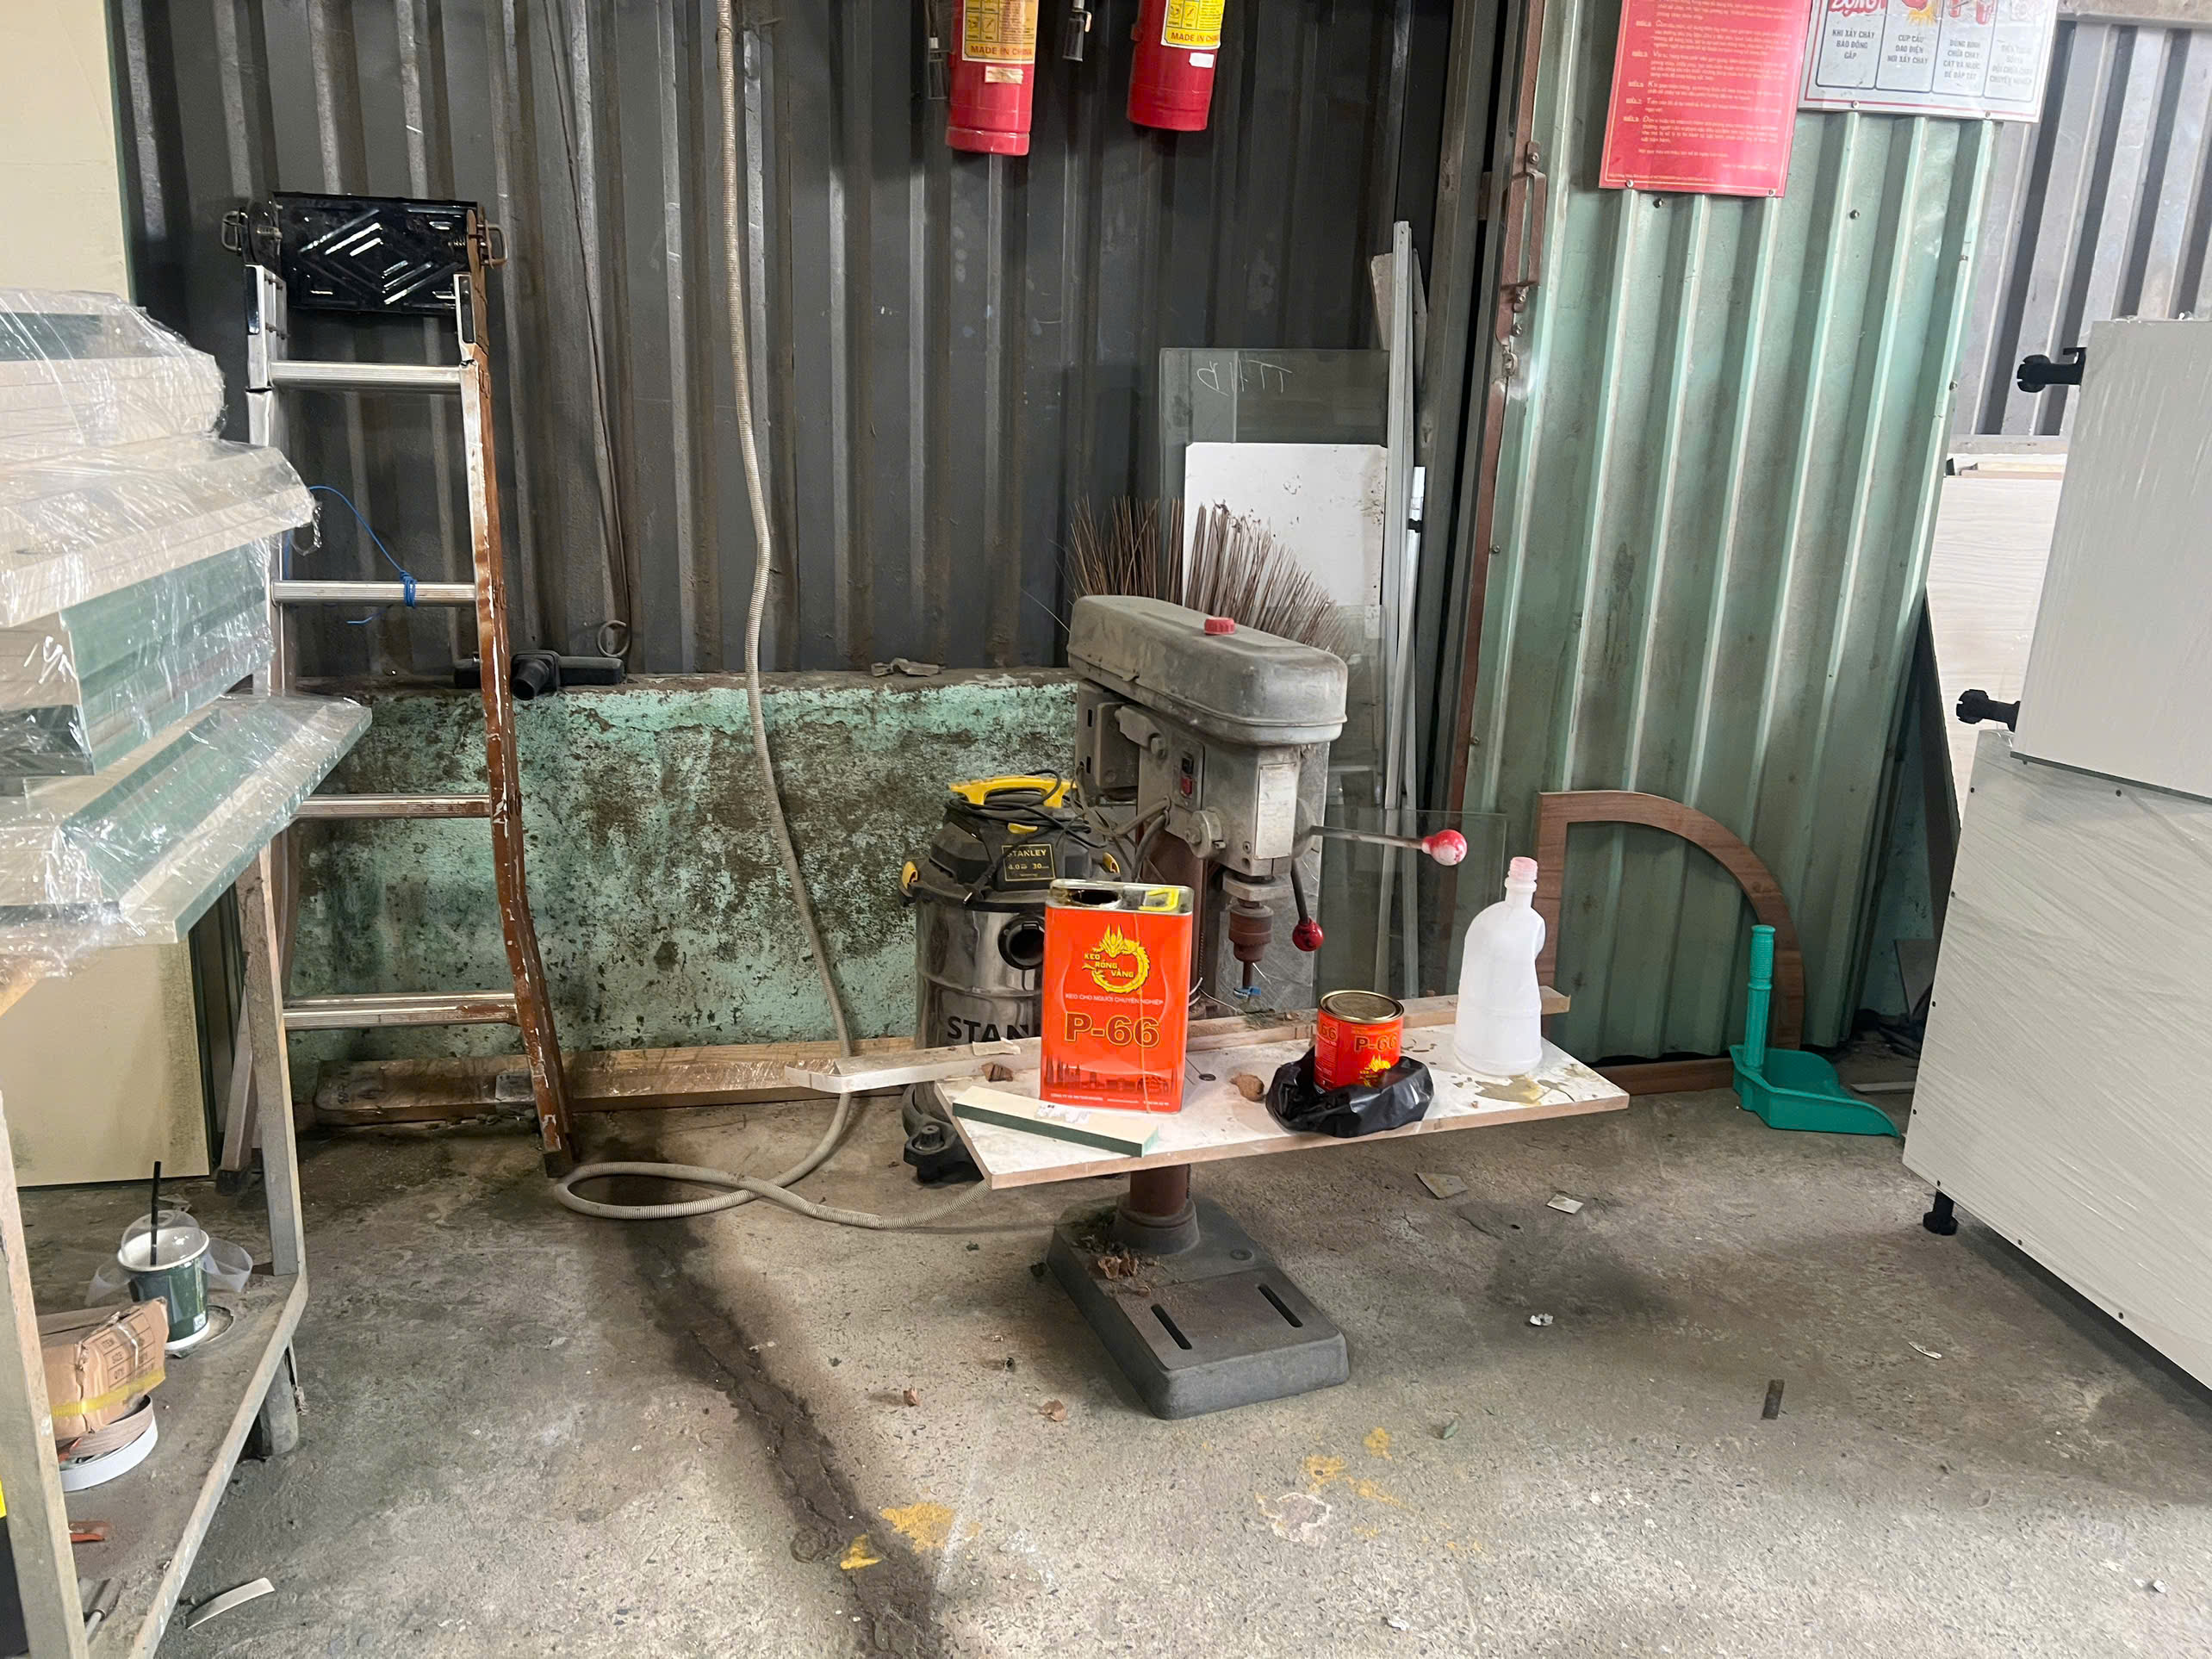
Not every dimension on a drawing deserves equal attention. When we run a First Article Inspection (FAI) for a new stamped bracket, we measure everything once. After that, the incoming checklist narrows to critical-to-quality features only. That keeps inspection fast and repeatable.
Start with Critical-to-Quality Features
Look at how the part functions. A mounting bracket with two round holes and one slotted hole tells you its own story. The round hole locates the part. The slot absorbs tolerance stack-up. So hole position matters more than slot length. Your drawing's Geometric Dimensioning and Tolerancing 1 (GD&T) callouts should reflect this logic. If the drawing has no GD&T, push your engineering team or supplier to add position tolerances on locating holes at minimum.
The Stamping-Specific Dimensions Most Checklists Miss
Generic checklists cover length, width, and hole diameter. Stamping adds unique failure modes:
| Feature | Why It Matters | Typical Method |
|---|---|---|
| Burr height and direction | Assembly interference, handling injury | Burr gauge, microscope |
| Flatness | Mating surface contact, assembly fit | Surface plate + feeler gauge |
| Bend angle | Springback 2 drift over die life | Angle gauge, profile projector |
| Formed height | Fit with mating components | Height gauge |
| Hole position after forming | Holes shift during bending | Fixture check, CMM |
| Edge condition | Cracks at bend radius, shear quality | Visual + magnification |
Match Tools to Tolerances
A digital caliper resolves 0.01 mm but is operator-dependent. For position tolerances tighter than ±0.05 mm, we specify a Coordinate Measuring Machine 3 (CMM) or a dedicated check fixture. Define the gauge for each feature in the checklist itself. Also record the gauge ID with each result. This protects you later if measurements are disputed. Ambiguity about measurement method is one of the top causes of supplier disagreements we mediate for U.S. clients.
How Do I Determine the Right Sampling Plan (AQL) for Incoming Stamping Parts?
A purchasing manager once told me his team inspected "10% of every box" because that was how his predecessor did it. Habit is not a sampling strategy, and it left him exposed on large lots.
Determine your sampling plan using ISO 2859-1 (ANSI/ASQ Z1.4): classify defects as critical, major, or minor; assign AQL values such as 0 for critical, 1.0 for major, and 2.5 for minor; then read sample size and acceptance numbers from the lot size and inspection level.
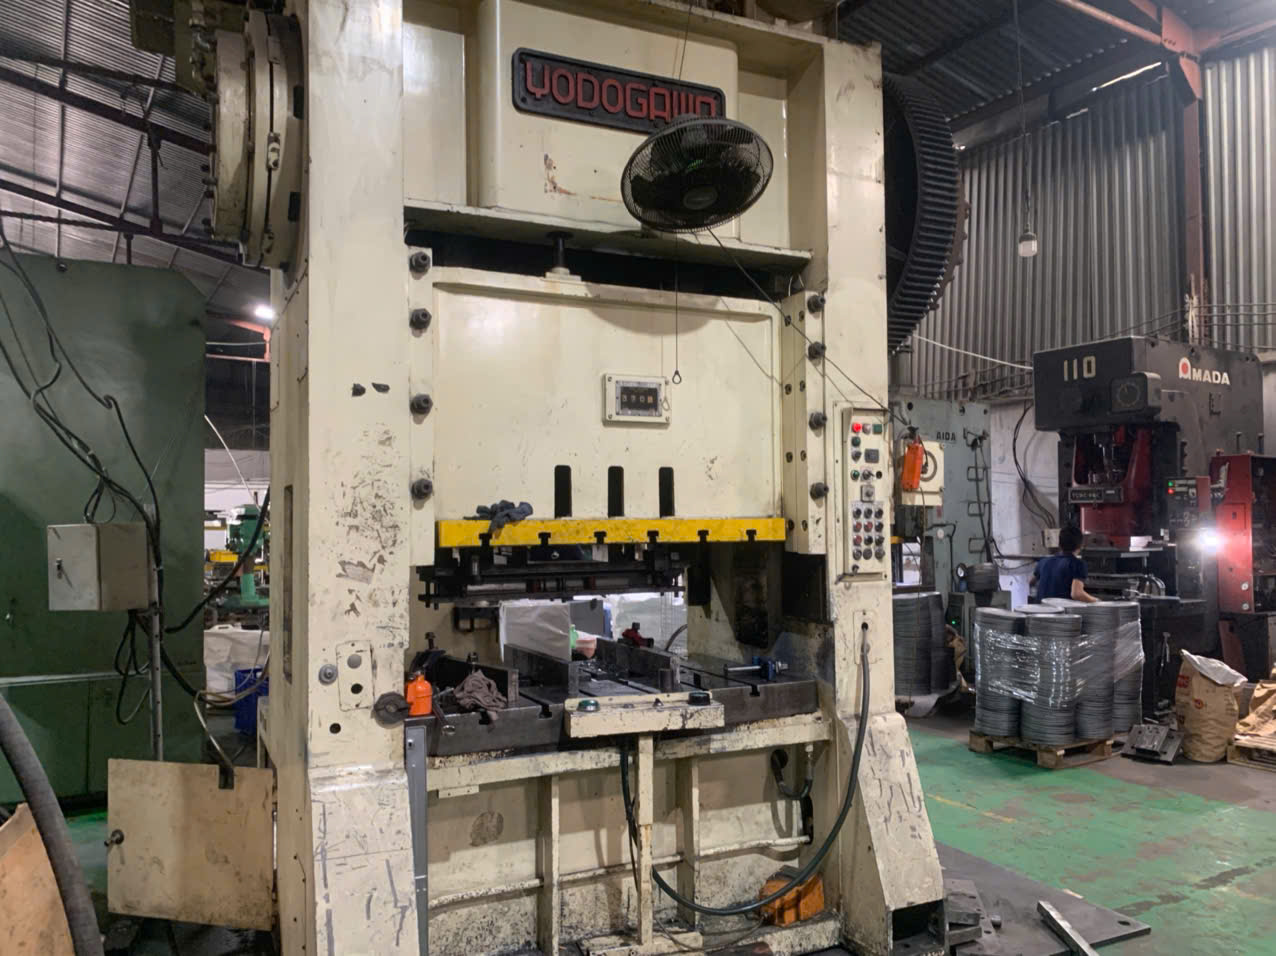
The Acceptable Quality Level 4 (AQL) approach replaces guesswork with statistics. Instead of a fixed percentage, the sampling plan ISO 2859-1 5 gives you a sample size code letter based on lot size, then a sample size and an accept/reject number based on the AQL you assign. The result is consistent protection regardless of lot size.
Classify Defects Before You Pick Numbers
We ask clients three questions for each feature. Does failure create a safety risk? Does it stop assembly? Or is it cosmetic only? The answers map to defect classes:
| Defect Class | Example on a Stamped Bracket | Typical AQL |
|---|---|---|
| Critical | Wrong material grade, crack at bend | 0 (zero acceptance) |
| Major | Hole position out of tolerance, burr over spec | 1.0 |
| Minor | Light scratch on non-visible surface | 2.5 |
Zero-acceptance sampling for critical defects means one bad part rejects the lot. For safety-related brackets going into machinery, we recommend this without exception.
Adjust Intensity Based on Supplier History
AQL tables also allow tightened, normal, and reduced inspection. Use them deliberately:
- New supplier or new part: Tightened inspection, or 100% check on critical features for the first three lots.
- Stable history: Normal inspection at general level II.
- Proven capability over many consecutive accepted lots: Reduced inspection or skip-lot, backed by the supplier's own outgoing data.
- Any rejected lot: Return to tightened inspection until the supplier proves the corrective action works.
In our process control work across Vietnam and other Asian sources, this stratification cuts inspection cost significantly without raising escape risk. The mistake is skipping step one. New tooling has not proven itself, no matter how good the supplier's reputation is.
What Critical Defects Should I Watch for During Incoming Inspection of Stamped Components?
Our QC team in Vietnam keeps a photo library of stamping defects collected over years of final inspections. The most expensive ones were never the obvious dents—they were the subtle ones that passed a casual glance.
Watch for burrs exceeding height limits or facing the wrong direction, cracks at bend radii, flatness deviation and warpage, springback causing off-angle bends, slug marks, surface oxidation, plating gaps, deep scratches, and mixed or mislabeled lots hiding a wrong material grade.

Stamped parts fail in ways that machined parts do not. Understanding why each defect occurs helps your inspectors judge severity, not just spot problems.
Defects That Signal Die Condition
Burr and edge condition is your best window into a supplier's tooling health. Fresh, well-maintained punches shear cleanly. As punch-to-die clearance grows from wear, burr height creeps up lot after lot. If your incoming data shows burrs trending upward, the supplier's die is due for maintenance—and you can flag it before parts go out of spec. Slug marks (small dents from a punched slug pulled back onto the strip) tell a similar story about worn vacuum or slug-retention systems.
Defects That Signal Process Problems
Springback is material trying to return to its flat shape after bending. When a supplier changes material lots or the steel's hardness varies, bend angles drift even with the same die. This is why we verify the Material Mill Certificate against mechanical property specs on every lot. Cracks at the bend radius usually mean the bend runs parallel to the grain direction 6 or the radius is too tight for the material thickness. Both are process design failures, not random events, so one cracked part predicts more.
Defects That Signal Handling and Logistics Failures
Oxidation spots, deep scratches, and deformation often happen after stamping. Check packaging integrity first: crushed cartons, moisture inside bags, loose stacking without separators, and mixed lots in one carton. On the zinc-coated and plated brackets we ship to U.S. clients, we also verify surface finish requirements—coating coverage, color consistency, and adhesion—because a coverage gap invites corrosion during ocean freight.
| Defect | Root Cause Signal | Severity Guidance |
|---|---|---|
| Burr height increasing | Die wear | Major; trend-monitor |
| Crack at bend | Grain direction / radius design | Critical; reject lot |
| Angle out of spec | Springback, material variation | Major |
| Slug marks | Worn slug retention | Minor to major by location |
| Oxidation / rust spots | Packaging or storage moisture | Major on plated parts |
| Mixed part numbers in carton | Poor lot control | Critical; quarantine |
How Can I Align My Incoming Inspection Standards with My Stamping Suppliers to Prevent Disputes?
The costliest quality dispute I ever mediated came down to one word: "flat." The buyer measured flatness on a granite surface plate; the supplier measured it clamped in a fixture. Both were "right." Neither had agreed on the method.
Prevent disputes by signing a Supplier Quality Manual before production that defines every measurement method, gauge type, AQL level, and defect classification; validate alignment through a joint First Article Inspection; and share inspection data both directions so drift is caught early, not argued about late.
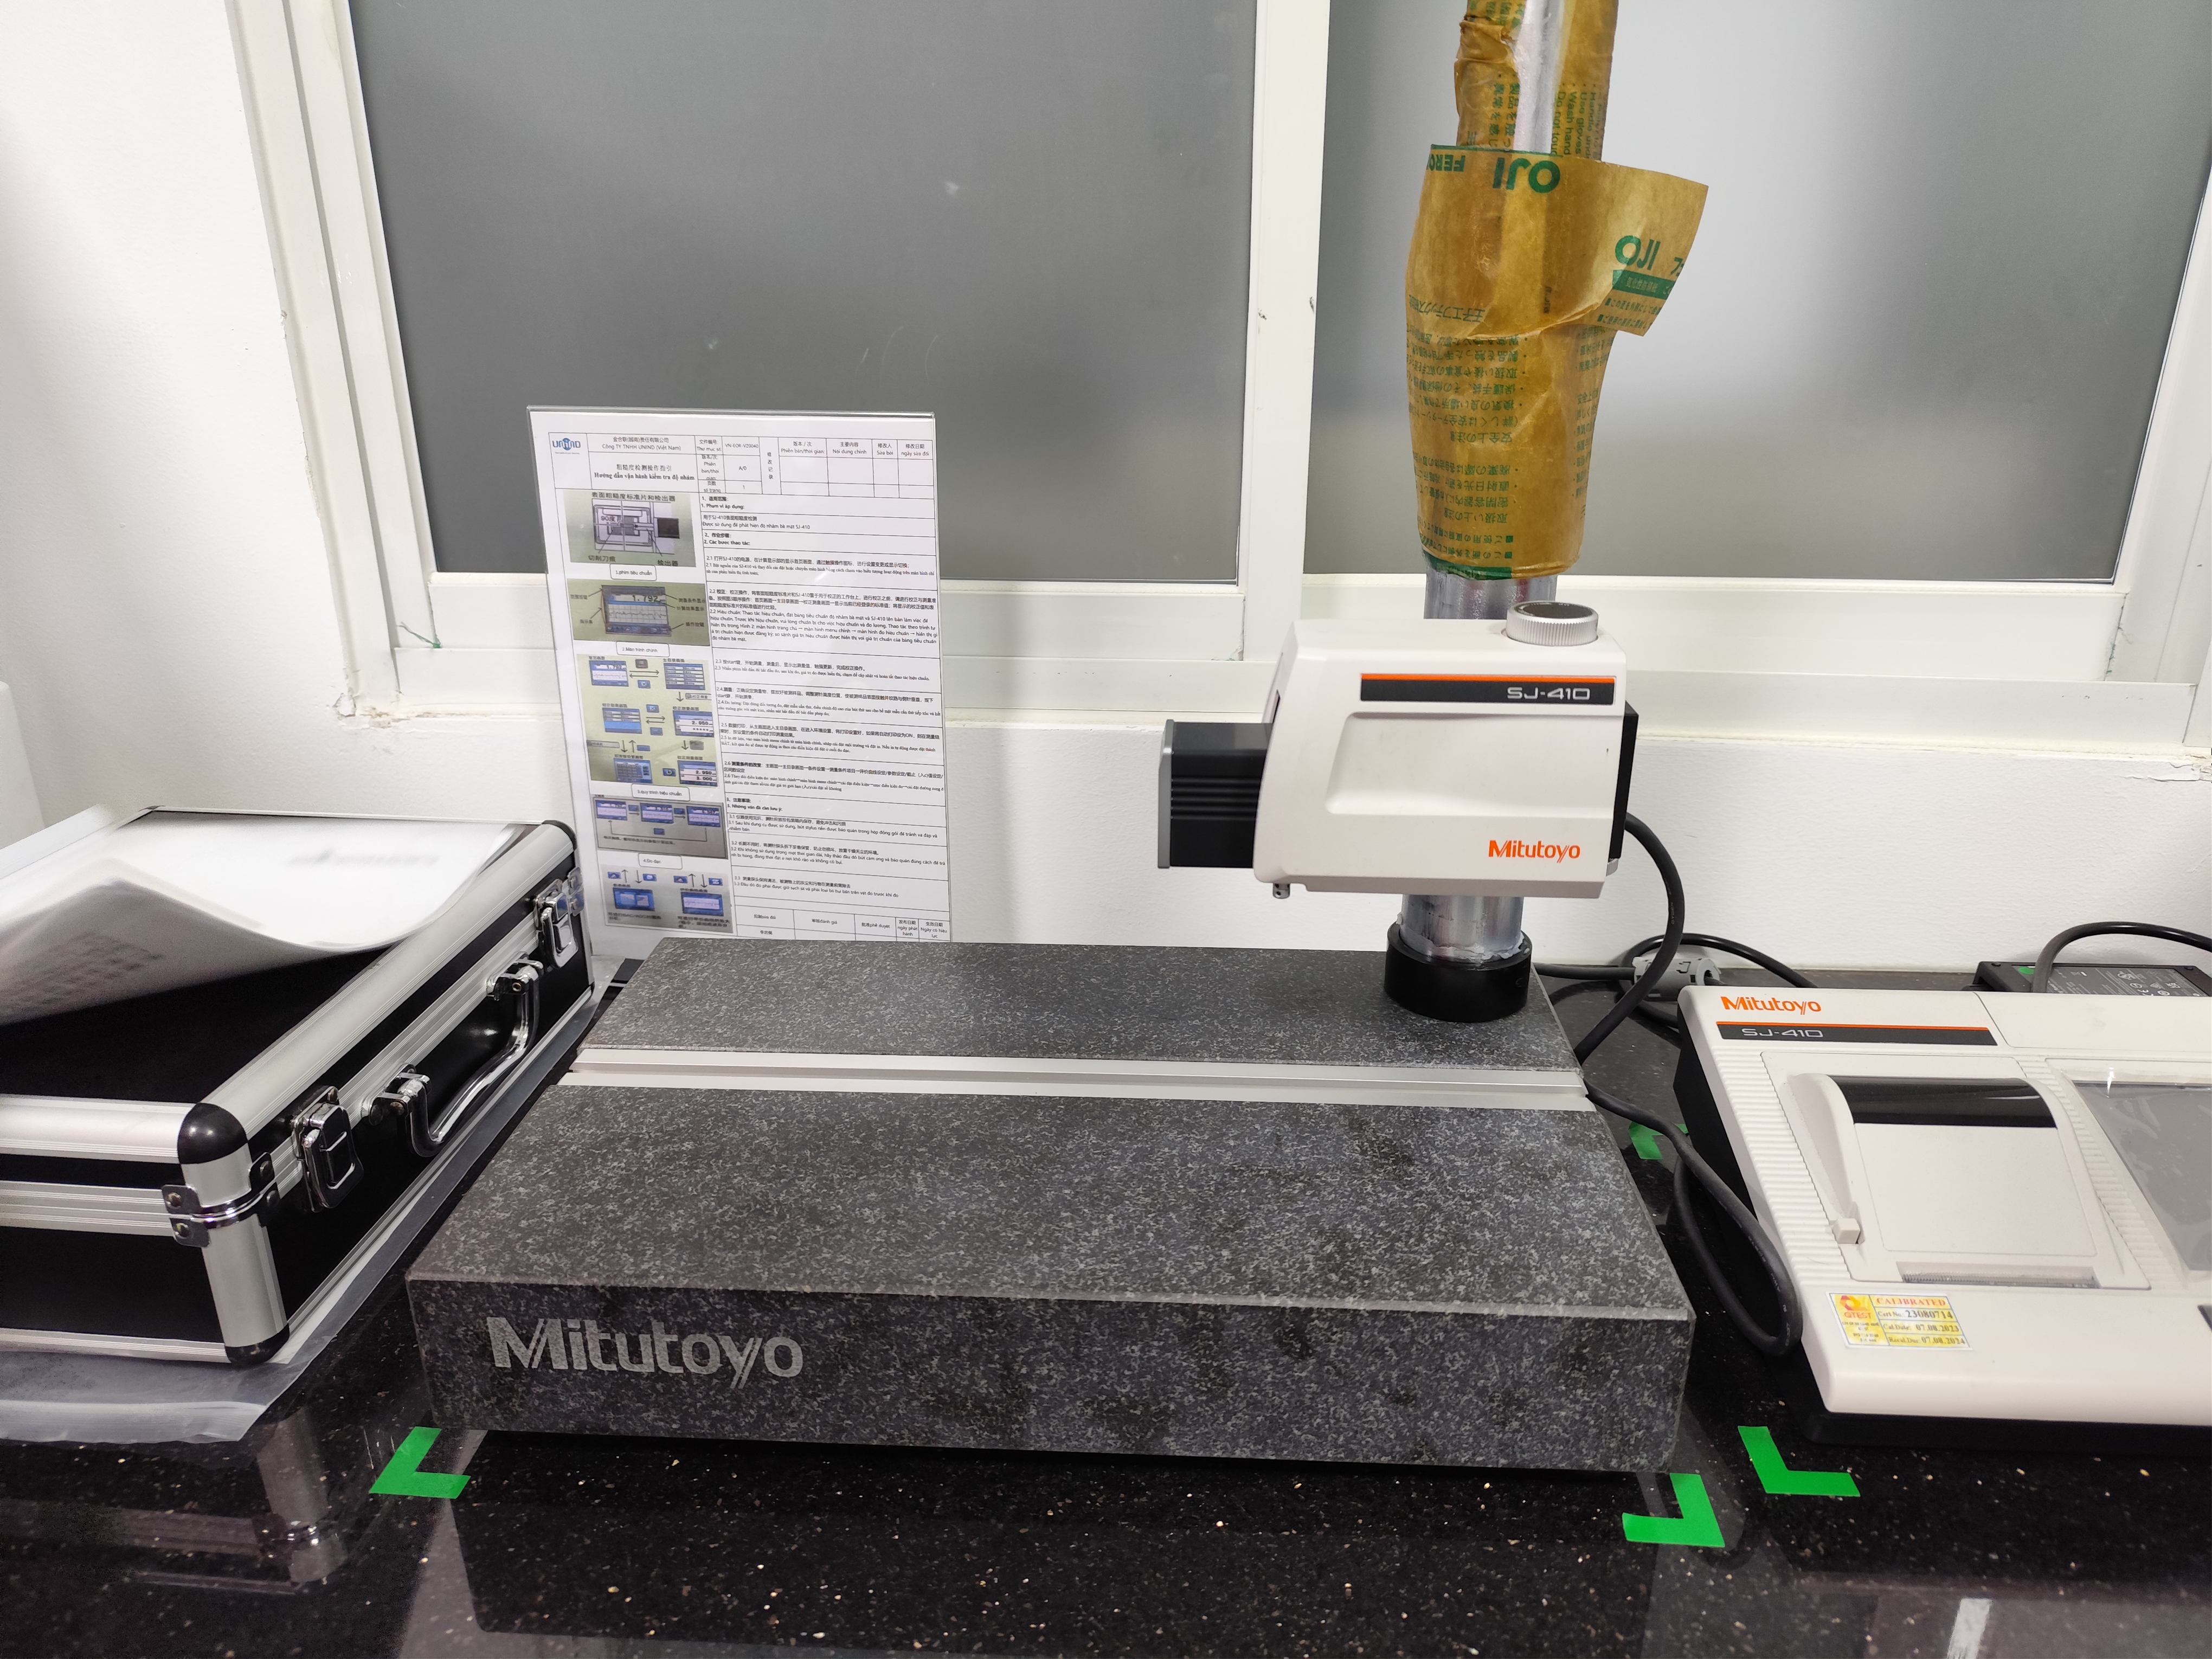
Most disputes are not about bad parts. They are about two parties measuring the same part differently, or interpreting the same drawing note differently. Alignment is a documentation exercise done before money changes hands.
Build a Shared Quality Agreement
Your Supplier Quality Manual—or a simpler two-page quality agreement for smaller programs—should lock down these items:
- The controlling drawing revision and how revision changes are communicated and acknowledged.
- Measurement methods per feature, including fixturing state (free or clamped), temperature conditions if relevant, and gauge type.
- The sampling plan, referencing ISO 2859-1 with agreed AQL values per defect class.
- Documentation per shipment: Material Mill Certificate, outgoing inspection report, lot codes tied to your PO number.
- Nonconformance procedure: how you notify, what evidence you provide (photos of part, label, and carton plus measured values with gauge IDs), response deadlines, and disposition options—accept, reject, sort, or conditional acceptance with containment.
Use FAI as the Alignment Test
A joint First Article Inspection is where alignment gets proven. The supplier measures the first articles and submits full results. Your side measures the same serialized parts independently. If the two datasets match, your gauges and methods correlate. If they diverge, you have found a measurement disagreement while it costs nothing—instead of during a rejected 50,000-piece shipment. When we manage PPAP submissions 7 for stamped components, this gauge correlation step catches misalignment on nearly every new program, usually on flatness or angle measurement.
Keep Data Flowing Both Directions
Share your incoming inspection results with the supplier monthly, even when everything passes. Suppliers who see your data trust your rejections. And trend data—burr height creeping up, angles drifting—lets a good supplier schedule die maintenance before a failure. That converts inspection from policing into joint process control.
Conclusion
Undocumented standards invite rework, delays, and finger-pointing. Define critical dimensions, apply risk-based AQL sampling, target stamping-specific defects, and align everything with suppliers in writing—before the first lot ships.
Frequently Asked Questions
What Key Dimensions and Tolerances Should I Include in My Stamping Parts Inspection Checklist?
During a supplier audit in Vietnam last year, our team found an inspector measuring only the overall length of a stamped mounting clip. Every functional feature—hole position, formed height—went unchecked.
How Do I Determine the Right Sampling Plan (AQL) for Incoming Stamping Parts?
A purchasing manager once told me his team inspected "10% of every box" because that was how his predecessor did it. Habit is not a sampling strategy, and it left him exposed on large lots.
What Critical Defects Should I Watch for During Incoming Inspection of Stamped Components?
Our QC team in Vietnam keeps a photo library of stamping defects collected over years of final inspections. The most expensive ones were never the obvious dents—they were the subtle ones that passed a casual glance.