Last quarter, one of our U.S. clients shipped back an entire batch of structural brackets because the welds cracked under load — the previous supplier had never validated their laser welding parameters 1 for high strength low alloy steels.
To evaluate laser welding for high-strength structural sheet metal fabrication, verify joint strength through tensile, impact, and bend testing, optimize welding parameters for the specific alloy, enforce strict quality control standards, and confirm material compatibility — ensuring the process delivers right-first-time results with minimal distortion.
This guide walks through the practical steps we use when helping clients decide whether laser welding is the right process for their structural parts high strength low alloy steels 2. Each section covers a key decision point, from structural integrity 3 to cost and quality.
How do I verify that laser welding will maintain the structural integrity of my high-strength sheet metal parts?
A few months ago, our engineering team in Vietnam ran a side-by-side comparison on a batch of mounting brackets — one set welded with TIG, the other with fiber laser — and the difference in distortion control alone changed our client's mind.
You verify structural integrity by performing destructive and non-destructive testing on sample welds, including tensile, impact, bend, and microhardness tests, while also analyzing the heat-affected zone microstructure to confirm the joint meets or exceeds base material strength specifications.
Why Testing Is Non-Negotiable
When you laser-weld high-strength structural sheet metal, the joint often reaches 13% higher tensile strength 4 than a comparable TIG weld. That sounds impressive. But tensile strength alone does not tell you the full story. Some martensitic steels show a 5% reduction in tensile strength after laser welding — dropping from 820 MPa (base) to around 790 MPa at the weld. More concerning, toughness can fall below 20 J/cm² due to rapid cooling and hard martensite formation in the heat-affected zone. So you need a battery of tests, not just one.
The 6 Essential Tests
Here is how we break down the evaluation:
| Test Method | What It Measures | Why It Matters for Structural Parts |
|---|---|---|
| Tensile Testing | Maximum force before joint failure | Validates that the weld can handle design loads |
| Impact Testing (Charpy) | Shock absorption / toughness | Reveals if the weld can resist sudden forces without brittle fracture |
| Bend Test | Ductility and angle of deflection | Shows whether the joint can deform without cracking |
| Microhardness (Vickers) | Hardness distribution across the weld and HAZ | Identifies dangerous hard zones that signal brittle microstructure |
| Ultrasonic Testing (NDT) | Internal cracks, voids, lack of fusion | Non-destructive detection of hidden weld defects |
| Radiographic Testing (NDT) | Internal structural imperfections via X-ray | Catches porosity and inclusions invisible to the naked eye |
For structural applications in automotive or heavy-duty mounting brackets like the ones we fabricate, I always recommend adding an Erichsen (Olsen) cup test 5 when the part will undergo forming after welding. This test specifically measures the stretchability of laser-welded blanks in advanced high-strength steels (AHSS). AHSS up to 800 MPa typically shows good Erichsen values, but beyond that threshold, you need to be cautious.
Microstructure Analysis: The Hidden Variable
Surface-level post-weld inspection is not enough. When we evaluate a new alloy for a client, our quality team requests cross-sectional microstructure analysis 6 using scanning electron microscopy (SEM). This reveals the exact phase transformations in the weld and heat-affected zone. Martensite formation is the primary concern with high-strength steels — it makes the weld hard but brittle. If the microstructure shows excessive martensite, we discuss post-annealing treatments with the supplier. A second laser scan or high-frequency induction heating can reduce hardness and restore ductility. The bottom line: do not skip microstructure analysis on any structural component.
Fatigue Performance: The Long-Term View
Static tests tell you if a weld survives a single load. Fatigue testing 7 tells you if it will survive ten years of cyclic loading. For structural brackets, housings, and mounting components, fatigue performance under repeated stress is often the real design-limiting factor. We always recommend discussing fatigue life requirements with the fabrication supplier upfront.
Is laser welding the most cost-effective choice for my custom high-strength structural fabrication project?
One trade-off I weigh with nearly every new project is whether the upfront cost of laser welding equipment and setup will pay off over the production lifecycle — or whether a simpler process like MIG or TIG makes more financial sense.
Laser welding is most cost-effective for medium-to-high volume production of precision structural parts where minimal distortion, reduced post-processing, and faster cycle times offset higher equipment costs; for low-volume or one-off repairs, traditional welding methods are typically more economical.
When Laser Welding Wins on Cost
The cost equation for laser welding is not just about the weld itself. It is about what happens before and after. Consider these factors:
- No filler metal required: Laser welding is often autogenous, meaning no electrode replacement or filler material cost.
- Minimal post-weld grinding or finishing: The narrow bead and small heat-affected zone mean less rework.
- Faster cycle times: Computer-controlled optical beam steering enables rapid repositioning without manual adjustment.
- Lower scrap rates: Precision and repeatability reduce the chance of weld defects that lead to rejected parts.
For our clients ordering structural brackets or mounting components in quantities of 500 or more, these savings add up quickly. The reduction in distortion control effort alone can save hours of straightening and re-machining per batch.
When Traditional Methods Make More Sense
I have seen clients insist on laser welding for a 20-piece prototype run. Honestly, that rarely makes economic sense. TIG or MIG welding has lower equipment cost, requires less specialized fixturing, and a skilled welder can adapt to variations in fit-up on the fly. For one-off repairs or very low volumes, traditional methods remain more practical.
Cost Comparison Framework
| Factor | Laser Welding | TIG/MIG Welding |
|---|---|---|
| Equipment Cost | High (fiber laser source, optics, enclosure) | Low to moderate |
| Filler Material | Often not required (autogenous) | Required for most joints |
| Cycle Time per Part | Fast (high welding speed) | Slower (manual or semi-auto) |
| Post-Weld Processing | Minimal (small HAZ, low distortion) | Often significant (grinding, straightening) |
| Operator Skill Level | Specialist programming / setup | Skilled manual welder |
| Scrap / Rework Rate | Low with optimized parameters | Higher variability |
| Best Volume Fit | Medium to high volume | Low volume, prototypes, repairs |
The Hidden Cost: Getting It Wrong
There is a cost most buyers overlook — the cost of failure. When a supplier uses laser welding without proper parameter validation, you end up with cracked parts, rework, and delays. I have managed projects where the client's previous supplier skipped destructive testing 8 samples entirely. The result was a 40% rejection rate at incoming inspection. That wipes out any equipment savings. Investing in proper PPAP, process control, and quality assurance upfront is always cheaper than dealing with returns.
What quality control standards should I require from my supplier to ensure my laser-welded components are right the first time?
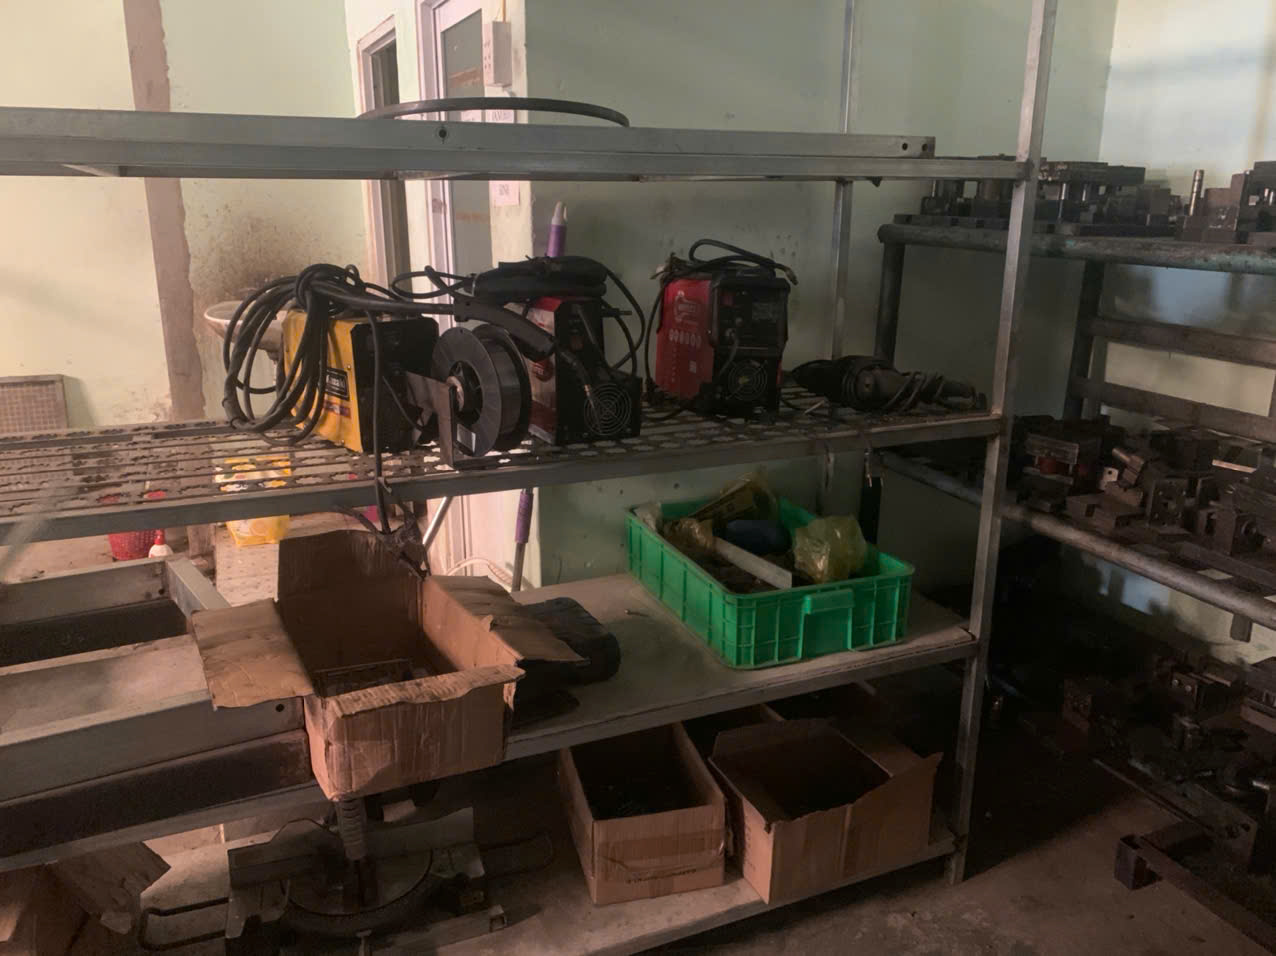
During a recent supplier audit at a facility in Vietnam, I noticed their laser welding cell had no in-process monitoring — they were running production and only checking parts at the end of the shift. That is how entire batches go wrong.
Require your supplier to follow documented PPAP procedures, perform first-article inspections with destructive and non-destructive testing, maintain in-process monitoring with real-time sensors, and provide full traceability records including welding parameters, material certificates, and final inspection reports for every production lot.
Building a Right-First-Time Quality System
Getting laser-welded structural parts right the first time is not about luck. It is about process discipline. Here is the quality framework we implement with our contract manufacturers:
Step 1: PPAP and First Article Approval
Before any production run starts, we require a Production Part Approval Process (PPAP) 9. This includes sample welds on the actual alloy, with documented welding parameters (power, speed, focal position, shielding gas type and flow rate). First article samples go through full destructive testing — tensile, bend, and microhardness at minimum. Only after these samples pass does production begin.
Step 2: In-Process Monitoring
Modern laser welding systems can integrate real-time sensors: thermal cameras for melt pool temperature, optical emission spectroscopy for keyhole stability, and seam-tracking sensors for alignment. These technologies provide continuous feedback during welding. If the system detects an anomaly — say, a sudden drop in keyhole depth — it flags the part immediately. This is far more reliable than end-of-line inspection alone.
Step 3: Non-Destructive Testing (NDT) on Production Parts
Not every part can be cut open for testing. That is where non-destructive testing comes in. We typically specify:
| NDT Method | Application | Frequency |
|---|---|---|
| Visual Inspection | Surface cracks, undercut, spatter | 100% of parts |
| Ultrasonic Testing | Internal voids, lack of fusion | Per sampling plan (AQL-based) |
| Radiographic Testing | Porosity, inclusions, root defects | Critical structural joints or per lot |
| Dye Penetrant Testing | Surface-breaking cracks | Where specified by engineering drawing |
Step 4: Traceability and Documentation
Every lot should come with a material certificate, a record of the exact welding parameters used, and final inspection data. If a problem surfaces in the field six months later, you need to be able to trace it back to the specific production run, the machine settings, and the raw material batch. This level of quality assurance is standard practice for our projects.
The Role of Digital Tools
Some of the more advanced suppliers are now using digital twin technology to simulate the laser welding process before cutting metal. AI and machine learning algorithms trained on historical welding data can predict potential weld defects and suggest optimal parameters for new high-strength alloys. While not yet universal, these tools represent the future of process control and can significantly reduce the prototyping cycle.
How can I determine if laser welding is compatible with the specific high-strength alloys used in my structural designs?
A lesson we learned early on is that not every high-strength alloy responds the same way to a laser beam — a set of parameters that produced flawless welds on one grade of AHSS caused severe cracking on a different martensitic steel.
Determine compatibility by reviewing the alloy's chemical composition, thermal conductivity, and reflectivity, then running weld trials with optimized parameters on actual material samples, followed by microstructure analysis and mechanical testing to confirm the weld meets structural performance requirements.
Material Properties That Drive Weldability
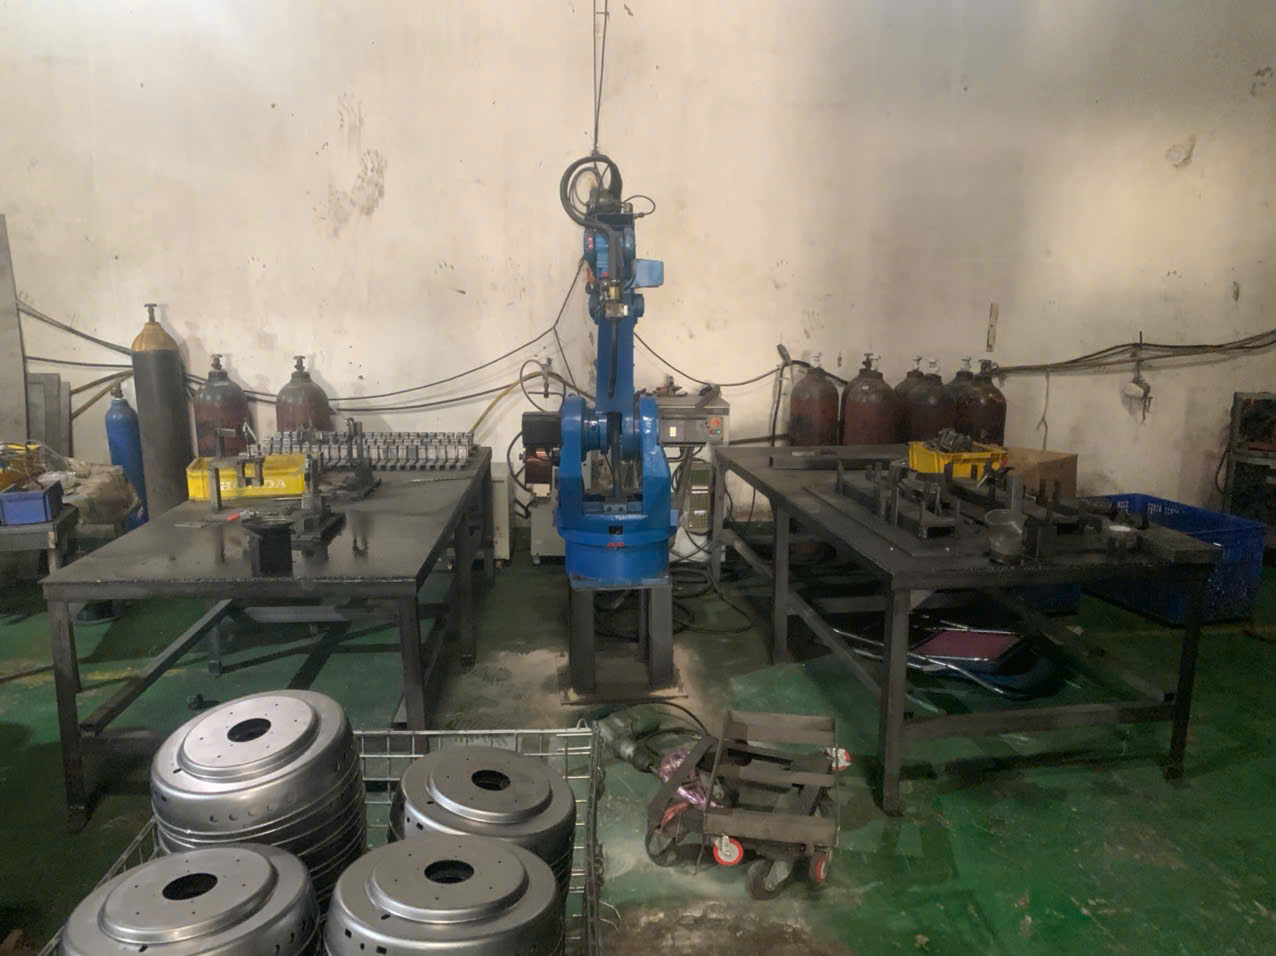
Laser welding compatibility is not a yes-or-no question. It depends on several material-specific factors:
- Chemical composition: Carbon content, manganese, chromium, and other alloying elements directly affect the weld pool behavior and the resulting microstructure. Higher carbon equivalents increase the risk of hard, brittle martensite in the HAZ.
- Thermal conductivity: Materials with high thermal conductivity (like aluminum alloys) dissipate heat rapidly, requiring higher laser power for adequate penetration.
- Reflectivity: Highly reflective metals bounce the laser beam, reducing energy absorption. Fiber lasers at 1070 nm wavelength handle this better than older CO2 lasers.
- Coatings: Zinc coatings on automotive steels generate vapor during welding, which can cause porosity if not managed through joint design (e.g., controlled gaps in lap joints).
Alloy-Specific Considerations
| Alloy Category | Laser Weldability | Key Concerns |
|---|---|---|
| Mild Steel (up to 350 MPa) | Excellent | Minimal issues; wide parameter window |
| AHSS (350–800 MPa, e.g., DP, TRIP) | Good | HAZ softening possible; Erichsen test recommended |
| AHSS (above 800 MPa, e.g., Martensitic) | Moderate with caution | Toughness below 20 J/cm²; post-annealing may be needed |
| High Strength Low Alloy (HSLA) Steels | Good to excellent | Well-suited; moderate carbon equivalent helps |
| Aluminum Alloys (5xxx, 6xxx) | Moderate | High reflectivity; porosity risk; may need filler wire |
| Stainless Steels (304, 316) | Good | Sensitization risk in HAZ if parameters are wrong |
Optimizing Process Parameters for Your Alloy
Once you know the alloy, you must dial in the welding parameters. The four critical variables are:
- Laser power: Must match material thickness. For thinner high-strength sheets (1–2 mm), around 900 W has produced homogeneous, defect-free welds in our experience.
- Welding speed: Too fast causes lack of fusion. Too slow causes excessive heat input, widening the heat-affected zone and degrading base material properties.
- Shielding gas: Argon is the standard choice for most steels. Helium offers better plasma suppression for deep-penetration welds but costs more. The shielding gas isolates the molten weld pool from atmospheric contaminants, preventing oxidation and unwanted chemical reactions.
- Joint design and fit-up: This is where many projects fail. For butt joints in AHSS, the gap should be 3–10% of the thinnest sheet thickness, and offset should stay within 5–12%. Self-locating features like pins or tongue-and-groove profiles improve assembly consistency. Rigid fixtures must clamp workpieces immediately adjacent to the weld seam to minimize gaps.
When Compatibility Is Borderline
If initial weld trials show acceptable tensile strength but low toughness or excessive hardness, the solution is not to abandon laser welding. Post-annealing treatments — either with a second, defocused laser pass or high-frequency induction equipment — can temper the martensite and restore ductility. We have successfully used this approach on projects involving martensitic steels where the as-welded hardness was too high for the client's application.
The key takeaway: always run weld trials on the actual production alloy. Do not rely on data sheets or generic recommendations. Every alloy batch can vary slightly, and the only way to confirm compatibility is through physical testing and microstructure analysis on your specific material.
Conclusion
Evaluating laser welding for high-strength structural sheet metal requires testing, parameter optimization, material verification, and disciplined quality control — getting these right means getting your parts right the first time.
Frequently Asked Questions
How do I verify that laser welding will maintain the structural integrity of my high-strength sheet metal parts?
A few months ago, our engineering team in Vietnam ran a side-by-side comparison on a batch of mounting brackets — one set welded with TIG, the other with fiber laser — and the difference in distortion control alone changed our client's mind.
Is laser welding the most cost-effective choice for my custom high-strength structural fabrication project?
One trade-off I weigh with nearly every new project is whether the upfront cost of laser welding equipment and setup will pay off over the production lifecycle — or whether a simpler process like MIG or TIG makes more financial sense.
What quality control standards should I require from my supplier to ensure my laser-welded components are right the first time?
During a recent supplier audit at a facility in Vietnam, I noticed their laser welding cell had no in-process monitoring — they were running production and only checking parts at the end of the shift. That is how entire batches go wrong.
Footnotes
1. Explains critical variables for effective laser welding. ↩︎
2. Defines a class of steels known for strength and weldability. ↩︎
3. Explains the importance of maintaining a component’s ability to withstand loads. ↩︎
4. Explains a fundamental mechanical property of materials. ↩︎
5. Describes a specific test for sheet metal formability. ↩︎
6. Explains the examination of material internal structure for quality. ↩︎
7. Explains a critical test for material endurance under repeated stress. ↩︎
8. Authoritative source (TWI Global) with a clear explanation of destructive testing. ↩︎
9. Authoritative source (Quality-One) providing a comprehensive explanation of PPAP. ↩︎