
Last quarter, a client’s entire batch of mounting brackets failed in the field — not because of bad steel, but because the coating peeled off within weeks adhesion strength 1. That single quality escape cost tens of thousands in rework and damaged trust with an end-user.
To evaluate powder coating and e-coating quality when sourcing sheet metal fabrication, focus on five critical metrics: dry film thickness, adhesion strength, surface appearance, degree of cure, and corrosion resistance, validated through standardized tests like ASTM D3359, ASTM D3363, and ISO 9227 salt spray.
The sections below walk through exactly how to verify each metric, audit your supplier’s processes, choose the right coating method, and lock down the documentation you need E-coating pre-treatment process 2. Let’s get into it.
How can I verify that my supplier's powder coating meets ASTM standards for adhesion and thickness?
A few years back, we received coated brackets from a supplier that looked perfect. Glossy, smooth, uniform color. But when our QC team ran a cross-hatch adhesion test, the coating lifted right off. That experience changed how we approach coating verification on every project.
Verify your supplier's powder coating by requiring dry film thickness measurements within 2–3 mils using calibrated gauges, cross-hatch adhesion testing per ASTM D3359, and pencil hardness testing per ASTM D3363. Demand documented test results for every production batch before shipment.
Dry Film Thickness: The Foundation of Coating Quality
Film thickness is the single most important measurement in powder coating 3. If the coating is too thin, coverage is incomplete. Too thick, and you risk cracking, poor adhesion, and wasted material. The ideal range for most sheet metal applications is 2–3 dry mils.
Use a calibrated dry film thickness 4 gauge on flat surfaces. Test multiple points across the part — edges, corners, recessed areas, and flat panels. Complex geometries like the angular mounting brackets we regularly source can have significant thickness variation. Edges tend to run thin while recessed pockets can accumulate excess powder.
Here is a practical reference table:
| Measurement Point | Target DFT (mils) | Common Issue if Out of Spec |
|---|---|---|
| Flat surfaces | 2.0–3.0 | Color shift, poor gloss if too thin |
| Edges and bends | 1.5–2.5 | Bare spots, early corrosion |
| Recessed areas | 2.0–3.5 | Orange peel, runs if too thick |
| Near mounting holes | 2.0–3.0 | Dimensional tolerances affected if excessive |
Our team always requests that suppliers measure DFT both pre-cure and post-cure. Pre-cured thickness monitoring helps fine-tune the spray application before committing to the oven. This reduces scrap and overspray. But post-cure DFT confirmation is equally necessary — never accept one without the other.
Adhesion Testing: Does the Coating Actually Stick?
The cross-hatch adhesion test per ASTM D3359 5 is straightforward. The supplier cuts a grid of lines into the coating — five cuts in each direction, creating a tic-tac-toe pattern. They press standard tape over the grid, pull it off, and examine the result. No coating removal means a pass. Any lifting or flaking is a fail.
This test is non-negotiable. A part can look flawless but fail catastrophically if the surface preparation was inadequate. We always require adhesion testing under both dry and wet conditions for parts that will see outdoor or humid environments.
Pencil Hardness: Confirming the Cure
The pencil hardness test per ASTM D3363 6 tells you whether the coating has fully cured. Push a pencil at a 45-degree angle across the surface. If the pencil cuts through to bare metal, the coating failed. This test reflects scratch resistance and degree of cure.
Complement it with a solvent rub test. Rub 25 double strokes with an MEK- or acetone-soaked cotton swab. If no color transfers onto the swab, the curing process was successful. If residue appears, the coating is under-cured — and under-cured coatings will fail in service, guaranteed.
What steps should I take to audit my supplier's E-coating pre-treatment process to ensure long-term corrosion resistance?
When we first started auditing E-coating suppliers in Vietnam, one thing surprised us. Two facilities used nearly identical paint systems, yet their salt spray results differed by hundreds of hours. The difference came down entirely to pre-treatment.
Audit your supplier's E-coating pre-treatment by inspecting the cleaning, phosphating, and rinsing stages on-site. Verify bath chemistry logs, rinse water quality, and phosphate crystal structure. Require salt spray test results per ISO 9227, targeting a minimum of 500–1000 hours for industrial sheet metal applications.
Why Pre-Treatment Makes or Breaks E-Coating
E-coating (electrocoating) works by immersing parts in a paint bath and applying electric current. The coating deposits uniformly — even inside tubes, around bends, and through the complex geometries of brackets with multiple folds and cutouts. This uniform coverage is E-coating's greatest advantage.
But that uniformity means nothing if the substrate is contaminated. Surface preparation is the foundation. Any oil, oxide, or mill scale left on the metal will prevent proper bonding. The coating will look fine initially, then blister and corrode within months.
The Pre-Treatment Stages to Audit
Here is the typical E-coating pre-treatment sequence and what to check at each stage:
| Stage | Purpose | What to Verify During Audit |
|---|---|---|
| Alkaline cleaning | Remove oils, greases, shop dirt | Bath concentration, temperature, dwell time logs |
| Rinse (1st) | Remove cleaning chemicals | Water quality, conductivity readings |
| Acid pickling | Remove rust and mill scale | Acid concentration, surface condition after stage |
| Rinse (2nd) | Remove acid residue | Fresh water flow rate, contamination levels |
| Phosphating | Create conversion coating for adhesion | Crystal structure (zinc vs. iron phosphate), coating weight |
| Final rinse (DI water) | Remove all contaminants before E-coat | Conductivity of rinse water (should be very low) |
| E-coat immersion | Electrodeposition of coating | Voltage, bath solids, pH, temperature |
| Curing oven | Cross-link the coating | Oven temperature profile, dwell time |
During on-site audits, our team checks whether bath chemistry is logged daily, whether rinse water is replaced on schedule, and whether phosphate coating weight is tested at least every shift. Suppliers who skip these controls produce inconsistent corrosion resistance 7.
Corrosion Testing: The Final Proof
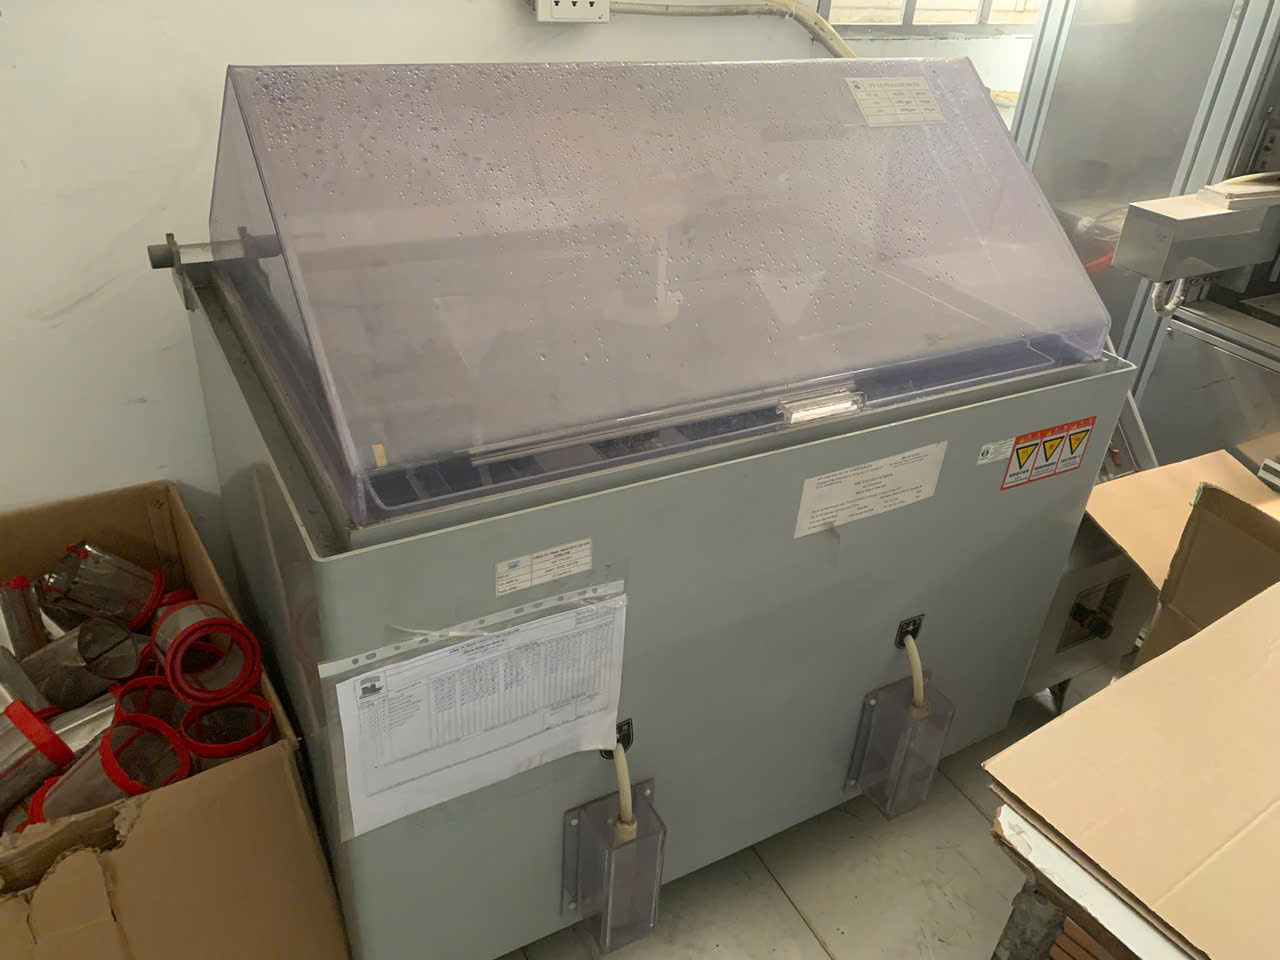
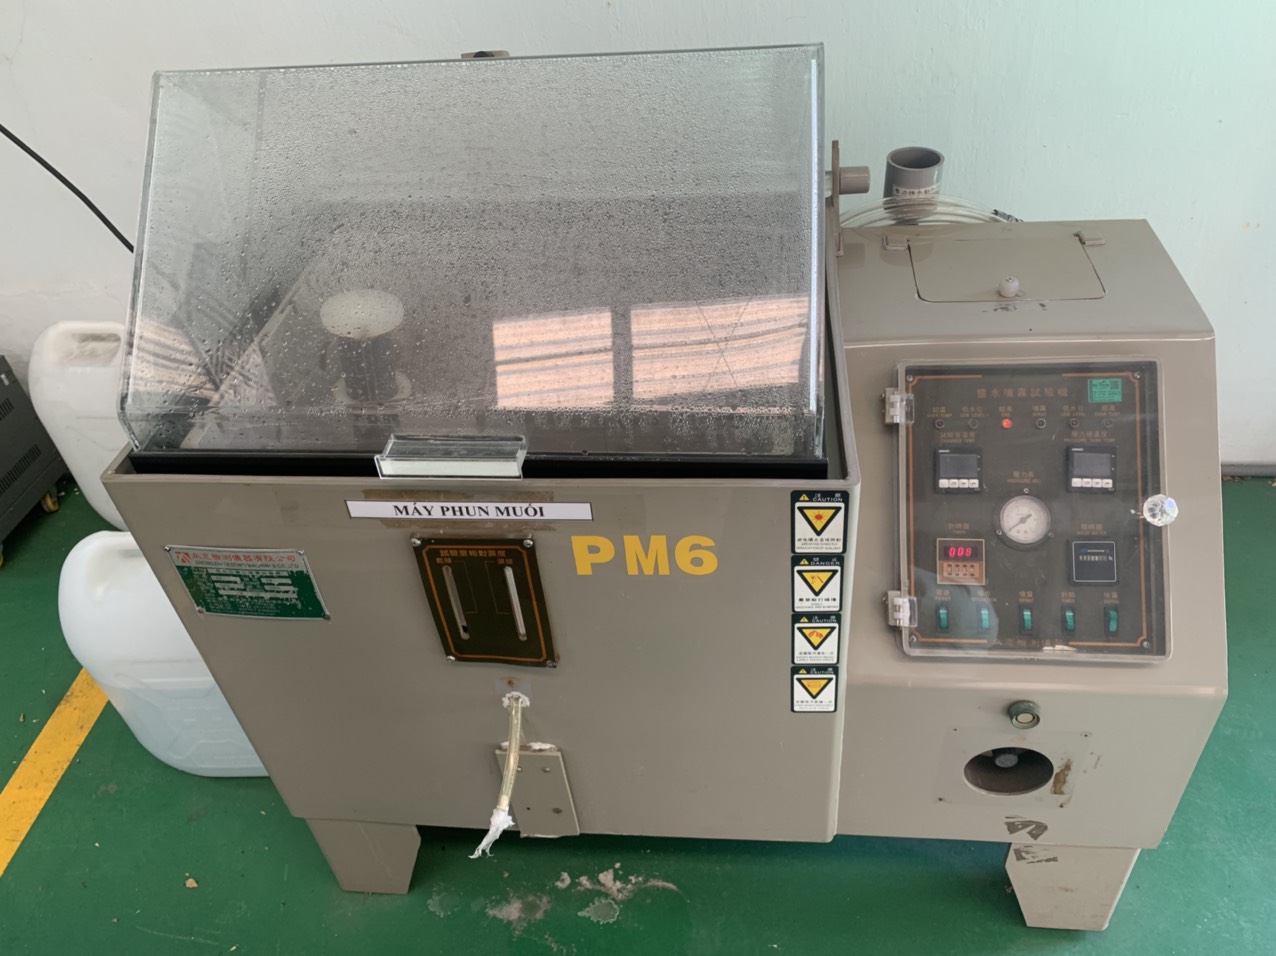
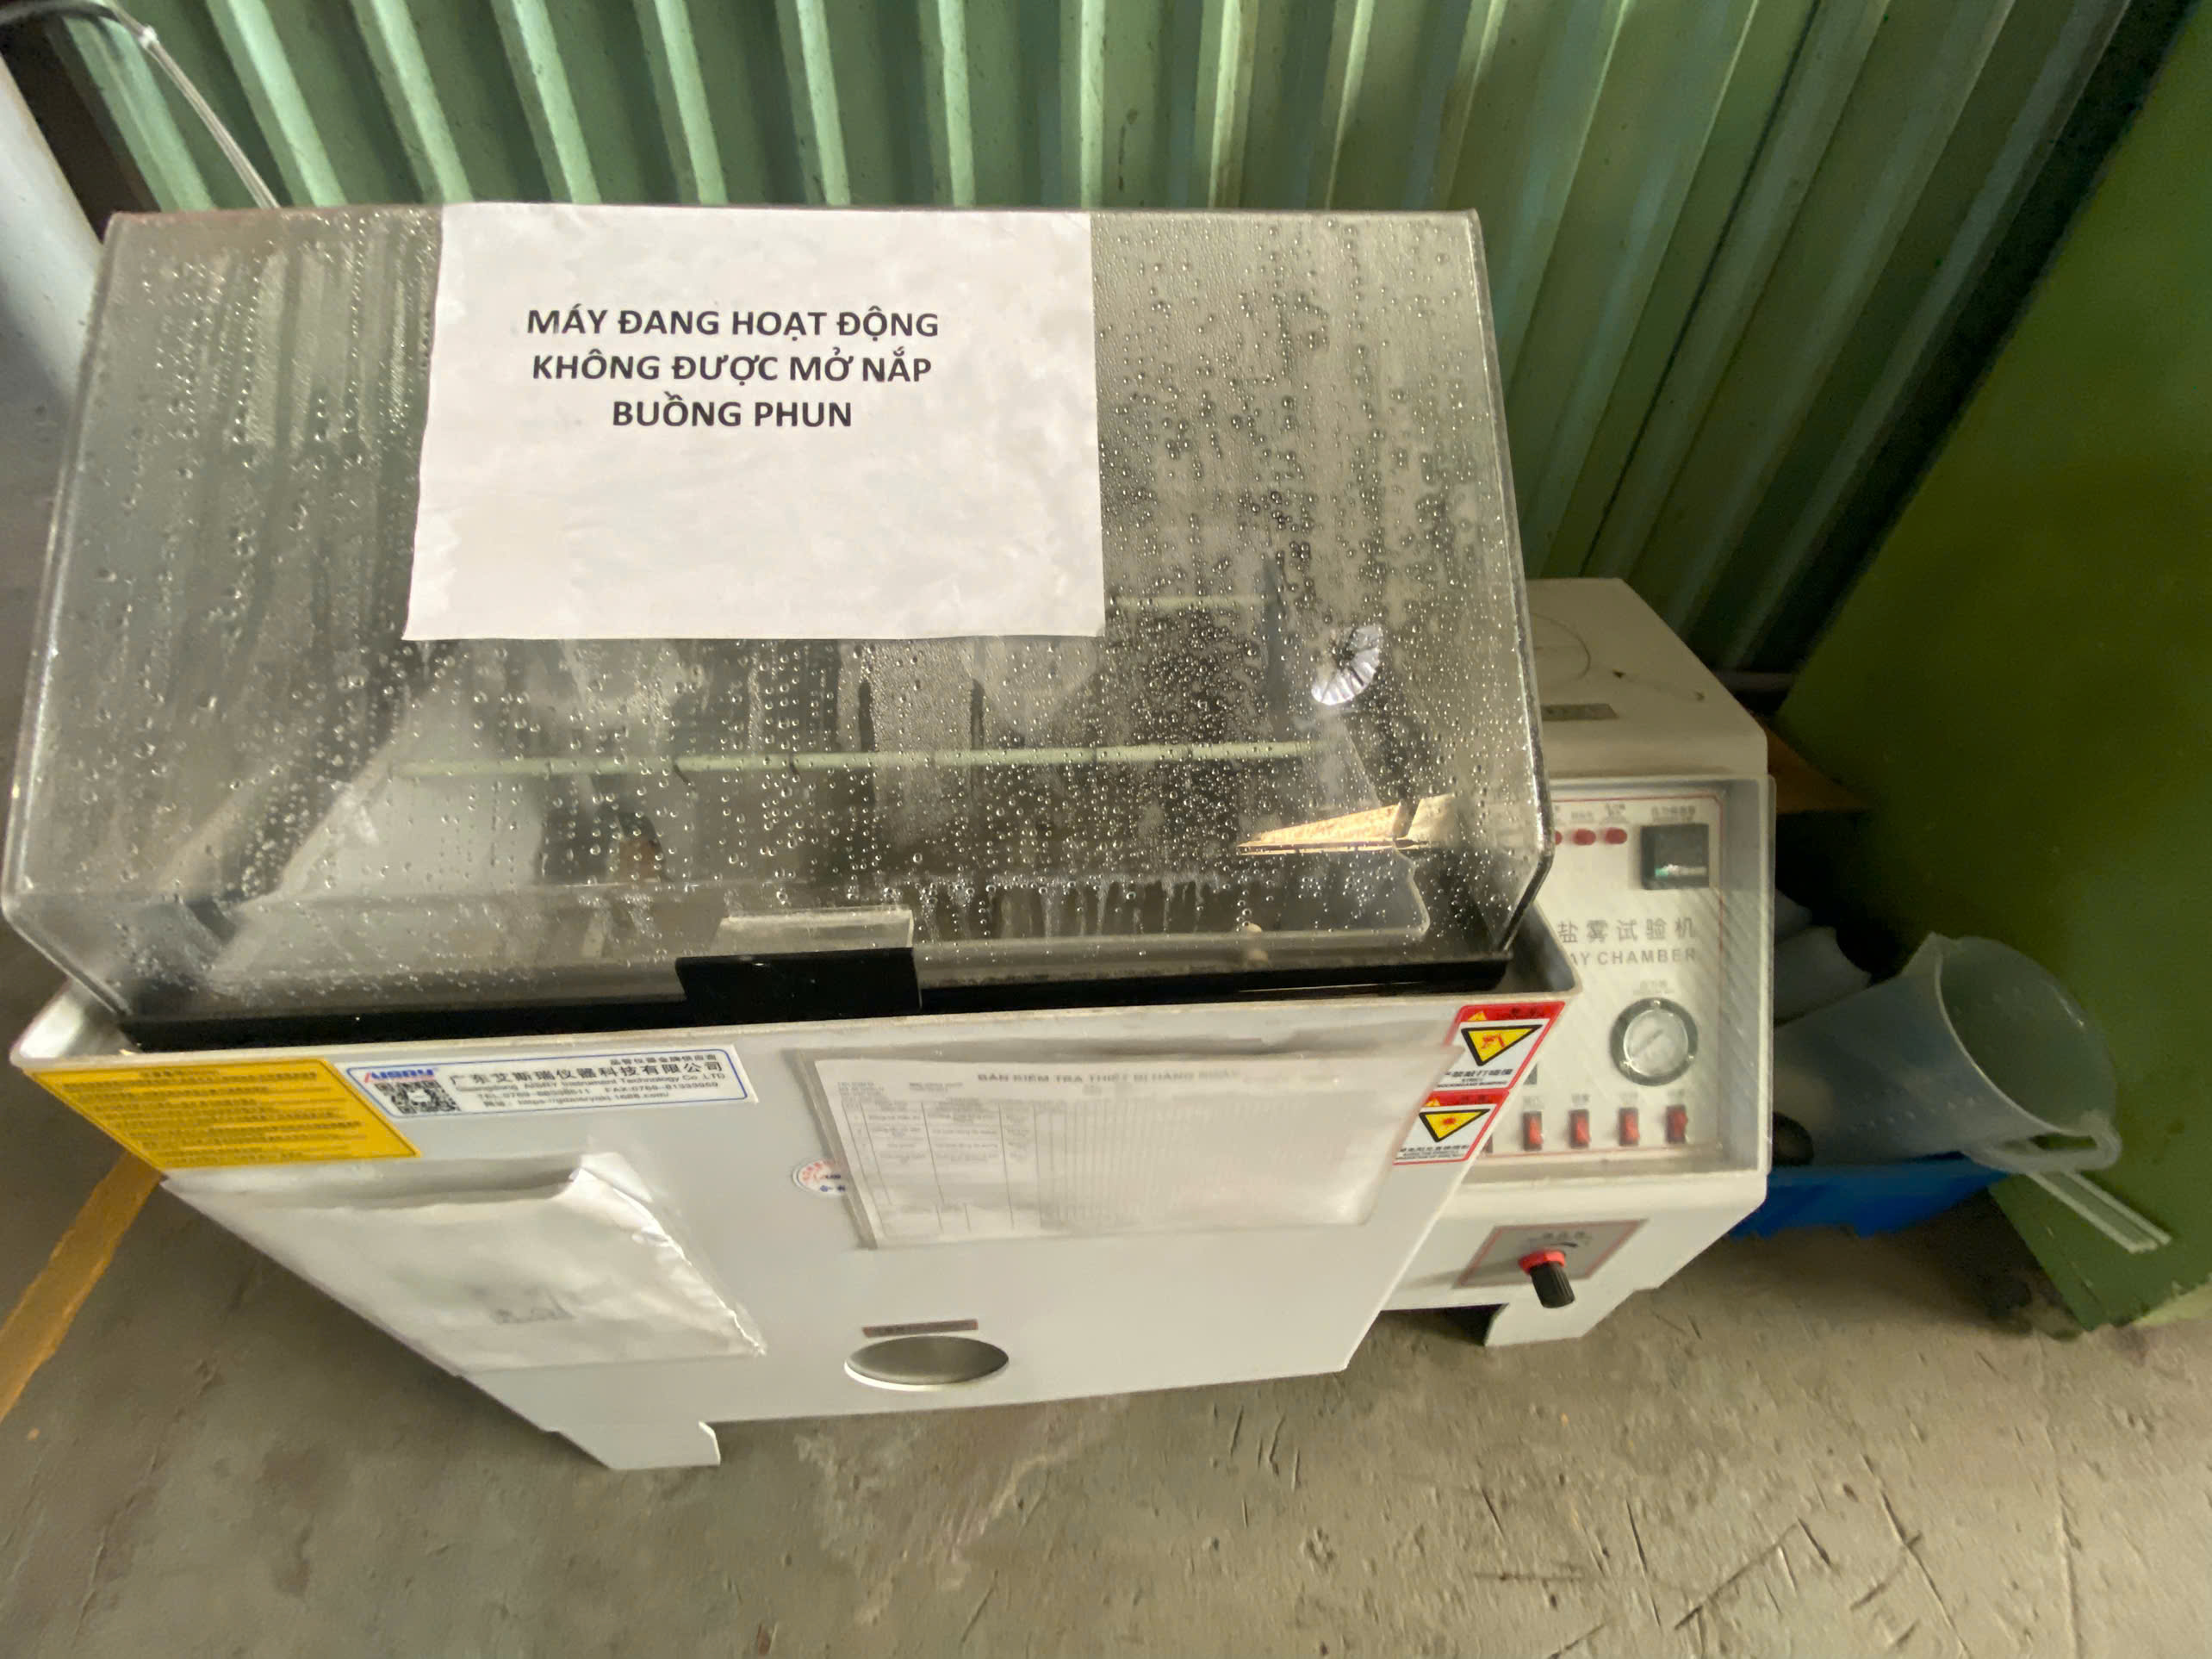
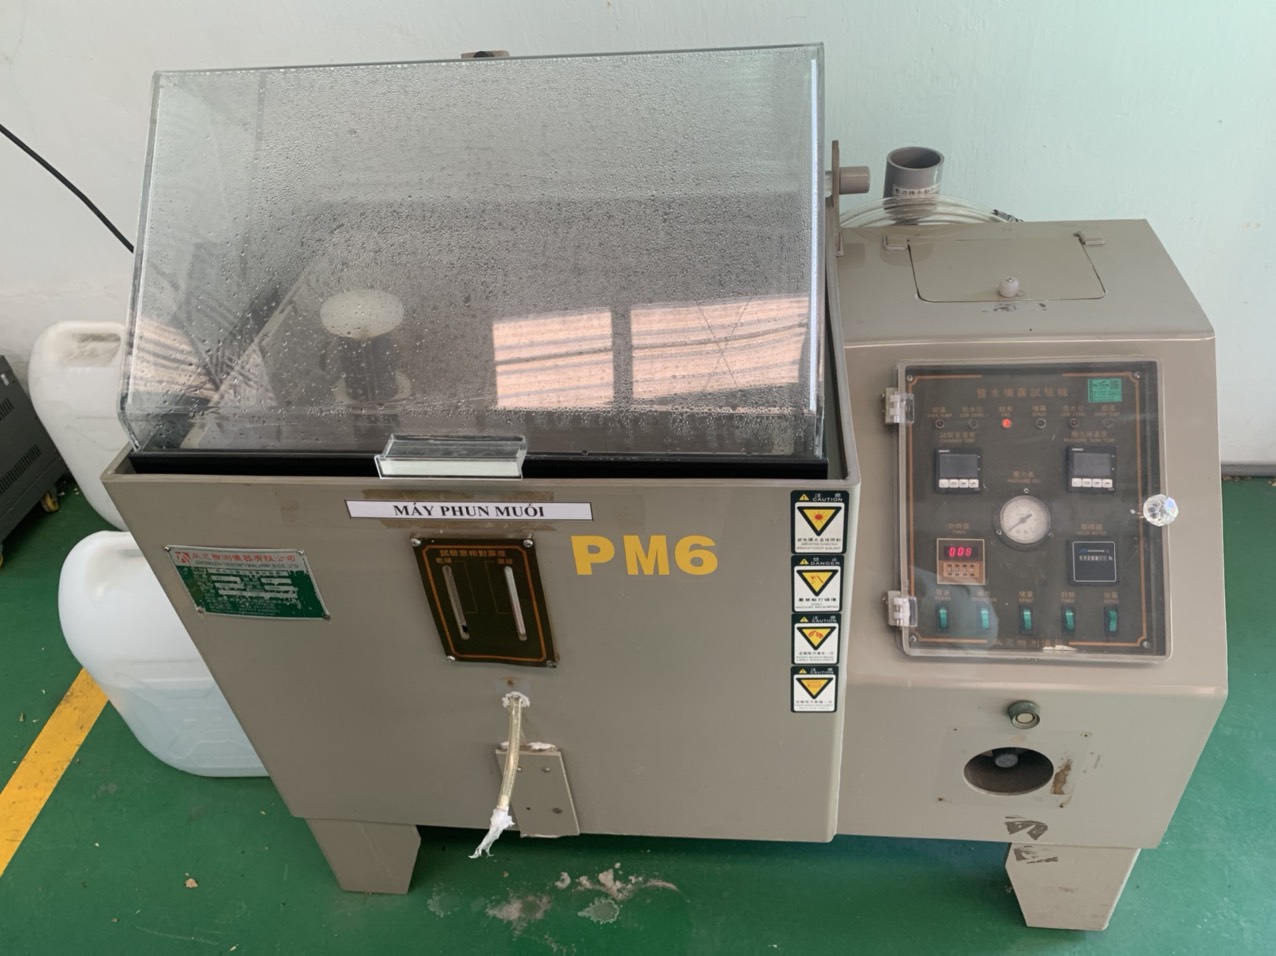
Salt spray testing per ISO 9227 8 is the standard method for evaluating corrosion resistance. Neutral salt spray (NSS) is the most common variant. For harsh environments, acetic acid salt spray (AASS) or humid atmosphere testing with sulfur dioxide per ISO 6270 may be more appropriate.
Ask your supplier for salt spray hours achieved on recent production. Compare the results against your application requirements. Indoor industrial equipment may need 250–500 hours. Outdoor or marine applications often require 1000+ hours. Accelerated corrosion test results should be correlated to damage ratings per ISO 4628.
We also recommend requesting filiform corrosion testing for parts that will see high humidity over long periods. This test reveals how the coating resists threadlike corrosion that creeps under the film — a failure mode that salt spray alone may not predict.
Practical Audit Tips
Walk the line. Watch parts move from cleaning through phosphating and into the E-coat bath. Look for skipped rinse stages, dirty bath surfaces, or parts that sit too long between stages. Ask operators about their daily checks. A well-run line has documented procedures and trained staff who understand why each step matters.
How do I decide whether powder coating or E-coating is better suited for my specific sheet metal application?
A client recently asked us to source a set of heavy-duty mounting brackets — mirrored pairs with sharp bends, irregular cutouts, and multiple mounting holes. The question was not just which supplier to use, but which coating method to specify. That decision depended on part geometry, environment, volume, and cost.
Choose E-coating when your parts have complex geometries requiring uniform interior coverage and high corrosion resistance. Choose powder coating when you need thicker films, wider color options, UV resistance, or a decorative finish. For many industrial applications, E-coating serves as a primer with powder coating applied as a topcoat.
Side-by-Side Comparison
The choice between powder coating and E-coating is not always either/or. But understanding their strengths helps you specify the right solution.
| Factor | Powder Coating | E-Coating |
|---|---|---|
| Film thickness | 2–6 mils typical | 0.6–1.2 mils typical |
| Coverage uniformity | Good on flat surfaces; edges can be thin | Excellent — coats recesses, interiors, edges evenly |
| Corrosion resistance | Good with proper pre-treatment | Excellent — often used as corrosion-resistant primer |
| Color and finish options | Very wide range; gloss, matte, textured | Limited; typically black or gray primer |
| UV resistance | Good to excellent depending on chemistry | Limited; E-coat alone may chalk outdoors |
| Cost per part (high volume) | Moderate | Lower for high-volume automated lines |
| Ideal part geometry | Flat or moderately complex | Highly complex with recesses and holes |
| Application method | Electrostatic spray | Immersion in electrocoat bath |
When to Use Each Method
For parts like simple flat brackets or enclosures that need a decorative finish with good durability, powder coating is usually the right call. The color and texture options are far broader, and the thicker film provides solid mechanical protection.
For parts with deep recesses, tubular sections, or the kind of multi-dimensional folds you see in heavy-duty mounting brackets, E-coating delivers coverage that powder spray simply cannot match. The electrical deposition reaches everywhere the bath touches.
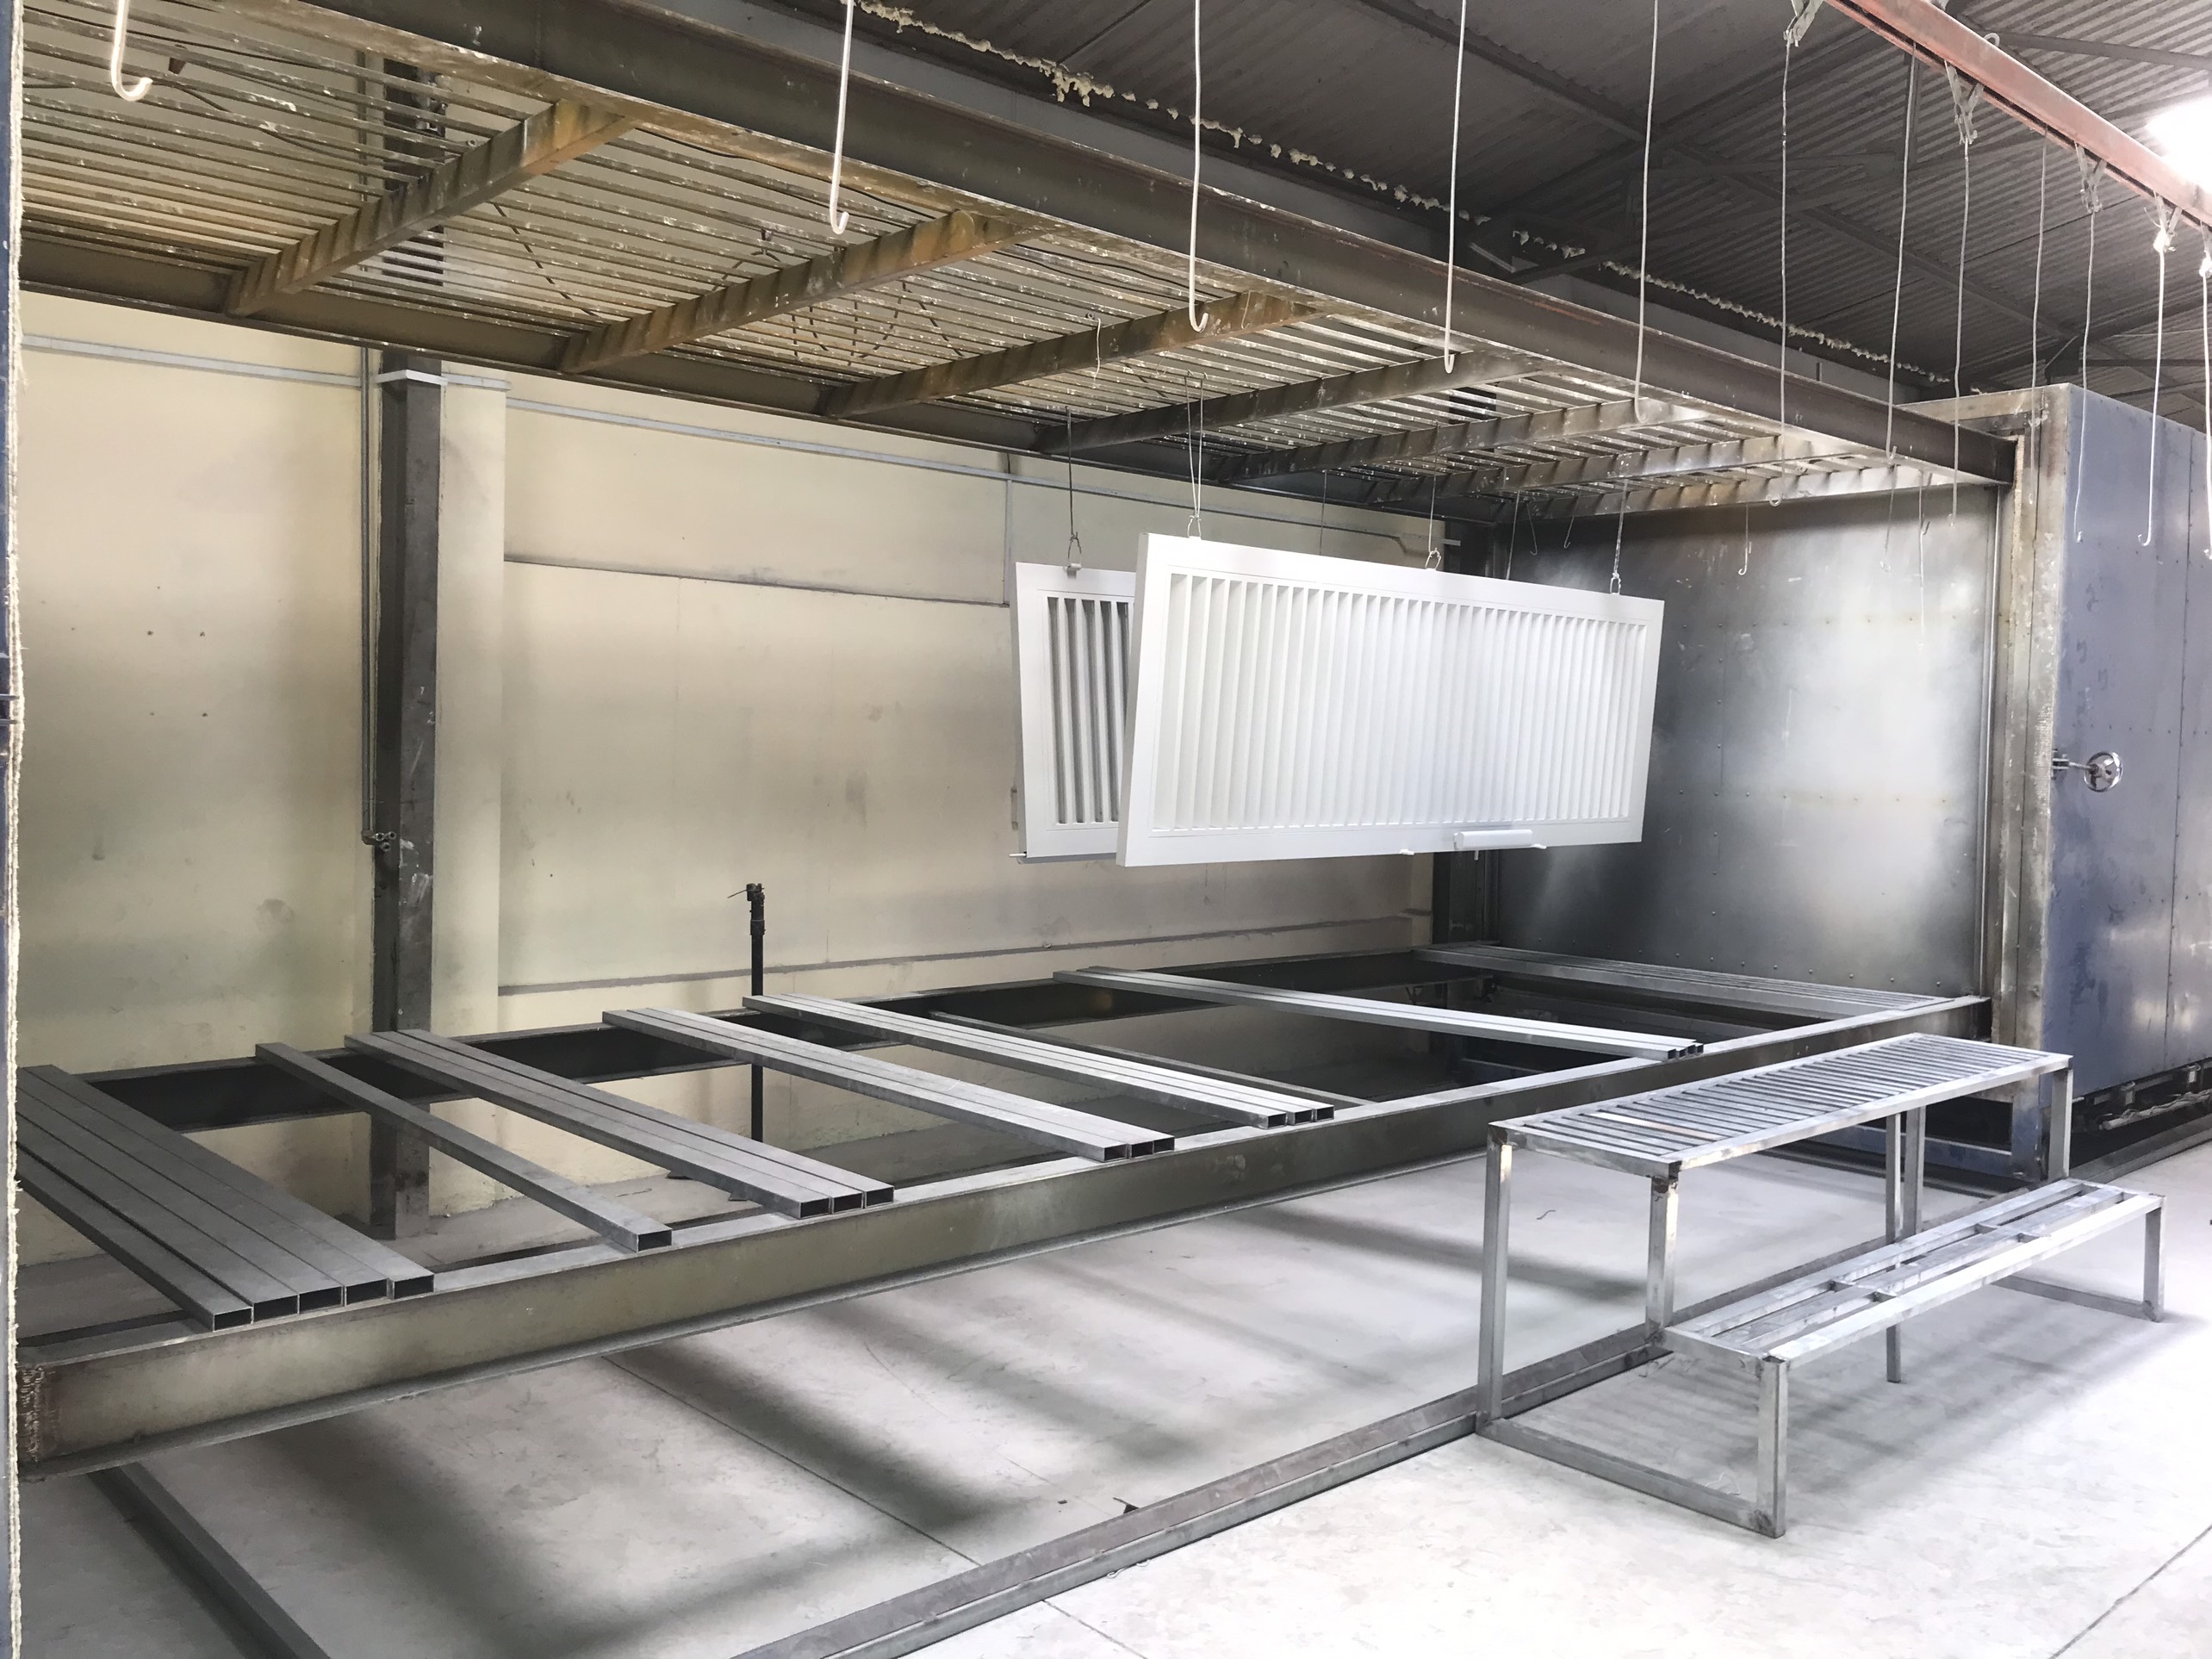
Many high-performance applications use both. E-coat goes on first as a corrosion-resistant primer. Powder coating goes on top for color, UV resistance, and aesthetics. This dual-coat approach is common in automotive, outdoor equipment, and industrial hardware.
Consider Your Operating Environment
If the parts live indoors in a climate-controlled space, powder coating alone is usually sufficient. If the parts face rain, salt, chemicals, or sustained humidity, E-coating as a primer is worth the added cost. And if you need both UV resistance and corrosion resistance, the dual-coat system is the most reliable path.
Our engineering team helps clients evaluate these trade-offs early in the project. The worst outcome is discovering mid-production that the specified coating cannot meet the end-use requirements — that leads to costly rework and delays.
What quality control documentation should I require to guarantee consistent finish quality across my production batches?
On one of our early projects, we accepted parts based on a first-article inspection and assumed subsequent batches would match. They did not. The third batch came in with visible orange peel and adhesion failures. The root cause was a supplier who had no quality control plan for ongoing production. Lesson learned.
Require a comprehensive documentation package including first-article inspection reports, batch-level DFT readings, cross-hatch adhesion test results, cure verification records, salt spray certifications, and a written quality control plan that defines acceptance criteria, testing frequency, and corrective action procedures.
The Documentation Package You Need
Consistent finish quality does not happen by accident. It requires a documented system with clear standards, regular testing, and traceable records. Here is a practical breakdown of what to require and why.
First-Article Inspection Report (FAIR)
Before full production begins, your supplier should coat a set of sample panels or actual parts and submit a complete FAIR. First-Article Inspection Report 9 This report should include DFT measurements at multiple points, adhesion test results, pencil hardness or solvent rub results, visual inspection notes, and photographs. This FAIR becomes the reference standard for all subsequent batches.
We often run pre-production panel testing as well. The supplier coats test panels using the same powder or E-coat intended for production. These panels go through adhesion testing, salt spray exposure, and cure verification before a single production part is coated. This catches powder behavior issues — flow, coverage, orange peel — early.
Batch-Level Test Records
Every production batch should be accompanied by documented test results. At minimum:
- DFT readings (at least 3–5 measurement points per part, multiple parts per batch)
- Cross-hatch adhesion test result (pass/fail per ASTM D3359)
- Visual inspection summary (defects per square foot, pinhole and blister count)
- Cure verification (solvent rub or pencil hardness per ASTM D3363)
Define measurable appearance standards early. For example: no more than 2 visible imperfections per square foot, zero pinholes or blisters on primary surfaces. Some suppliers argue that appearance standards are subjective. They are not. Put numbers on them. Write them into the specification.
Written Quality Control Plan
Your supplier should maintain a written quality control plan that covers:
- Incoming material checks (substrate thickness, grade, surface condition)
- Pre-treatment process monitoring (bath chemistry, rinse water quality)
- Application parameters (spray gun settings, booth temperature, or E-coat bath voltage and pH)
- Curing oven temperature profiles and dwell times
- Final inspection criteria and sampling rates
- Corrective action procedures when defects are found
This document should be reviewed and agreed upon before production starts. It should reference the applicable ASTM standards and ISO standards your application requires.
Ongoing Monitoring and Traceability
For critical applications, consider requiring real-time process monitoring. IoT sensors can track bath temperature, pH levels, electrostatic charge, and oven temperature continuously. This data provides traceability — if a field failure occurs, you can trace back to the exact batch, the exact process conditions, and identify the root cause.
Our team reviews supplier documentation as part of every PPAP submission. We verify that test equipment is calibrated, that testing is performed at the stated frequency, and that records are retained for the agreed period. This discipline is what separates suppliers who deliver consistent quality from those who deliver surprises.
Conclusion
Evaluating powder coating and e-coating quality requires testing beyond visual inspection — verify film thickness, adhesion, cure, and corrosion resistance with documented, standardized methods to protect your production investment and avoid costly field failures.
Frequently Asked Questions
Adhesion Testing: Does the Coating Actually Stick?
The cross-hatch adhesion test per ASTM D3359 5 is straightforward. The supplier cuts a grid of lines into the coating — five cuts in each direction, creating a tic-tac-toe pattern. They press standard tape over the grid, pull it off, and examine the result. No coating removal means a pass. Any lifting or flaking is a fail.
How can I verify that my supplier's powder coating meets ASTM standards for adhesion and thickness?
A few years back, we received coated brackets from a supplier that looked perfect. Glossy, smooth, uniform color. But when our QC team ran a cross-hatch adhesion test, the coating lifted right off. That experience changed how we approach coating verification on every project.
What steps should I take to audit my supplier's E-coating pre-treatment process to ensure long-term corrosion resistance?
When we first started auditing E-coating suppliers in Vietnam, one thing surprised us. Two facilities used nearly identical paint systems, yet their salt spray results differed by hundreds of hours. The difference came down entirely to pre-treatment.
Footnotes
1. Provides an overview of coating adhesion tests and their significance. ↩︎
2. Provides a detailed explanation of the e-coating process, including surface preparation (pretreatment) as the first step. ↩︎
3. Provides a comprehensive overview of the powder coating process and its applications. ↩︎
4. Explains the importance and methods of measuring dry film thickness in coatings. ↩︎
5. Official ASTM International standard for measuring adhesion by tape test. ↩︎
6. Official ASTM International standard for determining film hardness by pencil test. ↩︎
7. Explains the definition, mechanisms, and importance of corrosion resistance in materials. ↩︎
8. Authoritative source providing a comprehensive overview of the ISO 9227 standard and its salt spray testing methods. ↩︎
9. Explains the purpose and components of a First Article Inspection Report (FAIR). ↩︎