
Evaluating riveting and fastener processes for sheet metal fabrication 1 is something our engineering team walks through with every new client project — and getting it wrong costs more than most buyers expect.
To evaluate riveting and fastener processes for sheet metal fabrication, assess the supplier’s equipment precision, quality control benchmarks, drawing interpretation capabilities, and automation level. These four pillars determine whether your assemblies meet tolerance, strength, and delivery requirements consistently.
The difference between a reliable sheet metal assembly and a failing one often comes down to how fasteners are selected, installed, and inspected. Below, I will break down each evaluation area so you can audit your supplier before committing to a purchase order.
How can I assess if a supplier's riveting equipment is precise enough for my custom sheet metal tolerances?
A lesson we learned early in our Vietnam facility was that even a well-made sheet metal part can fail at the joint if the riveting equipment 2 drifts out of calibration by just a few hundredths of a millimeter.
Assess a supplier's riveting precision by reviewing their equipment calibration records, asking for hole tolerance data, verifying grip range capability against your material stack-up, and requesting sample parts with measured rivet pull-out and shear strength values before production begins.
Why Equipment Type Matters
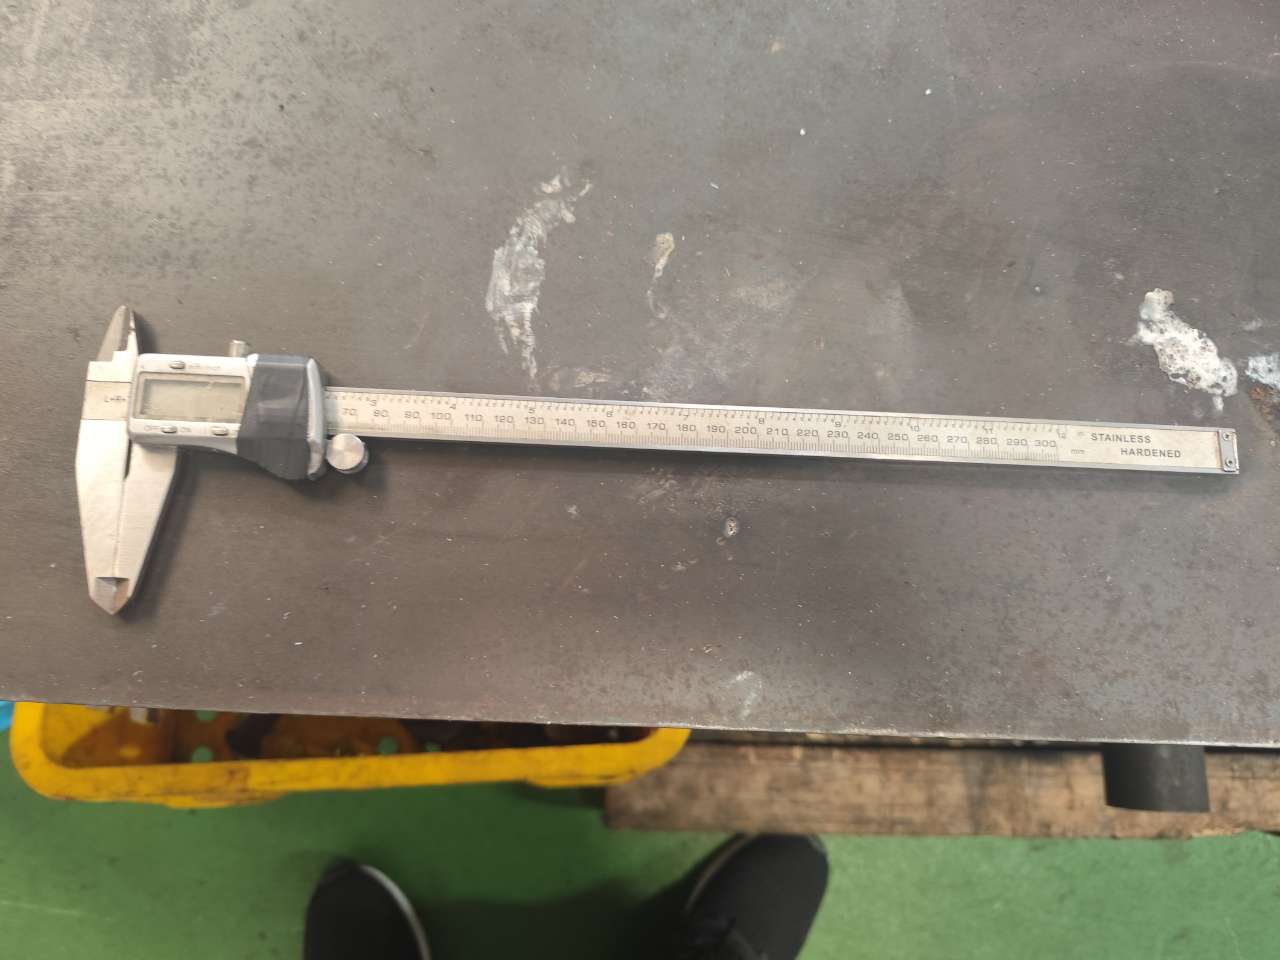
Not all riveting equipment is equal. A manual squeeze riveter applies force differently than a pneumatic or hydraulic press. For tight tolerances — say ±0.05 mm on hole position — you need CNC-punched or laser-cut holes paired with consistent riveting force. When we audit suppliers in Asia, the first thing we check is whether their riveting stations have force-monitoring capability. Without it, you cannot verify that each rivet receives the same clamping force.
Hole Tolerances and Grip Range
Rivets rely on a precise relationship between hole diameter and rivet shank diameter. If the hole is too large, the rivet cannot fill the gap and shear strength 3 drops. If it is too small, installation becomes inconsistent. The grip range — the total thickness of material the rivet must clamp — must also match the rivet specification exactly.
| Parameter | What to Check | Acceptable Range |
|---|---|---|
| Hole Diameter Tolerance | CNC punch or laser accuracy | ±0.05 mm for structural rivets |
| Grip Range Match | Material stack-up vs. rivet spec | Rivet must cover full stack without excess shank |
| Rivet Pull Force | Equipment force monitoring logs | Per rivet manufacturer spec (e.g., 800–1200 N for M4 blind rivets) |
| Hole Position Accuracy | Fixture or CNC coordinates | ±0.1 mm from drawing nominal |
| Equipment Calibration | Certificate date and frequency | Calibrated within last 6 months |
Practical Steps for Your Audit
Ask the supplier to produce five sample assemblies using your actual drawing. Measure hole positions with a CMM or optical comparator. Then perform a destructive pull test on at least two rivets per sample. Compare the results to the rivet manufacturer's published shear strength data. If the supplier cannot provide these samples or refuses destructive testing, that is a red flag.
In our experience managing supplier audits across Vietnam and China, we have found that suppliers who invest in pneumatic or servo-driven riveting tools tend to produce far more consistent joints. Manual tools introduce operator variability. This does not mean manual tools are always bad — for low volumes, they work fine. But for production runs over a few hundred units, you want repeatable force application.
Also, check whether the supplier uses dedicated fixtures to hold parts during riveting. Without proper fixturing, sheets can shift, causing misaligned holes and gaps between layers. A feeler gauge check between mating surfaces should show zero clearance on a properly riveted joint.
What quality control benchmarks should I use to evaluate a manufacturer's fastener assembly process?
One of the most common complaints we hear from U.S. purchasing managers is that their overseas supplier "passed inspection" but the assembled product still failed in the field — usually because the quality control benchmarks were too vague or missing entirely.
Use quantifiable benchmarks including rivet pull-out force testing, torque verification for threaded fasteners, visual inspection criteria for riveting defects, dimensional checks on installed fastener positions, and first-article inspection reports aligned with your PPAP requirements to evaluate fastener assembly quality.
Defining Your Inspection Criteria
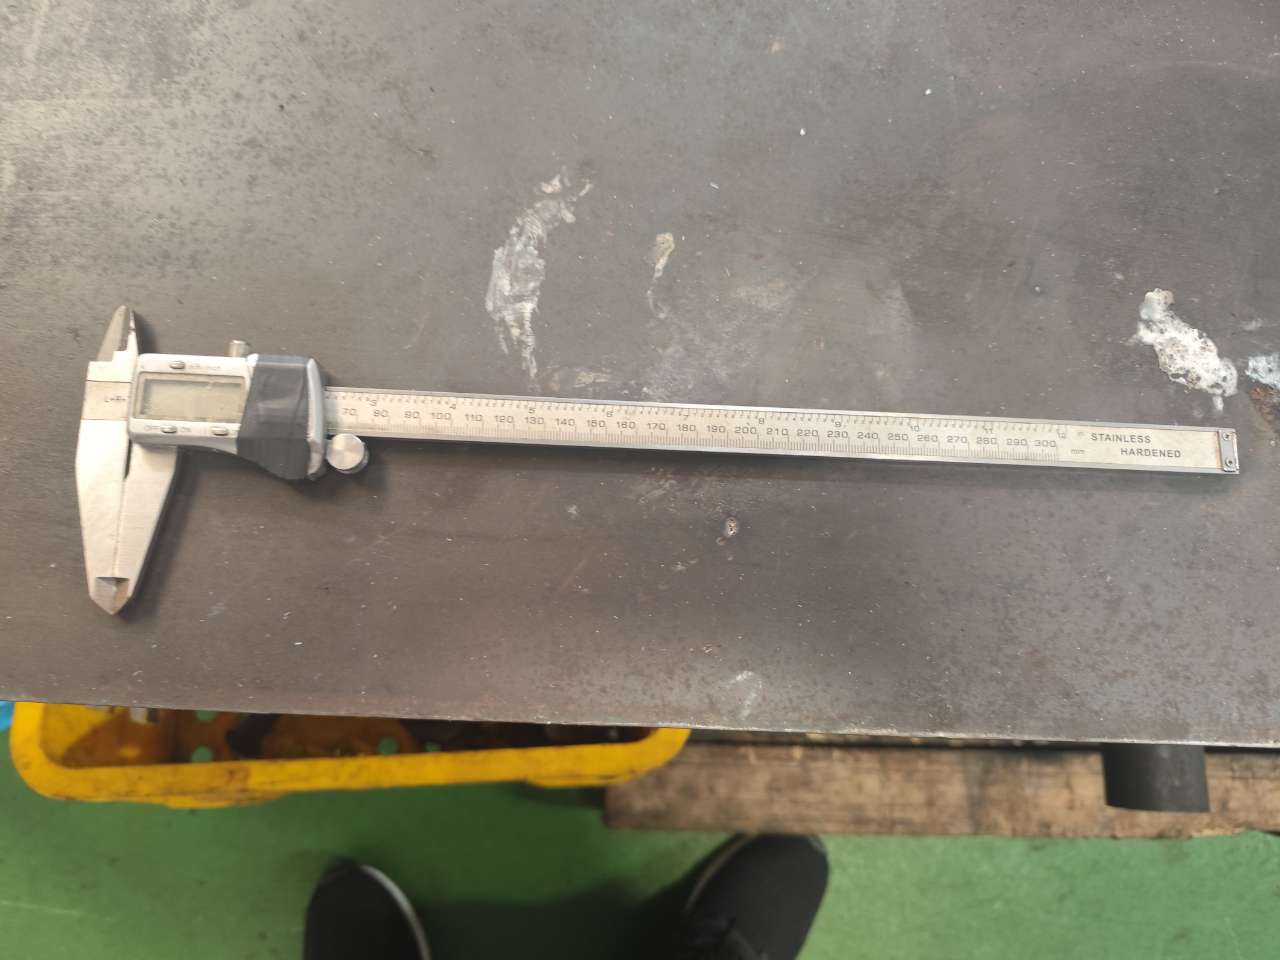
Quality control for fastener assembly is not just a visual check. You need measurable criteria. Here is a framework we use when setting up inspection plans with our contract manufacturers:
| Benchmark | Method | Pass/Fail Criteria |
|---|---|---|
| Rivet Flush Height | Dial indicator or depth gauge | ≤ 0.15 mm above surface for flush rivets |
| Pull-Out Strength | Tensile tester (destructive) | Meets or exceeds rivet spec minimum |
| Torque on Threaded Fasteners 4 | Calibrated torque wrench | Within ±10% of specified torque |
| Fastener Position | CMM or go/no-go gauge | Within drawing tolerance (typically ±0.1 mm) |
| Gap Between Sheets | Feeler gauge | 0.00 mm (no gap) |
| Visual Defects | Magnified inspection (5x–10x) | No cracks, splits, or deformed heads |
The PPAP Connection
If your buyer requires a Production Part Approval Process 5, your fastener assembly steps must be documented in the control plan. This includes which fasteners are installed at which station, the tools used, the force or torque applied, and the inspection frequency. When we manage PPAP for our clients, we require the supplier to list every self-clinching fastener, blind rivet, and threaded insert on the process flow diagram — not just the sheet metal forming steps.
Common Riveting Defects to Watch For
Riveting defects are often subtle. A rivet that looks fine on the surface may have failed to fully expand on the blind side. Common defects include:
- Incomplete mandrel break: The mandrel does not snap at the correct point, leaving excess material.
- Tilted rivet: The rivet is not perpendicular to the surface, reducing clamping area.
- Sheet gap: Material was not held tightly during installation, leaving a gap.
- Oversized hole: The hole was drilled or punched too large, reducing shear capacity.
During our final inspections, we check for these defects on every batch. For high-volume orders, we use AQL sampling plans — typically AQL 1.0 for critical fastener joints and AQL 2.5 for cosmetic criteria. For safety-critical assemblies, 100% inspection of fastener joints is non-negotiable.
Material compatibility is another benchmark that gets overlooked. If you use stainless steel rivets in aluminum sheet, galvanic corrosion 6 can develop over time. Your quality plan should specify which materials are acceptable and require incoming inspection of fastener material certificates.
How do I ensure my specific drawing requirements for fasteners are correctly implemented during the fabrication stage?
A trade-off we frequently navigate is the gap between what an engineering drawing specifies and what a factory floor operator actually interprets. The drawing might call out a PEM self-clinching nut with a specific insertion force, but if the supplier reads it as a standard press-fit nut, the result is a failed assembly.
Ensure correct fastener implementation by providing detailed drawing callouts with fastener part numbers, requiring a first-article inspection report with dimensional verification, conducting a pre-production DFM review with the supplier, and establishing a formal drawing change control process throughout fabrication.

The DFM Review: Your First Line of Defense
Design for manufacturability 7 reviews are where most fastener implementation problems should be caught — before metal is cut. When our engineering team reviews a client's drawings, we look specifically at:
- Fastener callout completeness: Does the drawing specify the exact part number, material, finish, and installation method?
- Edge distance: Is there enough material between the fastener hole and the sheet edge? Too close and the sheet tears under load.
- Interference checks: Will the installed fastener conflict with mating parts, tooling, or bend radii?
- Accessibility: Can the fastener be installed with available tooling? Blind rivets and rivet nuts solve single-side access problems, but the supplier must have the right tools.
Translating Drawings Into Process Instructions
Drawings speak to engineers. Work instructions speak to operators. The supplier must translate your fastener callouts into step-by-step work instructions that include photos, force settings, and go/no-go criteria. We require our suppliers to create illustrated work instructions for every fastener installation step and review them before production starts.
Here is a comparison of what a drawing callout should include versus what suppliers often miss:
| Drawing Callout Element | What It Should Specify | Common Supplier Omission |
|---|---|---|
| Fastener Type | Exact part number (e.g., PEM FH-M4-2-ZI) | Uses generic equivalent without approval |
| Installation Method | Press insertion with PEMserter at X kN | Installs with hammer or arbor press |
| Hole Size | Ø6.35 +0.08/-0.00 mm | Uses nearest standard drill bit |
| Orientation | Head flush on side A, clinch on side B | Installs from wrong side |
| Torque/Force Spec | Installation force per manufacturer datasheet | No force verification |
| Post-Install Check | Push-out and torque-out test per spec | Visual check only |
The First-Article Inspection Bridge
The first-article inspection report (FAIR) is your proof that the supplier read the drawing correctly. For fastener-intensive assemblies, the FAIR should include:
- Measured positions of all fastener holes versus drawing nominals
- Installed fastener push-out and torque-out test results
- Photos of installed fasteners from both sides
- Material certificates for fasteners used
We have seen cases where a supplier passed the sheet metal dimensions perfectly but installed the wrong grade of self-clinching fastener. The FAIR caught it because we required fastener material verification as part of the report. Without that requirement, the error would have reached the end user.
Change control is equally important. If your design changes a fastener from M3 to M4 mid-production, the supplier needs a formal process to update work instructions, tooling, and inspection criteria. Verbal changes on the shop floor lead to mixed configurations and non-conforming assemblies.
How will a supplier's choice of manual versus automated riveting affect my project's lead times and overall reliability?
During a recent project for a U.S. client sourcing mounting brackets — similar to the angular, multi-bend brackets with pre-drilled mounting holes that our facilities regularly produce — we compared two suppliers: one using manual riveting and one with semi-automated stations. The results in both lead time and joint consistency were dramatically different.
Manual riveting suits low-volume or prototype runs with flexible schedules, while automated riveting significantly reduces lead times and improves reliability for medium-to-high-volume production by delivering consistent force application, eliminating operator fatigue variability, and enabling faster cycle times per assembly.
The Volume Decision Point
The choice between manual and automated riveting 8 is fundamentally an economic and quality decision driven by volume. Here is how we break it down:
| Factor | Manual Riveting | Semi-Automated Riveting | Fully Automated Riveting |
|---|---|---|---|
| Best Volume Range | 1–500 units | 500–5,000 units | 5,000+ units |
| Cycle Time per Rivet | 5–10 seconds | 2–4 seconds | < 1 second |
| Force Consistency | Operator-dependent | Machine-controlled | Machine-controlled |
| Setup Cost | Low (hand tools) | Medium (fixtures + tooling) | High (robotic cell) |
| Operator Skill Required | High | Medium | Low (programming skill needed) |
| Defect Rate (typical) | 2–5% | 0.5–1% | < 0.5% |
| Lead Time Impact | Longer for high volume | Moderate | Shortest for high volume |
Reliability and Vibration Resistance
Automated riveting produces joints with tighter force distribution. This matters enormously for assemblies that will face vibration in service. Rivets excel at vibration resistance because nothing can back out — unlike threaded fasteners that may loosen. But this advantage only holds if every rivet is installed with the correct force. Manual riveting introduces variability from operator fatigue, grip angle, and speed. Over a shift, the quality of manual riveting tends to degrade.
In our supplier evaluation process, we ask for statistical process control data 9 on riveting force. A supplier using automated or semi-automated equipment can provide SPC charts showing force consistency across a production run. A manual-only supplier typically cannot. This data is a strong indicator of joint reliability.
Lead Time Realities
Lead time is not just about riveting speed. It includes fastener procurement, fixture setup, operator training, and inspection. Specialty fasteners — particularly certain rivet nuts or structural blind rivets — can have long lead times themselves. We always verify fastener availability before confirming the production schedule. A supplier that stocks common blind rivets but needs eight weeks for a specific structural rivet will delay your entire project.
For the complex bracket assemblies we manage — parts with multiple precise folds, weld marks at joints, and strategically placed mounting holes — automated riveting makes sense because the fixtures ensure every hole aligns before the rivet is set. Manual operators working on complex geometries are more likely to introduce misalignment, especially when the bracket requires riveting from multiple angles.
Hybrid Approaches
Many suppliers we work with use a hybrid approach: automated riveting for the main structural joints and manual installation for one or two fasteners in hard-to-reach locations. This balances cost, flexibility, and quality. We recommend this approach for projects in the 500–3,000 unit range where full automation is not justified but manual-only introduces too much risk.
The decision also depends on whether the design requires future serviceability. If the assembly must be opened for maintenance, self-clinching fasteners or threaded inserts may be better than permanent rivets — regardless of whether installation is manual or automated.
Conclusion
Evaluating riveting and fastener processes requires checking equipment precision, enforcing measurable quality control benchmarks, verifying drawing implementation through DFM reviews, and matching manual versus automated methods to your volume and reliability needs. If you are sourcing sheet metal fabrication for the first time, establishing these evaluation criteria early will help you avoid costly assembly failures down the line.
Frequently Asked Questions
How can I assess if a supplier's riveting equipment is precise enough for my custom sheet metal tolerances?
A lesson we learned early in our Vietnam facility was that even a well-made sheet metal part can fail at the joint if the riveting equipment 2 drifts out of calibration by just a few hundredths of a millimeter.
What quality control benchmarks should I use to evaluate a manufacturer's fastener assembly process?
One of the most common complaints we hear from U.S. purchasing managers is that their overseas supplier "passed inspection" but the assembled product still failed in the field — usually because the quality control benchmarks were too vague or missing entirely.
How do I ensure my specific drawing requirements for fasteners are correctly implemented during the fabrication stage?
A trade-off we frequently navigate is the gap between what an engineering drawing specifies and what a factory floor operator actually interprets. The drawing might call out a PEM self-clinching nut with a specific insertion force, but if the supplier reads it as a standard press-fit nut, the result is a failed assembly.
Footnotes
1. Provides a foundational understanding of the sheet metal fabrication process. ↩︎
2. Explains different types and functions of machinery used for riveting. ↩︎
3. Wikipedia offers an authoritative and comprehensive definition of shear strength. ↩︎
4. Explains the fundamental principles and types of threaded fasteners. ↩︎
5. Details a standardized process for approving production parts in manufacturing. ↩︎
6. Describes an electrochemical process causing corrosion between dissimilar metals. ↩︎
7. Wikipedia offers an authoritative and comprehensive explanation of Design for Manufacturability. ↩︎
8. Provides a comprehensive guide to automated riveting processes and benefits. ↩︎
9. Wikipedia offers an authoritative and comprehensive explanation of Statistical Process Control. ↩︎