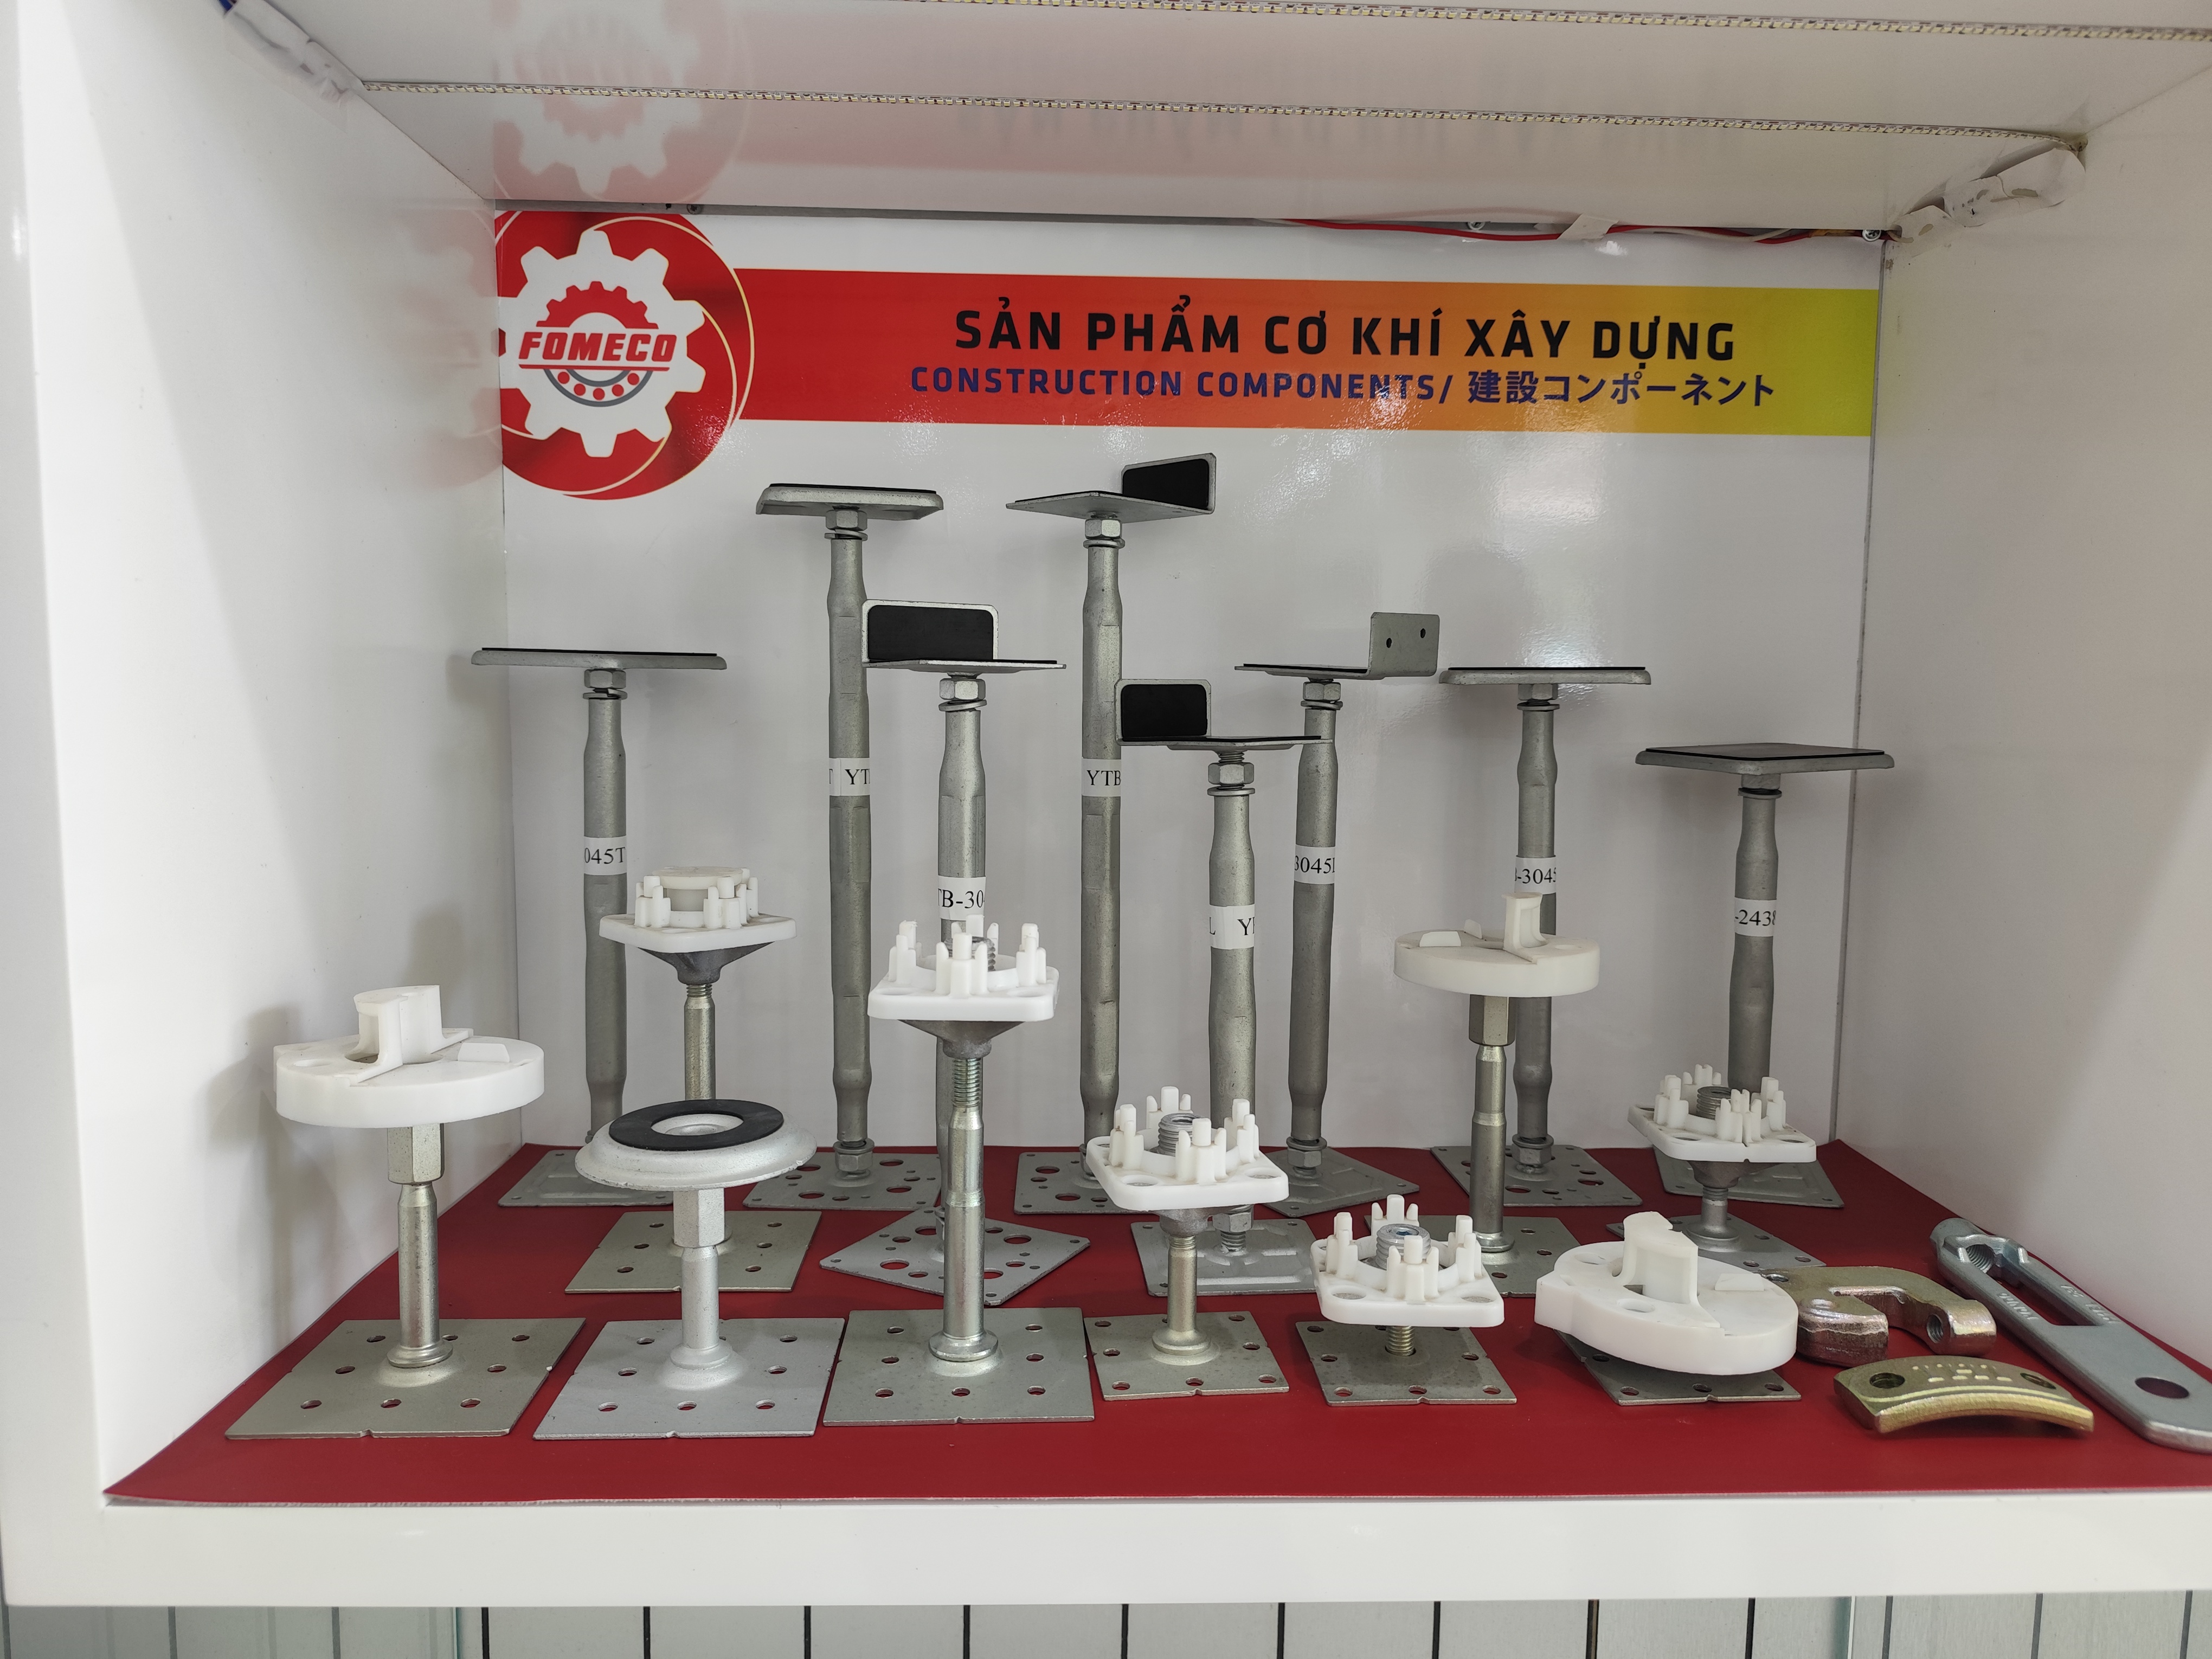

Last year, a U.S. client sent us photos of custom brackets peeling after three months in service — the root cause traced back to Sa 2.5 blasting 1 that never truly met the standard.
To evaluate Sa 2.5 blasting and cleanliness when sourcing sheet metal fabrication, verify the supplier’s compliance with ISO 8501-1 or SSPC-SP 10 visual standards, inspect the surface profile and soluble salt levels, audit their blast cleaning equipment, and confirm documented QC processes before coating application.
This article breaks down exactly what you need to check, measure, and ask your fabricator — step by step — so your custom parts arrive with surfaces ready for lasting coating adhesion 2 and corrosion protection.
How can I verify that my supplier's Sa 2.5 blasting meets international cleanliness standards?
One detail that trips up many purchasing managers is the assumption that "Sa 2.5" means the same thing everywhere — it does not, and the difference can cost you a rejected shipment.
Verify your supplier's Sa 2.5 compliance by requiring visual inspection against ISO 8501-1 photographic references, confirming whether they follow ISO or SSPC-SP 10/NACE No. 2 limits on residual staining, and requesting documented evidence of pre-blast degreasing and post-blast cleanliness checks.
Understanding the Sa 2.5 Definition
Sa 2.5 stands for "very thorough blast cleaning." It is also called near-white metal. The surface must look greyish and uniform. All visible oil, grease, rust, mill scale, paint, and foreign matter must be removed. Only slight stains — spots or stripes — may remain.
Here is the critical point many buyers miss: the allowable staining percentage differs between two major standards.
| Standard | Allowable Staining | Region of Use | Common Name |
|---|---|---|---|
| ISO 8501-1 3 Sa 2½ | Up to 15% of the surface | International / Asia / Europe | Near-white metal |
| SSPC-SP 10 4 / NACE No. 2 | Up to 5% of the surface | North America | Near-white blast cleaning |
| ISO 8501-1 Sa 3 | 0% — fully clean | International | White metal |
If your specification says "Sa 2.5" without naming the standard, your Asian supplier may follow ISO 8501-1 and allow 15% residual staining. Your U.S. end-customer may expect only 5% under SSPC-SP 10. This mismatch creates disputes.
What to Request from Your Supplier
When we audit fabricators across Vietnam and other Asian countries, we ask for three things up front:
- The specific standard version they follow — ISO 8501-1 or SSPC-SP 10.
- Photographic reference comparators — physical or digital copies of the ISO 8501-1 photo book at the facility.
- Pre-blast degreasing records — before any abrasive blasting, all oil and grease must be removed. Without this step, abrasive media 5 simply drives contaminants into the steel instead of removing them.
We also verify that the operator doing the visual inspection has adequate lighting — at least 500 lux — and inspects the surface within the time window before flash rust can form. In humid climates like Vietnam, this window can be as short as 30 minutes.
ISO vs. SSPC: A Decision Framework
If your parts serve high-corrosion environments — offshore, marine, or chemical processing — specify SSPC-SP 10 with the 5% limit. For general industrial brackets and enclosures with standard powder coating, ISO Sa 2.5 at the 15% limit is typically adequate. Always state the standard explicitly on your drawing.
What specific inspection steps should I include in my QC process to confirm surface purity?
A buyer we work with in the Midwest once told us he had never tested for soluble salts — he relied entirely on visual checks. His parts failed in the field within six months.
Your QC process should include visual comparison against ISO 8501-1 references, surface profile measurement using a replica tape or profilometer, soluble salt testing via the Bresle patch method, dust contamination assessment per ISO 8502-3, and a strict time-to-coat window to prevent flash rust.
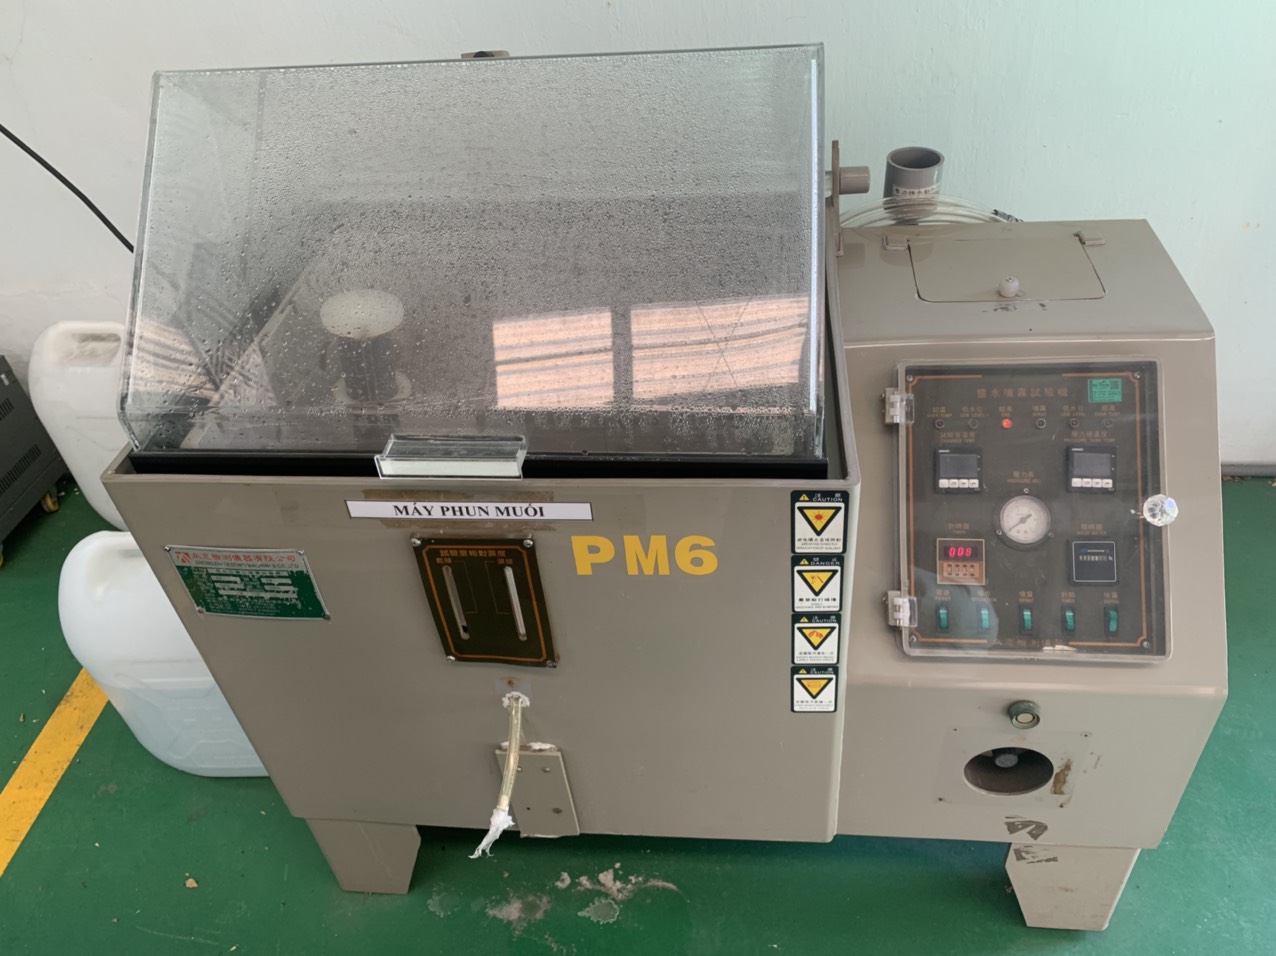
Step-by-Step QC Inspection Process
Visual inspection is necessary but not sufficient. Here is the full process our QC teams follow during supplier audits and final inspections.
| Step | Inspection Method | Standard / Tool | Pass Criteria |
|---|---|---|---|
| 1. Pre-blast check | Verify degreasing completed | Visual / solvent wipe test | No oil or grease residue |
| 2. Visual cleanliness | Compare to photo reference | ISO 8501-1 comparator | Matches Sa 2.5 reference |
| 3. Surface profile | Replica tape or digital profilometer | ISO 8503 / ASTM D4417 | Profile within coating spec (typically 25–75 µm) |
| 4. Dust contamination 7 | Pressure-sensitive tape test | ISO 8502-3 | Rating ≤ 2, size class ≤ 2 |
| 5. Soluble salt test 8 | Bresle patch extraction | ISO 8502-6 / 8502-9 | ≤ 20 µg/cm² (or per coating TDS) |
| 6. Time-to-coat window | Record time between blast and primer | Facility SOP | Typically < 3 hours; < 30 min in humid conditions |
Why Visual Alone Fails
Visual inspection catches the obvious problems — leftover mill scale, rust streaks, or unblasted corners. But it cannot detect invisible threats. Soluble salts — chlorides and sulfates — sit on the steel surface and are invisible to the naked eye. They absorb moisture through the coating and cause blistering and under-film corrosion 9.
The Bresle patch method 10 is simple. You attach an adhesive patch to the blasted surface, inject deionized water, agitate it, then withdraw the water and measure conductivity. High conductivity means high salt contamination. Most coating manufacturers specify a limit of 20 µg/cm² or lower.
Dust Contamination: An Overlooked Risk
When fabricators use expendable abrasive media — copper slag, garnet, or coal slag — dust contamination on the blasted surface is common. Brushing or blowing with compressed air often fails to remove electrostatically charged dust particles. In such cases, reblasting may be required.
Metallic abrasives — steel shot and grit — are recyclable and generate significantly less dust. If your fabricator uses metallic abrasives, dust testing is less critical but still recommended when paint application is delayed beyond three hours.
Our team in Vietnam checks dust levels using the tape test method described in ISO 8502-3. The tape is pressed onto the surface, removed, and compared to a pictorial rating chart. A rating above 2 on a scale of 0 to 5 is cause for rejection.
Surface Roughness and Profile
The surface profile — also called anchor pattern or surface roughness — is the microscopic peak-and-valley texture created by abrasive blasting. This texture gives the coating something to grip. Without adequate surface roughness, even a perfectly clean surface will suffer from poor coating adhesion.
Different coatings require different profiles. A thin zinc-rich primer might need 25–50 µm. A thick epoxy system might need 50–100 µm. Always check the coating manufacturer's technical data sheet for the recommended profile range.
How do I evaluate if a fabricator's blasting equipment is capable of achieving my required finish?
During a factory audit in southern China last year, we walked into a blasting booth where the compressor was undersized, the nozzles were worn, and the abrasive hopper was mixing three different media types. The operator insisted the output was "Sa 2.5." The profilometer told a different story.
Evaluate a fabricator's blast cleaning equipment by inspecting compressor capacity and air quality, nozzle condition and size, abrasive media type and grading, booth ventilation, and whether the facility uses calibrated instruments for surface profile verification — not just operator judgment.
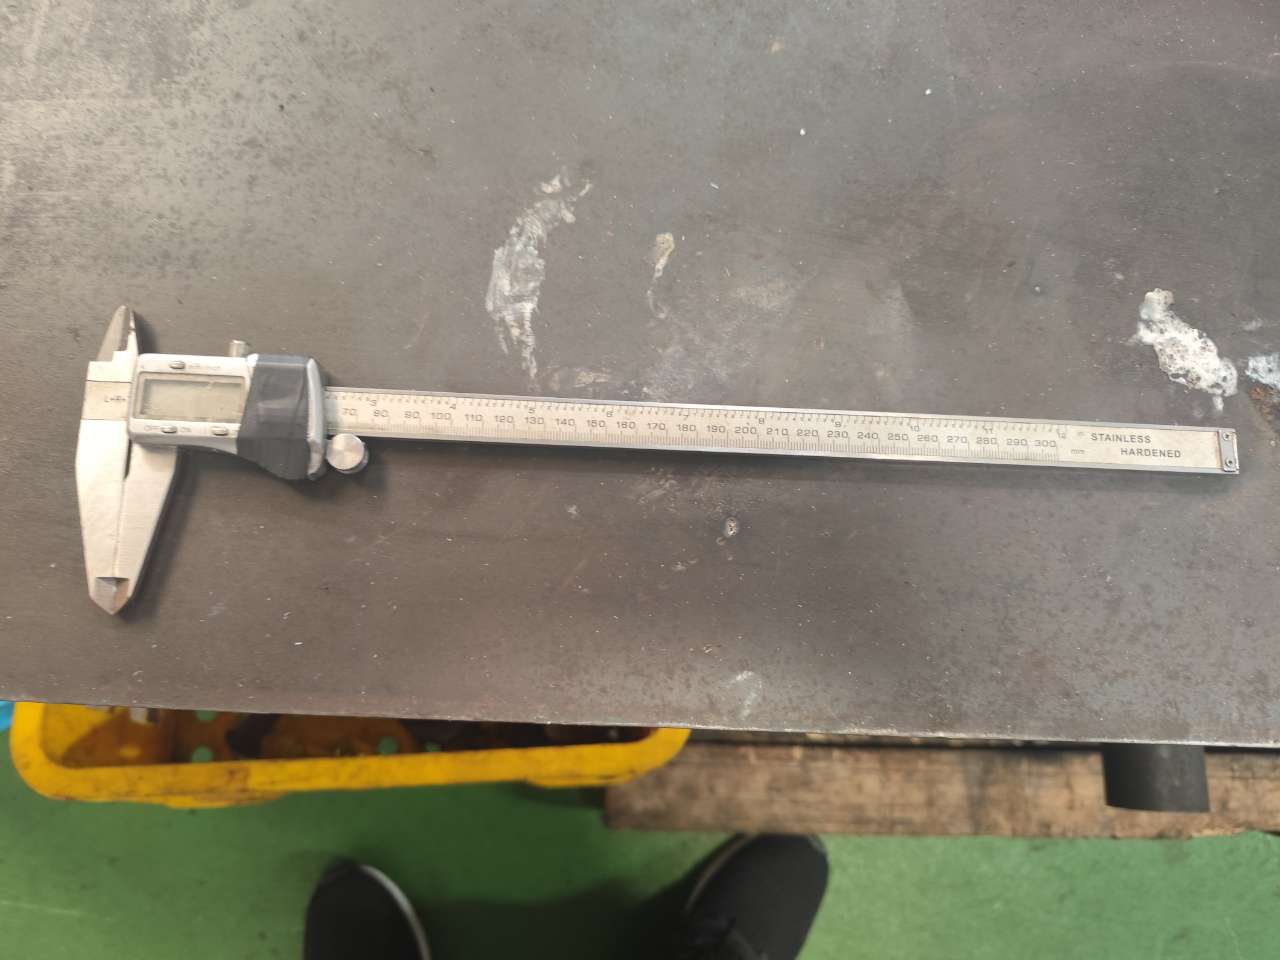
Key Equipment Factors
Not all blasting setups are equal. The quality of the blast depends on multiple equipment variables working together. Here is what to check during a supplier audit.
Compressor capacity. The compressor must deliver enough air volume and pressure to accelerate the abrasive media to the correct velocity. For Sa 2.5 with steel grit, typical nozzle pressure is 6–7 bar (85–100 psi). An undersized compressor means slow cleaning, uneven coverage, and frustrated operators who skip areas.
Air quality. Compressed air must be free of oil and moisture. Oil-contaminated air deposits invisible films on the steel that destroy coating adhesion. The facility should have oil/water separators and in-line filters, and operators should perform a blotter test daily.
Nozzle condition. Blast nozzles wear over time. A worn nozzle creates a wider, weaker blast pattern. Most facilities should replace nozzles when the bore diameter increases by 50% from the original size.
Abrasive Media Selection
The choice of abrasive media directly affects both the cleanliness level and the resulting surface profile.
| Media Type | Profile Produced | Dust Level | Reusable | Best For |
|---|---|---|---|---|
| Steel grit (angular) | 50–100 µm | Low | Yes (recyclable) | Heavy mill scale removal, thick coatings |
| Steel shot (round) | 25–50 µm | Low | Yes (recyclable) | Peening, light cleaning |
| Garnet | 50–75 µm | Moderate | Limited | General-purpose blasting |
| Copper slag | 50–100 µm | High | No (expendable) | Cost-sensitive, one-time use |
| Aluminum oxide | 50–100 µm | Moderate | Limited | Stainless steel, non-ferrous metals |
When evaluating a fabricator, ask what abrasive media they use and how they control its grading. Mixed or contaminated media produces inconsistent results. Facilities with automated media recovery systems — screens and classifiers — tend to deliver more consistent surface profiles than those that manually scoop and reload.
Automated vs. Manual Blasting
For large-scale sheet metal fabrication — brackets, enclosures, chassis — automated blasting systems (roller conveyor or tumble blast machines) offer better consistency than hand blasting. They deliver uniform coverage, controlled speed, and repeatable results. Some modern systems integrate digital quality control, recording blast time, media flow rate, and nozzle pressure for each batch. This data supports process traceability and gives you documented evidence of compliance.
However, manual blasting is still necessary for complex geometries — deep recesses, internal surfaces, or parts with delicate features. In these cases, operator skill matters enormously. Ask to see the operator's training records and any third-party certifications (such as NACE or SSPC inspector certifications held by the QC staff).
What to Look for During a Factory Visit
Walk the blasting area. Check the lighting in the inspection zone — poor lighting means poor visual inspection. Look at how parts are handled after blasting. Are they touched with bare hands? Skin oils contaminate the surface. Are they stored in a controlled environment, or left in open air where humidity triggers flash rust?
These details matter more than brochures. Our audit teams document every observation with photos and timestamps. We share these reports with our clients so they can make informed sourcing decisions.
How will poor surface preparation affect the coating adhesion and lifespan of my custom parts?
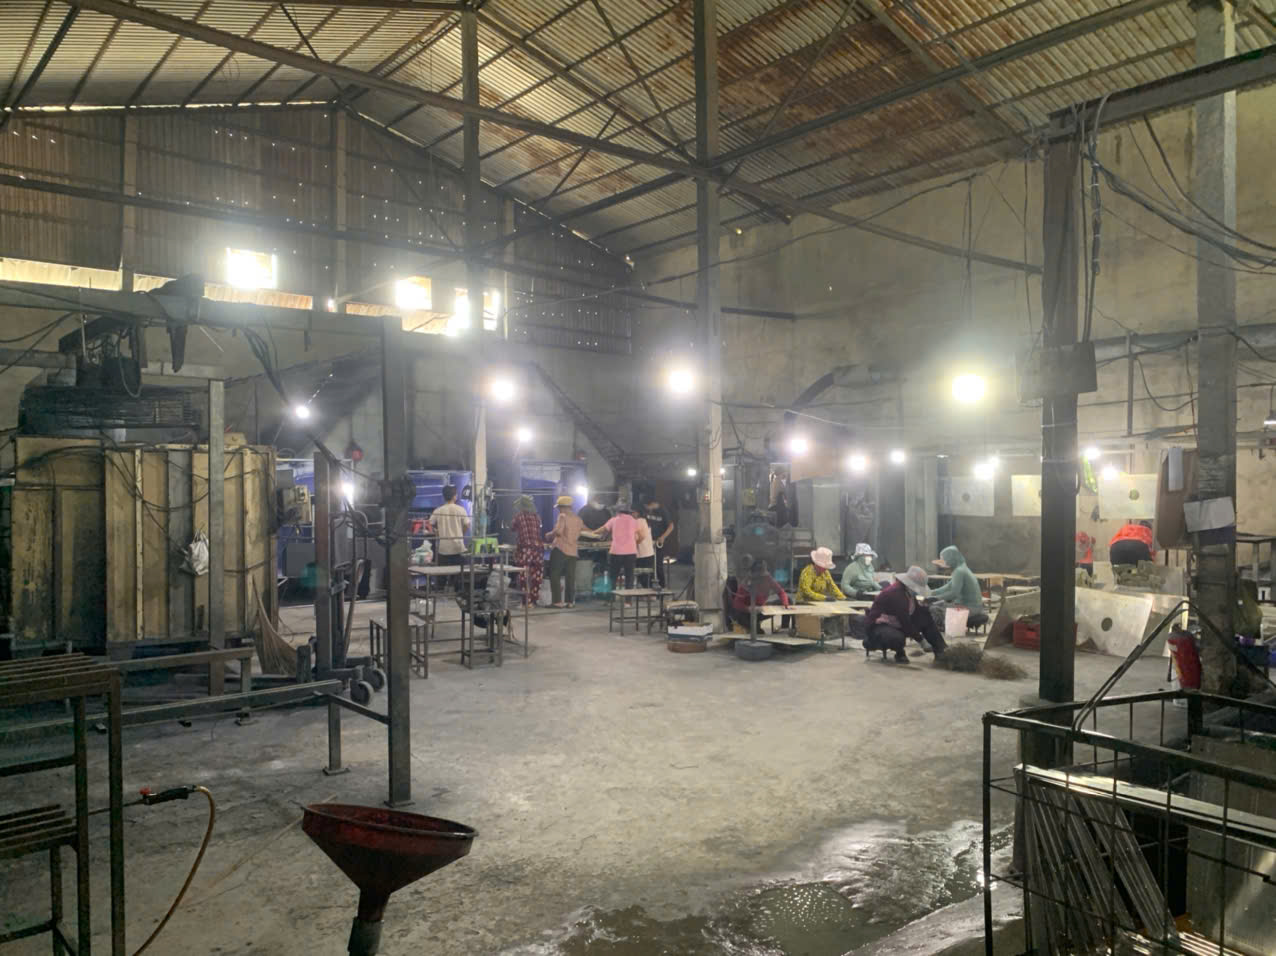
The most expensive lesson in surface finishing is learning it after your parts are already installed. One of our projects involved powder-coated mounting brackets for outdoor electrical enclosures. The fabricator cut corners on blasting. Within eight months, the coating was peeling at every bend and weld joint.
Poor surface preparation directly causes premature coating failure — including blistering, delamination, and under-film corrosion — because contaminants and inadequate surface profile prevent the coating from forming a mechanical and chemical bond with the steel substrate, reducing coating lifespan by up to 75%.
The Mechanics of Coating Failure
Coatings bond to steel through two mechanisms: mechanical interlocking and chemical adhesion. Mechanical interlocking depends on the surface profile — the microscopic peaks and valleys that anchor the coating. Chemical adhesion depends on a clean, reactive steel surface free of contaminants.
When either mechanism is compromised, the coating fails. Here is how specific preparation defects lead to specific failures.
| Preparation Defect | Failure Mode | Typical Time to Failure | Root Cause |
|---|---|---|---|
| Residual mill scale | Delamination, flaking | 3–12 months | Mill scale is brittle and detaches, taking coating with it |
| Residual oil or grease | Blistering, poor adhesion | 1–6 months | Coating cannot bond to oil-contaminated surface |
| Insufficient surface profile | Peeling, edge lifting | 6–18 months | No mechanical anchor for coating |
| Soluble salt contamination | Osmotic blistering | 3–12 months | Salts absorb moisture through coating film |
| Flash rust before coating | Under-film corrosion | 6–24 months | Active rust layer between steel and primer |
Real-World Cost Impact
Research indicates that Sa 2.5 surfaces with proper coating systems provide up to four times longer corrosion protection than surfaces cleaned to lower standards. The cost difference between Sa 2 and Sa 2.5 blasting is typically 10–20% more in labor and media. But the cost of a coating failure — stripping, reblasting, recoating, and shipping — can be five to ten times the original surface preparation cost.
For custom parts like the heavy-duty mounting brackets and precision-engineered components we source for U.S. clients, a coating failure in the field means warranty claims, line-down situations for the end user, and damaged supplier relationships.
Sa 2 vs. Sa 2.5: When Does It Matter?
Interestingly, some research has shown that Sa 2 can achieve better mechanical adhesion (critical load of 51N vs. 43N for Sa 2.5) with equal corrosion rates in controlled tests. This suggests that for certain applications — indoor, low-humidity environments with standard coatings — Sa 2 may be sufficient and more cost-effective.
However, for outdoor, marine, chemical, or high-humidity applications, Sa 2.5 remains the industry standard. The additional cleaning removes more hidden contaminants that accelerate corrosion under demanding conditions. When we co-develop specifications with clients, we discuss the end-use environment before defaulting to the most expensive option.
Protecting the Surface After Blasting
Even a perfect Sa 2.5 surface degrades quickly if not coated promptly. Flash rust can appear in under 30 minutes in tropical humidity. Best practice is to apply primer within the time-to-coat window specified by the coating manufacturer — usually within three hours, sometimes much less.
Environmental controls in the coating area matter too. Temperature, humidity, and dew point must be monitored. If the steel surface temperature is within 3°C of the dew point, condensation forms, and coating adhesion fails. Our QC checklists include environmental readings taken immediately before primer application.
The bottom line: surface preparation is not a step to cut costs on. It is the foundation that determines whether your coating investment lasts five years or five months.
Conclusion
Evaluating Sa 2.5 blasting requires more than trusting a supplier's word. Specify the exact standard, verify surface profile and contaminant levels, audit the equipment, and enforce strict QC — your coating lifespan depends on it.
Frequently Asked Questions
Sa 2 vs. Sa 2.5: When Does It Matter?
Interestingly, some research has shown that Sa 2 can achieve better mechanical adhesion (critical load of 51N vs. 43N for Sa 2.5) with equal corrosion rates in controlled tests. This suggests that for certain applications — indoor, low-humidity environments with standard coatings — Sa 2 may be sufficient and more cost-effective.
How can I verify that my supplier's Sa 2.5 blasting meets international cleanliness standards?
One detail that trips up many purchasing managers is the assumption that "Sa 2.5" means the same thing everywhere — it does not, and the difference can cost you a rejected shipment.
What specific inspection steps should I include in my QC process to confirm surface purity?
A buyer we work with in the Midwest once told us he had never tested for soluble salts — he relied entirely on visual checks. His parts failed in the field within six months.
Footnotes
1. Explains Sa 2.5 as a very thorough blast cleaning standard. ↩︎
2. Explains the mechanisms and factors influencing coating adhesion to substrates. ↩︎
3. Explains the ISO 8501-1 standard for visual assessment of steel surface cleanliness. ↩︎
4. Replaced with an authoritative AMPP (formerly SSPC/NACE) standard summary. ↩︎
5. Explains different types of abrasive blasting media and their characteristics. ↩︎
6. Explains the importance and methods of measuring surface profile for coating performance. ↩︎
7. Explains the importance of assessing dust contamination on steel surfaces before painting. ↩︎
8. Explains the Bresle method for determining soluble salt concentration on metal surfaces. ↩︎
9. Explains under-film corrosion (filiform corrosion) and its causes under coatings. ↩︎
10. Describes the standardized procedure of the Bresle method for measuring soluble salts. ↩︎