Surface coating peeling in sheet metal fabrication 1 cost one of our U.S. clients thousands in rework last year. The parts looked perfect leaving the supplier — then delamination appeared weeks later.
To fix surface coating peeling in sheet metal fabrication, you must strip the failed coating to bare metal, eliminate contamination, perform proper surface preparation, apply a compatible primer and coating system in thin layers, and cure at the manufacturer’s recommended temperature and duration to restore full adhesion.
This guide walks through every root cause, diagnostic method, remediation step, and prevention strategy electroplating failures 2. Whether you are dealing with powder coating defects 3, electroplating failures, or paint peeling on galvanized steel 4, the sections below give you a clear path forward.
Why is the surface coating on my custom sheet metal parts peeling off?
A client in Ohio once returned an entire batch of mounting brackets because the charcoal gray powder coat was flaking off at every bend radius. Our quality team traced the problem back to a single overlooked step in surface preparation.
Coating peeling on custom sheet metal parts is most often caused by poor adhesion from inadequate surface preparation, oil or grease contamination, excessive film thickness, incorrect curing process parameters, or incompatible coating-substrate combinations that prevent the coating from bonding to the metal.
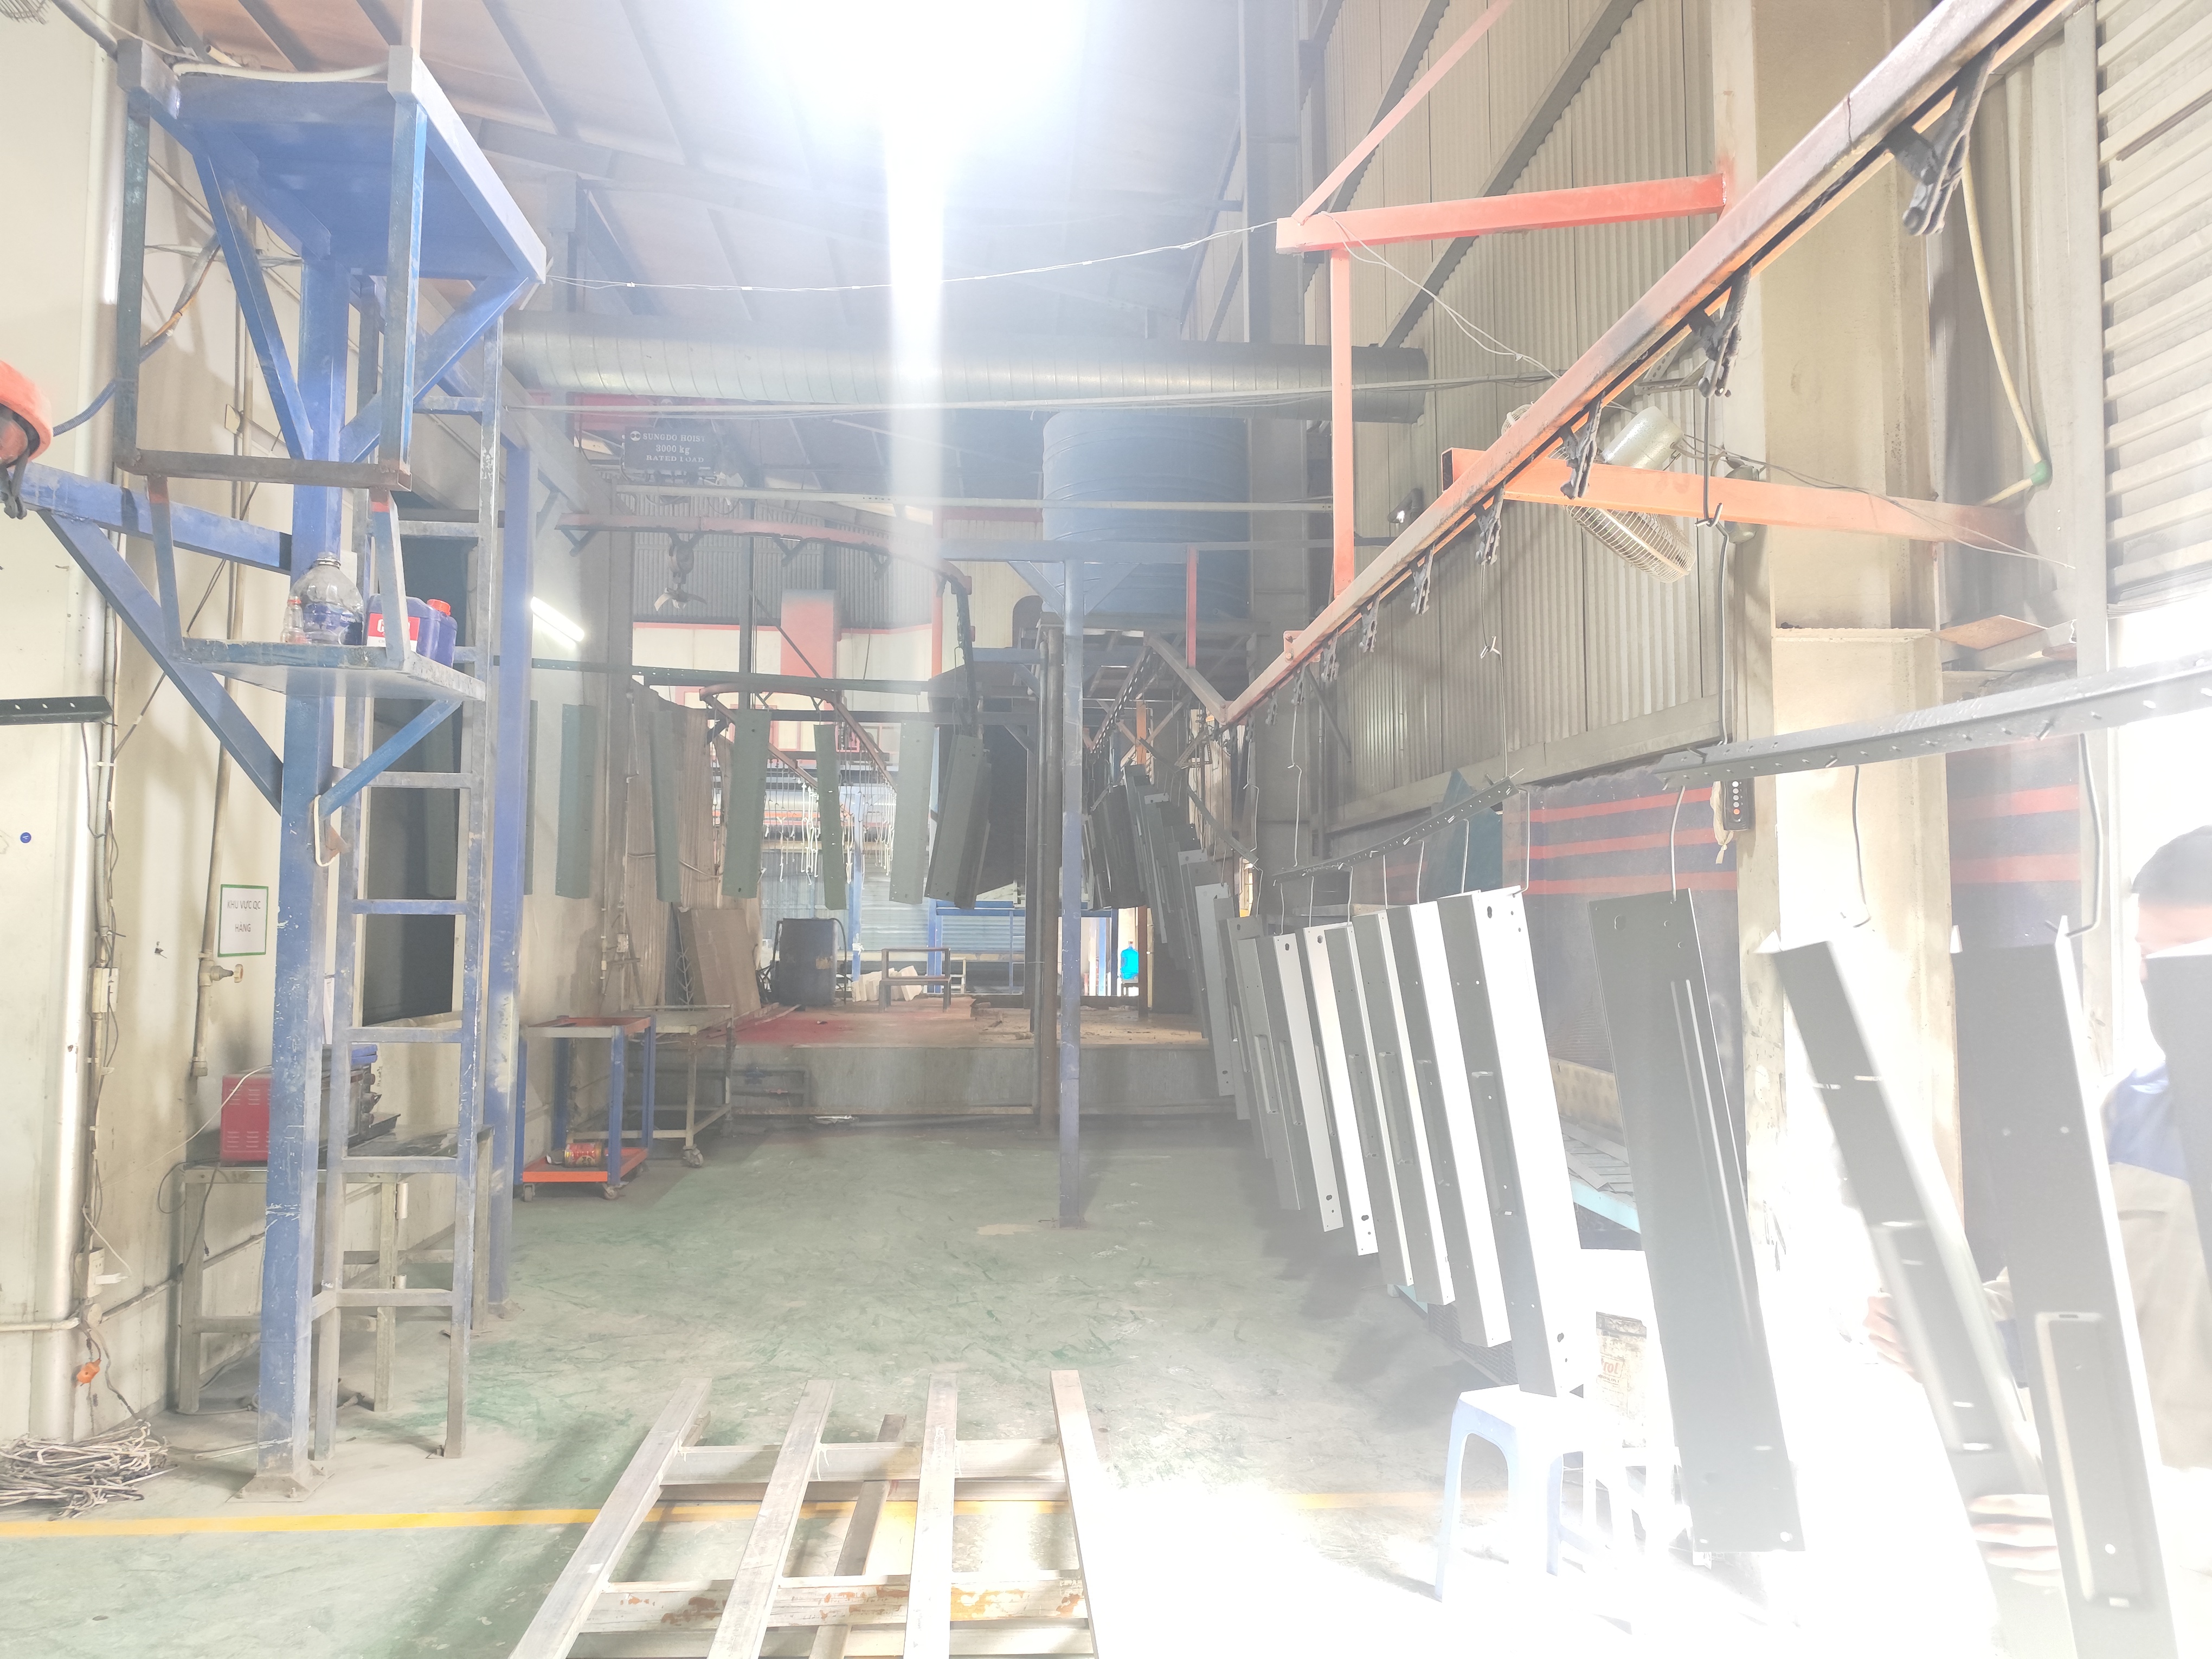
Understanding why a coating fails is the first step toward fixing it. Peeling is never random. It always points to a specific breakdown in the process chain. Let me walk through the most common failure modes we encounter when auditing suppliers across Asia.
Contamination on the Substrate
Oil, grease, dust, and mill scale 5 are the biggest enemies of coating adhesion. Even fingerprints left during handling can create weak spots. When a coating is applied over contamination, it bonds to the contaminant — not the metal. The result is delamination that may appear days or months later. Contamination removal must happen immediately before coating, not hours before.
Inadequate Surface Preparation
The metal surface needs a specific roughness profile to give the coating something to grip. If the surface is too smooth, the coating slides off. If it is too rough, the coating may not fill the valleys, leaving voids. For galvanized steel, zinc oxide buildup 6 creates an additional barrier that must be addressed through light sanding or chemical treatment.
Excessive Film Thickness
More is not better. When coatings are applied too thick, internal stress builds up. The coating becomes brittle. Any mechanical stress — bending, vibration, thermal cycling — causes cracking and peeling. This is especially common with powder coating defects where operators try to get full coverage in a single pass.
Incorrect Curing Process
Under-curing leaves the coating soft and weakly bonded. Over-curing makes it brittle. Both lead to failure. The curing process must match the manufacturer's specifications for temperature and duration exactly.
Environmental Factors
Moving cold sheet metal parts from outdoor storage into a warm coating booth creates condensation. If the surface temperature is not at least 3°C above the dew point, invisible moisture forms on the metal. Coating applied over that moisture will peel.
| Root Cause | How It Manifests | When Failure Appears |
|---|---|---|
| Oil/grease contamination | Blistering, lifting in patches | Days to weeks |
| Insufficient surface roughness | Large sheets of coating peel cleanly | Days to months |
| Excessive film thickness | Cracking at bends and edges | During assembly or shipping |
| Under-curing | Soft coating, easy to scratch off | Immediately to days |
| Over-curing | Brittle, chips on impact | During handling |
| Moisture/dew point issues | Blistering, random peeling spots | Days to weeks |
| Incompatible primer/substrate | Widespread delamination | Weeks to months |
Residual Stress from Fabrication
This one gets overlooked constantly. Bending, stamping, and forming operations introduce residual stresses into the sheet metal. These stresses can cause micro-deformation over time, which pulls the coating away from the substrate. Parts that were perfectly coated can start peeling months later at bend lines and stamped features. Micro-fissures and porosity in the substrate itself can also act as initiation points for coating failure by allowing moisture or corrosive agents to creep underneath.
How can I ensure my supplier's pre-treatment process prevents coating adhesion issues?
Last quarter, we conducted a supplier audit at a Vietnamese facility that was delivering beautifully finished brackets — until they started failing salt spray tests at 200 hours instead of the required 500. The problem was hiding in their pre-treatment rinse tanks.
You can ensure your supplier's pre-treatment process prevents coating adhesion issues by requiring documented chemical bath monitoring, mandating adhesion testing per ASTM standards, auditing rinse water quality, verifying surface preparation procedures, and including specific pre-treatment requirements in your purchase order specifications.
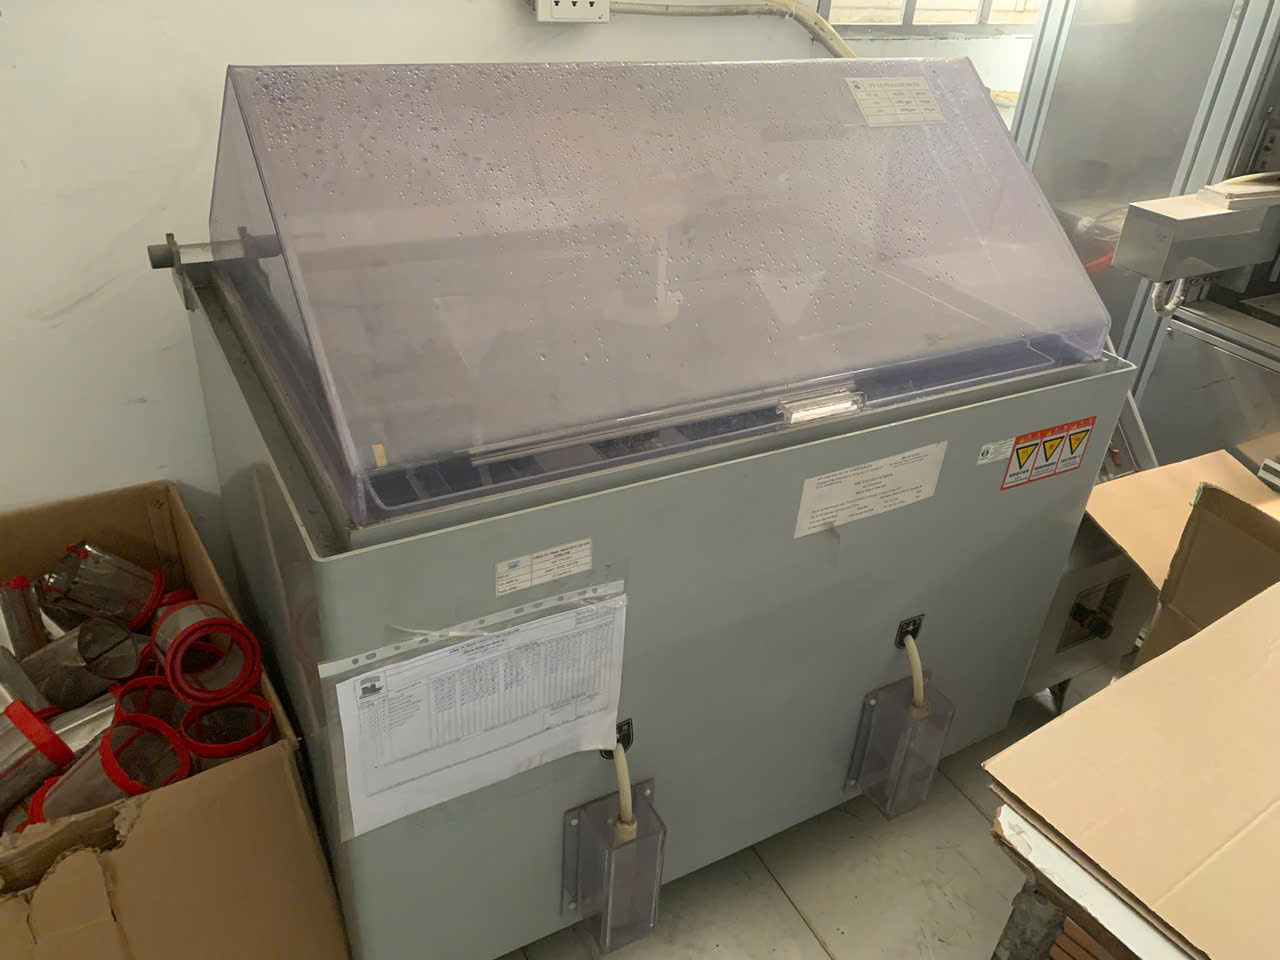
Pre-treatment is where coating quality is won or lost. The actual spraying or dipping is the easy part. What happens before that determines whether the coating stays on for ten years or ten days. Here is what I recommend based on years of managing suppliers across China, Vietnam, and Taiwan.
Specify the Pre-Treatment Method
Different substrates need different pre-treatment sequences. A carbon steel bracket needs a different process than a galvanized steel housing. Your purchase order should specify the exact sequence.
| Substrate | Recommended Pre-Treatment Sequence | Key Risk If Skipped |
|---|---|---|
| Cold-rolled steel | Degrease → Rinse → Pickle → Rinse → Phosphate → Rinse → Dry | Rust under coating within weeks |
| Galvanized steel | Degrease → Rinse → Zinc oxide removal → Rinse → Adhesion promoter → Dry | Paint peels in sheets |
| Stainless steel | Degrease → Rinse → Light abrasion or chemical etch → Rinse → Dry | Coating slides off smooth surface |
| Aluminum | Degrease → Rinse → Chromate conversion 7 or anodize → Rinse → Dry | Corrosion under coating |
Monitor Chemical Bath Quality
Pre-treatment baths degrade over time. Iron contamination builds up. Chemical concentrations drift. Rinse water gets dirty. We require our suppliers to log bath chemistry at least once per shift. Key parameters include pH, total acid, free acid, accelerator concentration, and iron content. When iron levels get too high in a phosphate bath, the coating quality drops sharply.
Require Adhesion Testing
Do not trust visual inspection alone. A coating can look perfect and still have poor adhesion. We require cross-hatch adhesion testing (ASTM D3359 8) on a sample from every production batch. For critical parts, we also use the bend test — repeatedly bending a sample over a mandrel until the base metal fails, then inspecting under magnification for flaking.
Audit the Drying Step
Moisture trapped between the pre-treatment layer and the coating is a silent killer. The drying step must fully remove all water from the surface, including water trapped in seams, holes, and tight corners. We check that suppliers use forced-air drying or oven drying at the correct temperature, and that they do not let parts sit in humid conditions between drying and coating.
Verify Adhesion Promoters Where Needed
For zinc-based substrates, a dedicated adhesion promoter creates a chemical bridge between the zinc surface and the coating. This step is no longer optional on galvanized steel — it should be a standard requirement. Without it, even properly cleaned galvanized surfaces will eventually experience delamination because zinc oxide reforms rapidly on bare zinc.
Dew Point and Temperature Control
The coating area must maintain a surface temperature at least 3°C above the dew point. We include this as a specific requirement in our process control documentation. Cold parts moved indoors must acclimate before coating begins.
What are the best ways for me to fix or rework peeling coatings on my existing inventory?
We once helped a U.S. distributor salvage 3,000 protective housings sitting in a warehouse in Houston. The powder coating was peeling along every edge. Scrapping them was not an option — the tooling lead time alone was twelve weeks. So we developed a remediation plan.
The best way to fix peeling coatings on existing inventory is to completely strip the failed coating to bare metal using media blasting or chemical stripping, perform thorough contamination removal and surface preparation, apply a compatible primer, then recoat with multiple thin layers and cure per the manufacturer's exact specifications.
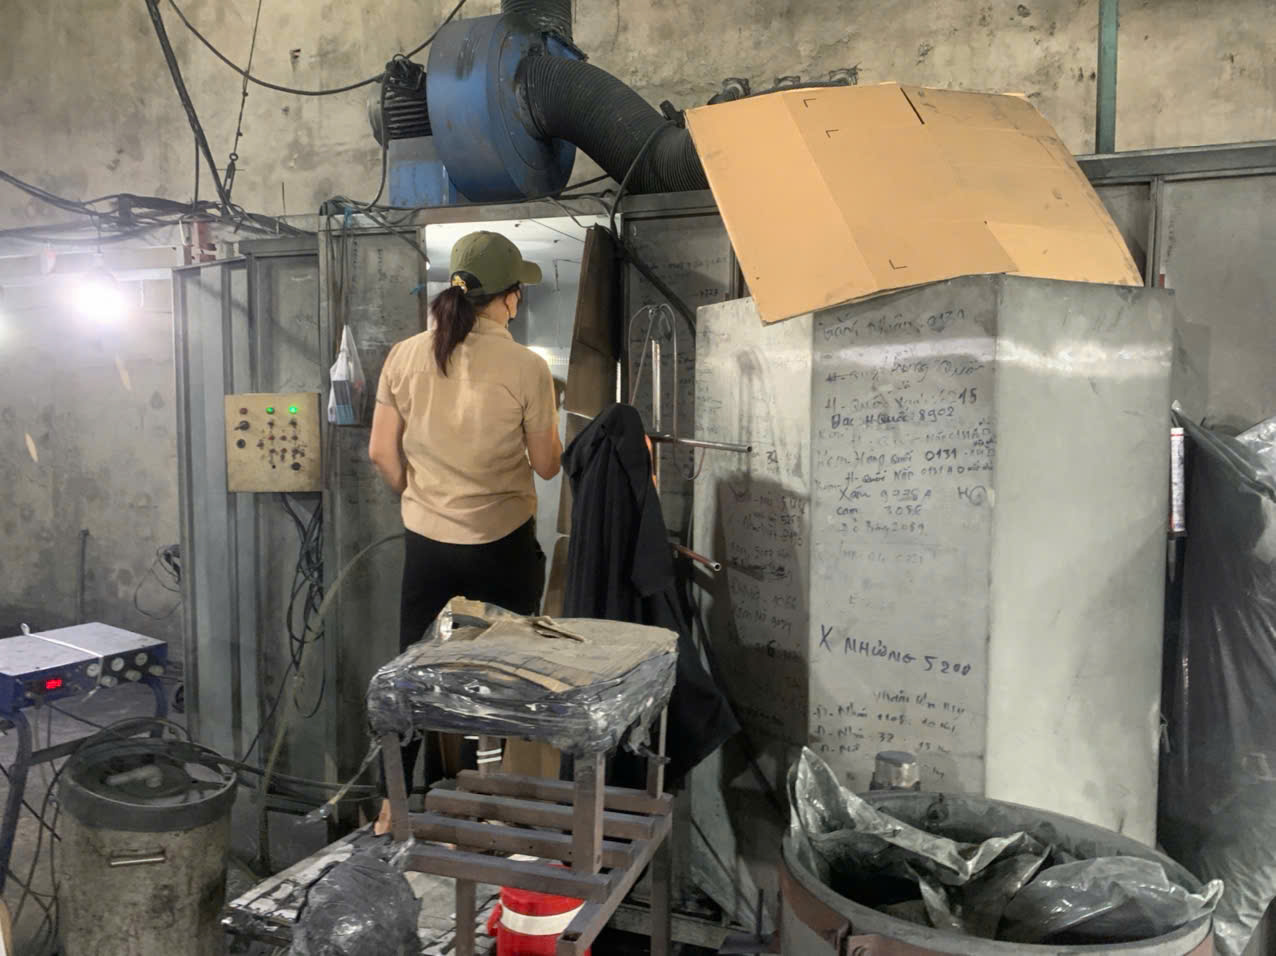
Let me be direct: partial repairs do not work. I have seen suppliers try to sand down the peeling areas and spot-apply new coating over the edges. It looks acceptable for a few days, then the new coating lifts because the boundary between old and new coating creates a weak point. The only reliable method is full stripping back to bare metal.
Step 1: Strip All Existing Coating
Use media blasting (aluminum oxide or glass bead) for most steel parts. For delicate or thin-gauge parts, chemical stripping may be preferable to avoid warping. The goal is bare, clean metal everywhere — no remaining coating fragments, no residual primer.
Step 2: Clean and Degrease
After stripping, the surface may still carry blasting residue, oils from handling, or chemical stripping residues. Degrease thoroughly. Then remove all dust with compressed air or vacuum. Do not use rags that can leave lint or fibers behind.
Step 3: Activate the Surface
For steel, apply a phosphate conversion coating 9 or equivalent surface activation treatment. For galvanized steel, use an adhesion promoter specifically designed for zinc substrates. For aluminum, a chromate conversion or non-chromate alternative is appropriate. This step creates the chemical bridge between metal and coating that prevents future delamination.
Step 4: Apply Primer
Use a primer that is compatible with both the substrate and the topcoat system. This is where coating failure analysis from the original failure pays off — if the original failure was caused by an incompatible primer, make sure the replacement system addresses that.
Step 5: Apply Topcoat in Thin Layers
Apply multiple thin coats with adequate flash time between each coat. This approach eliminates the internal stress that causes cracking in thick single-coat applications. For powder coating, calibrate the spray gun settings carefully — atomizing air pressure, tip size, and gun distance all affect the deposit. For liquid coatings, use a slow-evaporating reducer if the ambient temperature is warm.
Step 6: Cure Correctly
Verify the oven temperature with a data logger — not just the oven display, which can be inaccurate. Follow the manufacturer's curing schedule precisely. For powder coatings, this is typically 10–20 minutes at 180–200°C (measured at the part surface, not the air temperature). Under-curing leaves weak bonds. Over-curing causes brittleness.
| Rework Step | Common Mistake | How to Avoid It |
|---|---|---|
| Stripping | Only removing loose coating, leaving "adhered" areas | Strip 100% to bare metal; no exceptions |
| Cleaning | Using strong solvents that leave residue | Use manufacturer-recommended degreasers; rinse thoroughly |
| Surface activation | Skipping this step entirely | Always apply conversion coating or adhesion promoter |
| Primer | Using leftover primer from a different system | Match primer to both substrate and topcoat chemistry |
| Topcoat | Applying one thick coat for speed | Use 2–3 thin coats with flash time between each |
| Curing | Trusting oven display without verification | Use a thermocouple data logger on the actual part surface |
A Note on Cost
Full rework is expensive. Stripping, re-prepping, and recoating typically costs 60–80% of the original coating cost. But shipping defective parts to end customers costs far more in returns, warranty claims, and lost trust. When we help clients evaluate the decision, we always look at the total cost — not just the rework price tag.
When Scrapping Makes More Sense
If the substrate itself is damaged — warped from heat, corroded underneath the coating, or structurally compromised — rework will not fix the problem. In those cases, remanufacturing is the only path. We help our clients make that call early to avoid sinking rework costs into parts that will fail again.
What quality control steps should I require to ensure my parts are finished correctly the first time?
One lesson we learned early in our supply chain management work: the cheapest quality control is the one that catches problems before they happen. Every dollar spent on incoming material verification, process monitoring, and in-line testing saves ten dollars in rework and field failures.
To ensure parts are finished correctly the first time, require incoming material inspection, documented pre-treatment process controls, in-process film thickness measurement, cross-hatch adhesion testing per ASTM D3359, curing verification with data loggers, and final visual inspection under standardized lighting conditions.
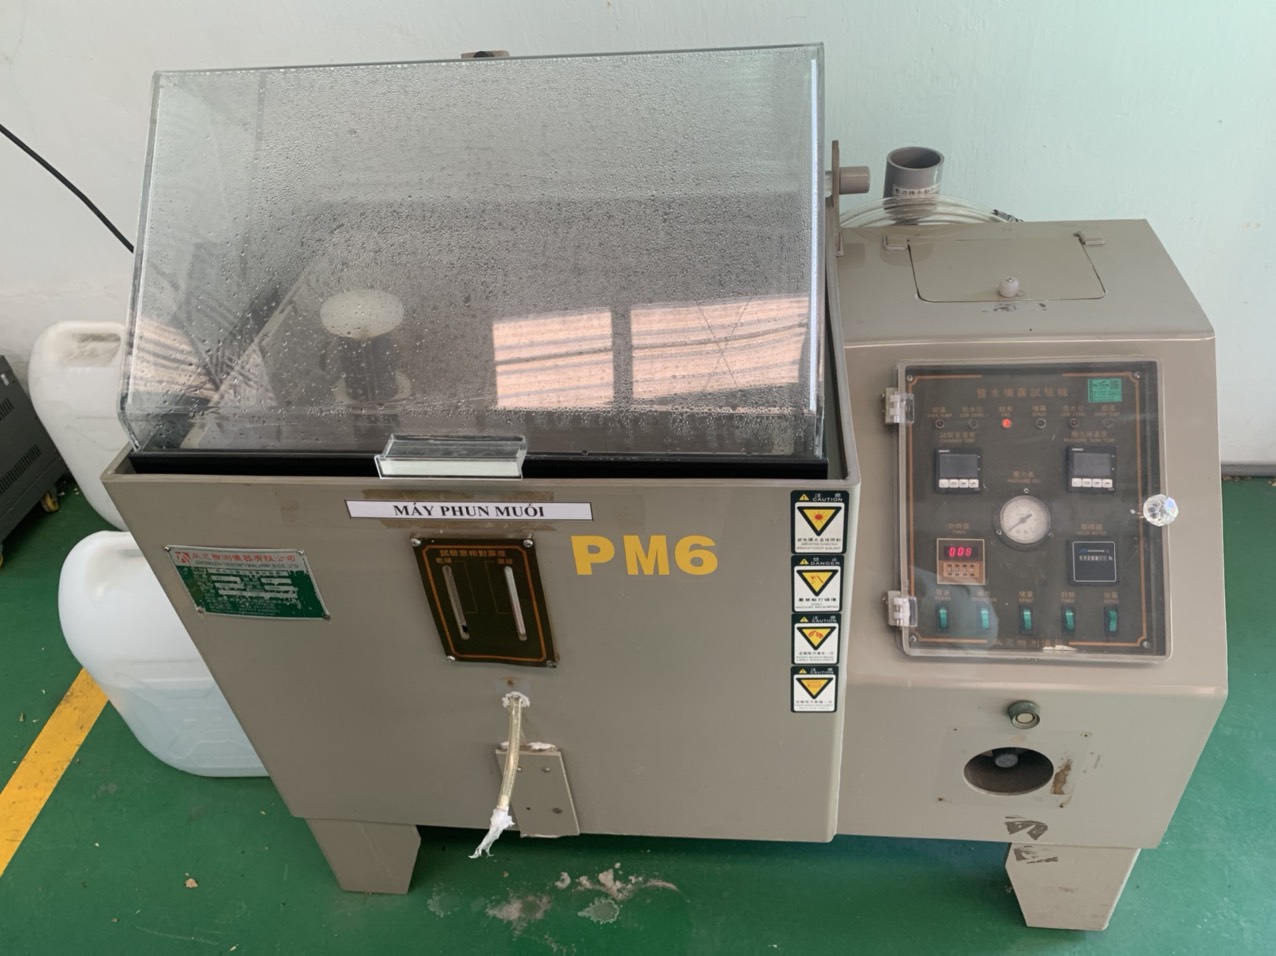
Getting coating right the first time is not about adding more inspections at the end. It is about building quality into every step of the process. Here is the quality control framework we implement with our suppliers, based on PPAP principles and real-world experience managing coating operations.
Incoming Material Verification
Before any coating work begins, verify the substrate. Check the material certificate against the drawing specification. Inspect for surface defects — scratches, dents, rust, mill scale, and micro-fissures. Parts with substrate defects will have coating problems no matter how good the coating process is. Reject or segregate non-conforming material immediately.
Pre-Treatment Process Controls
Require the supplier to maintain a pre-treatment control log. This log should record bath chemistry readings, rinse water conductivity, bath temperature, and processing time for each shift. Set control limits for each parameter. If any parameter drifts outside the control limits, stop production until it is corrected. This is not excessive — it is the minimum needed to ensure corrosion resistance and adhesion.
In-Process Monitoring
During coating application, monitor these critical parameters:
- Film thickness: Measure wet or dry film thickness on sample parts at regular intervals. Use a calibrated coating thickness gauge. Most specifications call for a target range with upper and lower limits.
- Booth conditions: Record temperature, humidity, and airflow in the coating booth. Maintain booth temperature at 20–25°C for optimal flow and levelling.
- Equipment settings: Document spray gun pressure, tip size, distance, and powder flow rate (for powder coating). Any change in settings must be recorded and approved.
Post-Cure Verification
Attach thermocouple data loggers 10 to parts during curing. The logged data should confirm that the part surface reached the required temperature for the required duration. This is the only reliable way to verify the curing process — oven set points are not accurate enough.
Final Inspection and Testing
At final inspection, perform the following checks on a sampling basis:
- Visual inspection: Check for orange peel, runs, sags, thin spots, color variation, and surface defects under standardized lighting.
- Film thickness measurement: Verify dry film thickness at multiple points on each sample part. Compare against specification limits.
- Adhesion testing: Perform cross-hatch adhesion test (ASTM D3359) on sacrificial parts or designated test areas. Rating must be 4B or 5B for most applications.
- Impact resistance: Drop-weight impact test to check for cracking or delamination at impact sites.
Documentation Requirements
All test results, process logs, and inspection records should be compiled into a quality package that ships with the parts. This creates traceability. If a problem appears later, you can trace it back to the specific batch, shift, and process conditions. Our team reviews these packages before authorizing shipment.
The Cost of Getting It Wrong
In my experience, coating rework adds 3–5 days to the production schedule and increases the per-part cost significantly. For time-sensitive projects, that delay cascades through the entire supply chain. Investing in process controls upfront — including proper PPAP documentation and first article inspection — eliminates most of these problems before they start.
Conclusion
Surface coating peeling is a symptom of deeper process failures. By addressing root causes — contamination removal, proper surface preparation, compatible materials, correct curing, and rigorous quality control — you move from reactive rework to reliable, right-first-time results. To learn more about choosing the right finish for your parts, explore the best surface treatment options for sheet metal fabrication.
Frequently Asked Questions
Why is the surface coating on my custom sheet metal parts peeling off?
A client in Ohio once returned an entire batch of mounting brackets because the charcoal gray powder coat was flaking off at every bend radius. Our quality team traced the problem back to a single overlooked step in surface preparation.
How can I ensure my supplier's pre-treatment process prevents coating adhesion issues?
Last quarter, we conducted a supplier audit at a Vietnamese facility that was delivering beautifully finished brackets — until they started failing salt spray tests at 200 hours instead of the required 500. The problem was hiding in their pre-treatment rinse tanks.
What are the best ways for me to fix or rework peeling coatings on my existing inventory?
We once helped a U.S. distributor salvage 3,000 protective housings sitting in a warehouse in Houston. The powder coating was peeling along every edge. Scrapping them was not an option — the tooling lead time alone was twelve weeks. So we developed a remediation plan.
Footnotes
1. Replaced with a working, informative article on sheet metal fabrication basics. ↩︎
2. Discusses common electroplating defects, including poor adhesion, and their root causes. ↩︎
3. Details common defects in powder coatings, their causes, and solutions. ↩︎
4. Provides an overview of galvanized steel, its manufacturing process, and corrosion resistance. ↩︎
5. Explains what mill scale is, its formation on hot-rolled steel, and why it must be removed. ↩︎
6. Describes how zinc oxide forms on galvanized steel and its role in corrosion protection. ↩︎
7. Describes chromate conversion coating as a passivation process for corrosion inhibition and paint adhesion. ↩︎
8. Replaced with the official, working ASTM standard page for D3359. ↩︎
9. Replaced with a comprehensive and authoritative Wikipedia article on phosphate conversion coating. ↩︎
10. Details how thermocouple data loggers are used to monitor and record oven temperature profiles for curing. ↩︎