

Deformation or dimensional issues in stamping parts can quietly destroy an assembly line statistical process control 1. I have watched shipments of brackets from our Vietnam-sourced projects get rejected over a 0.3 mm flatness miss. The parts looked perfect. They still failed. The good news: almost every stamping defect leaves a trace you can read—if you know where to look.
To identify and fix deformation or dimensional issues in stamping parts, classify the defect as shape-related or size-related, measure it with the right inspection tool, trace it to material, tooling, press setup, or design causes, then apply targeted corrections such as clearance adjustment, springback compensation, or multi-stage forming.
That sounds like a lot. It is not, once you break it into steps. Below, I walk through the same troubleshooting workflow we use when a client’s stamped bracket or clip comes back out of tolerance.
How can I identify the root causes of dimensional deviation in my stamping parts?
A U.S. purchasing manager once sent me photos of warped mounting clips and asked, "Is this bad steel or a bad die?" My honest answer: the defect itself usually tells you.
Identify root causes by matching the symptom to its typical driver: flatness errors point to uneven blank-holder force or residual stress, hole offset points to feed or pilot-pin wear, burrs point to die clearance or dull punches, and angle errors point to springback.

Start by separating what the part is doing from why it is happening. Deformation defects change shape: warping, twist, camber sheet metal forming 2, wrinkles, and buckling. Dimensional defects change size or position: hole offset, bend-angle error, length drift, and flatness out of tolerance. The two overlap, because a shape change almost always drives a size error. But the distinction matters, because it narrows your suspect list fast.
Read the symptom first
In our supplier audits across Vietnam and Taiwan, we train inspectors to ask three questions before touching a caliper. Is the defect localized or across the whole part? Did it appear after a tool change, a coil change, or a press adjustment? Is it stable, or is it drifting over the run? Sudden defects usually mean setup or material. Gradual drift almost always means tool wear.
Match symptoms to likely causes
| Symptom | Most Likely Root Causes | First Thing to Check |
|---|---|---|
| Flatness out of tolerance | Uneven blank-holder force, residual stress, ejection imbalance | Blank-holder pressure balance across the strip |
| Hole offset or position drift | Worn locating pins, feed error, strip instability | Pilot pins and feed accuracy |
| Bend angle wrong on every part | Springback 3 not compensated | Material grade vs. die design 4 assumptions |
| Burrs plus growing size drift | Die wear, punch dulling, wrong clearance | Burr height trend and cutting edges |
| Side-wall cracks in draws | Small die radius, poor lubrication, aggressive draw ratio | Die radius and lubricant film |
| Wrinkles or waviness | Insufficient blank-holder force, excessive draw depth | Holding force and forming sequence |
One more tip from experience. Grain direction matters. When a bracket bends parallel to the rolling direction, springback and cracking both get worse. We flag strip orientation on every stamping drawing we review for clients, because suppliers often ignore it.
What inspection methods should I use to catch deformation before shipment?
Before any container leaves our partner factories, our final-inspection team runs stamped parts through a layered check. The layers matter more than any single instrument.
Use surface plates and feeler gauges for quick flatness checks, height gauges and dial indicators for reference-plane deviation, CMM for first-article and precision parts, and 3D scanning for full-geometry comparison against CAD. Add SPC charts to catch gradual drift early.
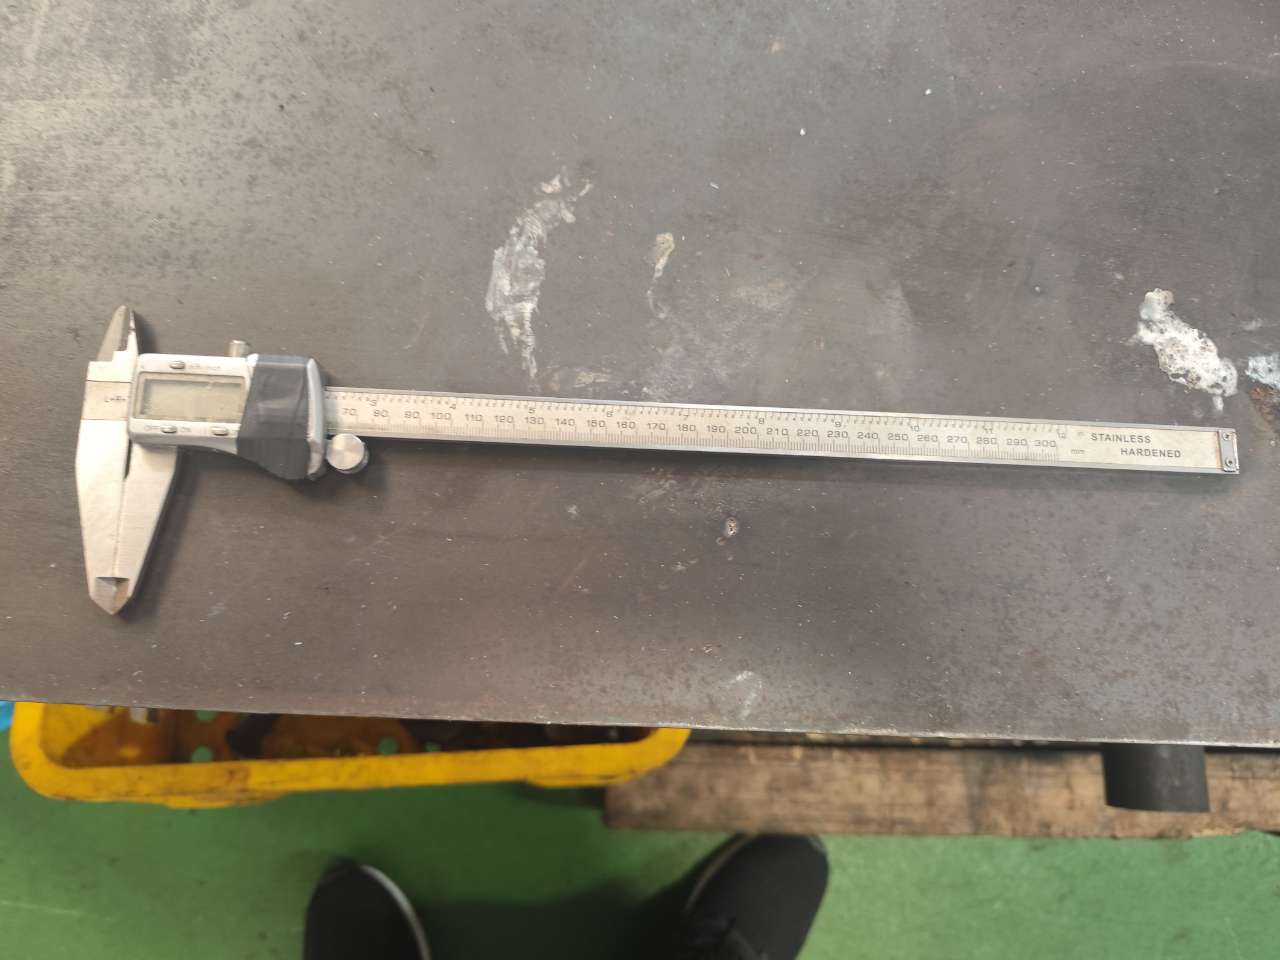
No single tool catches everything. A CMM spot-checks points with high accuracy coordinate measuring machine 5, but it can miss a twist between measured points. A surface plate reveals flatness fast, but it tells you nothing about hole position. So we match the method to the defect risk and the production volume.
Choose the right tool for the job
| Inspection Method | Best For | Limitation |
|---|---|---|
| Surface plate + feeler gauge | Fast flatness checks on small-to-medium parts | No positional data |
| Height gauge / dial indicator | Deviation from a reference plane | Point-by-point, slow for complex shapes |
| CMM | First-article inspection, tight-tolerance features | Samples points, may miss overall warp patterns |
| 3D scanning | Full-surface deformation mapped against CAD | Higher cost; overkill for simple go/no-go parts |
| Go/no-go gauges | High-volume production checks | Pass/fail only, no trend data |
| SPC charting | Detecting drift before parts fail | Requires disciplined data collection |
Build a layered inspection plan
Here is the sequence we recommend to clients. First, do a full first-article inspection with CMM or 3D scanning to validate the die. Second, define critical dimensions and check them at set intervals during the run. Third, chart those measurements with SPC so a slow trend—like burr height creeping up—triggers die maintenance before parts go out of spec. Fourth, run a final random-sample inspection before packing.
One caution from our export experience: some deformation is delayed. Residual stress from blanking or coining can surface as warp days after stamping. That is why we sometimes hold parts for a stabilization period, or request stress relief, before final flatness checks on sensitive brackets.
How do I work with my supplier to correct recurring stamping defects?
Weighing whether to push a supplier for a die rework or accept a process tweak is a trade-off I face on almost every custom-parts project we manage from Singapore.
Correct recurring defects by sharing measured data instead of complaints, requesting a structured root-cause analysis, agreeing on specific corrective actions in the die, process, or material, then validating the fix with a new first-article inspection before resuming volume production.

Vague feedback produces vague fixes. "The parts are warped" gets you a polite apology. "Flatness measures 0.45 mm against a 0.20 mm spec, worst at the strip edge, starting from coil lot 7" gets you a real investigation. Data changes the conversation.
Follow a structured corrective-action loop
- Document the defect with measurements, photos, and affected lot numbers.
- Ask the supplier for a root-cause analysis ISO 9001 6, not just a rework offer. An 8D report 7 or a simple 5-Why is fine.
- Review the proposed fix against the actual cause category—die, process, material, or design.
- Agree on validation: a new first-article run measured against the drawing before full production restarts.
- Set a monitoring plan so the same defect gets caught early if it returns.
Know which fixes match which defects
| Recurring Defect | Corrective Actions to Request |
|---|---|
| Warping / flatness failure | Balance blank-holder force; add corrective or reverse-bending station; pre-straighten incoming coil |
| Bend-angle error (springback) | Over-bend compensation in the die; restrike operation; verify material grade consistency |
| Cracking in draws | Increase die radius; split forming into more stages; improve lubrication; consider intermediate annealing |
| Wrinkling | Raise blank-holder force carefully; reduce draw severity per stage |
| Hole offset | Replace locating pins; verify feed accuracy and shut height; tighten pilot control |
| Burrs and size drift | Regrind or replace punches; recalibrate die clearance to roughly 8–12% of material thickness |
Beware of single-lever fixes. Raising blank-holder force cures wrinkles but can trigger cracking or thinning. Enlarging a die radius improves formability but shifts geometry elsewhere. In our project-management work, we insist that any die change gets validated with measurements—never just a verbal "it's fixed now." That discipline is the difference between a defect solved and a defect postponed.
What preventive measures can I request from my manufacturer to avoid future dimensional issues?
Early in one co-development project, our engineers flagged a hole placed too close to a bend line on a client's clip drawing. Fixing it on paper cost nothing. Fixing it after tooling would have cost weeks.
Request forming simulation before tooling, springback compensation built into die design, incoming material inspection for thickness and hardness, a documented die-maintenance schedule, SPC on critical dimensions, and PPAP-style first-article approval before production starts.

Prevention beats correction on cost every time. A die rework can stall a program for weeks. A simulation run or a drawing review takes days. Here is what to put in your supplier agreement from day one.
Prevention at the design stage
Ask whether the supplier runs forming simulation, such as AutoForm or Dynaform, before cutting tooling. Simulation predicts springback and wrinkling and can dramatically reduce trial-and-error die corrections. Also request a design-for-manufacturability review. Weak points like tight hole-to-edge distances, insufficient bend radii, missing relief notches, and unbalanced die layouts cause twist and camber later. Symmetry in the strip layout matters more than most buyers realize.
Prevention at the material stage
Require incoming inspection of coil thickness, hardness, and surface condition. Thickness variation and internal stress are silent killers of dimensional stability. For sensitive parts, specify coil straightening or stress relief. Confirm grain direction is called out on the drawing and respected in the strip layout.
Prevention during production
Ask for a documented die-maintenance plan tied to hit counts, with burr height used as a wear indicator for regrind timing. Request SPC on the critical dimensions you defined at first article. For higher-end programs, in-die sensors can monitor forming force in real time and flag drift mid-production instead of at final inspection. In our process-control work for U.S. clients, we combine PPAP documentation, in-process checks, and pre-shipment final inspection—because catching a problem in Asia is always cheaper than discovering it at a dock in the United States.
Conclusion
Deformation or dimensional issues in stamping parts are solvable when you read the symptom, measure it properly, trace the true cause, and demand validated fixes plus prevention. If you want a partner who manages that whole loop across Asia, I am happy to help.
Frequently Asked Questions
How can I identify the root causes of dimensional deviation in my stamping parts?
A U.S. purchasing manager once sent me photos of warped mounting clips and asked, "Is this bad steel or a bad die?" My honest answer: the defect itself usually tells you.
What inspection methods should I use to catch deformation before shipment?
Before any container leaves our partner factories, our final-inspection team runs stamped parts through a layered check. The layers matter more than any single instrument.
How do I work with my supplier to correct recurring stamping defects?
Weighing whether to push a supplier for a die rework or accept a process tweak is a trade-off I face on almost every custom-parts project we manage from Singapore.
Footnotes
1. Background on SPC methodology referenced for detecting defect drift. ↩︎
2. Background concept on stamping and forming processes discussed throughout. ↩︎
3. Technical background on springback, a central defect mechanism in the article. ↩︎
4. Links to standards body relevant to die design and manufacturing quality practices. ↩︎
5. Explains CMM technology used for stamping part inspection. ↩︎
6. Authoritative quality management standard relevant to supplier corrective action processes. ↩︎
7. Defines the 8D corrective action methodology mentioned in the workflow. ↩︎