
Deciding when to scrap and replace stamping parts keeps our project managers busy every week tool steel punches 1. Guess wrong, and scrap piles up, dies get damaged, and shipments slip. There is a better way.
Scrap and replace stamping parts when wear becomes measurable, repeatable, and costly to leave in service. Replace immediately if the tooling produces scrap or threatens adjacent components. If wear is isolated and stable, regrind or recondition instead, and schedule replacement at the next maintenance window.
That answer sounds simple. In practice, it is a triage process. Let me walk you through how I judge each situation, step by step.
What Signs Tell Me My Stamping Dies Are Too Worn to Continue Using?
A few years back, our Vietnam team caught a burr problem on a batch of galvanized brackets 2 before it left final inspection. The punch had quietly worn past its limit. That save taught us to trust signs, not schedules.
Worn stamping dies show rising burr height, dimensional drift that survives setup corrections, rounded or chipped cutting edges, uneven witness marks, higher tonnage demand, and repeated defects at the same station. Burrs above 10–15% of material thickness signal that replacement is overdue.
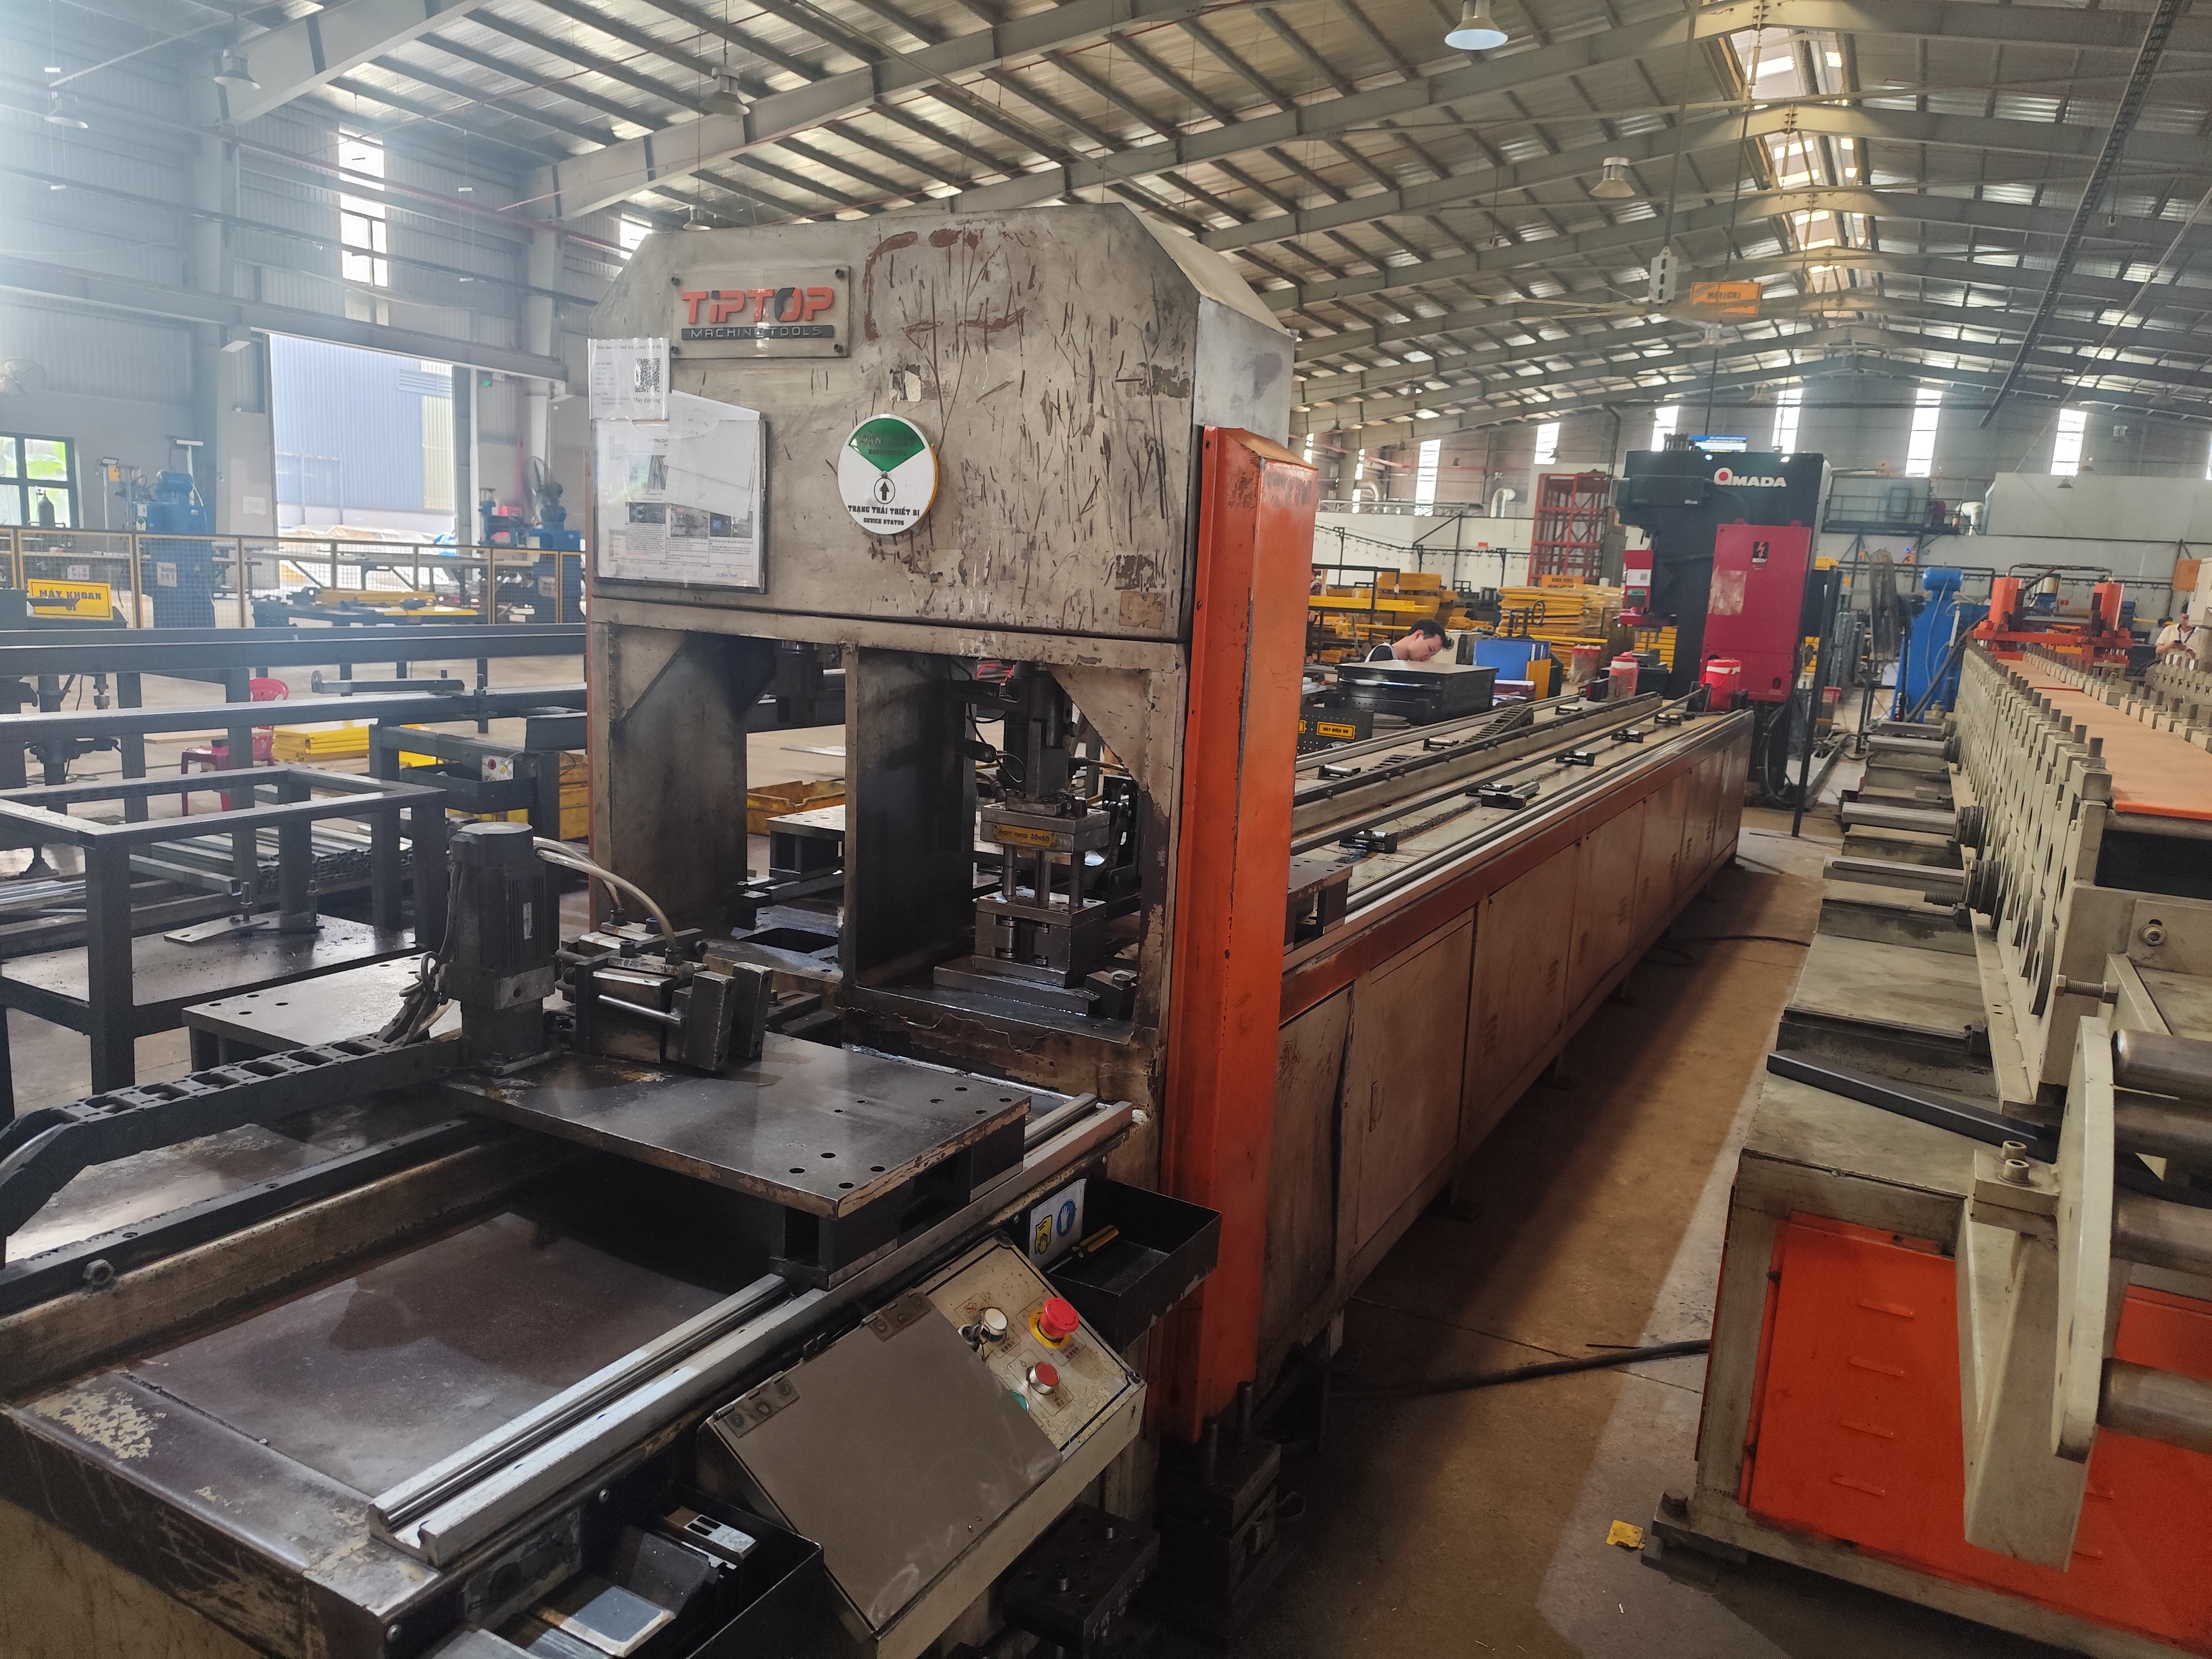
Signs come in two flavors: what you see on the part, and what you see on the tool. I always check both. A part can look fine while the tool is one shift away from failure. Cleaning matters too. Our inspectors wipe off oil and metal fines before judging any edge, because a dirty punch hides chips and rounding.
Signs on the Stamped Part
The part tells the first story. Burr height 3 is the clearest signal. When burrs climb past 10% of material thickness, I put the punch on a watch list. Past 15%, I stop the run. Rough shear lines, inconsistent break-to-shear ratios, and slot holes that measure tight or oversized all point back to edge wear.
Signs on the Tooling Itself
The tool tells the second story. Here is the checklist we use during supplier audits:
| Component | Warning Sign | Typical Action |
|---|---|---|
| Punch | Rounded edge, small chips, uneven wear | Regrind or replace |
| Die button | Scoring, galling, edge breakdown | Replace if scored |
| Springs | Free length down more than 10%, cracks | Replace immediately |
| Guide sleeves/bushings | Measurable clearance growth | Schedule replacement |
| Stripper system | Sticking, uneven pressure marks | Inspect and repair |
One more sign people miss: sound. A dull, heavier press stroke often means cutting resistance is climbing. When operators say the press "sounds tired," I take it seriously. Higher tonnage demand is quantifiable wear, not superstition.
How Do I Balance Repair Costs Against Replacing Stamping Tooling?
There is a trade-off I weigh on almost every custom parts project: spend a little now on a regrind, or spend more on a new component and reset the clock. The math is rarely obvious until you frame it properly.
Repair stamping tooling when wear is contained to a restorable edge or surface, since reconditioning typically costs 40–60% less than new tooling. Replace when repair costs approach 60–70% of new cost, when failures repeat after verified maintenance, or when multiple components are worn.

The mistake I see most often is comparing only the invoice prices. A regrind quote against a new punch quote misses the real costs. You have to count downtime, scrap risk, and the number of regrinds the component has left in it. Our team in Vietnam tracks regrind history for exactly this reason. A punch on its fifth regrind is not the same asset as a punch on its first.
The Real Cost Comparison
Here is how I frame the decision for our U.S. clients:
| Factor | Repair/Regrind | Replace |
|---|---|---|
| Upfront cost | 40–60% less than new | Full component cost |
| Remaining life | Shorter; typically 3–5 regrinds max | Full life reset |
| Downtime | Short, plannable | Longer if not stocked |
| Risk | Wear may return sooner | Lowest defect risk |
| Best when | Wear is isolated and stable | Failures repeat or cascade |
The Rules I Apply
A few numbers anchor the decision. Standard tool steel punches 4 typically run 50,000 to 200,000 strokes on mild steel up to 3 mm before needing a resharpening. Each regrind removes roughly 0.05–0.15 mm of material. After 3–5 regrinds, or about 20% length loss, the punch geometry is compromised and replacement wins. And when repair quotes creep past 60–70% of new tooling cost, I stop repairing. At that point, you are paying nearly full price for a shorter-lived asset. That is a bad trade every time.
What Quality Issues Should I Watch for That Signal a Stamping Part Needs Scrapping?
A purchasing manager once emailed me photos of brackets with hairline cracks along a bend radius. He asked if the batch could ship with a deviation. Our answer was no. Some defects are cosmetic. Cracks are not.
Scrap stamped parts showing cracks, excessive burrs above 15% of material thickness, dimensions outside engineering tolerance, galling marks, deformed flanges, or misplaced holes. These defects compromise fit, strength, or assembly and cannot be reliably reworked to drawing requirements.

Not every defect means scrap. Part of getting it right the first time is knowing which issues kill a part and which are correctable at the process level. I sort quality issues into three buckets, and I train our final inspection teams to do the same.
Bucket One: Scrap the Part
Cracks at bend radii, split holes, torn edges, and plastic deformation of flanges. These are structural. A mounting bracket with a cracked bend will fail in service, and no rework restores it. Misplaced or elongated holes that fall outside positional tolerance 5 also belong here. Fastener holes either line up or they do not.
Bucket Two: Rework or Deburr, Then Re-Inspect
Moderate burrs, sharp edges, minor surface scratches on non-cosmetic faces. These can often be deburred or tumbled. But rework has limits. If burrs keep returning batch after batch, the tooling is the problem, not the parts.
Bucket Three: Watch the Trend
Dimensional drift inside tolerance but moving toward a limit. This is where SPC data earns its keep. On our custom bracket programs, we chart critical dimensions across runs. A dimension drifting steadily toward its limit tells us the die is wearing before a single part fails. That is the difference between a planned tool stop and a rejected shipment.
The key question I always ask: is this defect a one-off, or does it repeat after setup correction? A defect that survives a verified setup correction is a tooling problem. Treat it as one.
How Can I Work with My Supplier to Plan Stamping Tool Replacement Before It Affects Production?
Early in one Vietnam program, a client's forecast doubled mid-year and the die was already near end of life. Because we had stroke-count records, we ordered replacement components eight weeks early. Production never stopped. That is what planning looks like.
Share forecasts with your supplier, require hit-counter and maintenance logs for each die, agree on measurable replacement triggers, and stock critical spares like punches and springs. Schedule replacements during planned maintenance windows so tooling changes never interrupt production or delivery commitments.

Tool replacement fails as a fire drill and succeeds as a routine. The shift I push every client toward is moving from calendar-based guessing to data-driven planning. Your supplier already has the data. You just have to ask for it and act on it together.
What to Ask Your Supplier For
Here is the working agreement I set up on our stamping programs:
| Item | What It Gives You | Review Frequency |
|---|---|---|
| Hit-counter / stroke logs | Remaining tool life estimate | Monthly |
| Maintenance and regrind records | History since last sharpen or rebuild | Each PM event |
| SPC trend charts on critical dims | Early warning of dimensional drift | Per lot |
| Agreed replacement triggers | Objective, no-argument decisions | Set once, audit yearly |
| Critical spares list | Punches, springs, buttons on the shelf | Quarterly |
Make Triggers Objective
Vague agreements like "replace when worn" cause disputes. Written triggers do not. We define them in the process control plan 6: burr height limits, spring free-length loss over 10%, regrind count limits, and stroke thresholds. When a trigger fires, the action is already agreed. Nobody debates it during a production crunch.
Align Replacement with Your Order Rhythm
Long-lead tooling components should be ordered against wear trends, not failures. When our audits show a die approaching a regrind or replacement threshold, we flag it in the client's monthly report with a recommended action date. Replacement then lands in a planned window between lots. Your production schedule never feels it, and your delivery dates hold.
Conclusion
Scrap and replace stamping parts when wear is measured, repeated, and risky. Repair what is contained, replace what cascades, and plan with your supplier so tooling never surprises production.
Frequently Asked Questions
What Signs Tell Me My Stamping Dies Are Too Worn to Continue Using?
A few years back, our Vietnam team caught a burr problem on a batch of galvanized brackets 2 before it left final inspection . The punch had quietly worn past its limit. That save taught us to trust signs, not schedules.
How Do I Balance Repair Costs Against Replacing Stamping Tooling?
There is a trade-off I weigh on almost every custom parts project: spend a little now on a regrind, or spend more on a new component and reset the clock. The math is rarely obvious until you frame it properly.
What Quality Issues Should I Watch for That Signal a Stamping Part Needs Scrapping?
A purchasing manager once emailed me photos of brackets with hairline cracks along a bend radius. He asked if the batch could ship with a deviation. Our answer was no. Some defects are cosmetic. Cracks are not.
Footnotes
1. ASM International is the authoritative materials science body for tool steel properties. ↩︎
2. Background on galvanization explains the coated material referenced in the example. ↩︎
3. Explains burr formation in metalworking, directly supporting the wear-signal discussion. ↩︎
4. Provides background on tool steel properties that determine punch wear resistance and stroke life. ↩︎
5. ISO develops geometric dimensioning and tolerancing standards referenced by positional tolerance checks. ↩︎
6. AIAG publishes standard control plan methodology used across automotive stamping supply chains. ↩︎