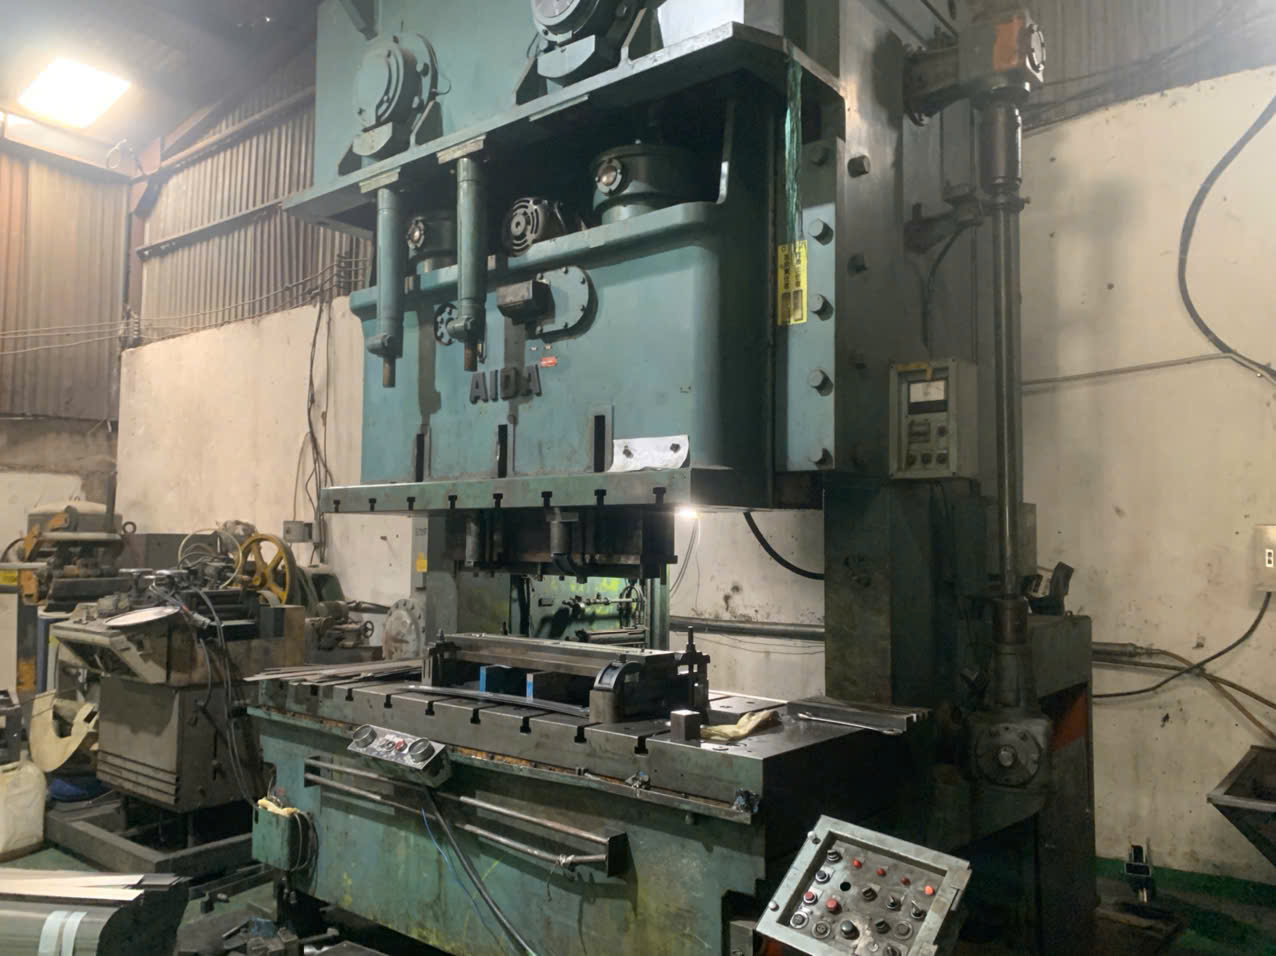

Mold and die development for custom stamping parts is where most delivery schedules quietly die progressive multi-station dies 1. I have watched buyers lose entire product launches because a supplier quoted “four weeks” for tooling and delivered in fourteen. The frustrating part? Nobody lied on purpose. The quote simply skipped design approval, steel procurement, and trial loops forming simulations 2. When our project team in Vietnam manages stamping tooling for U.S. clients, we map every one of those hidden phases up front — because a tooling delay at week one becomes a container of missed revenue at week twenty.
Developing molds or dies for custom stamping parts typically takes 4 to 12 weeks. Simple single-operation dies need 4–6 weeks, compound dies need 6–8 weeks, and complex progressive dies require 10–14 weeks or longer, depending on part complexity, revisions, and shop capacity.
That range is wide, and the difference between the low end and the high end is mostly within your control forming simulations 3. Let me break down where the time actually goes, and how to protect your schedule.
What factors influence the actual mold development timeline for my custom stamping parts?
A buyer once asked me why two shops quoted the same bracket die at 5 weeks and 16 weeks. Both quotes were honest. They just measured different things, from different starting points.
The actual mold development timeline depends on part complexity, die type, tolerance requirements, engineering revision cycles, tool steel availability, machining scope, trial iterations, and the toolmaker's current workload. Progressive multi-station dies take two to three times longer than simple single-operation dies.
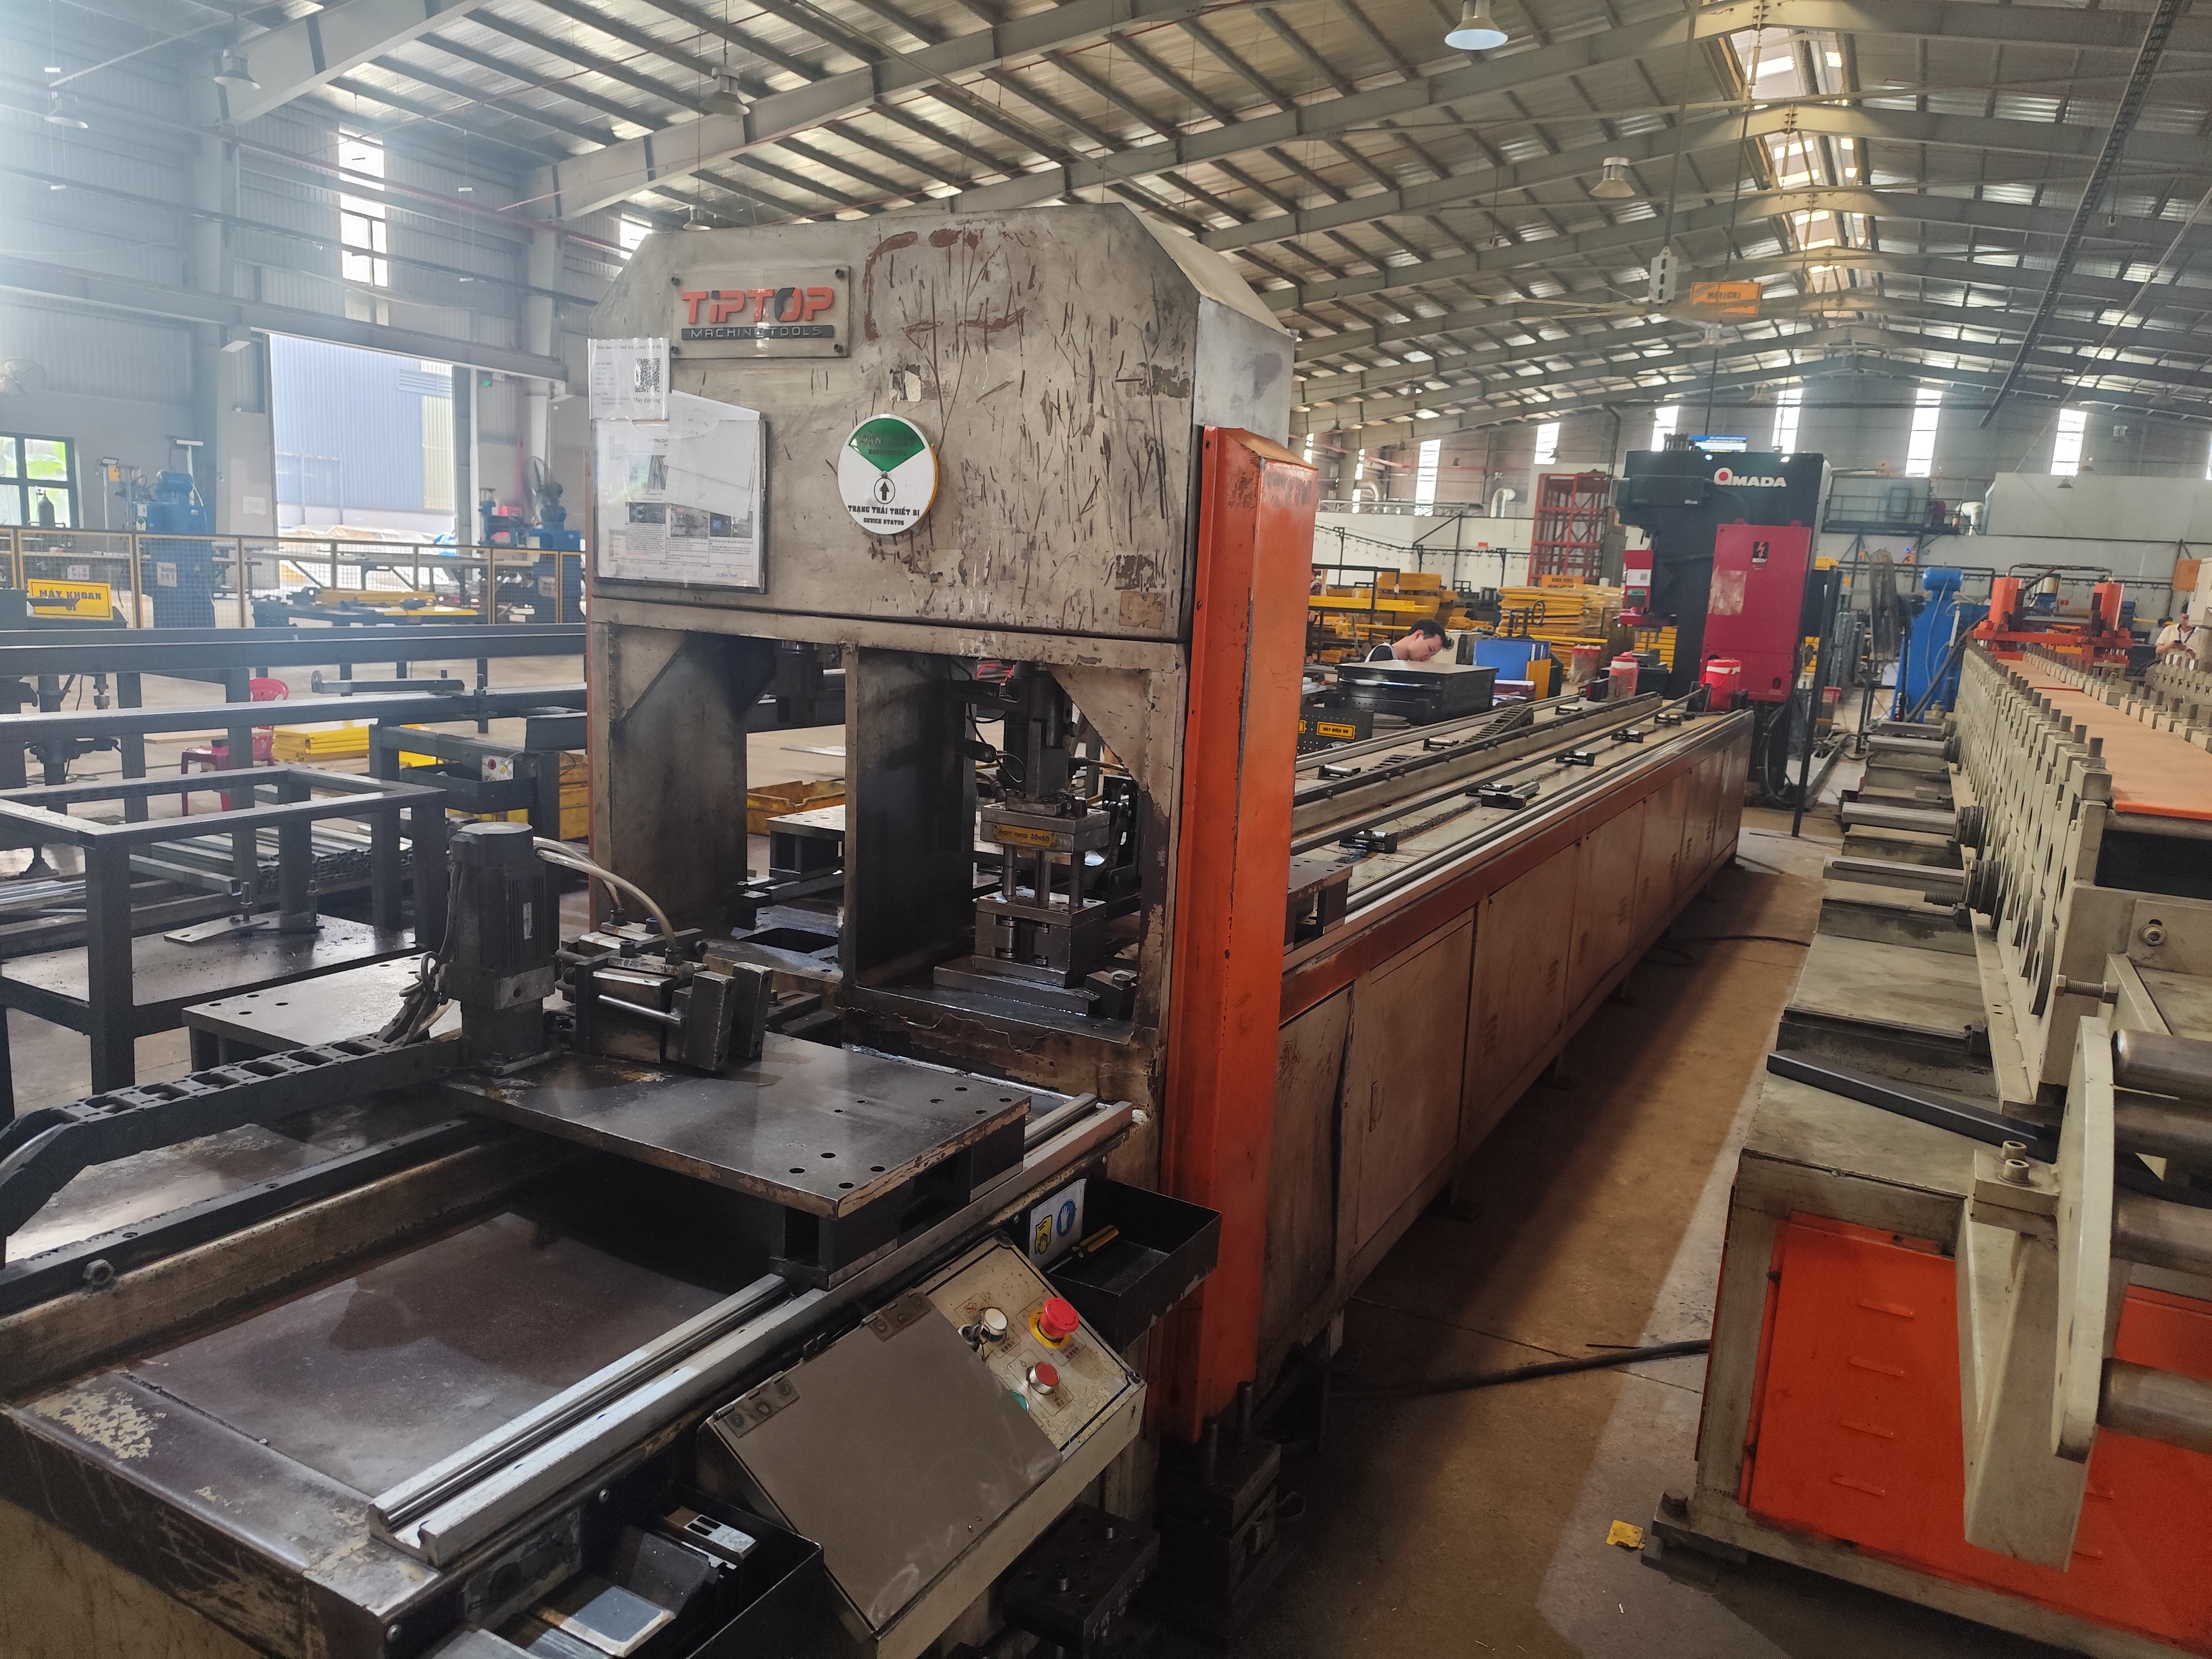
There is no single number because "custom stamping parts" covers everything from a flat washer to a multi-bend chassis bracket with tight hole positions. In our sourcing projects across Vietnam and other Asian countries, we always separate the timeline into two questions: what kind of die is it, and what phases does the quote actually include?
Die type sets the baseline
Take a simple Z-fold mounting clip with one screw hole. A single-operation die can blank and form it in two hits. Now take a stepped bracket with four bends, two hole sizes, and flange position tolerances — that likely needs a progressive die with six or more stations. Every station adds CAD work, machining, and debugging.
| Die / mold type | Typical development timeline |
|---|---|
| Single-operation die | 4–6 weeks |
| Compound die | 6–8 weeks |
| Progressive die (multi-station) | 10–14 weeks |
| Large panel dies / body parts | 12–16 weeks |
| Expedited simple tooling (stable design) | 30–50 days |
The hidden phases inside every quote
The build itself is only one phase. Here is where the calendar actually goes:
| Phase | Typical duration |
|---|---|
| Design and DFM review | 1–5 working days |
| Tool design approval / simulation | 2–5 days (longer with revisions) |
| Tool steel 4 procurement and heat treatment 5 | 3 days to 2+ weeks |
| CNC, wire EDM, grinding, assembly | 1–3+ weeks |
| Trial stamping, sampling, debugging (T1–T3) | 2–7 days per loop |
Notice that revision cycles do not appear as a line item — yet they are the biggest schedule killer. One structural change after tool design approval can restart machining on multiple die blocks. Shop workload matters too. The same tool can be 50 days at a shop with open capacity and 20 weeks at a shop running full.
How can I avoid delays during the mold or die development process?
The most expensive delay I ever managed came from a single unmarked tolerance. The drawing showed a hole position without a datum, the toolmaker assumed, and the T1 samples failed inspection. Three weeks gone.
Avoid delays by freezing the part design before steel is cut, completing DFM review early, confirming tool steel availability up front, agreeing on trial sample criteria in writing, and responding to toolmaker questions within 24 hours. Most delays come from revisions, not machining.
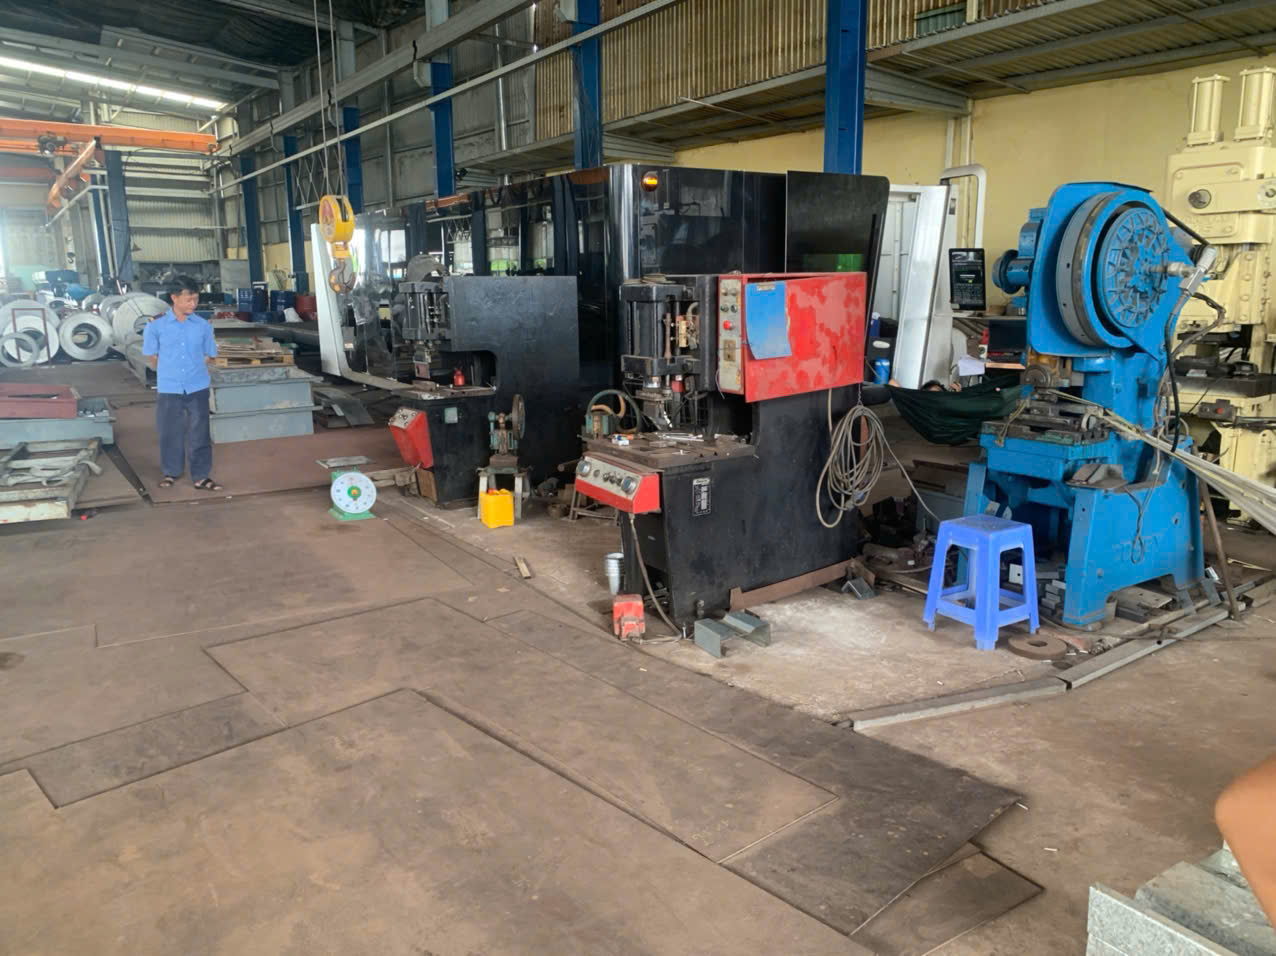
Delays in die development rarely come from slow machines. They come from decisions that were not made, or were made twice. When we run tooling projects for U.S. purchasing managers, the schedule risks cluster in four places.
Freeze the design before cutting steel
An engineering change during design review costs days. The same change after machining starts costs weeks, because die plates, punches, and strippers may all need rework. We require formal drawing sign-off before any steel is ordered. If your engineering team is still "finalizing," tell your supplier honestly — a paused project is cheaper than a rebuilt die.
Take the DFM review seriously
A good toolmaker will flag issues before quoting: bend radii too tight for the material, holes too close to bends, tolerances tighter than the process can hold. Answer these questions fast and completely. In our experience, a thorough two-day DFM exchange saves one to two full trial loops later.
Watch the materials and the calendar
Specialty tool steels and heat treatment slots are common bottlenecks. Ask your supplier to order steel immediately after design approval, not after final machining programs are ready. Also check the calendar for regional holidays — a die scheduled to finish the week before a long factory shutdown will slip a month, not a week.
Manage the feedback loop
Every question the toolmaker sends and waits three days on is three days added to your delivery. Assign one technical contact on your side who can answer within a day. Slow feedback is the delay nobody puts on the Gantt chart.
How can I speed up mold development without sacrificing quality?
There is a trade-off we weigh on almost every project: how much speed can we buy before we start borrowing against quality? The honest answer is more than most buyers think — if the speed comes from the right places.
Speed up mold development by using standardized die components, running forming simulations to replace physical trial loops, validating geometry with prototype or soft tooling, machining die sections in parallel, and pre-approving the tool design quickly. These methods cut weeks without weakening the production die.

Cutting time by skipping heat treatment or rushing final grinding is false economy — the die fails early and you pay twice. Real acceleration comes from removing waiting time and iteration loops, not from removing steps. Here is what actually works.
Five legitimate ways to compress the timeline
- Standardized components. Off-the-shelf punches, bushings, springs, and die sets can trim 20–30% of build time on non-critical sections. Only the part-specific forming inserts need full custom machining.
- Forming simulation. Software like AutoForm or PAM-STAMP runs virtual trials before steel is cut. Catching a springback or thinning problem digitally often saves one to two weeks of shop-floor adjustment.
- Prototype tooling first. Soft tooling or 3D-printed inserts 6 can produce test parts weeks before the hardened production die is ready. Your engineers validate fit and function early, so the production die gets built once, correctly.
- Parallel workflows. A capable shop machines the die shoe, orders steel, and programs wire EDM 7 paths simultaneously — not sequentially. Ask how they schedule; the answer tells you a lot.
- Fast approvals on your side. A tool design that sits in your inbox for a week adds a week to delivery. Pre-agree who signs off and how fast.
What speed should never cost you
| Acceptable shortcut | Dangerous shortcut |
|---|---|
| Standard die components | Skipping heat treatment on wear parts |
| Virtual simulation replacing a trial loop | Skipping T1 dimensional inspection |
| Parallel machining of die sections | Approving samples without full measurement reports |
| Soft tooling for early validation | Shipping production parts from an unproven die |
On our projects, we hold the line on the right column even when the client is under pressure. A die that produces out-of-tolerance brackets on day one costs far more than the two weeks it "saved."
What should I ask my supplier before starting mold development to protect my delivery schedule?
Before we place any tooling order on behalf of a client, our team runs the same question list — because the answers predict on-time delivery better than any promise does.
Ask your supplier what the quoted lead time includes, when the clock starts, how many trial loops are budgeted, whether tool steel is in stock, who owns corrections after failed samples, and how current shop workload affects your slot. Get milestone dates in writing.

Most tooling disputes I have mediated trace back to one unspoken assumption: the buyer thought "6 weeks" meant inquiry to approved samples, while the shop meant design approval to first tryout. Close that gap before you commit money.
The questions that matter most
"What does your lead time include, and when does the clock start?" Does 6 weeks cover DFM, steel procurement, trials, and corrections — or just machining? Does it start at PO, at drawing approval, or at deposit received? Force a specific answer.
"How many trial rounds are in the schedule?" A realistic plan budgets T1, T2, and sometimes T3 sampling with measurement reports at each round. A supplier who assumes T1 passes on the first try is either exceptional or optimistic. Usually optimistic.
"Is the tool steel in stock or on order?" Specialty grades and heat treatment queues can silently add two weeks. If steel must be ordered, ask for the confirmed delivery date.
"What happens if samples fail inspection?" Agree now on who pays for corrections, how fast rework happens, and what the dimensional acceptance criteria are. We attach full sample measurement requirements to every tooling PO — it removes the argument before it starts.
"What is your current shop load?" The same die can be 7 weeks or 15 weeks depending on the queue. A shop that answers this transparently is a shop you can plan around.
"Can I see a milestone schedule?" Ask for dated checkpoints: design approval, steel arrival, machining complete, T1 samples, final buy-off. Then track them weekly. If offshore shipping is involved, add transit and customs time to the total — a "fast" build time means little if the samples spend two weeks in freight.
Conclusion
Die development for custom stamping parts takes 4–14 weeks depending on complexity. Freeze designs early, demand milestone schedules, budget trial loops honestly — and your tooling arrives on time.
Frequently Asked Questions
What factors influence the actual mold development timeline for my custom stamping parts?
A buyer once asked me why two shops quoted the same bracket die at 5 weeks and 16 weeks. Both quotes were honest. They just measured different things, from different starting points.
How can I avoid delays during the mold or die development process?
The most expensive delay I ever managed came from a single unmarked tolerance. The drawing showed a hole position without a datum, the toolmaker assumed, and the T1 samples failed inspection. Three weeks gone.
How can I speed up mold development without sacrificing quality?
There is a trade-off we weigh on almost every project: how much speed can we buy before we start borrowing against quality? The honest answer is more than most buyers think — if the speed comes from the right places.
Footnotes
1. Explains the progressive die process referenced as the most complex tooling type discussed. ↩︎
2. Background on simulation software used to replace physical trial loops in tooling development. ↩︎
3. Provides background on simulation software used to validate stamping processes before machining. ↩︎
4. ISO governs material and manufacturing standards relevant to tool steel specification. ↩︎
5. Provides technical context on the metallurgical process critical to tool steel durability. ↩︎
6. Explains additive manufacturing technology used for rapid prototype tooling inserts. ↩︎
7. Defines the precision machining technique used for die component fabrication. ↩︎