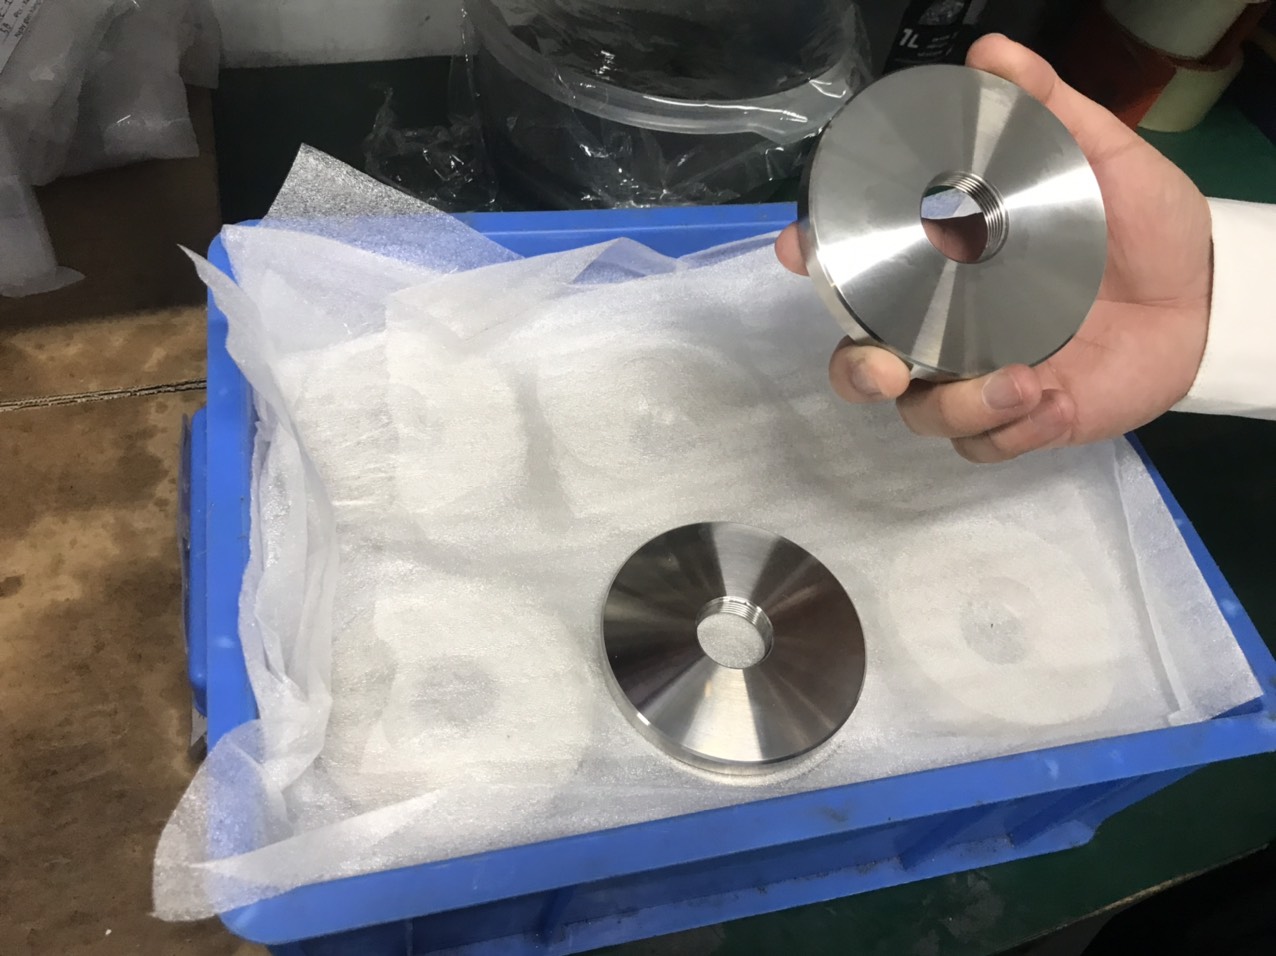
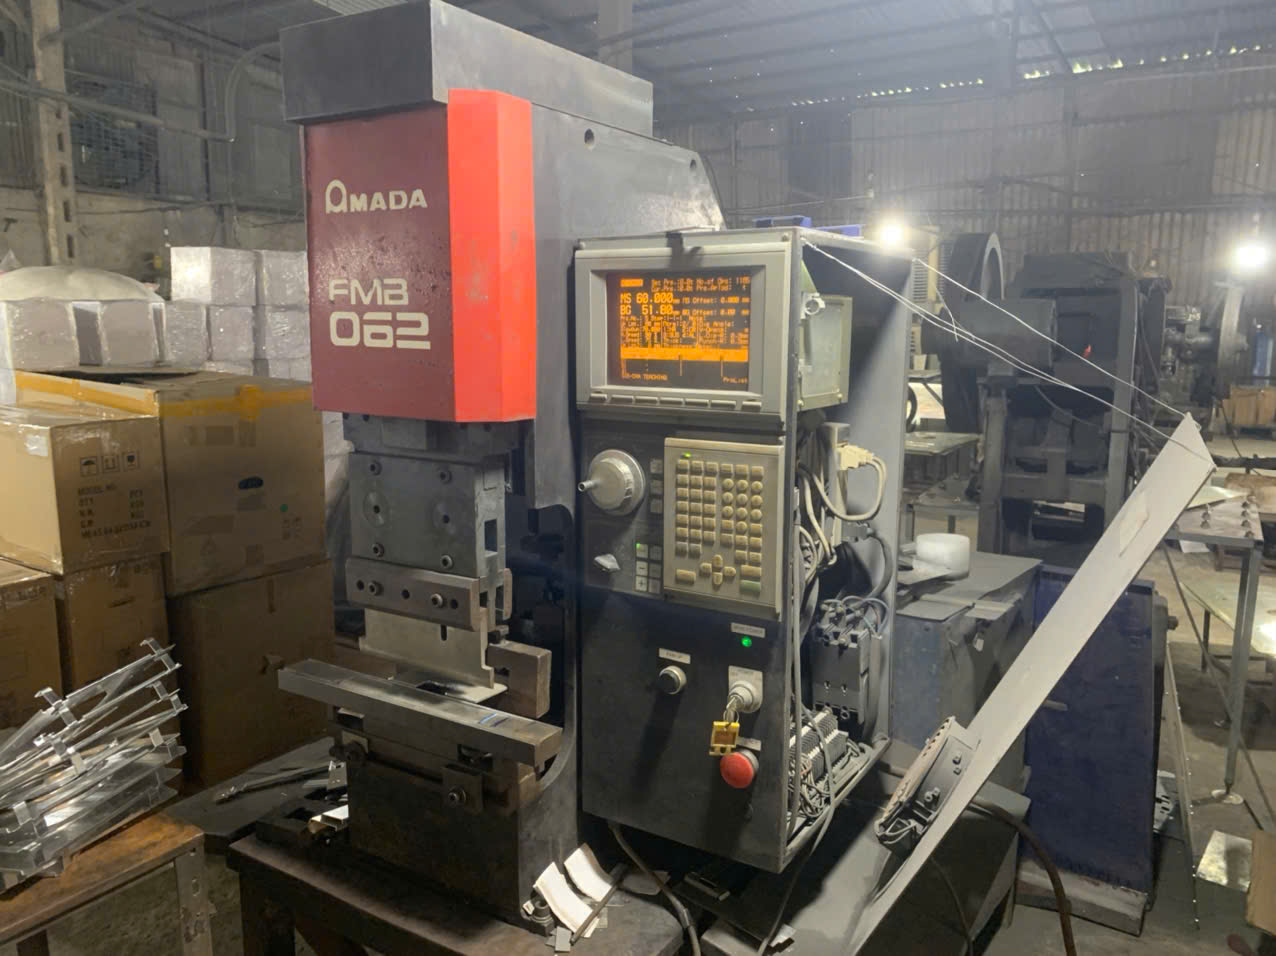
Sharp edges and burrs in sheet metal fabrication cause injuries, slow down assembly, and lead to costly rework — problems our team encounters on nearly every custom parts project.
Managing sharp edges and burrs in sheet metal fabrication safely requires specifying clear deburring standards, selecting the right edge finishing method for each part geometry, enforcing in-process quality control, and ensuring all personnel use proper personal protective equipment (PPE) including cut-resistant gloves during handling.
Below, I walk through four critical questions that purchasing managers and engineers ask us regularly personal protective equipment (PPE) 1. Each section shares the practical steps, standards, and supplier evaluation methods we use across our projects in Vietnam and other Asian sourcing regions.
How do I specify the correct deburring standards to ensure my custom sheet metal parts are safe for handling?
A lesson we learned early in our supply chain management 2 work: vague drawing notes like "remove all burrs" cause more disputes than they prevent. Without measurable criteria, every supplier interprets that phrase differently PPAP documentation 3.
To specify correct deburring standards, reference recognized benchmarks like DIN EN 1090 (minimum 2 mm edge radius for steel) or UL 1439 (sharpness tape test), define acceptable edge conditions on your drawings, and include pass/fail inspection criteria in your purchase order or PPAP documentation.
Why Vague Callouts Fail
When we audit suppliers across Asia, one of the most common root causes of non-conforming parts is an unclear edge finish requirement. A callout that says "break all sharp edges" does not tell the operator how much material to remove. It does not tell the inspector what tool to use for verification. And it does not tell the receiving team in the US what to expect when they open the box. The result is inconsistency — some parts arrive smooth, others arrive with edges that can slice through packaging tape.
Key Standards You Should Know
| Standard | What It Covers | Key Requirement |
|---|---|---|
| DIN EN 1090 4 | Steel structural components | Minimum edge radius of 2 mm |
| UL 1439 5 | Consumer and industrial products | Tape sharpness test under 1.5 lbs contact force |
| ISO 13715 6 | Edge condition notation on drawings | Defines symbols for burrs and undershoot |
| Company-specific | Internal quality standards | Varies — often 0.5 mm to 1.0 mm radius for non-structural parts |
How to Write an Effective Drawing Note
I recommend our clients include three elements on every sheet metal drawing:
- A measurable edge condition. For example: "All external edges to have a minimum 1.0 mm radius, free of burrs detectable by touch or visual inspection at 3× magnification."
- A reference standard. Citing DIN EN 1090 or UL 1439 removes ambiguity. If neither applies, create a boundary sample and photograph it.
- An inspection method. State how the edge will be checked — finger drag test, visual under magnification, or the UL 1439 tape method.
When we manage PPAP submissions for clients, we require the supplier to document the deburring method, the inspection criteria, and a photograph of the edge condition. This creates a traceable record. If a batch arrives with sharp edges, we can trace back to whether the process deviated or the standard was unclear.
Understanding the Types of Burrs
Not all burrs are the same. Knowing what you are dealing with helps you specify the right removal method.
| Burr Type | Cause | Typical Removal Method |
|---|---|---|
| Rollover burr | Shearing, punching | Manual deburring with hand tools or tumbling |
| Tear burr | Laser or plasma cutting | Grinding, automated deburring machines 7 |
| Poisson burr | Compression during forming | Light abrasive blasting or brush deburring |
| Recast burr | Thermal cutting (laser, EDM) | Chemical or electrochemical deburring |
Each type requires a different approach. Specifying "deburr" without understanding the burr type is like saying "fix the surface" without knowing if the defect is a scratch, a dent, or a stain. On our production line, we classify burrs during first-article inspection so the deburring method matches the actual condition.
What quality control steps should my supplier take to prevent burrs from affecting my final assembly?
One conversation with a US-based purchasing manager changed how we structure our QC workflow. He told us his team spent two hours per shipment re-deburring parts that were supposedly finished. That is not a fabrication problem — it is a process control problem.
Your supplier should implement in-process deburring immediately after cutting or forming, conduct edge-condition inspections at multiple checkpoints using defined criteria, document results with photographs and measurement records, and perform final inspection against your approved boundary samples before packaging.

The Right QC Checkpoints
Quality control for edge finishing is not a single gate at the end of the line. Burrs form at multiple stages — cutting, punching, bending, even during handling between operations. If you only check at final inspection, you discover problems after the cost of rework is highest. Here is the checkpoint structure we apply in our contract manufacturing projects:
Checkpoint 1 — Post-cutting. Immediately after laser cutting, shearing, or punching, the operator inspects edges. This is where the industry best practice of "deburr as soon as burrs are created" applies. Rollover burrs from punching and tear burrs from laser cutting should be caught here.
Checkpoint 2 — Post-forming. Bending and forming operations can create new burrs or re-expose edges that were previously deburred. A second check after forming catches these.
Checkpoint 3 — Post-surface treatment. Abrasive blasting and shot peening can themselves create new burrs if media strikes edges at the wrong angle. We verify edge condition again after any surface treatment step.
Checkpoint 4 — Final inspection before packaging. This is the last gate. We use boundary samples — physical reference parts that represent the minimum acceptable edge condition. The inspector compares each part against the sample.
What to Ask Your Supplier
When evaluating whether a supplier has adequate QC for burr prevention, I ask these questions directly:
- What deburring tools or machines do you use, and at which process step?
- Do you have a documented inspection plan that includes edge condition?
- Can you provide photographs of edge conditions with your inspection reports?
- Do you use boundary samples or go/no-go gauges for edge sharpness?
- How do you handle non-conforming parts found during in-process inspection?
A supplier who cannot answer these questions clearly is likely relying on final inspection alone — or worse, relying on the operator's judgment without any standard.
Linking QC to Assembly Performance
Burrs do not just cause cuts. They cause assembly failures. A burr on a mating surface prevents proper fit. A sharp edge on a bracket damages adjacent wiring or seals. In electronic enclosure manufacturing, burrs can jam feeders and stop the line. Edge rounding is not just a safety measure — it is a functional requirement for downstream process stability. When we manage projects for clients whose parts go into automated systems, we treat edge condition as a critical-to-quality (CTQ) characteristic 8, not just a cosmetic note.
How can I reduce the lead time and costs associated with manual edge finishing in my fabrication projects?
A trade-off we weigh on nearly every project is whether to invest in automated deburring or stick with manual deburring. The answer depends on volume, geometry, and tolerance — not just price.
Reduce edge finishing lead time and costs by selecting automated deburring machines for high-volume, simple-geometry parts; optimizing cutting parameters to minimize burr formation at the source; consolidating deburring operations into fewer process steps; and reserving manual deburring only for complex or low-volume parts where precision matters most.
Prevention Beats Removal
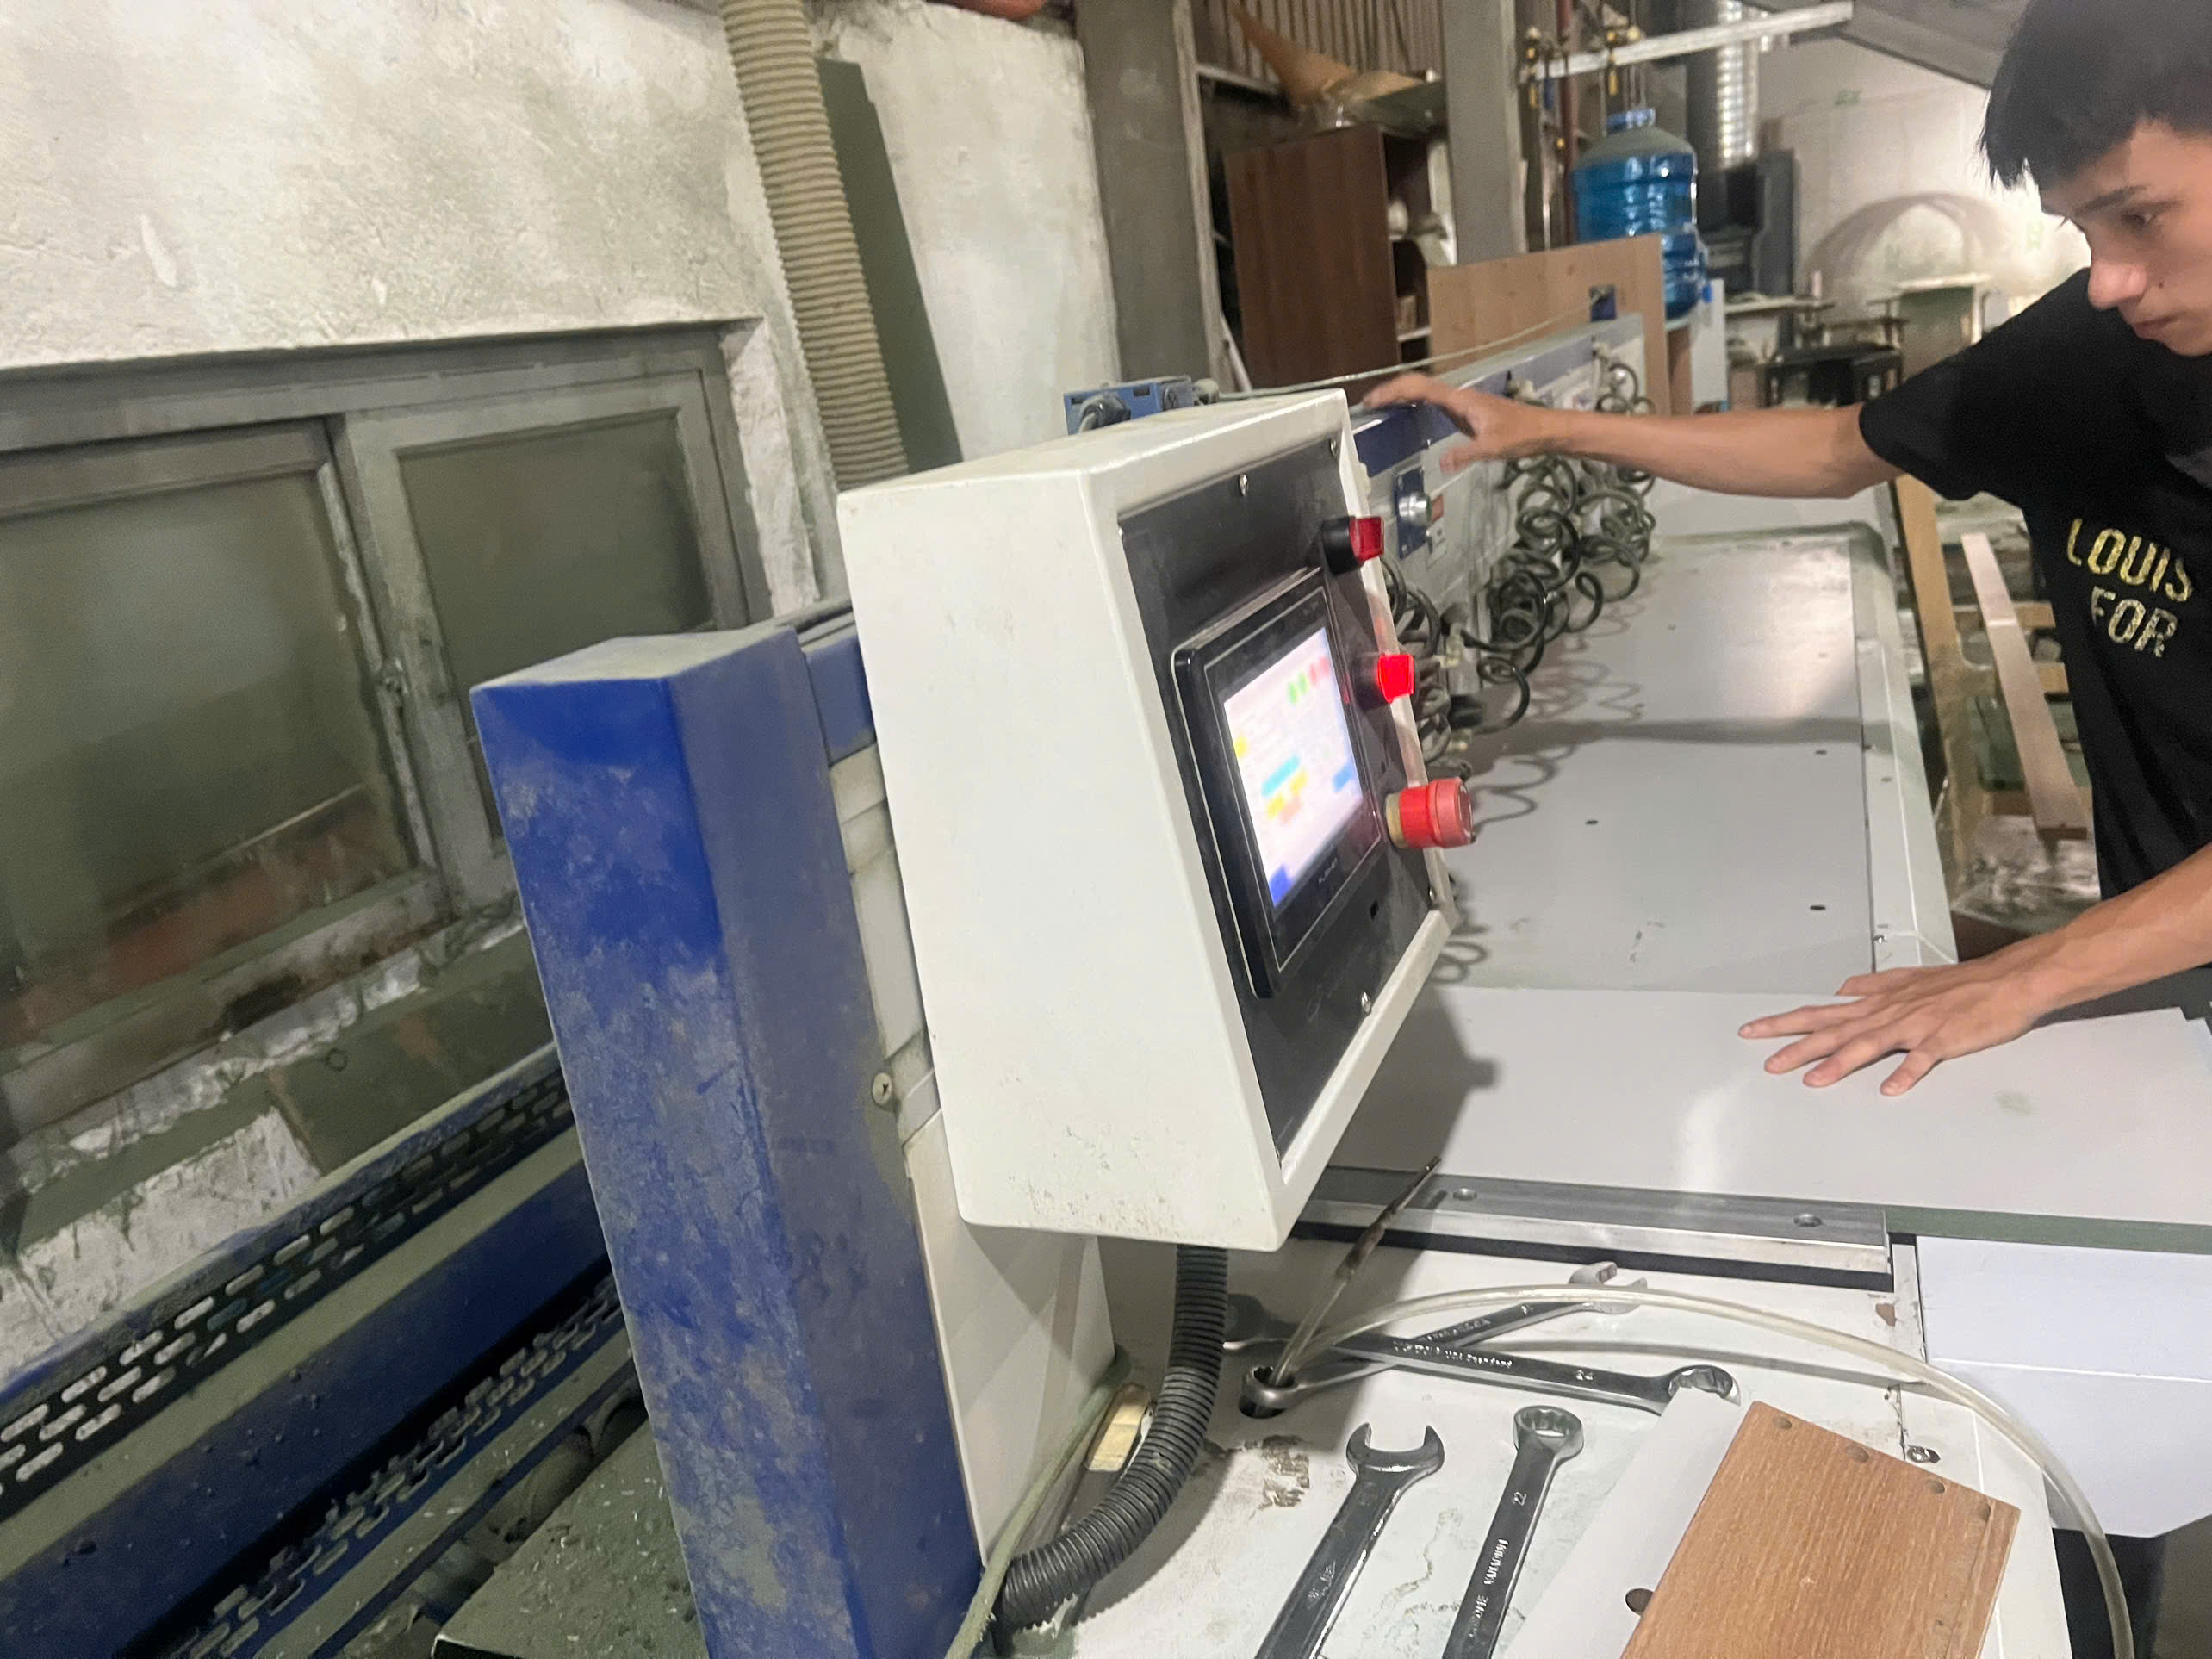
The cheapest burr to remove is the one that never forms. Before choosing a deburring method, look upstream. Cutting parameters — speed, feed rate, tool angle — directly affect burr size and type. A dull punch creates larger rollover burrs than a sharp one. A laser with optimized power and assist gas settings produces cleaner edges than one running generic parameters. When we work with our supplier network, the first step in reducing deburring cost is a cutting process review.
Comparing Deburring Methods: Cost, Speed, and Suitability
| Method | Best For | Relative Cost | Speed | Edge Quality |
|---|---|---|---|---|
| Manual deburring (files, knives) | Low volume, complex geometry | Low tooling, high labor | Slow | Variable, operator-dependent |
| Automated deburring machines | High volume, flat or simple parts | Higher tooling, low labor | Fast | Consistent, repeatable |
| Tumbling / vibratory finishing 9 | Small parts, batch processing | Moderate | Medium | Good for light burrs |
| Thermal deburring 10 | Internal cavities, complex internals | High per-cycle | Very fast per cycle | Excellent for hidden burrs |
| Electrochemical deburring | Precision parts, hard metals | High setup | Medium | Very precise, no mechanical stress |
| Abrasive blasting | General surface prep + light deburring | Moderate | Medium | Depends on media and control |
Where Automation Pays Off
For one of our recurring projects — a mounting bracket produced in quantities of 5,000 per month — switching from manual deburring to an automated wide-belt deburring machine cut the edge finishing time from 45 seconds per part to under 8 seconds. The consistency also improved. Manual operators produced parts with edge radii ranging from 0.3 mm to 1.5 mm. The machine held a consistent 1.0 mm radius. The reduction in rework alone justified the investment within four months.
However, automated deburring is not always the answer. For complex, three-dimensional brackets with internal features, deburring tools on a CNC or manual hand finishing may be the only practical option. The key is to match the method to the part, not to force a one-size-fits-all solution.
Consolidating Process Steps
Another cost reduction strategy is process consolidation. If your part requires both deburring and edge rounding, choose a machine or method that accomplishes both in a single pass. Modern edge rounding machines can deburr and round in one operation, eliminating a separate deburring step. This reduces handling, reduces work-in-process inventory, and shortens lead time. On projects where we manage the full supply chain, we look for these consolidation opportunities during the process planning phase — before the first part is ever cut.
How do I evaluate if a new manufacturer has the technical capability to meet my strict no-sharp-edge requirements?
When we onboard a new supplier in Vietnam or elsewhere in Asia, the edge finishing capability is one of the first things we assess during our supplier audit. It reveals a lot about their overall quality culture.
Evaluate a manufacturer's edge finishing capability by auditing their deburring equipment and processes on-site, reviewing their documented quality procedures for edge condition, requesting first-article samples with edge inspection reports, and checking whether they reference recognized standards like DIN EN 1090 or UL 1439 in their process documentation.
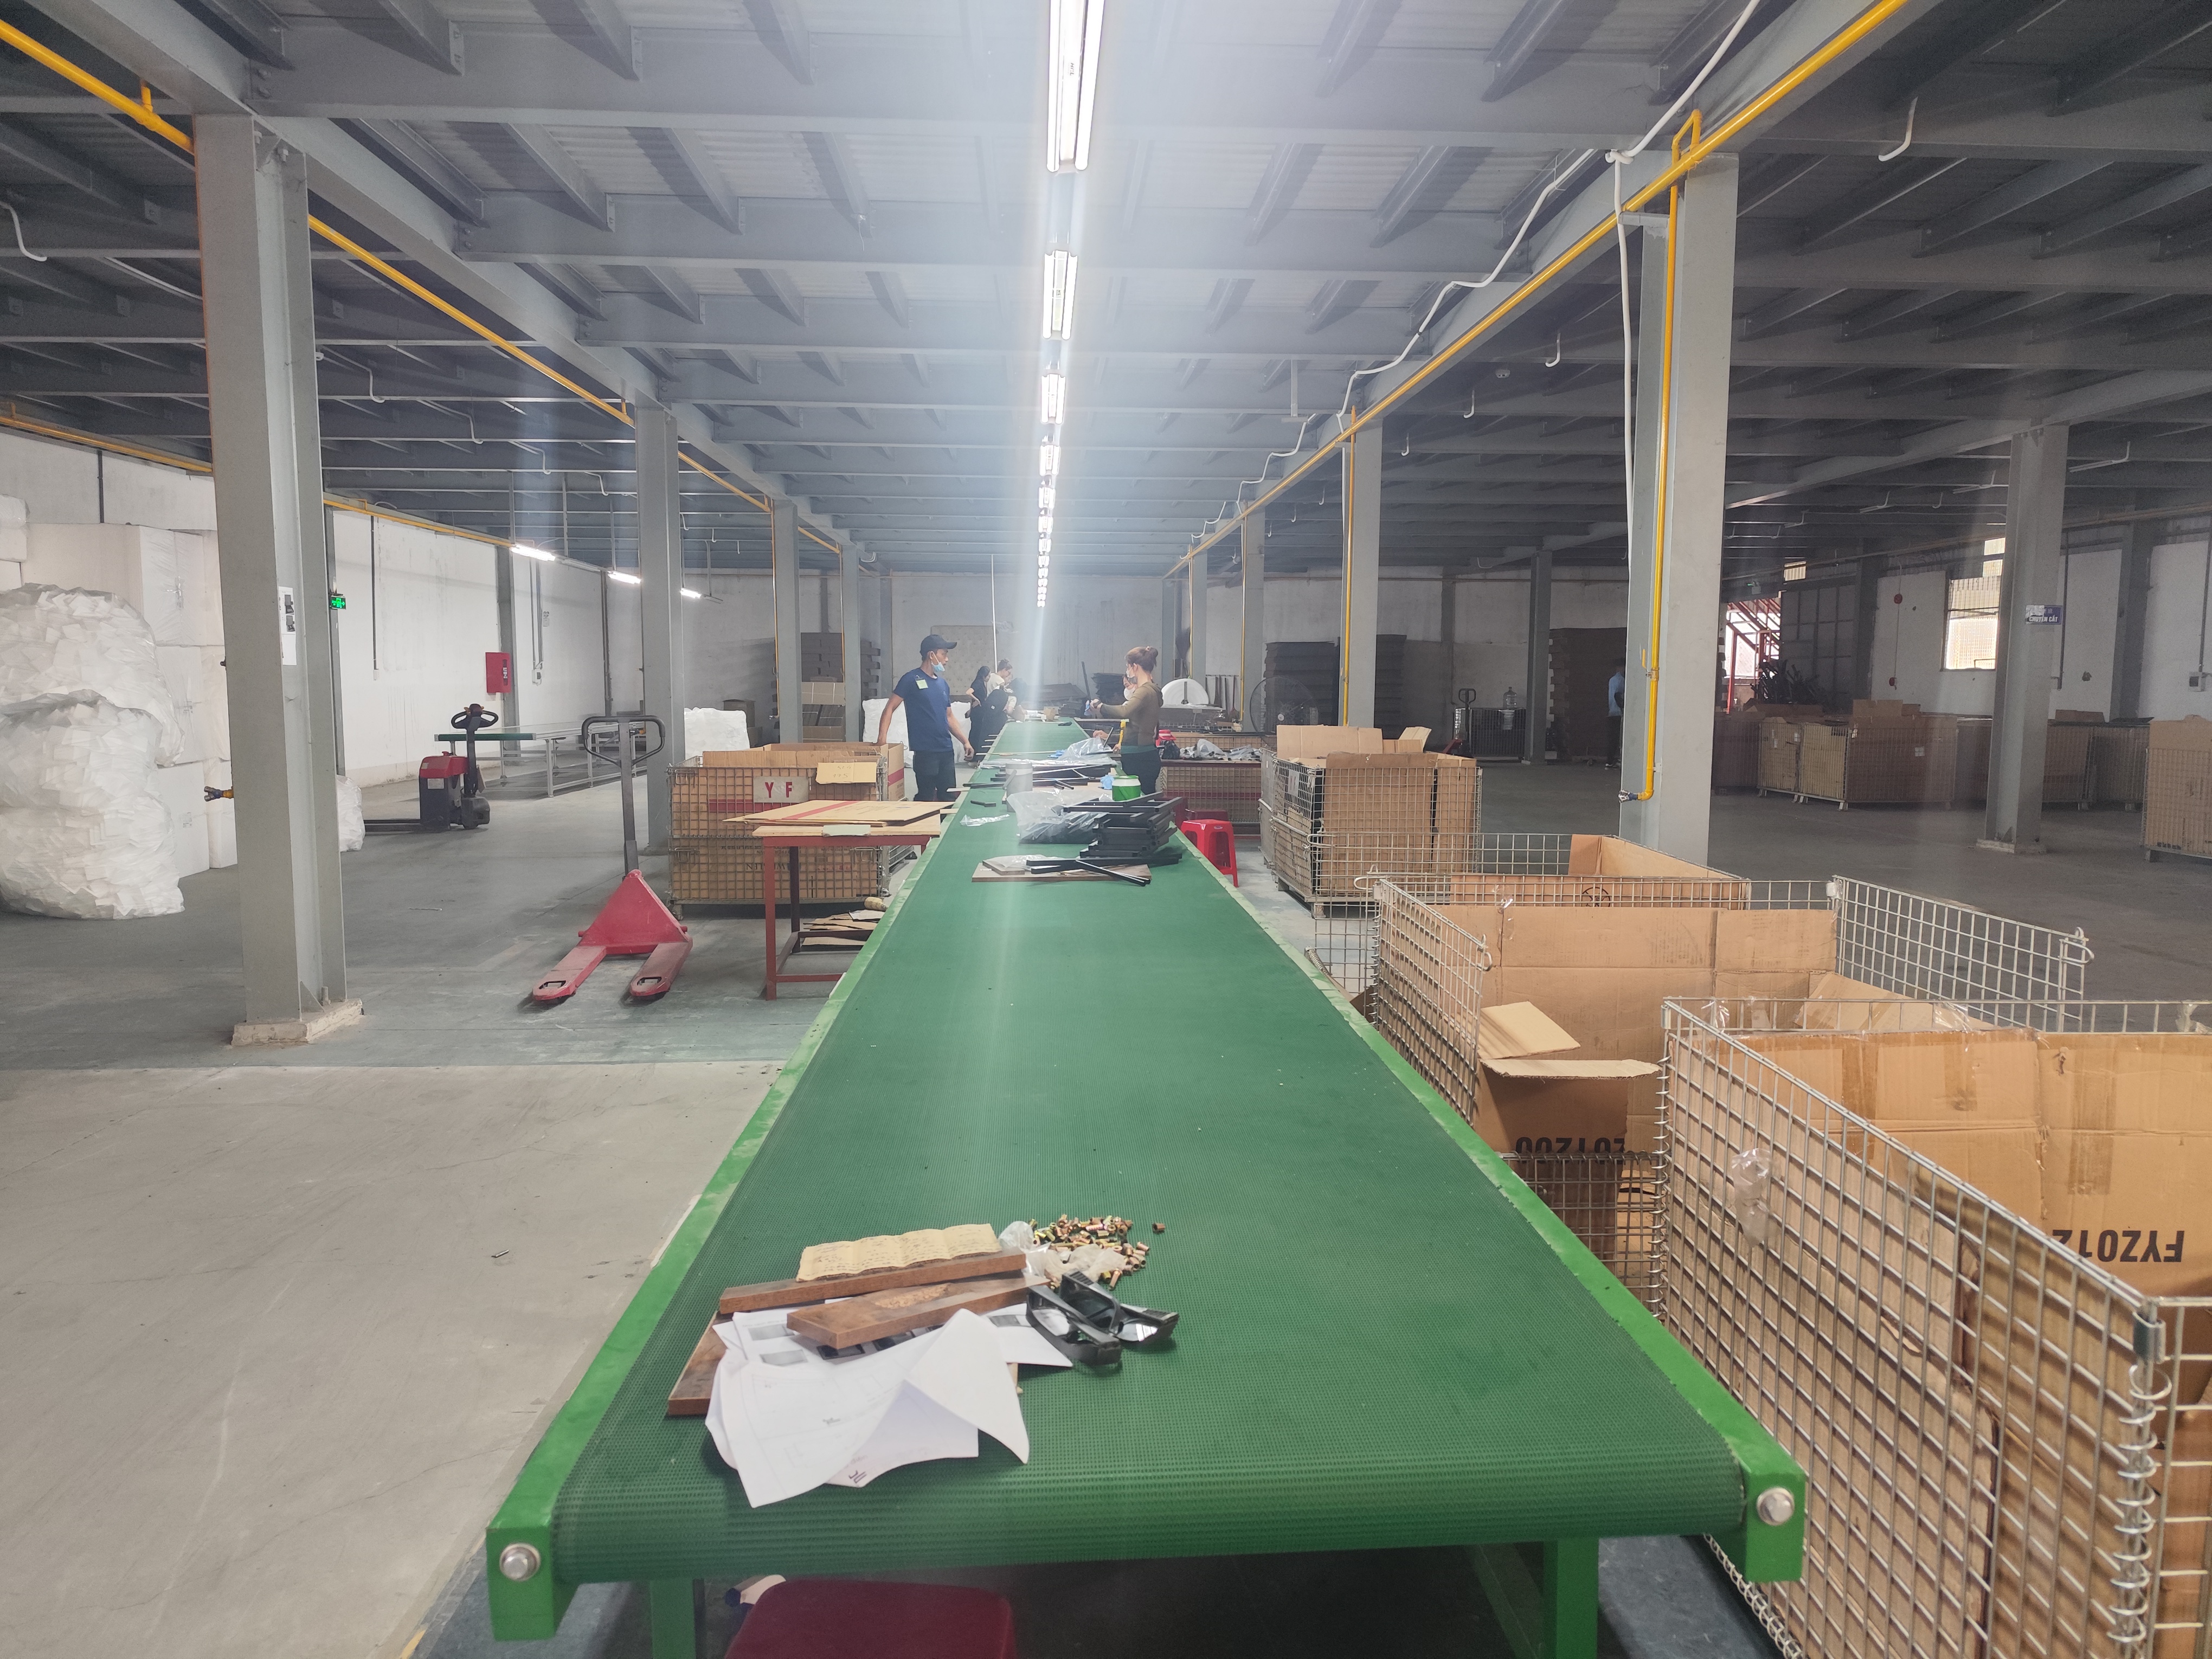
What to Look for During a Supplier Audit
A factory visit tells you more in two hours than a dozen email exchanges. Here is what I look for specifically related to edge and burr management:
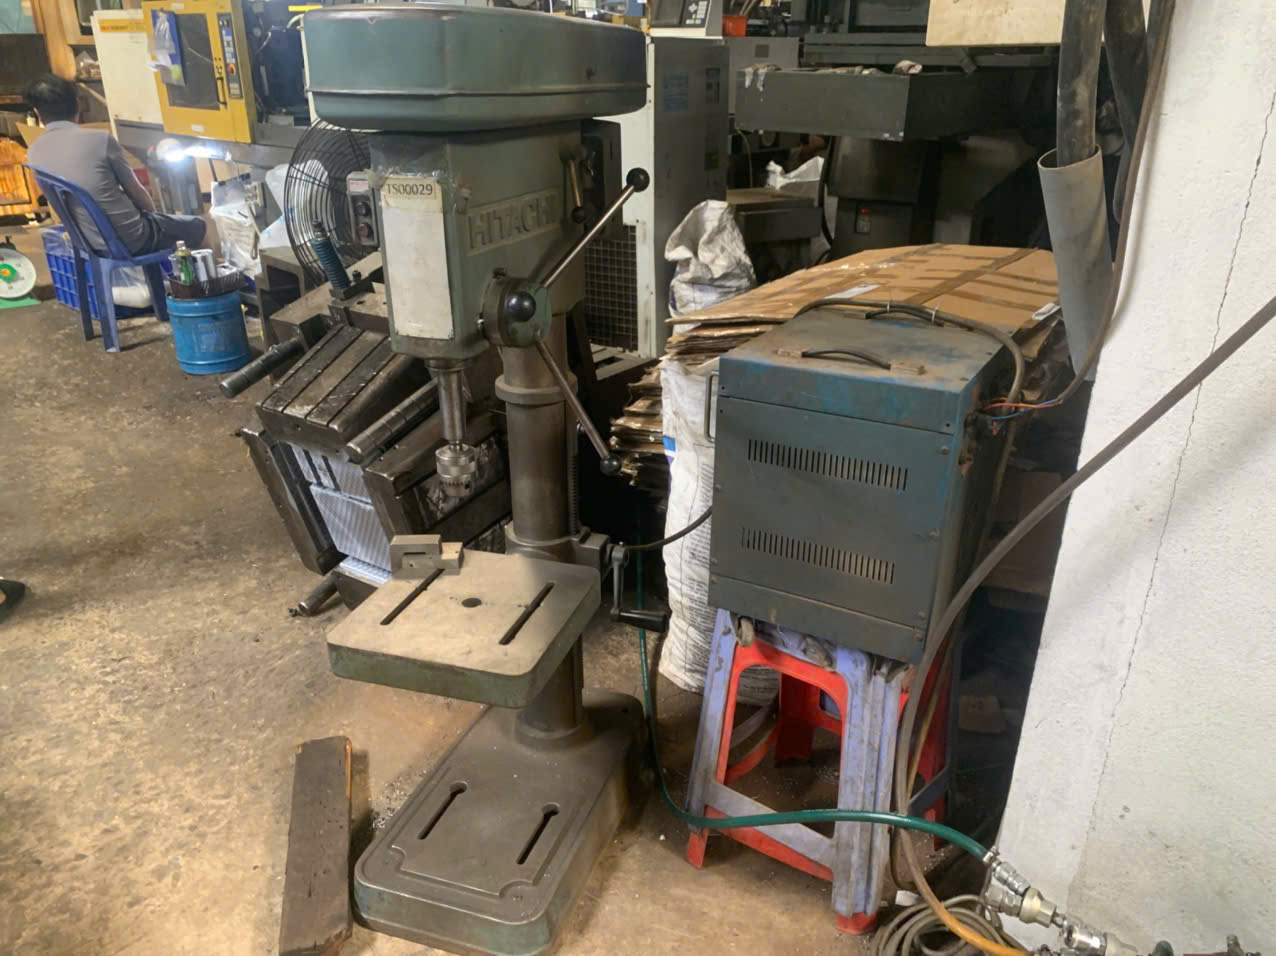
Equipment. Does the factory have dedicated deburring tools or machines? A factory that relies entirely on angle grinders and hand files for high-volume work will struggle with consistency. Look for automated deburring machines, vibratory tumblers, or edge rounding equipment appropriate to the part volumes they claim to handle.
Process documentation. Is there a written work instruction for deburring? Does it specify the method, the tool, the acceptable edge condition, and the inspection criteria? A factory with no documented deburring process is running on operator habits, not controlled procedures.
Workplace safety culture. Observe whether workers wear cut-resistant gloves, safety glasses, and appropriate clothing when handling sheet metal. A factory that neglects personal protective equipment for its own workers is unlikely to prioritize the edge condition of parts shipped to your facility. Look for leather aprons, long sleeves, and organized workstations with proper storage racks. This reflects their overall workplace safety commitment.
Boundary samples and inspection tools. Ask to see their boundary samples for edge condition. Ask what measuring tools inspectors use — magnification loupes, edge radius gauges, or the UL 1439 tape test setup. If they have none, their "inspection" is a visual glance and a finger drag at best.
A Supplier Evaluation Checklist
| Evaluation Criterion | What to Check | Red Flag |
|---|---|---|
| Deburring equipment | Type, condition, capacity | Only hand tools for high-volume work |
| Work instructions | Documented, posted at workstation | No written deburring procedure |
| Edge inspection method | Tools, criteria, boundary samples | No measurable inspection standard |
| Worker PPE | Gloves, glasses, clothing | Workers handling parts bare-handed |
| First-article report | Edge condition photos, measurements | No edge data in FAI report |
| Corrective action process | How they handle edge non-conformances | No documented CAPA for edge issues |
| Standards knowledge | Awareness of DIN EN 1090, UL 1439, ISO 13715 | Cannot name any edge-related standard |
The First-Article Test
Before committing to production volumes, always request first-article samples. Inspect the edges yourself or have your quality team inspect them. Compare against your drawing requirements and boundary samples. If the first article fails on edge condition, the supplier needs to demonstrate a corrective action before proceeding. In our experience, a supplier who gets the edge condition right on the first article typically has the process control maturity to sustain it through production. A supplier who fails the first article and promises to "fix it in production" almost never does.
Design-First Thinking
The most capable suppliers do not just react to burr problems — they help prevent them. During our co-development work with clients, our engineering team reviews part geometry for features that are inherently difficult to deburr. Internal corners with small radii, deep slots, and blind holes all create burr removal challenges. A good supplier will flag these during design review and suggest geometry changes that reduce or eliminate the need for difficult manual deburring. This design-first approach — where you engineer out sharp edges at the drawing board — is more effective and less costly than relying on post-fabrication removal alone. Using CAD/CAM software to streamline sheet metal design to production makes it easier to identify and resolve these issues before cutting begins.
Conclusion
Managing sharp edges and burrs safely comes down to clear standards, proper deburring methods, rigorous QC checkpoints, and thorough supplier evaluation — a system we help our clients build for every custom sheet metal project.
Frequently Asked Questions
How do I specify the correct deburring standards to ensure my custom sheet metal parts are safe for handling?
A lesson we learned early in our supply chain management 2 work: vague drawing notes like "remove all burrs" cause more disputes than they prevent. Without measurable criteria, every supplier interprets that phrase differently PPAP documentation 3 .
What quality control steps should my supplier take to prevent burrs from affecting my final assembly?
One conversation with a US-based purchasing manager changed how we structure our QC workflow. He told us his team spent two hours per shipment re-deburring parts that were supposedly finished. That is not a fabrication problem — it is a process control problem.
How can I reduce the lead time and costs associated with manual edge finishing in my fabrication projects?
A trade-off we weigh on nearly every project is whether to invest in automated deburring or stick with manual deburring. The answer depends on volume, geometry, and tolerance — not just price.
Footnotes
1. OSHA provides comprehensive guidelines and information on personal protective equipment. ↩︎
2. IBM offers a clear definition and overview of supply chain management concepts. ↩︎
3. Quality-One explains the Production Part Approval Process and its documentation requirements. ↩︎
4. Official certification body explains the EN 1090 standard for steel and aluminum structures. ↩︎
5. Official UL page for the standard on sharpness of edges on equipment. ↩︎
6. Official ISO page for the standard on technical product documentation and edge indication. ↩︎
7. Timesavers, a manufacturer, details the benefits and types of automated deburring machines. ↩︎
8. SafetyCulture defines CTQ characteristics and their importance in quality management. ↩︎
9. Wikipedia provides a general overview of vibratory finishing as a mass finishing process. ↩︎
10. Extrude Hone explains the thermal deburring process, benefits, and applications. ↩︎