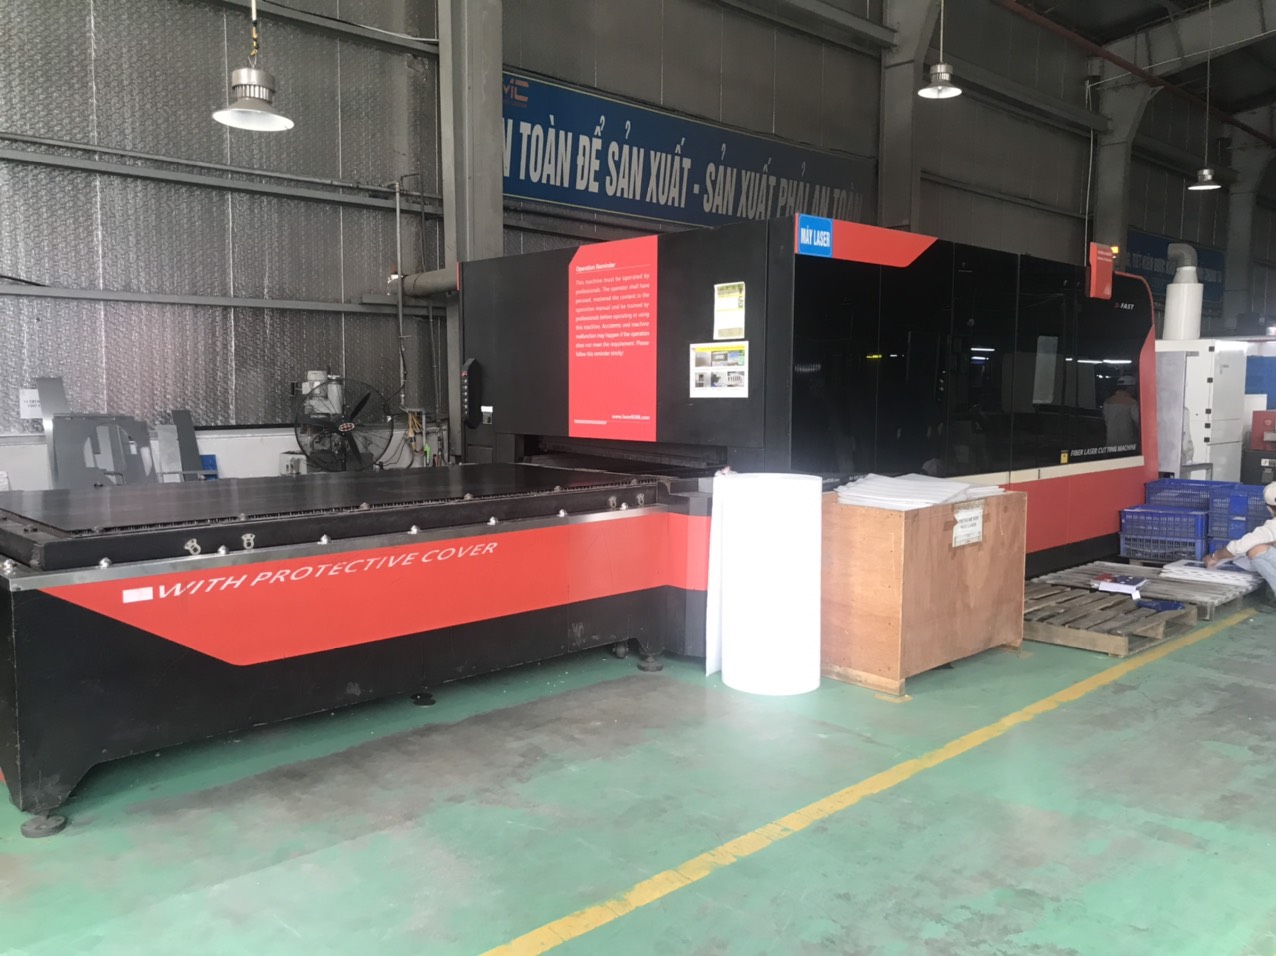

Tooling cost amortization for sheet metal fabrication 1 came up in nearly every pricing discussion our team handled last quarter. One U.S. client faced a $25,000 progressive die 2 quote and almost walked away from the project entirely. The upfront capital expenditure felt too risky for an unproven product tooling ownership clauses 3. That’s a problem we see constantly — buyers stall because the tooling bill lands before a single part ships. The frustration compounds when competitors move faster because they found a way to spread that cost. We helped that client structure an amortization plan, and the project launched on schedule with healthy cash flow on both sides.
Tooling cost amortization for sheet metal fabrication means spreading non-recurring engineering costs across an agreed production volume, adding a small per-part surcharge instead of paying the full tooling price upfront. This preserves buyer cash flow, reduces financial risk, and aligns tooling investment with actual production demand.
Below, I’ll walk through the exact strategies, contract terms, cost calculations, and quality safeguards you need to negotiate a tooling amortization deal that works. Each section draws on real scenarios from our supply chain work across Vietnam and China. supply chain management 4
How can I structure a tooling amortization plan that minimizes my upfront capital investment?
A lesson we learned early in our Vietnam office: the best amortization plan is the one both sides can live with for years. When we helped a client source precision mounting brackets — parts with multiple bends, cutouts, and weld joints — the tooling discussion started before the first prototype.
Structure a tooling amortization plan by negotiating a partial down payment (typically 30–50% of tooling cost), then spreading the remaining balance as a per-part adder across a committed production volume. Pair this with blanket purchase orders and standardized designs to lower overall tooling complexity and cost.
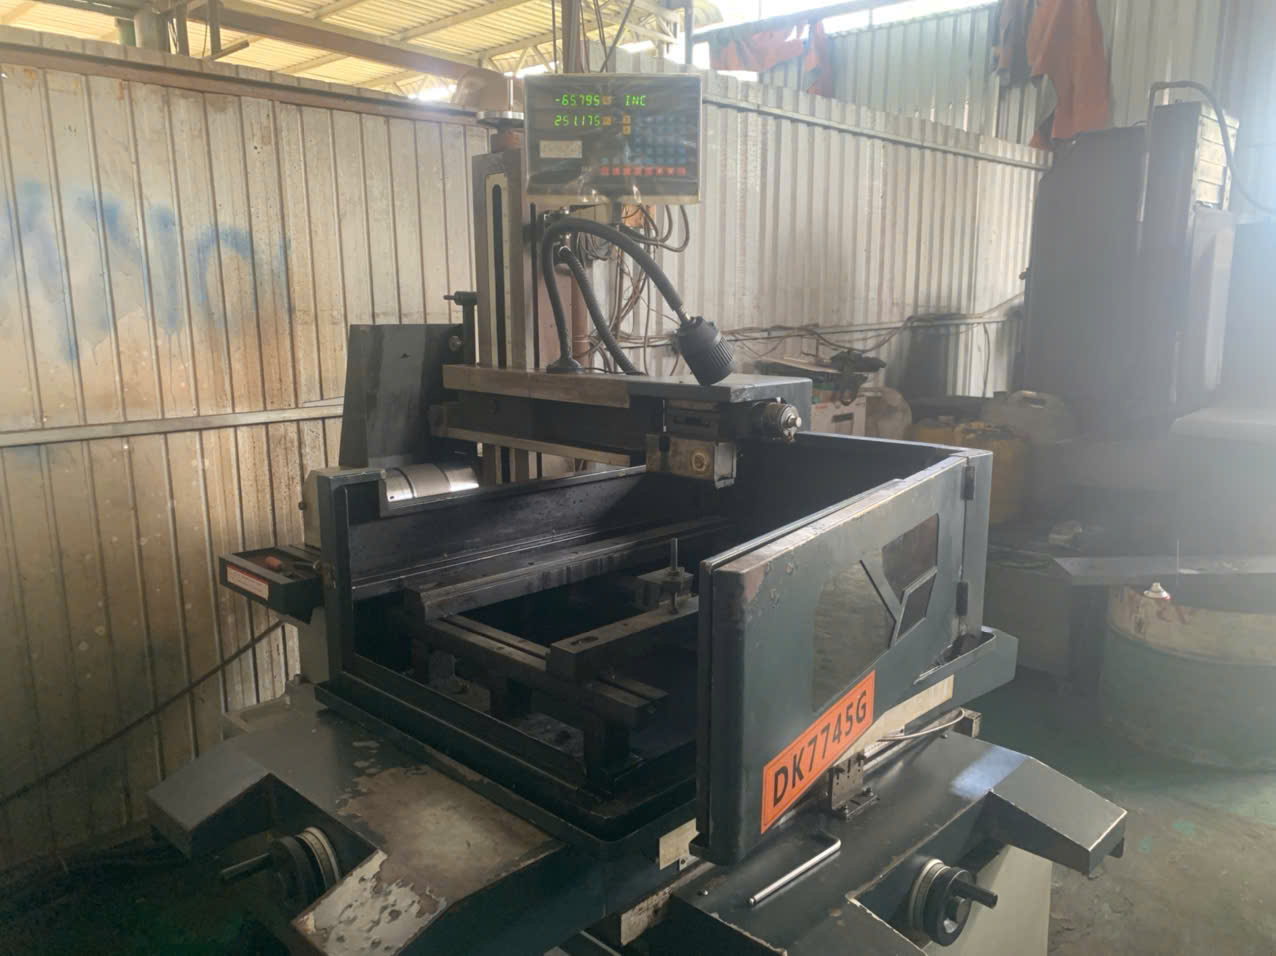
Know Your Tooling Types and Their Cost Ranges
Before you negotiate, you need to know what you're paying for. Sheet metal fabrication uses several tooling categories, and each carries different cost implications. Progressive die tooling for stamping operations 5 sits at the high end. Simple form tooling for press brakes 6 sits at the low end.
| Tooling Type | Typical Cost Range | Best For | Amortization Viability |
|---|---|---|---|
| Progressive stamping dies | $800 – $30,000 | High-volume runs (5,000+ pcs) | High — cost justifies spreading |
| Custom form tooling | $150 – $1,500 | Medium runs with unique bends | Moderate — depends on volume |
| Welding fixtures | $200 – $5,000 | Complex assemblies | Moderate — often bundled |
| Checking fixtures | $500 – $3,000 | Quality-critical parts | Low — usually one-time cost |
When we quote custom bracket projects, we always break out each tooling line item separately. This cost breakdown analysis gives the buyer full visibility. It also opens the door for selective amortization — you might pay upfront for a $300 form tool but amortize a $15,000 progressive die.
Three Amortization Structures That Work
I've seen three models succeed repeatedly in our projects:
1. Down Payment Plus Per-Part Adder
The buyer pays 30–50% of the tooling cost upfront. The rest gets divided across the first production run. For example, a $20,000 die with a 50% down payment leaves $10,000 to amortize. Over 20,000 parts, that's $0.50 per part added to the unit price.
2. Full Amortization (Zero Upfront)
The supplier absorbs the entire tooling cost and recovers it through a higher per-part price. This only works when the production volume is large enough and the buyer commits to a long-term contract. We typically see this on orders above 50,000 pieces annually.
3. Joint Investment
Both parties split tooling costs equally. The buyer gets a lower per-part adder, and the supplier shares the financial risk. This model works well for new product launches where volume forecasts are uncertain. In exchange, the buyer usually commits to a 12–24 month supply agreement.
Volume Thresholds Matter
The math only works above certain volumes. Below 500 pieces, laser cutting 7 and CNC bending are almost always cheaper because they require no dedicated tooling. Above 5,000 pieces, stamping economics dominate. The unit cost reduction from amortizing a progressive die across tens of thousands of parts can cut processing costs by more than 50% compared to CNC bending 8.
| Annual Volume | Recommended Approach | Tooling Strategy |
|---|---|---|
| Under 500 pcs | Laser cut + CNC bend | No dedicated tooling needed |
| 500 – 5,000 pcs | Evaluate case by case | Simple tooling, partial amortization |
| 5,000 – 50,000 pcs | Stamping preferred | Full amortization viable |
| Over 50,000 pcs | Stamping required | Amortization or supplier-funded |
Our team runs this analysis during the quoting phase. We present both options — tooling vs. no tooling — with clear break-even points so the buyer can make an informed decision based on their projected production volume.
Use Blanket Orders to Strengthen Your Position
One tactic that consistently works: commit to a 3–6 month blanket purchase order 9. This gives the supplier confidence in volume, which makes them more willing to absorb or defer tooling costs. In our experience, blanket orders can reduce or even eliminate tooling charges when the annual volume is high enough.
Design standardization also helps. When our engineering team reviews drawings, we look for opportunities to use common bend radii and standard material gauges. Every custom feature adds tooling cost. Reducing those features directly lowers the amount you need to amortize.
What specific terms should I include in my contract to ensure I own the sheet metal dies after amortization?
A buyer interaction last year highlighted exactly why this matters. A U.S. client wanted to move production from one Asian supplier to another, only to discover the original supplier claimed ownership of the progressive die tooling — even though the client had paid for it through per-part amortization over two years.
Your contract must include explicit tooling ownership clauses, a true-up mechanism for volume shortfalls, a separate amortization line item in every invoice, and a defined transfer process. Without these terms, you risk paying for tooling you cannot legally claim or relocate.
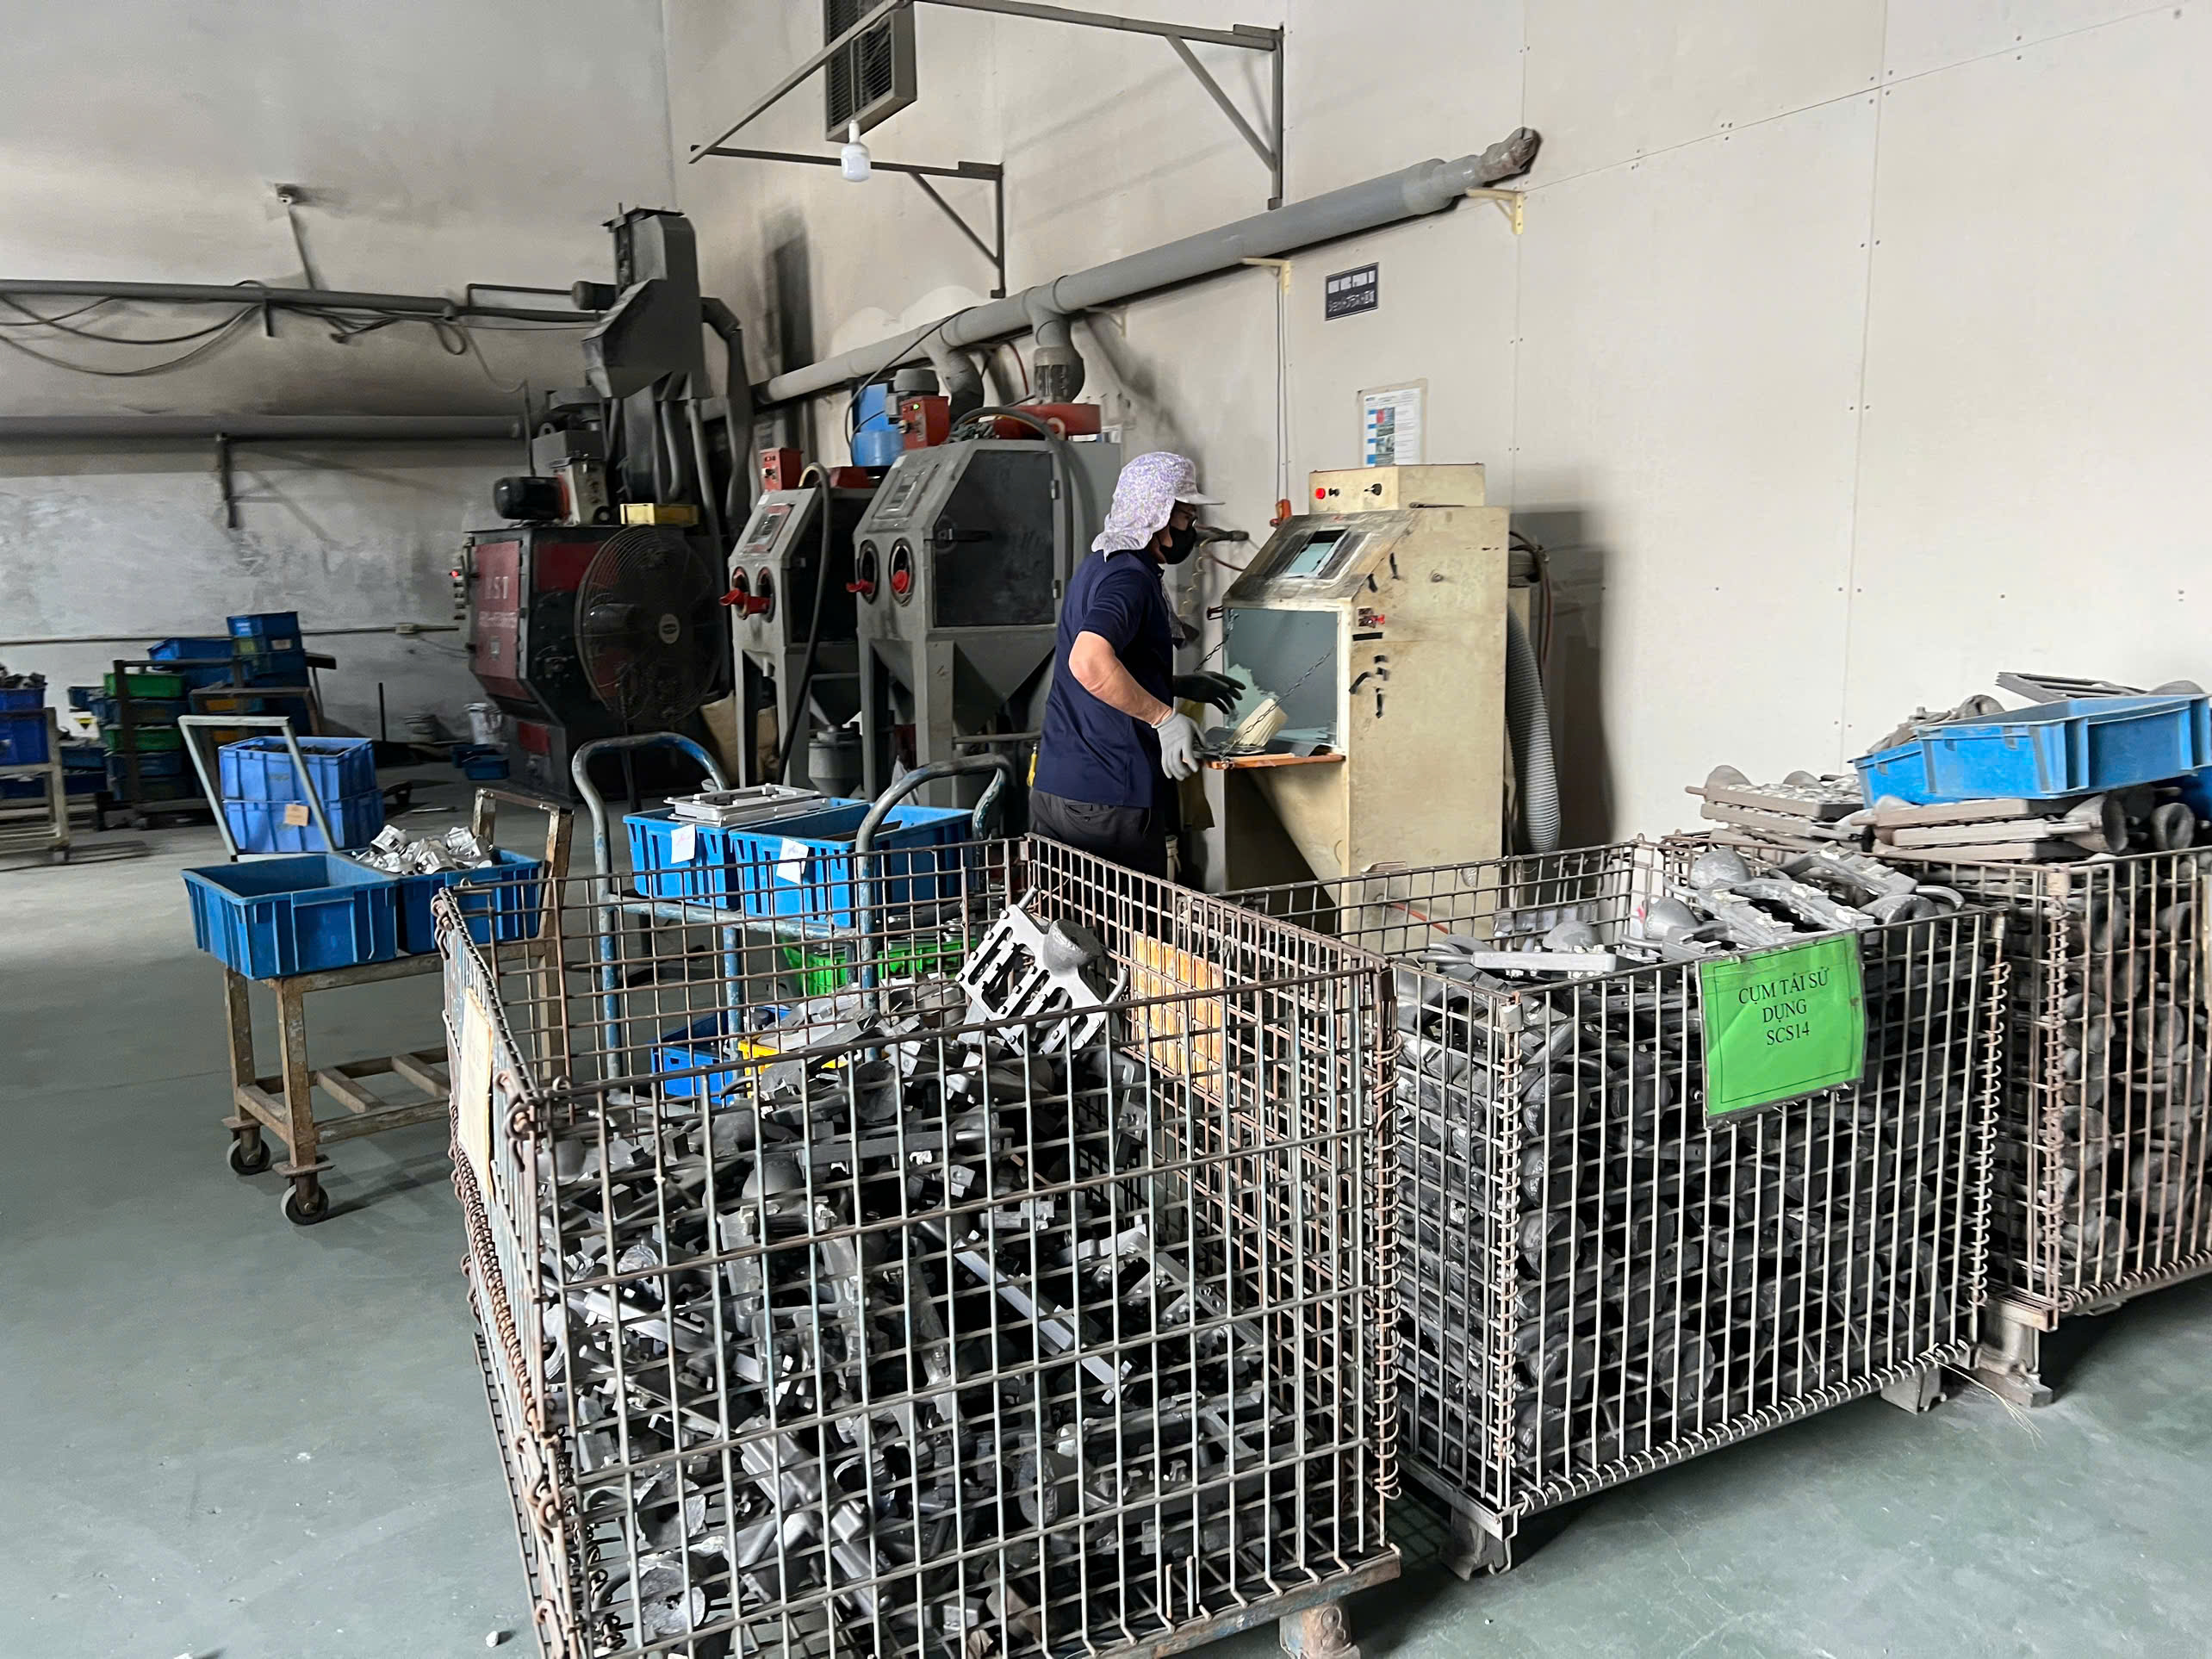
The Five Essential Contract Clauses
I'll walk through each clause our team recommends to every client negotiating tooling agreements.
1. Ownership Declaration
State clearly: "All tooling funded by the buyer, whether paid upfront or through amortization, is the property of the buyer." This seems obvious, but many standard supplier contracts default to supplier ownership. In some Asian manufacturing cultures, tooling stays with the factory regardless of who paid. You must override this with explicit language.
2. True-Up Clause
If your actual volume falls short of the amortization target, what happens? The contract must specify that the buyer pays the unamortized balance. Conversely, once the tooling is fully amortized, the per-part adder must stop. Without this clause, some suppliers continue charging the amortization surcharge indefinitely.
3. Visibility Requirement
The amortization adder must appear as a separate line item on every invoice and cost breakdown. It should never be buried in the unit price. This gives you real-time tracking of how much tooling cost remains. Our procurement team builds this into every RFQ package we issue on behalf of clients.
4. Tooling Maintenance and Condition
The contract should require the supplier to maintain tooling in production-ready condition. It should also specify that the supplier provides periodic tool condition reports, including shot counts and any repairs performed. This protects your asset and helps you estimate remaining tool life expectancy.
5. Transfer and Exit Process
Define how tooling gets physically transferred if you move production. Include timelines, packaging requirements, and who pays for shipping. Some suppliers resist releasing tooling; your contract needs teeth — such as withholding final payment until tooling is delivered.
Common Pitfalls in Tooling Ownership
Here are common pitfalls and misconceptions in sheet metal fabrication procurement that I've seen buyers make:
- No written agreement at all. Some buyers assume verbal promises are enough. They aren't.
- Amortization with no end date. If you don't define when amortization stops, the supplier keeps charging.
- No inspection clause. You own the tool, but you've never seen it. When you finally request it, the die is worn beyond use.
A Tooling as a Service Alternative
Some buyers prefer a "tooling as a service" model. In this arrangement, the supplier retains ownership and charges a usage-based fee. The buyer avoids capital expenditure entirely but sacrifices long-term ownership. This model can work for short product lifecycles or when the buyer values flexibility over asset control.
| Contract Term | Purpose | Risk if Missing |
|---|---|---|
| Ownership declaration | Establishes buyer as legal owner | Supplier claims tooling; buyer cannot transfer |
| True-up clause | Handles volume shortfall or overshoot | Buyer overpays or supplier absorbs loss |
| Visibility (line-item) | Tracks amortization progress | Hidden costs; no way to verify completion |
| Maintenance obligation | Protects tool condition | Tool degrades; parts fail quality checks |
| Transfer process | Enables production relocation | Supplier refuses to release tooling |
Getting these terms right at the start avoids painful disputes later. Our contracts team reviews every tooling agreement before we onboard a new supplier in Vietnam or China.
How do I calculate the impact of tooling costs on my per-part price to maintain my target margins?
When we quote a new sheet metal project, the first thing our engineering team does is model two scenarios: one with tooling amortization and one without. The difference in per-part price can be dramatic, and it directly affects whether the buyer hits their target margins or not.
Calculate tooling cost impact by dividing the total tooling investment by the committed production volume to get the per-part tooling adder. Add this to your base part cost (material + labor + overhead + margin) to determine your landed per-part price. Compare this against your target sell price to verify margin viability.
The Basic Formula
The math is straightforward:
Per-Part Tooling Adder = Total Tooling Cost ÷ Amortization Volume
For example, a $60,000 mold amortized over 200,000 parts adds $0.30 per unit. If your base part cost is $4.70, your total cost becomes $5.00. If your target sell price is $6.50, your gross margin is $1.50 per part, or 23%.
But here's where it gets more nuanced. You need to consider multiple scenarios because production volume forecasts are rarely perfect.
Scenario Modeling
I always recommend building a simple table that shows how the per-part adder changes at different volumes:
| Tooling Cost | Volume | Per-Part Adder | Base Part Cost | Total Cost | Sell Price | Margin % |
|---|---|---|---|---|---|---|
| $15,000 | 5,000 | $3.00 | $8.20 | $11.20 | $14.00 | 20.0% |
| $15,000 | 10,000 | $1.50 | $8.20 | $9.70 | $14.00 | 30.7% |
| $15,000 | 25,000 | $0.60 | $8.20 | $8.80 | $14.00 | 37.1% |
| $15,000 | 50,000 | $0.30 | $8.20 | $8.50 | $14.00 | 39.3% |
This table makes the relationship between production volume and margin crystal clear. At 5,000 pieces, the tooling adder compresses your margin to 20%. At 50,000 pieces, it barely registers. This is why volume commitments are so critical in supplier negotiation strategies.
The Prototype-to-Production Cost Curve
One pattern we see consistently: a 5-piece prototype might cost $58 per part. At 100 pieces, the cost drops to around $20. At 1,000 pieces, it can fall to $8.20. That's roughly a 600% cost reduction driven primarily by amortizing setup and tooling costs across more units.
For buyers managing multiple product lines, consolidating volumes across similar parts can help. If three different brackets use the same material gauge and similar bend radii, you might be able to use shared tooling — reducing the total non-recurring engineering costs across the program.
Don't Forget Raw Material Fluctuations
Sheet metal fabrication costs are sensitive to material prices. Steel and aluminum prices can swing 10–20% in a single quarter. Your amortization agreement should account for this. We recommend including a material cost adjustment clause that allows periodic price reviews — typically quarterly — without reopening the entire contract. This protects both parties and keeps the amortization schedule on track.
Design for Manufacturability Saves More Than You Think
Implementing DFM principles early in the design phase can reduce tooling complexity by 20–40%. Fewer unique bends, standard hole sizes, and common material thicknesses all translate to simpler, cheaper tooling. That means a smaller amount to amortize and a lower per-part adder. Our engineering team conducts a DFM review on every project before we even request supplier quotes. It's the single most effective way to control sheet metal fabrication costs before production begins.
How can I verify that my supplier isn't compromising on tool quality when I choose an amortization model?
A trade-off we weigh on nearly every amortized tooling project: how do you ensure the supplier doesn't cut corners on tooling to protect their own margins? When the tooling cost is embedded in the per-part price, the supplier has a direct financial incentive to minimize their tooling investment. Cheaper tool steel, fewer heat-treat cycles, looser tolerances on the die — all of these reduce the supplier's cost but shorten tool life expectancy and increase part quality risk.
Verify tooling quality by requiring tool steel specifications and hardness certifications in your contract, conducting periodic tool inspections or requesting photo/video documentation, tracking part dimensional data over time for drift, and setting minimum guaranteed shot counts with remediation terms for premature tool failure.
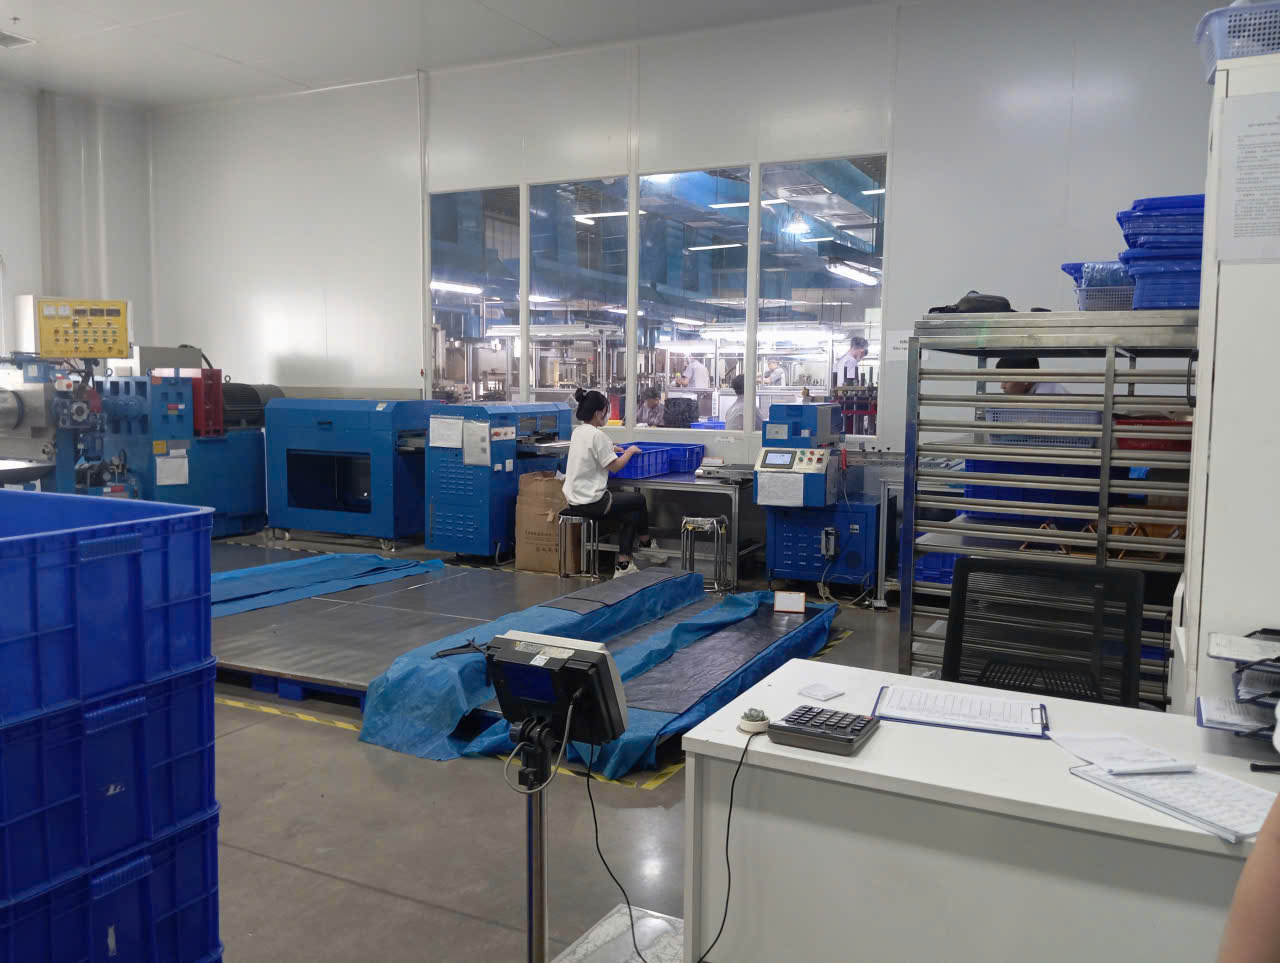
Set Clear Tooling Specifications Upfront
Your RFQ package should include tooling material requirements, not just part specifications. Specify the tool steel grade (e.g., D2, A2, or S7 for stamping dies), required hardness range (typically 58–62 HRC for progressive die tooling), and expected tool life in shot counts.
When our team manages a PPAP process 10 for a client, we include tooling validation as part of the first-article inspection. We ask the supplier for material certificates on the tool steel and hardness test reports. This isn't excessive — it's standard practice in automotive and aerospace supply chains, and it should be standard for any high-volume sheet metal program.
Monitor Part Quality as a Proxy for Tool Condition
You don't always need to physically inspect the tooling. Part quality data tells you a lot. If burr height increases, dimensional accuracy drifts, or surface finish degrades, the tool is wearing. We track these metrics through our final inspection process and flag any trend shifts immediately.
Set up a simple SPC (statistical process control) chart on key dimensions. When measurements start trending toward tolerance limits, it's time for a tool maintenance review.
Require a Guaranteed Shot Count
A progressive die in good tool steel should last 500,000 to 1,000,000 shots depending on material thickness and complexity. Your contract should specify a minimum guaranteed shot count. If the tool fails prematurely, the supplier bears the cost of repair or replacement. This removes the incentive to use inferior materials.
Use Predictive Maintenance and Digital Documentation
Some suppliers now use digital twin technologies and predictive maintenance programs for tooling. While this is more common in higher-end facilities, even a basic shot counter and maintenance log can provide valuable data. Ask your supplier to maintain and share this log. It demonstrates tool condition over time and supports longer amortization periods because you can prove the tool still has life remaining.
The Role of Supplier Audits
We conduct regular supplier audits at our partner factories in Vietnam and China. During these audits, our team inspects tooling storage conditions, maintenance records, and actual tool condition. We photograph tooling and compare it against the original specifications. This level of oversight gives our clients confidence that their amortized tooling investment is being protected.
If you don't have boots on the ground in Asia, consider working with a supply chain partner who can perform these audits on your behalf. New OEM buyers looking to evaluate sheet metal fabrication sourcing requirements should consider this kind of on-the-ground support essential. The cost of an audit is trivial compared to the cost of a failed die mid-production.
Conclusion
Negotiating tooling cost amortization requires clear volume commitments, explicit contract terms, accurate cost modeling, and ongoing quality verification. Structure the deal to protect cash flow, secure tooling ownership, and maintain part quality throughout the program's life.
Frequently Asked Questions
How can I structure a tooling amortization plan that minimizes my upfront capital investment?
A lesson we learned early in our Vietnam office: the best amortization plan is the one both sides can live with for years. When we helped a client source precision mounting brackets — parts with multiple bends, cutouts, and weld joints — the tooling discussion started before the first prototype.
What specific terms should I include in my contract to ensure I own the sheet metal dies after amortization?
A buyer interaction last year highlighted exactly why this matters. A U.S. client wanted to move production from one Asian supplier to another, only to discover the original supplier claimed ownership of the progressive die tooling — even though the client had paid for it through per-part amortization over two years.
How do I calculate the impact of tooling costs on my per-part price to maintain my target margins?
When we quote a new sheet metal project, the first thing our engineering team does is model two scenarios: one with tooling amortization and one without. The difference in per-part price can be dramatic, and it directly affects whether the buyer hits their target margins or not.
Footnotes
1. Explains the process of forming metal sheets. ↩︎
2. Defines a type of stamping die used in manufacturing. ↩︎
3. Discusses contractual terms related to the legal possession of manufacturing tools. ↩︎
4. Explains the concept of managing the flow of goods and services. ↩︎
5. Provides a comprehensive overview of metal stamping processes. ↩︎
6. Explains a machine used for bending sheet metal. ↩︎
7. Explains a common manufacturing process using a focused laser beam. ↩︎
8. Describes a computer-controlled process for bending metal. ↩︎
9. Defines a type of purchase order for recurring goods or services. ↩︎
10. Defines a standardized process for approving production parts. ↩︎