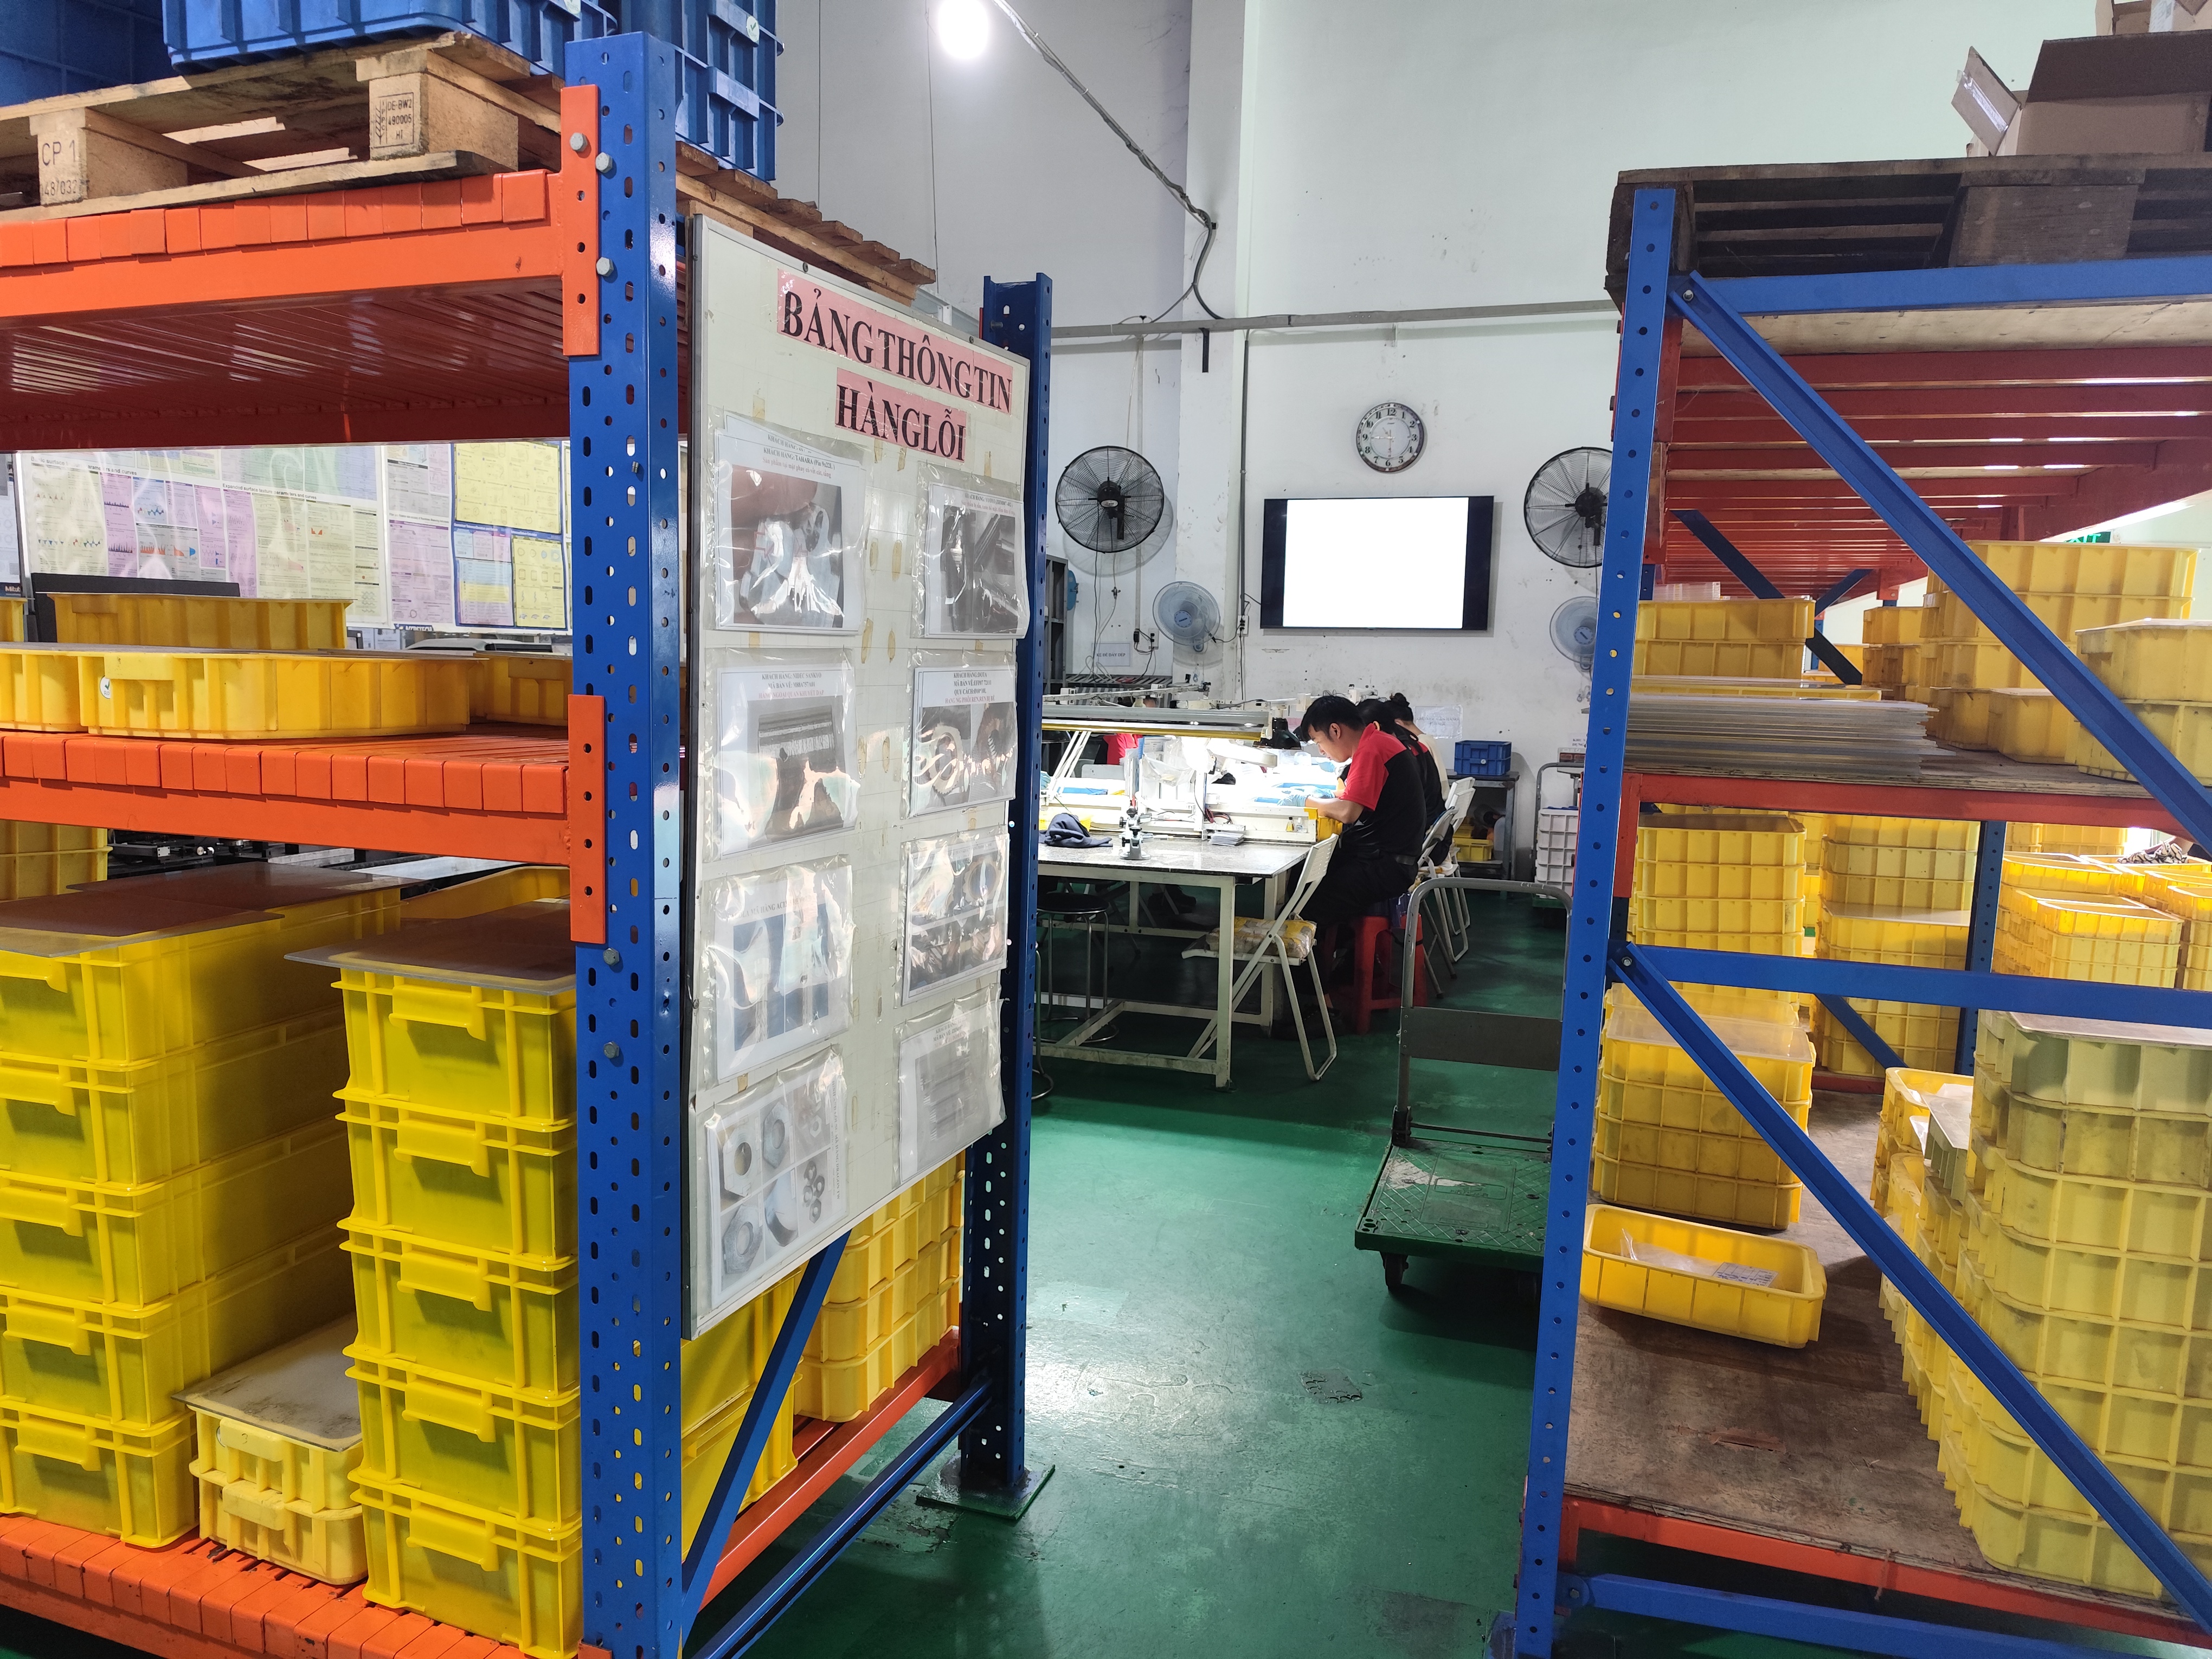
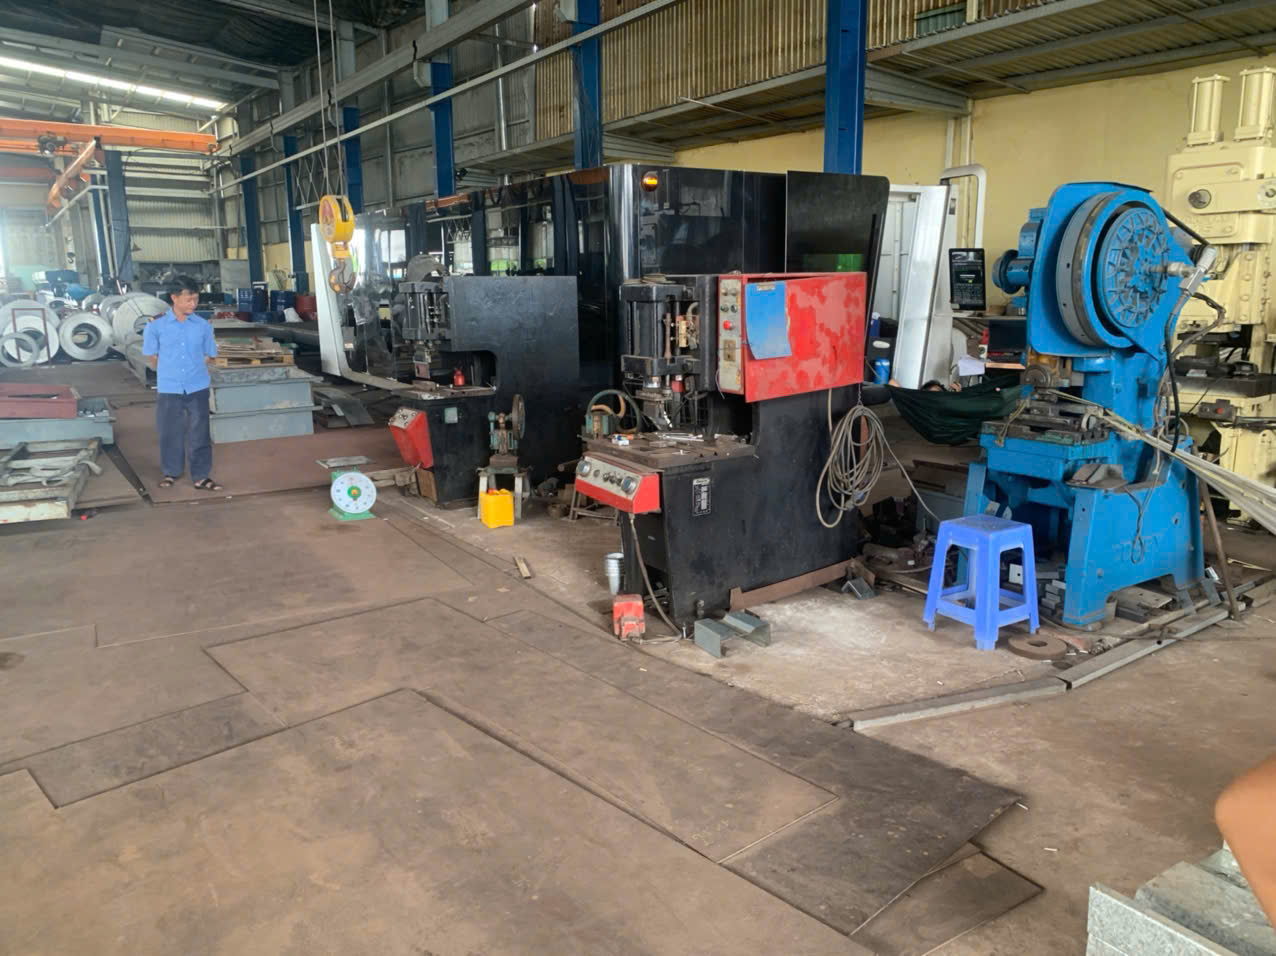
Incoming quality control (IQC) for stamping parts saved our team from a costly disaster last year GB/T 2828.1 1. One bad lot of brackets nearly reached a U.S. client’s assembly line. Skipping IQC invites scrap, delays, and angry customers. A structured receiving inspection 2 is the fix.
To perform IQC for stamping parts, verify documents and material certificates, inspect critical dimensions with calibrated gauges, check for burrs, cracks, and warping, apply an AQL-based sampling plan such as ANSI/ASQ Z1.4, then record results and quarantine any failed lots before production release.
That is the short answer. Now let me walk you through each step in detail. I will share the checklists, tools, defect guides, and sampling rules we use every week.
How do I set up an IQC checklist for stamping parts before shipment?
A few years back, our Vietnam office received a shipment of zigzag mounting clips with the wrong drawing revision. Since then, our checklist always starts with paperwork, not parts.
Build an IQC checklist for stamping parts by listing document checks, material verification, critical dimensions, surface and burr criteria, and packaging requirements. Tie every item to the approved drawing revision, define pass/fail limits, and assign the inspection method and tool for each characteristic.

A good checklist turns IQC from guesswork into a repeatable process. In our sourcing projects across Vietnam, China, and India, we build one checklist per part number. We never rely on a generic form. Every stamped bracket, clip, or flange has its own critical features, so the checklist must reflect the actual drawing.
What the checklist must cover
We split our IQC checklist into five blocks. Each block has clear accept and reject criteria.
| Checklist Block | What to Verify | Reference Document |
|---|---|---|
| Documentation | PO number, part number, drawing revision, lot number, packing list, Certificate of Conformance | Purchase order and drawing |
| Material | Grade, thickness, hardness, coating type, mill test report 3 (MTR) | Material specification |
| Dimensions | Critical dimensions, hole sizes, slot widths, bend angles, formed height, flatness | Drawing with GD&T 4 |
| Appearance | Burrs, scratches, dents, rust, plating defects, deformation | Visual standard or boundary samples |
| Packaging | Carton condition, labels, part mixing, moisture protection | Packing specification |
Practical setup tips
First, mark critical characteristics on the drawing before the parts arrive. We highlight them in red so inspectors never miss them. Second, define the inspection tool for each dimension. A hole diameter needs a plug gauge or caliper; flatness needs a surface plate and feeler gauge. Third, attach photos of known defects from past lots. Our inspectors in Vietnam catch problems faster when they can compare against real images. Finally, review the checklist whenever the drawing revision changes. An outdated checklist is worse than none, because it gives false confidence.
What inspection tools and methods should I use to check dimensional accuracy on stamped parts?
When we calibrate the gauge sets in our inspection rooms each quarter, one lesson always stands out: the tool must match the tolerance, not just the feature.
Use digital calipers for general dimensions, micrometers for material thickness, plug and pin gauges for punched holes, height gauges for formed heights, and a CMM or vision system for tight GD&T features. Verify flatness on a surface plate with feeler gauges, and confirm bend angles with a protractor or angle gauge.
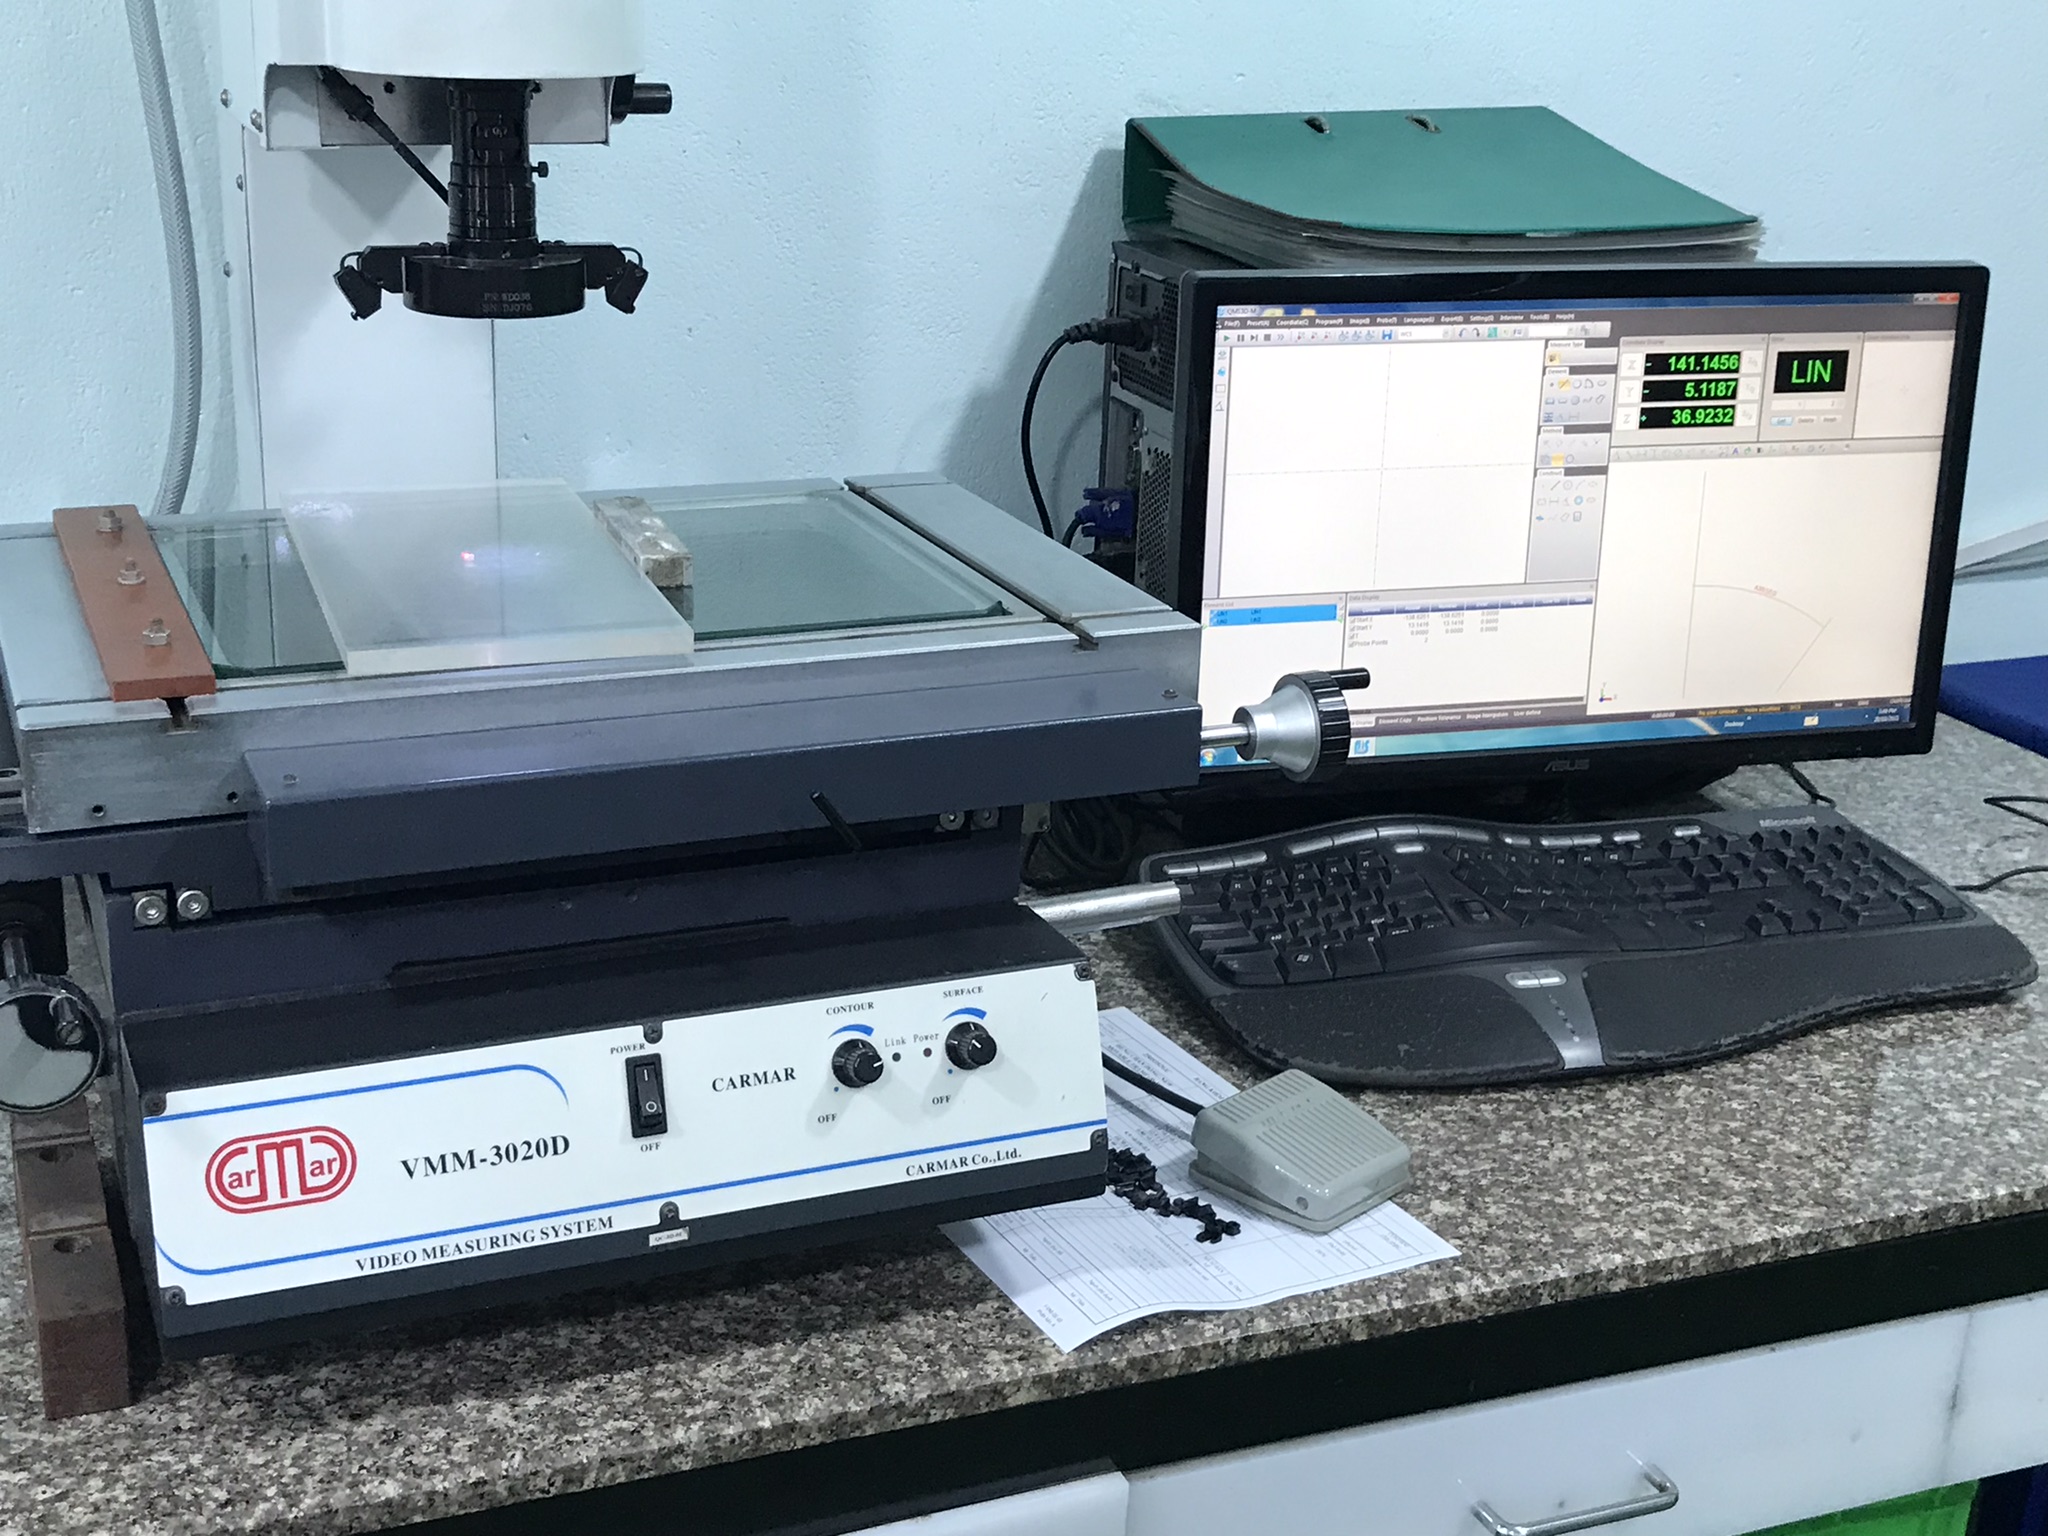
Choosing the right tool is a matter of tolerance and volume. In my experience managing final inspections for U.S. clients, the fastest way to lose credibility is to measure a ±0.05 mm feature with a tool that only resolves 0.1 mm. So we follow a simple rule: the measuring tool should be at least ten times more precise than the tolerance it checks.
Matching tools to features
| Feature on Stamped Part | Recommended Tool | Typical Use Case |
|---|---|---|
| Overall length and width | Digital caliper | General dimensions, ±0.1 mm or looser |
| Material thickness | Micrometer | Sheet thickness verification against spec |
| Hole and slot size | Plug gauge, pin gauge | Go/no-go check on punched holes |
| Formed height | Height gauge on surface plate | Bracket wall height after bending |
| Bend angle | Angle gauge, protractor | 90-degree flanges, springback check |
| Flatness | Surface plate and feeler gauge | Warping on flat mounting tabs |
| Position tolerance, profiles | CMM or vision measurement system | Tight GD&T callouts, hole patterns |
| Hardness | Rockwell or Brinell tester | Material property confirmation |
Methods beyond simple measurement
For high-volume stampings like small clips and brackets, we sometimes recommend automated optical inspection or vision systems. These remove operator variation on repetitive features like hole pitch. For assembly-critical parts, a functional fixture is often smarter than a hundred measurements. We built a simple go/no-go fixture for one mounting bracket project; if the part seats and the screw holes align, it passes. That single fixture cut inspection time dramatically and caught fit issues that individual dimensions could not reveal. Also, always check gauge calibration status before use. An out-of-calibration caliper produces data you cannot trust or defend.
How can I identify common stamping defects like burrs, cracks, or warping during IQC?
A U.S. purchasing manager once emailed me photos of brackets with burrs sharp enough to cut assembly workers' gloves. That complaint reshaped how our teams inspect edges today.
Identify stamping defects by running a fingernail or gauge along cut edges for burrs, inspecting bend radii under magnification for micro-cracks, and placing parts on a surface plate to detect warping. Use strong lighting, defined burr height limits, and boundary samples to keep judgments consistent.

Visual and tactile inspection sounds simple, but consistency is hard. Two inspectors can look at the same burr and disagree. So we standardize three things: the lighting, the limits, and the reference samples. Our inspection stations use bright, even lighting. Our work instructions state numeric burr height limits, often based on DIN 6784 5 or the client's internal standard. And we keep boundary samples on hand, showing the worst acceptable condition.
The three big defects and how to catch them
Burrs. Run a gloved finger or fingernail along every sheared edge. For measurable limits, use a burr height gauge or an optical comparator. Also note burr direction. A burr on the wrong side can interfere with mating surfaces even if its height is within limits.
Cracks. Check bend lines and tight radii first. Cracks form where the material stretched hardest. Use a magnifier or microscope on suspect areas. For safety-critical parts, clients sometimes specify dye penetrant testing 6 or cross-sectional metallography. Hairline cracks often hide under plating, so inspect before and after coating when possible.
Warping. Place the part flat-side down on a surface plate. Try to slide a feeler gauge under the edges. Rocking or daylight under the part means distortion. Springback from bending is a related issue; verify angles against the drawing, because a die that reads 90 degrees may release parts at 92.
Other defects worth a look
Do not stop at the big three. Also scan for scratches, dents, rust spots, plating peeling, oil contamination, and mixed material lots. On galvanized or bronze-toned brackets, coating inconsistency across a lot often signals a supplier process change that deserves a question, not just a note.
What sampling plan (AQL) should I follow when inspecting incoming stamping part shipments?
Balancing inspection depth against receiving speed is a trade-off I weigh on nearly every project we manage between Asia and the United States.
Follow ANSI/ASQ Z1.4 General Inspection Level II with AQL 0.65 for critical defects, 1.0 for major defects, and 2.5 for minor defects as a common baseline. Tighten sampling or use 100% inspection for new suppliers, new tooling, or safety-critical features until capability is proven.

AQL sampling gives you statistical confidence without checking every part. The standard most buyers reference is ANSI/ASQ Z1.4 7, which is harmonized with GB/T 2828.1 in Asia. You pick an inspection level, find your sample size from the lot size, and apply accept/reject numbers based on your chosen AQL values.
How the plan works in practice
Here is a simplified example using General Inspection Level II. Always confirm exact numbers against the current standard tables.
| Lot Size | Sample Size (Level II) | AQL 1.0 Accept / Reject | AQL 2.5 Accept / Reject |
|---|---|---|---|
| 281–500 | 50 | 1 / 2 | 3 / 4 |
| 501–1,200 | 80 | 2 / 3 | 5 / 6 |
| 1,201–3,200 | 125 | 3 / 4 | 7 / 8 |
| 3,201–10,000 | 200 | 5 / 6 | 10 / 11 |
Classify defects before you sample. Critical defects create safety risks or total functional failure, so many buyers set AQL 0.65 or even zero acceptance for them. Major defects affect function or assembly. Minor defects are cosmetic issues that do not impair use.
When AQL is not enough
Sampling assumes a stable process. That assumption fails in several situations. For a first production lot, a new die, or a supplier with recent rejections, we shift to tightened inspection or 100% checking of critical features. Once several consecutive lots pass cleanly, we relax back to normal or even reduced inspection. We also track results across lots, not just within one lot. A slow upward drift in burr height across five shipments usually means the punch is wearing. Catching that trend early lets the supplier resharpen tooling before a lot fails outright. Finally, write the sampling rules into your IQC procedure so every inspector applies the same logic, and log each lot's sample size, results, and disposition for traceability.
Conclusion
Weak receiving inspection lets bad stamped parts reach your line, causing scrap and missed shipments. Strong IQC—clear checklists, right tools, defect awareness, and smart AQL sampling—stops problems at the dock.
Frequently Asked Questions
How do I set up an IQC checklist for stamping parts before shipment?
A few years back, our Vietnam office received a shipment of zigzag mounting clips with the wrong drawing revision. Since then, our checklist always starts with paperwork, not parts.
What inspection tools and methods should I use to check dimensional accuracy on stamped parts?
When we calibrate the gauge sets in our inspection rooms each quarter, one lesson always stands out: the tool must match the tolerance, not just the feature.
How can I identify common stamping defects like burrs, cracks, or warping during IQC?
A U.S. purchasing manager once emailed me photos of brackets with burrs sharp enough to cut assembly workers' gloves. That complaint reshaped how our teams inspect edges today.
Footnotes
1. Related standards body reference for the harmonized Asian sampling standard ↩︎
2. Links receiving inspection practice to internationally recognized quality management standards. ↩︎
3. Clarifies the material verification document referenced in the checklist ↩︎
4. Background concept explaining geometric dimensioning and tolerancing used in dimensional checks ↩︎
5. ISO context for the burr height standard referenced in defect inspection ↩︎
6. Explains the nondestructive testing method mentioned for detecting cracks ↩︎
7. Provides background on acceptance sampling methodology referenced by the ANSI/ASQ Z1.4 standard. ↩︎