Non-destructive testing for sheet metal welding quality is a problem I deal with every week. Our teams in Vietnam and China coordinate inspections on custom brackets, housings, and mounting plates — and one missed weld crack can mean a full shipment rejection at a U.S. port.
Non-destructive testing (NDT) for sheet metal welding uses methods like visual inspection, liquid penetrant testing, magnetic particle inspection, ultrasonic testing welds, and radiographic inspection to detect cracks, porosity in welds, and incomplete fusion — all without damaging the part, so it remains fully serviceable.
This guide walks through the major NDT methods, how to choose the right one, what documentation you need, and how to build NDT into your quality control process 1. Whether you source custom parts from Asia or manage fabrication in-house, these steps will help you prevent costly weld failures.
Which NDT method should I choose for my sheet metal weld inspections?
A purchasing manager we work with in the Midwest once rejected an entire batch of stainless steel brackets because the supplier only ran visual weld inspection — and missed internal porosity that caused field failures within weeks.
Choose your NDT method based on three factors: the sheet metal material type (ferromagnetic or non-magnetic), the defect location (surface or internal), and your compliance requirements. Match these to visual inspection, liquid penetrant testing, magnetic particle inspection, ultrasonic testing, or radiographic inspection for reliable results.
Picking the right NDT method is not guesswork. It follows a logical decision path. Let me break it down.
Surface vs. Internal Defect Detection
The first question is: where do you expect defects? Surface-breaking welding defects like weld cracks, undercuts, and open porosity are visible or near-visible. For these, visual weld inspection, liquid penetrant testing 2, and magnetic particle inspection work well. But if you need to find internal problems — incomplete fusion, slag inclusions, hidden gas pockets — you need volumetric methods like ultrasonic testing welds 3 or radiographic inspection. On our production floor, we always start with a visual check. It is fast, cheap, and catches obvious issues. But we never stop there for critical parts.
Material Type Matters
The second factor is material. Our Vietnam facility handles a lot of aluminum and austenitic stainless steel sheet metal — both non-magnetic. Magnetic particle inspection 4 does not work on these materials. Instead, we use liquid penetrant testing for surface defects on aluminum brackets. For carbon steel and low-alloy steel, magnetic particle inspection is excellent because it catches both surface and near-surface flaws.
| Factor | Visual (VT) | Penetrant (PT) | Magnetic (MT) | Ultrasonic (UT) | Radiographic (RT) |
|---|---|---|---|---|---|
| Surface defects | ✔ | ✔ | ✔ | ✔ | ✔ |
| Internal defects | ✘ | ✘ | Limited | ✔ | ✔ |
| Ferromagnetic metals | ✔ | ✔ | ✔ | ✔ | ✔ |
| Non-magnetic metals | ✔ | ✔ | ✘ | ✔ | ✔ |
| Permanent record | Photo only | No | No | Digital possible | ✔ (film/digital) |
| Radiation safety needed | No | No | No | No | Yes |
Compliance and Record-Keeping
Some industries — aerospace, pressure vessels, automotive safety components — require permanent inspection records. Radiographic inspection 5 produces an image you can archive. Digital ultrasonic systems also create storable data files. If your customer's spec calls for ASME or AWS compliance, check which NDT methods the code accepts. I have seen U.S. buyers specify RT on drawings simply because they want an X-ray image on file. That is a valid reason, but it adds cost and requires radiation safety controls.
Eddy Current Testing: A Niche but Useful Option
For thin sheet metal welds, eddy current testing 6 can detect surface and near-surface cracks without contact. It is fast and works on both ferromagnetic and non-magnetic metals. We do not use it as often as PT or UT, but it has real value for high-speed production line inspections on uniform parts.
A Simple Decision Path
- Start with visual weld inspection on every part.
- If the material is non-magnetic and you need surface defect detection, use liquid penetrant testing.
- If the material is ferromagnetic and you need surface or near-surface detection, use magnetic particle inspection.
- If you need internal defect detection, choose ultrasonic testing welds (no radiation) or radiographic inspection (permanent image record).
- If the code or drawing specifies a method, follow it exactly.
For a deeper overview of common non-destructive testing methods in sheet metal fabrication, see our detailed guide.
How can I verify that my supplier is performing NDT correctly on my parts?
Last year, one of our U.S. clients discovered that a previous supplier had been marking parts as "UT inspected" without actually running a calibrated transducer over the welds. That experience cost them months of rework and eroded trust with their end customer.
Verify your supplier's NDT by requesting calibration records, certified inspector credentials (ASNT Level II minimum), documented procedures referencing applicable codes, and sample inspection reports with defect maps. Conduct periodic on-site audits or use a third-party inspection service to confirm compliance.
Trust but verify. That is the rule we apply when managing our own supply chain across Vietnam and China. Here is how we ensure NDT is done right — and how you can do the same with your suppliers.
Check Inspector Qualifications
NDT is only as good as the person performing it. Inspectors should hold certifications from recognized bodies like ASNT (American Society for Nondestructive Testing). For most inspection tasks, you want at least an ASNT Level II technician 7 — someone qualified to set up equipment, perform tests, interpret results, and write reports. Ask your supplier to provide copies of current certifications. Expired certs are a red flag.
Demand Calibration Records
Every piece of NDT equipment needs regular calibration. For ultrasonic testing welds, the transducer must be calibrated on IIW V1 or V2 reference blocks before each inspection session. The couplant — typically machine oil — must be applied correctly. For radiographic inspection, exposure parameters must be verified. Ask for calibration logs. If the supplier cannot produce them, the inspection data is unreliable.
Review Written Procedures
A competent supplier has written NDT procedures that reference the applicable code or standard — AWS D1.1 8, ASME Section V, or whatever your drawing calls out. These procedures describe the method, equipment, acceptance criteria, and reporting format. We review these procedures during our supplier audits as part of the PPAP (Production Part Approval Process). If a supplier has no written procedure, they are improvising.
| Verification Item | What to Ask For | Red Flag |
|---|---|---|
| Inspector credentials | ASNT Level II or III certificate | Expired or no certificate |
| Equipment calibration | Calibration log with dates and reference block ID | No log, or last calibration >12 months ago |
| Written procedure | Code-referenced procedure document | No procedure, or generic template not adapted to your part |
| Sample report | Defect map, accept/reject decision, inspector signature | Report with no measurements or defect locations |
| Third-party audit | Audit report from independent inspection agency | Supplier refuses third-party access |
Conduct Periodic Audits
Our China team performs on-site quality audits at subcontractor facilities. During these audits, we observe the NDT process in real time. We check if the inspector actually scans the full weld length, if the penetrant dwell time is adequate, and if the magnetic particle application covers the entire heat-affected zone. For clients who cannot visit Asia, we act as their eyes on the ground. A third-party inspection service is another good option. The key is that someone independent witnesses the process at least once per production run.
Cross-Check with Destructive Testing
On first-article runs, we sometimes request a parallel destructive test on a sample coupon. If the destructive test reveals gas pockets larger than 1.6 mm or more than six pores in the cross-section, but the NDT report says "no defects found," you know the NDT was not done properly. This cross-check builds confidence in the NDT program going forward.
What NDT documentation do I need to prove my sheet metal welds are defect-free?
During a recent project for a U.S. engineering firm, the buyer's quality engineer asked us to provide a complete NDT documentation package before they would release payment. Without proper records, even perfect welds cannot pass an audit.
You need an NDT procedure document (referencing the applicable code), individual inspection reports with defect maps and accept/reject decisions, inspector certification records, equipment calibration logs, and a summary matrix linking each weld to its inspection results. Radiographic film or digital images provide the strongest permanent evidence.
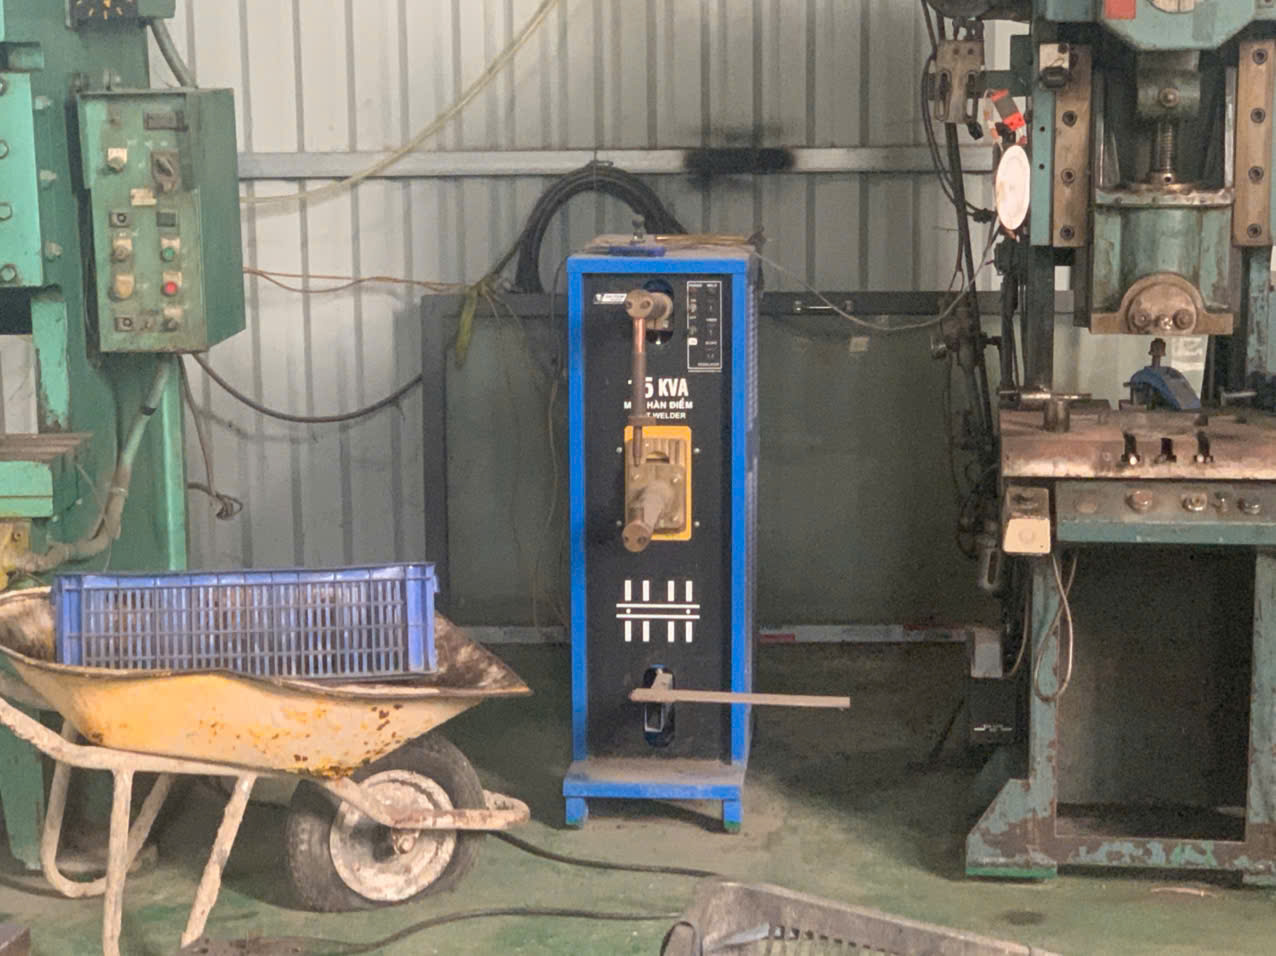
Documentation is where many suppliers fall short. They perform the test but fail to create records that satisfy a quality audit. Here is what a complete NDT documentation package looks like.
The Core Documents
Every NDT documentation package should include five elements. The inspection procedure tells the auditor how the test was performed. The inspection report tells them what was found. The calibration log proves the equipment was accurate. The inspector's certification proves the person was qualified. And the summary matrix ties everything together so the auditor can trace any weld back to its inspection record.
What Goes in an Inspection Report
A good inspection report is specific. It identifies the part number, weld joint number, NDT method used, date and time of inspection, inspector name and certification level, equipment used, and the result — accept or reject. For ultrasonic testing welds, the report should include the probe angle, frequency, and the location and size of any indications found. For radiographic inspection, the report should reference the film or digital image number. For liquid penetrant testing, it should note the penetrant type, dwell time, and developer used.
| Document | Purpose | Key Contents |
|---|---|---|
| NDT Procedure | Defines how the test is performed | Code reference, method, equipment, acceptance criteria |
| Inspection Report | Records findings for each weld | Part ID, weld ID, method, results, accept/reject, inspector signature |
| Calibration Log | Proves equipment accuracy | Equipment ID, calibration date, reference standard used, next due date |
| Inspector Certification | Proves inspector competence | Name, ASNT level, certification expiry date |
| Summary Matrix | Links welds to inspection results | Weld map cross-referenced to report numbers and outcomes |
Radiographic Records: The Gold Standard
Radiographic inspection produces a physical or digital image of the weld's internal structure. This image is a permanent record. Auditors love it because they can see the evidence themselves — no interpretation needed. We encourage our clients to specify digital radiography when the budget allows. Digital files are easier to store, share, and review than traditional film. They also improve image quality and reduce processing time.
How Long to Keep Records
Most codes require NDT records to be retained for a minimum period — often five to ten years, depending on the industry. We store digital records indefinitely in our project management system. For pressure vessel or structural applications, record retention is not optional. It is a legal requirement. Make sure your supplier's retention policy matches your industry's requirements.
Traceability Is Everything
Each weld on a part should have a unique identifier. That identifier links to the NDT report number. The report links to the calibration log and inspector certification. This chain of traceability is what auditors follow. Without it, your documentation is just paperwork with no proof behind it. We build this traceability into our process control system from the start — it is much harder to reconstruct after the fact.
How do I integrate NDT into my quality control process to prevent weld failures?
One lesson I learned early in managing contract manufacturing is that NDT cannot be an afterthought. Bolting it on at the end of production means defects have already consumed material, labor, and time. The cost of rework dwarfs the cost of inspection.
Integrate NDT into your quality control process by defining inspection hold points in your production flow, specifying NDT methods and acceptance criteria on engineering drawings, training welders on common welding defects, performing first-article inspections before mass production, and using statistical sampling plans for ongoing production batches.
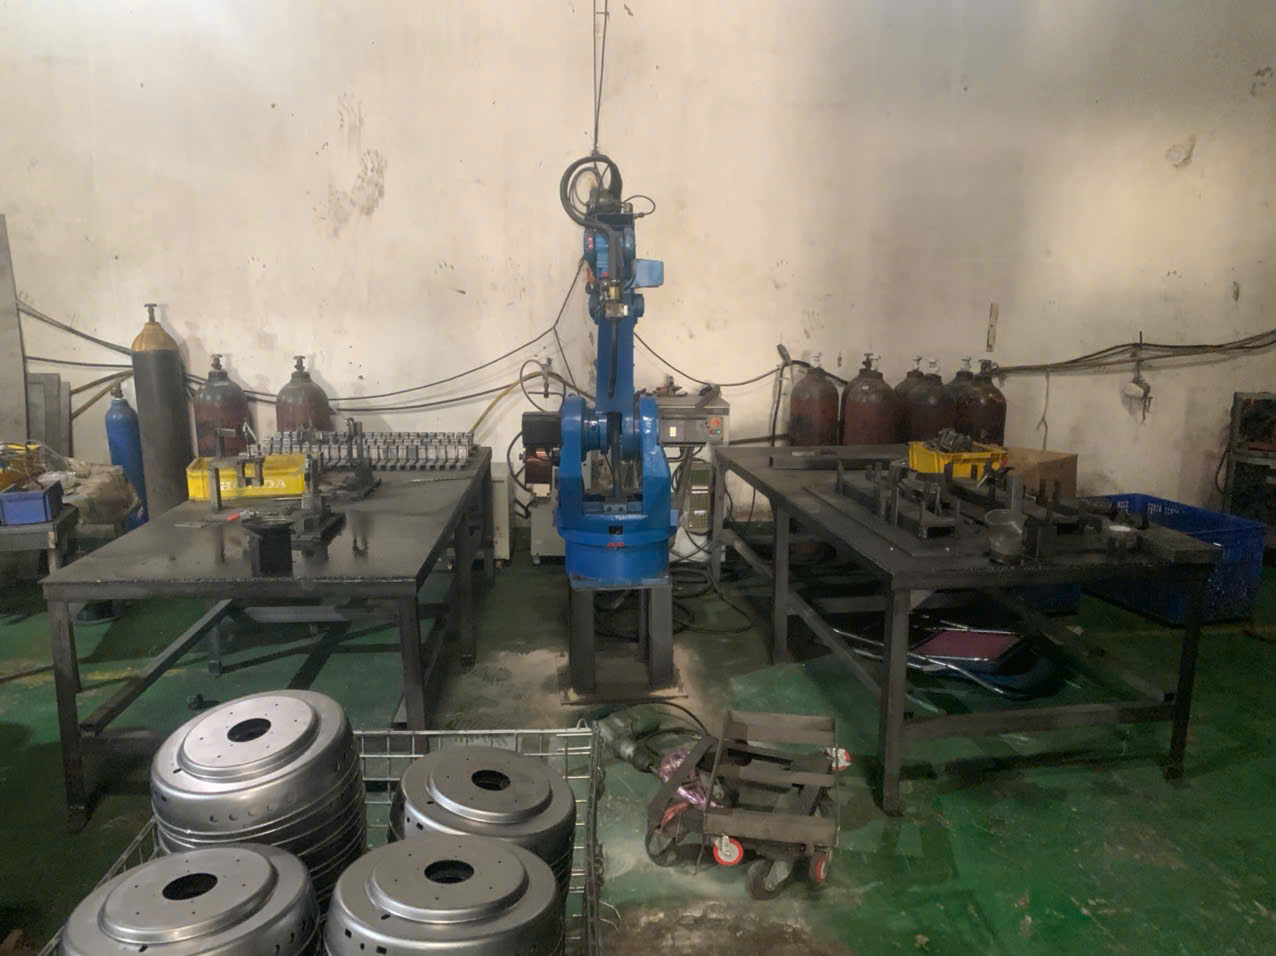
Building NDT into your process — rather than treating it as a final gate — is what separates companies that get it right the first time from those that chase defects. Here is the framework we use for our custom parts projects.
Define Inspection Hold Points
A hold point is a stage in production where work stops until inspection is complete and approved. For sheet metal welding, typical hold points include after fit-up (before welding), after root pass (for multi-pass welds), and after final weld completion. We define these hold points in the control plan and share them with the welding shop before production starts. This prevents the shop from welding over a defective root pass that would have been caught by ultrasonic testing welds at the right stage.
Specify NDT on Engineering Drawings
Your drawing should call out the NDT method, the applicable code, the acceptance criteria, and the extent of inspection (100% or statistical sample). Vague notes like "weld per standard" are not enough. I have seen disputes arise because the supplier interpreted "standard" differently than the buyer. Be explicit. For example: "All fillet welds on this bracket shall be inspected per AWS D1.1 using liquid penetrant testing. Acceptance criteria per Table 6.1. 100% inspection on first article; 20% random sampling on production lots." You can learn more about the relevant weld quality inspection standards for sheet metal fabrication to ensure your drawings reference the correct criteria.
First-Article Inspection with NDT
Before mass production, we run a first-article inspection 9 that includes full NDT on all welds. This catches process issues — wrong weld parameters, poor joint preparation, inadequate shielding gas — before they propagate through an entire batch. If the first article passes, we have confidence in the process. If it fails, we correct the root cause before making more parts. This "right first time" approach saves our clients significant cost and schedule. For a structured approach to validating a supplier's capabilities through testing, see our guide on how to create a sample testing plan to verify sheet metal fabrication capabilities.
Statistical Sampling for Production
Inspecting 100% of welds on every part is not always practical or cost-effective. For production runs, we use statistical sampling plans 10 — often based on AQL (Acceptable Quality Level) tables. The sampling rate depends on the criticality of the weld and the supplier's track record. A new supplier might start at 100% inspection and tighten to 20% once they demonstrate consistent quality over several lots. This approach balances structural integrity assurance with production efficiency.
Emerging Technologies: AI and Machine Vision
We are watching the growth of AI-powered machine vision for weld quality control. These systems use cameras and algorithms to screen surface defects in real time, flagging parts that need further NDT. They do not replace volumetric methods like UT or RT for internal defects, but they can dramatically reduce the workload for surface inspection. Digital twin integration is another area gaining traction — linking NDT data to a virtual model of the part for predictive maintenance. These tools are still maturing, but they represent the future direction of weld quality control.
Closing the Loop: Corrective Action
NDT data is only useful if you act on it. When our inspectors find a recurring defect — say, porosity in welds at a specific joint — we issue a corrective action request to the welding shop. We investigate the root cause (contaminated shielding gas, wrong wire feed speed, poor fit-up) and verify the fix before resuming production. This feedback loop is what turns NDT from a detection tool into a prevention tool.
Conclusion
Non-destructive testing for sheet metal welding quality is not optional — it is the backbone of structural integrity and customer confidence. Choose the right method, verify your supplier, document everything, and build NDT into your process from day one.
Frequently Asked Questions
Which NDT method should I choose for my sheet metal weld inspections?
A purchasing manager we work with in the Midwest once rejected an entire batch of stainless steel brackets because the supplier only ran visual weld inspection — and missed internal porosity that caused field failures within weeks.
How can I verify that my supplier is performing NDT correctly on my parts?
Last year, one of our U.S. clients discovered that a previous supplier had been marking parts as "UT inspected" without actually running a calibrated transducer over the welds. That experience cost them months of rework and eroded trust with their end customer.
What NDT documentation do I need to prove my sheet metal welds are defect-free?
During a recent project for a U.S. engineering firm, the buyer's quality engineer asked us to provide a complete NDT documentation package before they would release payment. Without proper records, even perfect welds cannot pass an audit.
Footnotes
1. Explains the importance of integrating NDT into quality control. ↩︎
2. Authoritative source on liquid penetrant examination. ↩︎
3. Details a key volumetric NDT method for internal defect detection. ↩︎
4. Describes a non-destructive testing method for ferromagnetic materials. ↩︎
5. Explains a volumetric NDT method that provides permanent records. ↩︎
6. Introduces a non-contact NDT method for surface and near-surface cracks. ↩︎
7. Defines the qualifications for NDT inspectors. ↩︎
8. References a widely used welding code for structural steel. ↩︎
9. Highlights the importance of initial inspection to validate production processes. ↩︎
10. Explains how NDT is applied efficiently in mass production. ↩︎