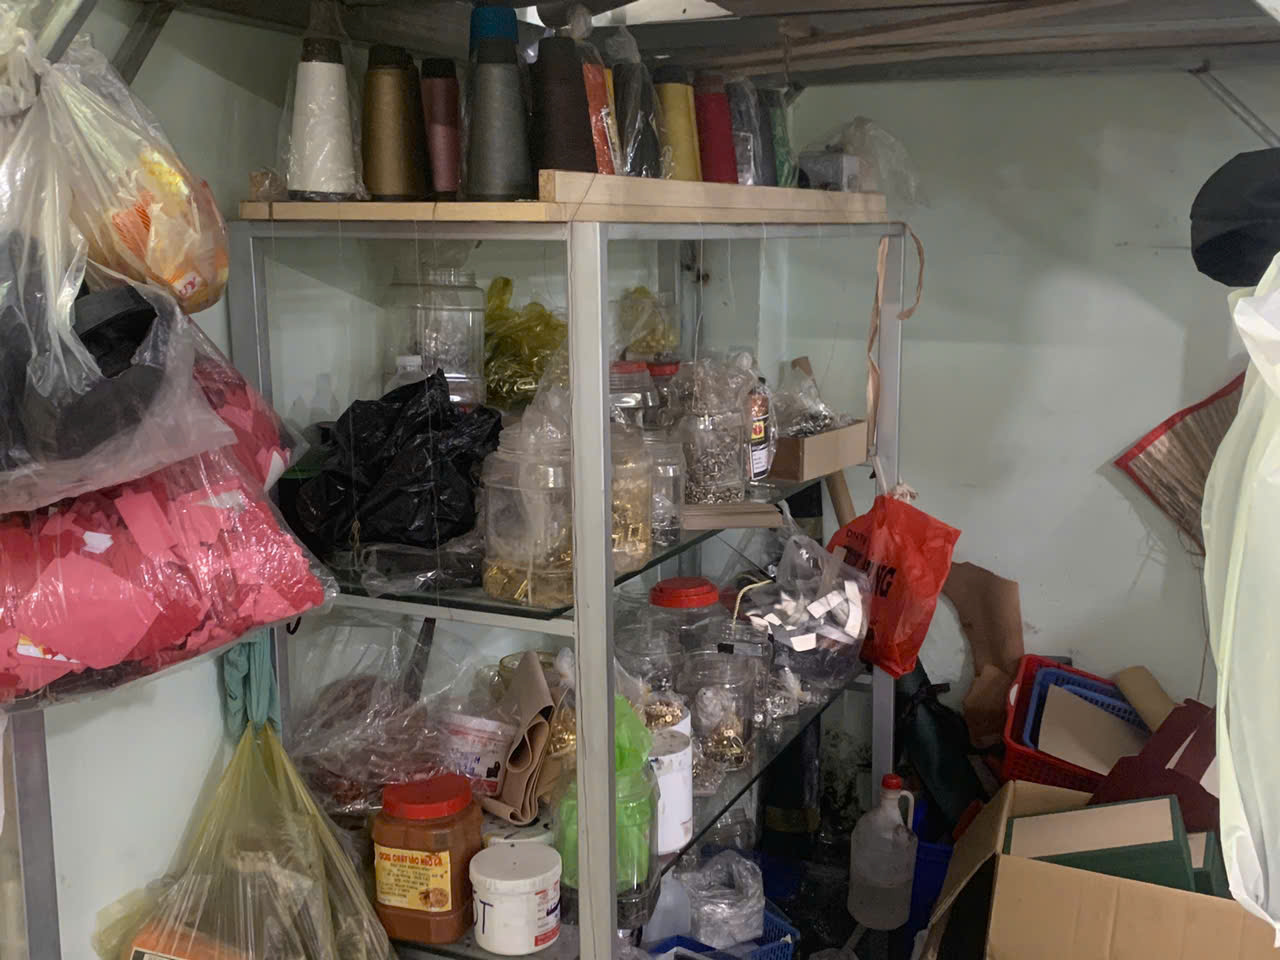
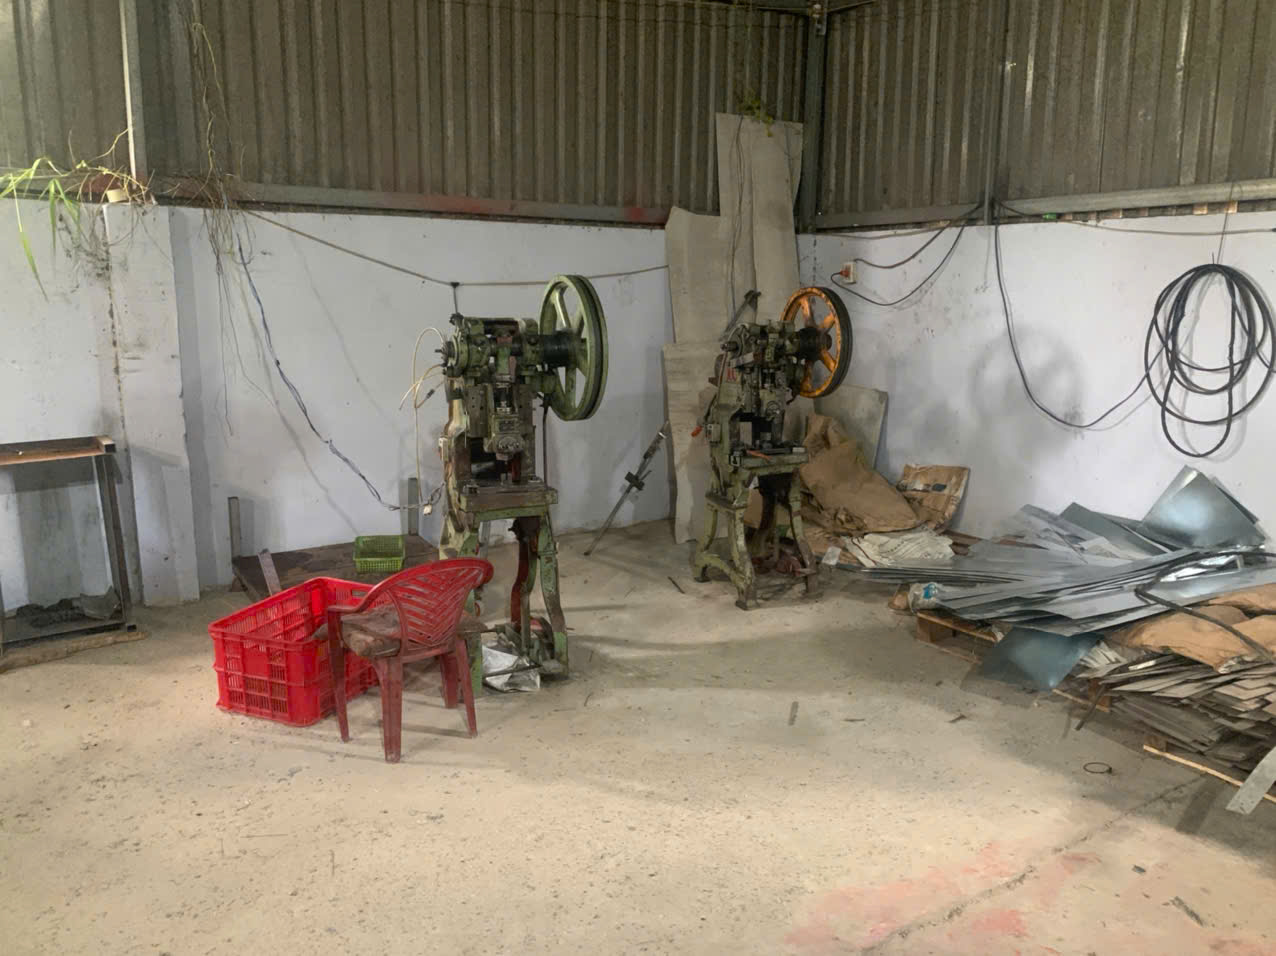
Last year, our team recalled a shipment of unmarked brackets because nobody could trace the bad batch. Requiring suppliers to print brand logo and batch number on stamping parts prevents exactly that nightmare.
To require suppliers to print a brand logo and batch number on stamping parts, specify the marking content, location, method, and depth on your technical drawings, add explicit marking clauses to your supplier quality agreement, and verify compliance through First Article Inspection and ongoing sampling checks.
That short answer covers the framework. But each step has details that decide whether your parts arrive marked correctly or come back for rework. Let me walk you through each one.
How do I specify logo and batch number requirements clearly on my technical drawings?
During a supplier audit in Vietnam, our engineers found a die shop guessing at logo placement because the customer's drawing only said "add logo here." That vague note caused three tooling revisions.
Specify marking requirements on technical drawings by defining exact coordinates, character height, mark depth, font style, and orientation in a dedicated marking note. Attach a vector logo file, reference a standard like MIL-STD-130, and state whether the mark is die-formed or applied after stamping.

The engineering drawing is your legal anchor. If a requirement is not on the print, most suppliers will treat it as optional. In our sourcing projects across Vietnam and Taiwan, we have learned that a complete marking specification needs five elements, all stated on the drawing itself.
The Five Elements Every Marking Note Needs
First, define the content. State exactly what appears: the brand logo, the part number, and the batch number format 1. Second, define the location. Give X-Y coordinates from a datum, not a vague arrow. Third, define the size. Character height should meet a minimum of 1/16 inch for batch numbers so they stay legible. Fourth, define the depth. Industry best practice targets 0.008″–0.012″ mark depth, which gives margin above the MIL-STD-130 minimum of 0.006″. Fifth, define the method. Say whether the mark comes from the stamping die design itself or from a secondary operation.
| Drawing Element | What to Specify | Example |
|---|---|---|
| Content | Logo + batch format | DEWIN logo + YYWW-LOT |
| Location | Coordinates from datum | 12mm from datum A, flat zone |
| Character height | Minimum legible size | 1/16 inch (1.6mm) minimum |
| Mark depth | Depth range with tolerance | 0.008″–0.012″ |
| Method | Die-formed, stamp, or laser | Embossed logo in die; laser batch code 2 |
Provide the Right Logo Assets
Your supplier cannot engrave a fuzzy JPEG. Send an EPS vector file 3 of the logo so it scales cleanly into the die or laser program. If the logo will ever be painted or etched with color, include Pantone codes. We bundle all of this into one brand guidelines document and send it with every new RFQ. It removes guesswork before quoting even starts.
Also flag critical parts. If the bracket sees fatigue loads 4, call out low-stress character stamps on the drawing. Sharp-face characters can create stress risers in thin sheet metal.
What marking methods should I choose for stamping parts to ensure durability and readability?
There is a trade-off we weigh on almost every custom parts project: die-integrated marks are cheap per part but expensive to change, while laser marking is flexible but adds a process step.
Choose die-integrated embossing for permanent logos on high-volume runs, laser marking for variable batch numbers and small parts, and dot peening for thick or hardened steel. Match the method to material hardness, surface finish, post-processing steps, and production volume.

Not every marking method suits every part. The metal stamping process itself gives you one big advantage: the die can form the mark for free on every hit. But that only works for content that never changes, like your logo. Batch numbers change with every production run, so they need a different approach.
Comparing the Main Marking Methods
| Method | Best For | Durability | Cost Profile |
|---|---|---|---|
| Die-integrated embossing | Fixed logos, high volume | Permanent, survives plating | High tooling cost, near-zero per part |
| Rotating die inserts | Date codes, batch numbers in-die | Permanent | Moderate tooling cost, low per part |
| Laser marking | Variable batch data, small parts | Excellent, high contrast | Low tooling cost, moderate per part |
| Dot peening | Thick sections, hardened steel | Very durable | Low equipment cost, slower cycle |
| Hand stamping | Prototypes, low volume | Good if fixtured | Cheap, but error-prone |
Match the Method to Downstream Processes
Here is where many buyers get burned. A shallow laser mark can vanish under powder coating. A zinc plating 5 layer can fill in fine embossed detail. So the rule is simple: specify mark depth and character height that survive your finishing steps. For galvanized brackets like the ones we source for US machinery clients, we require deeper die-formed characters because the coating adds thickness.
Dynamic tooling inserts deserve special mention. These rotating inserts sit inside the stamping die and let the operator change the date or batch code without pulling the die. They eliminate the human error of manual stamp resets. For high-volume automotive-style production batch tracking, we consider them the best practice.
For very small clips with no flat area, ask about micro-stamping or a 2D Data Matrix code 6 applied by laser. The Data Matrix also enables automated scanning that links each part back to material test reports.
How can I verify that my supplier consistently applies the correct logo and batch number during production?
A purchasing manager in Texas once told me his previous supplier passed the sample stage perfectly, then shipped ten thousand brackets with the wrong lot code. Verification cannot stop at the first sample.
Verify consistent marking by including it in First Article Inspection, requiring in-process checks at set intervals, demanding photographic records or sampling logs from each run, and conducting periodic supplier audits with rights defined in your supplier quality agreement.

Verification works in layers. Each layer catches a different failure mode, and skipping any one of them creates a blind spot. In our process control work with Vietnamese stamping shops, we structure verification as a sequence, not a single event.
The Four-Layer Verification Sequence
- First Article Inspection (FAI). Before mass production, the supplier submits marked samples. We check logo alignment, character depth with a depth gauge, and batch format against the drawing. Under a PPAP framework, marking approval becomes part of the formal sign-off. Nothing runs until this passes.
- In-process checks. The operator verifies the mark at defined intervals, typically at startup, after any die insert change, and every set quantity. Manual stamp resets are the highest-risk moment, so any code change triggers a mandatory recheck.
- Run records. The supplier photographs marked parts from each batch or keeps a sampling inspection log. These records support part traceability during audits and are standard practice under AS9100 and similar quality control standards.
- Supplier audits. Your supplier quality agreement should grant you the right to audit the marking process and its records. Our local team visits stamping suppliers to watch the process live, because a paper record cannot show a worn stamp face.
Watch the High-Risk Transition Points
Marking errors cluster at transitions: a new batch starting, a die insert swap, or a shift change. Ask your supplier to show you their procedure for exactly these moments. If they do not have one, the risk is real regardless of how good their samples look. We also recommend requiring a contract proof, not just an indication proof, for any painted or printed logo. A dated approval record protects both sides.
What quality control steps should I include to prevent missing or incorrect markings on stamping parts?
The lesson that shaped our final inspection checklist came from a returned shipment: every dimension was perfect, but half the parts had no batch code at all. Dimensional QC alone is not enough.
Prevent marking errors by defining unmarked parts as non-conforming in your contract, adding marking checks to incoming and final inspection checklists, requiring legibility and contrast criteria, using error-proofed tooling, and linking batch numbers to raw material heat lots for full traceability.

Prevention starts with contract language and ends at your receiving dock. The goal is to make a missing mark impossible to ship, not just easy to catch. Manufacturing specifications should treat the mark as a feature with the same weight as a hole diameter.
Build Marking Into Your QC System
First, write the rejection rule. Your supplier quality agreement must state that parts without correct, legible markings are non-conforming and subject to rejection at the supplier's cost. This single clause changes supplier behavior more than any polite reminder.
Second, define acceptance criteria objectively. "Readable" is subjective. Instead, specify minimum character height, minimum depth, high contrast against the surface, and correct format. Inspectors then have a pass/fail standard.
Third, error-proof the process. Rotating die inserts prevent stale date codes. Vision systems can automatically reject unmarked parts on the line. For critical programs, some clients link the supplier's marking equipment data to their own ERP so a suspect batch can be isolated within hours.
| QC Step | Stage | What It Catches |
|---|---|---|
| SQA rejection clause | Contract | Sets consequences for missing marks |
| FAI marking approval | Pre-production | Wrong location, depth, or format |
| In-process verification | During run | Drift, worn stamps, wrong code after reset |
| Final inspection checklist | Pre-shipment | Missing or illegible marks in the lot |
| Incoming inspection | Receiving | Last defense before parts enter your stock |
| Heat lot linkage | Documentation | Broken traceability to raw material |
Connect Batch Numbers to Material Traceability
A batch number is only useful if it links to something. Require your supplier to tie each batch code to the raw material heat lot, the production date, and the inspection records. Standards like IATF 16949 7 for automotive and ISO 9001:2015 for general manufacturing expect exactly this chain. When a field failure happens, that chain lets you isolate one batch instead of recalling everything with your embossed logo on it.
Conclusion
Unmarked stamping parts create recall risks and brand exposure. Specify marking on drawings, enforce it in the SQA, choose durable methods, and verify at every stage. Get it right once, and traceability protects you for years.
Frequently Asked Questions
How do I specify logo and batch number requirements clearly on my technical drawings?
During a supplier audit in Vietnam, our engineers found a die shop guessing at logo placement because the customer's drawing only said "add logo here." That vague note caused three tooling revisions.
What marking methods should I choose for stamping parts to ensure durability and readability?
There is a trade-off we weigh on almost every custom parts project: die-integrated marks are cheap per part but expensive to change, while laser marking is flexible but adds a process step.
How can I verify that my supplier consistently applies the correct logo and batch number during production?
A purchasing manager in Texas once told me his previous supplier passed the sample stage perfectly, then shipped ten thousand brackets with the wrong lot code. Verification cannot stop at the first sample.
Footnotes
1. Definition and importance of lot numbers for product identification and quality control traceability. ↩︎
2. Global standards organization providing specifications for Data Matrix barcodes in supply chain management. ↩︎
3. Technical details on the Encapsulated PostScript format used for high-resolution vector graphics. ↩︎
4. Authoritative Wikipedia entry defining fatigue and cyclic loading in engineering materials. ↩︎
5. Overview of the zinc electroplating process used for corrosion protection on metal parts. ↩︎
6. International standard for Data Matrix bar code symbology used for part identification and tracking. ↩︎
7. Wikipedia overview of the international quality management standard for the automotive industry. ↩︎