
Getting suppliers to print a brand logo and batch number on stamping parts sounds simple. In our sourcing projects across Vietnam and China, it rarely is. Unmarked parts arrive, traceability breaks, and recalls become guesswork. One missed mark can strand an entire container at inspection. The fix? Treat marking as a contractual quality requirement, not a casual request.
To require suppliers to print a brand logo and batch number on stamping parts, define the marking content, method, size, depth, and location on the technical drawing, add a binding marking clause to the purchase order, approve a first article sample, and verify marks during pre-shipment inspection.
That is the short answer. Now let me walk you through each step, using lessons from real supplier audits and inspections our team runs every month.
What specifications do I need to give suppliers for logo and batch number marking on stamping parts?
A buyer once sent us a JPG screenshot of his logo and asked our Vietnam team to "put it somewhere on the bracket." That single email cost him three weeks of back-and-forth. Complete specifications would have prevented all of it.
Give suppliers the exact marking content, a vector logo file, character height, mark depth, precise location shown on the drawing, the marking method, batch number logic, and legibility acceptance criteria. Put all of this on the engineering drawing and in a supplier marking specification document.

Incomplete specs are the number one cause of marking errors. In our experience managing custom parts projects 1 for U.S. clients, suppliers do not skip requirements out of malice. They skip them because the requirements were never written down clearly. So write everything down. Here is what a complete package looks like.
The minimum data fields to define
Decide exactly what goes on the part. For most stamped brackets and sheet metal fabrication components, we recommend these fields:
| Data Field | Purpose | Format Example |
|---|---|---|
| Brand logo | Product origin and brand protection | Vector EPS 2 file, exact scale |
| Part number | Links part to the drawing | DW-BRK-1042 |
| Batch/lot number | Traceability to material and process | Date code + shift ID |
| Supplier ID | Identifies who made it | Two-letter supplier code |
File and dimension requirements
Never accept a logo request based on a sketch or a low-resolution image. Supply a vector EPS or AI file, plus the font name if text is included. Then specify dimensions on the technical drawing itself:
- Character height: at least 5mm unless the drawing states otherwise.
- Mark depth: 0.008"–0.012" for stamped or engraved marks. This comfortably exceeds the MIL-STD-130 3 minimum.
- Location: shown with a dimensioned callout, away from bend lines, weld zones, and high-stress areas.
- Legibility: the mark must stay readable after powder coating or plating.
Batch number logic
Define the logic, not just the requirement. We usually specify a structure like YYMMDD plus a production shift letter. Some clients add the material heat number for full traceability requirements 4 back to the steel mill. Whatever you choose, document it so every batch reads the same way. Ambiguity here destroys your ability to isolate a defective lot later.
How do I make sure my supplier doesn't skip logo or batch number requirements during production?
During a supplier audit near Hanoi last year, our team found a stamping shop that had quietly dropped a batch code because the die insert wore out. Nobody told the buyer. That is exactly the failure mode you must design against.
Make marking contractually mandatory in the purchase order or supplier quality agreement, require an approved first article inspection before mass production, tie payment to marking compliance, demand photographic logs of marked parts, and reject any shipment where marks are missing or illegible.

Enforcement is a system, not a single document. Our project managers in Vietnam and China use a layered approach, and each layer catches what the previous one missed.
Layer 1: Contractual language
Put a marking clause directly in the purchase order or supplier quality agreement. Keep it blunt. State that parts without the specified logo and batch number are non-conforming and will be rejected at the supplier's cost. Add an audit right, so you can request marking verification records at any time. Also include an outsourcing rule: if the supplier subcontracts the stamping or the marking, they still own batch traceability. We have seen subcontracted coating shops grind off marks during rework. The clause makes the primary supplier responsible either way.
Layer 2: First article and PPAP
Before mass production, require a first article inspection 5 or a full Production Part Approval Process 6 submission, depending on the part's criticality. The approved sample becomes your golden sample. Every future shipment is judged against it. When we run PPAP for U.S. clients, the marking element is a specific checklist line, signed off with a photo and a depth measurement. These controls align with the broader quality requirements for automotive stamping parts that OEM-facing buyers already follow.
Layer 3: In-process discipline
| Control | What It Catches |
|---|---|
| Marking step listed on the process control plan | Operators skipping the marking station |
| First-piece and last-piece photo log per run | Die wear, misalignment, wrong batch code |
| Quick-change tooling inserts for batch numbers | Wrong date codes when batches change |
| Batch number recorded on delivery documents | Paperwork-to-part mismatches |
Dynamic tooling inserts deserve a special mention. They let the supplier update the batch number inside the stamping die without rebuilding the tool. That removes the most common excuse for outdated or missing codes.
What marking methods should I choose for durable logos and batch numbers on stamped metal parts?
Method selection is a trade-off we weigh on almost every bracket project: tooling cost versus flexibility versus durability. Choose wrong, and you either overpay on tooling or end up with marks that vanish under powder coat.
Choose die-integrated embossed marking for high-volume production, laser engraving for fine logos and variable batch codes, impact stamping for low volumes, and electrochemical etching for thin-gauge parts. Match the method to volume, part thickness, and surface finish.

Here is the comparison we walk buyers through before quoting:
| Method | Durability | Cost Profile | Best For |
|---|---|---|---|
| Die-integrated embossing | Excellent, formed with the part | High tooling, near-zero per part | High-volume runs, fixed logos |
| Laser engraving | Very good, precise | Higher equipment cost, no tool wear | Fine logos, changing batch codes |
| Impact/hand stamping | Good, depth can vary | Very low cost | Low volumes, prototypes |
| Electrochemical etching | Good, no part stress | Moderate, slower | Thin-gauge sheet metal fabrication |
How volume drives the decision
For a repeat order of powder-coated mounting brackets, integrating the logo into the stamping die is usually the winner. The embossed marking forms in the same press stroke as the part itself. There is no extra operation, no extra cost per piece, and no way for the operator to forget it. Pair it with a quick-change insert for the batch number, and you get permanence plus flexibility.
For lower volumes or parts already in production, laser engraving is our default recommendation. It reproduces vector logos cleanly, handles serialized codes without tooling changes, and supports 2D Data Matrix 7 codes if you want automated scanning later.
Watch the coating interaction
One detail buyers miss: permanent marking methods interact with surface finish. A shallow laser mark can fill in completely under thick powder coating. On coated parts, we specify either a deeper mark before coating or laser engraving through the coating afterward. Test this at the first article stage, not after the first container lands. For raw galvanized or brushed parts like post bases, standard depth marks read fine without adjustment.
How can I verify that logo and batch number markings meet my quality standards before shipment?
A purchasing manager we work with once received parts where every batch code read the same date, for three different production runs. His previous supplier had never changed the insert. A structured final inspection would have caught that on run two.
Verify markings through a defined quality control inspection: check content accuracy against the drawing, measure character height and depth, confirm location and legibility after finishing, sample per AQL or inspect 100%, and require photo evidence in the inspection report before releasing shipment.
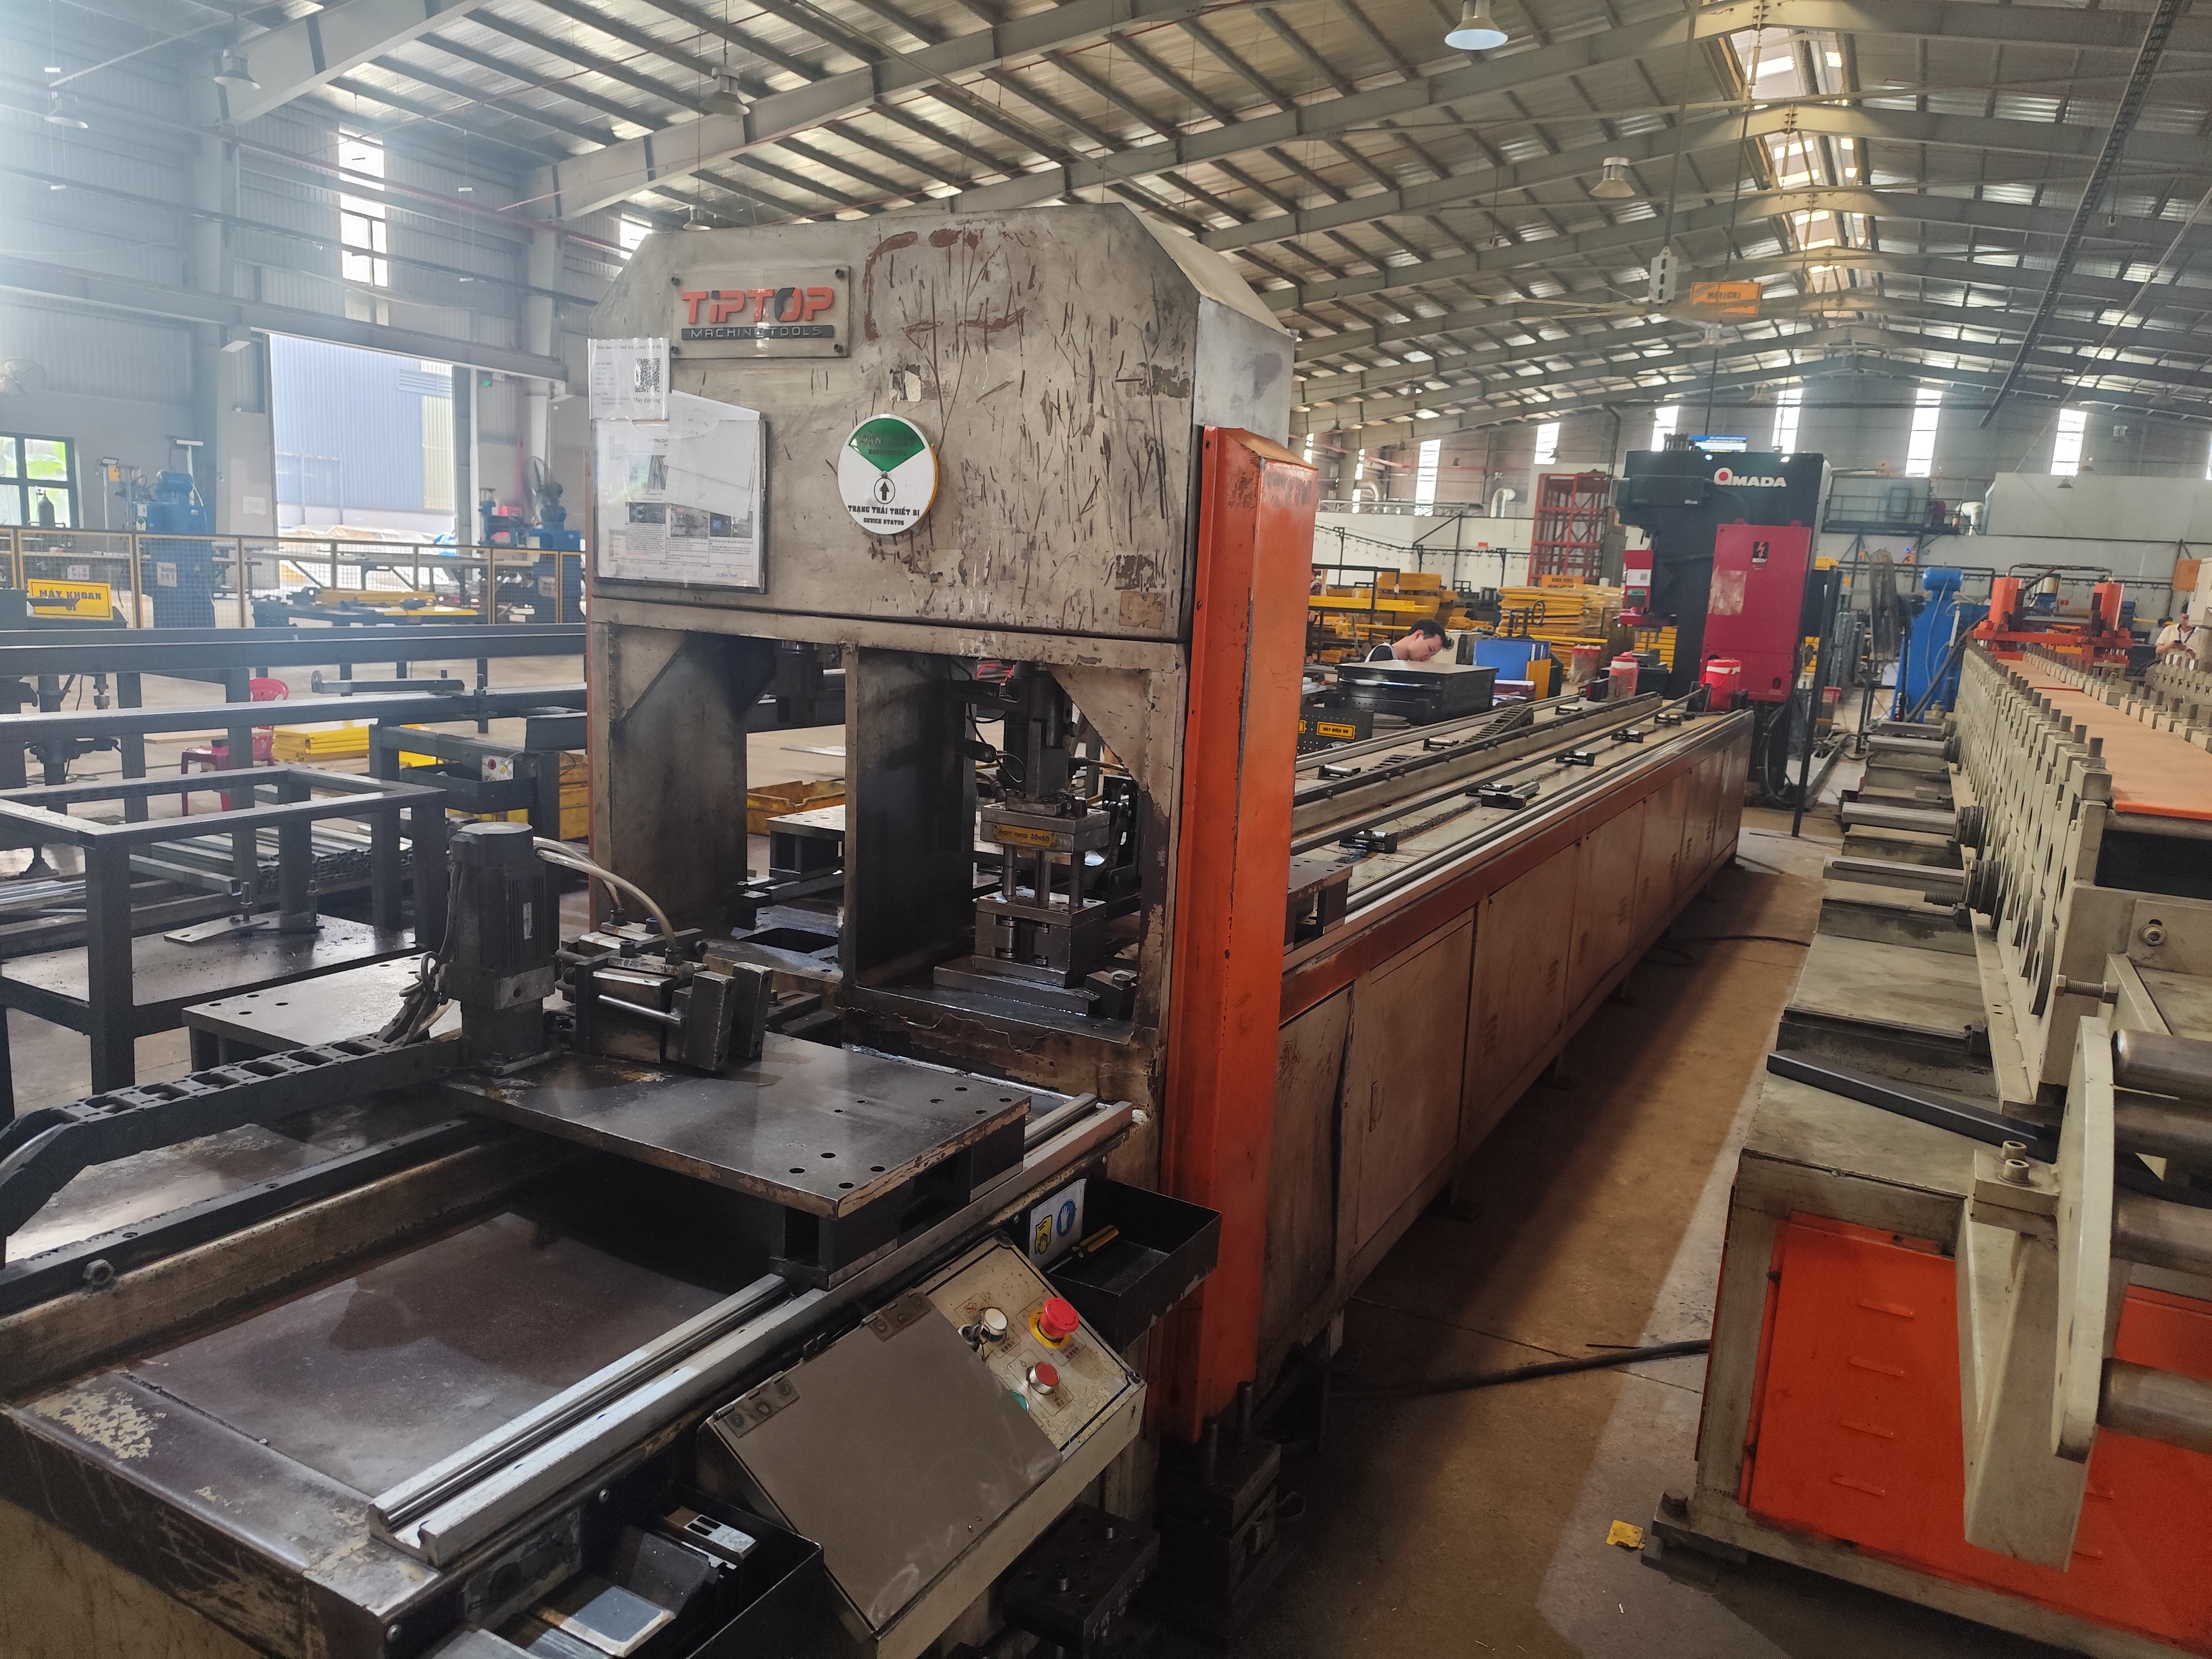
Verification is where marking requirements become real. Our final inspection teams treat marks as a formal checkpoint, equal in weight to dimensions and finish. Here is the workflow we apply.
The pre-shipment marking checklist
- Content check. Compare the logo, part number, and batch code against the current drawing revision and the production schedule. A correct mark with last month's batch code is still a failure.
- Dimensional check. Measure character height against the spec, typically 5mm minimum. Use a depth gauge or profilometer on a sample to confirm the 0.008"–0.012" depth range.
- Location check. Confirm the mark sits where the drawing callout places it, clear of bend radii and weld seams.
- Legibility check. Read the mark after coating, at arm's length, under normal light. If a barcode or Data Matrix is used, scan-verify it. A mark that cannot be read at the final assembly point fails, even if it technically exists.
- Consistency check. Pull samples from the start, middle, and end of the run. Die wear and laser drift show up as fading depth across a production run.
Documentation that protects you
Require the inspection report to include close-up photos of marked parts from each batch, tied to the batch numbers on the packing list. This photographic log doubles as your traceability record for audits and warranty claims. Consistent with modern part identification standards, some of our clients now go further and request a photo of the first and last marked part of every run, sent remotely before the goods even reach final inspection. It costs the supplier five minutes. It saves the buyer from discovering a marking failure after the container clears customs.
Conclusion
Unmarked stamping parts break traceability and expose your brand. Specify marks on drawings, enforce them by contract, choose the right method, and verify before shipment. Start updating your supplier agreements today.
Frequently Asked Questions
What specifications do I need to give suppliers for logo and batch number marking on stamping parts?
A buyer once sent us a JPG screenshot of his logo and asked our Vietnam team to "put it somewhere on the bracket." That single email cost him three weeks of back-and-forth. Complete specifications would have prevented all of it.
How do I make sure my supplier doesn't skip logo or batch number requirements during production?
During a supplier audit near Hanoi last year, our team found a stamping shop that had quietly dropped a batch code because the die insert wore out. Nobody told the buyer. That is exactly the failure mode you must design against.
What marking methods should I choose for durable logos and batch numbers on stamped metal parts?
Method selection is a trade-off we weigh on almost every bracket project: tooling cost versus flexibility versus durability. Choose wrong, and you either overpay on tooling or end up with marks that vanish under powder coat.
Footnotes
1. Global manufacturing marketplace commonly used for sourcing custom parts projects requiring marking compliance. ↩︎
2. Defines the vector file format suppliers need to reproduce logos at correct scale and depth. ↩︎
3. Background on the US military marking standard referenced for the required mark depth compliance. ↩︎
4. ISO 9001 quality management principles underpin traceability documentation practices like batch coding. ↩︎
5. ISO quality standards underpin the first article inspection procedures used to verify part compliance. ↩︎
6. Explains the formal automotive quality process used to approve marked first article samples. ↩︎
7. Authoritative Wikipedia entry for Data Matrix, replacing the broken GS1 404 link. ↩︎