
Stamping parts look simple until a batch arrives with wrong bend angles PPAP documentation 1. I’ve seen buyers lose weeks reworking brackets. On our production projects, we prevent that pain by getting the process right upfront.
Stamping parts are manufactured by feeding sheet metal or coil stock into a press, where a matched die set cuts, bends, draws, or forms the material. Common processes include blanking, piercing, bending, drawing, coining, and embossing, often combined in progressive die sequences.
Let me walk you through the full process. I’ll cover the manufacturing steps, the main process types, quality control, and what drives cost and lead time.
What Steps Are Involved in the Stamping Parts Manufacturing Process?
Last year, our Vietnam team ran a zigzag mounting clip project through six die stations. Watching flat coil become a finished part in seconds never gets old for me.
The stamping parts manufacturing process involves five steps: material preparation and coil feeding, die design and tooling fabrication, the pressing cycle where the die cuts and forms the metal, part ejection and inspection, and secondary operations like deburring, plating, or heat treatment.

The process starts long before the press runs. In our experience, the die design phase decides most of the outcome. A well-engineered die accounts for material flow, springback, bend relief, and press tonnage. A poorly engineered one guarantees rework.
Step 1: Material Preparation
Sheet metal arrives as flat blanks or coiled strip. Coil-fed lines use straighteners and feeders to keep the strip flat and positioned. Some of our clients specify pre-plated material. This cuts out a finishing step later and keeps unit costs down.
Step 2: Tooling and Die Design
The die is the heart of stamping. It defines the part geometry and the achievable tolerances. Die engineers must plan for how the metal moves, where it thins, and how much it springs back after forming. Modern shops run forming simulation software 2 before cutting any tool steel. This reduces prototype loops.
Step 3: The Pressing Cycle
The press drives the upper die into the lower die under high force. Each stroke either separates metal (cutting) or reshapes it (forming). Stamping is a cold-forming method 3. The metal never melts, which supports speed and repeatability.
Step 4: Ejection and Inspection
Finished parts drop out or get transferred forward. Operators or automated systems check critical dimensions at set intervals.
Step 5: Secondary Operations
Many stamped parts need deburring, cleaning, plating, or assembly afterward.
| Step | Purpose | Typical Time Share |
|---|---|---|
| Material prep | Flatten, position, and feed stock | Short, continuous |
| Die design & build | Define geometry and tolerances | Longest (weeks) |
| Pressing cycle | Cut and form the part | Seconds per part |
| Inspection | Verify dimensions and finish | Ongoing |
| Secondary ops | Deburr, plate, treat, assemble | Varies by part |
Which Stamping Processes Should I Choose for My Custom Part Design?
A U.S. purchasing manager once sent us a bracket drawing with a deep cup feature. He assumed simple punching would work. It actually required drawing, which changed the tooling plan completely.
Choose blanking and piercing for cutting outlines and holes, bending for angles and flanges, drawing for deep or hollow shapes, coining for crisp precise details, and embossing for raised features. Complex high-volume parts usually combine several processes in a progressive die.

A useful way to think about stamping is to split it into two families. Separation processes remove metal from the sheet. Forming processes reshape metal without cutting it free. Most real parts, like the stepped mounting clips we produce, use both in one tool.
| Process | Family | What It Does | Typical Use |
|---|---|---|---|
| Blanking | Separation | Cuts the outer part shape from the sheet | Flat part outlines |
| Piercing | Separation | Creates internal holes or slots | Screw holes, vents |
| Punching | Separation | Removes material; term often overlaps with piercing | General hole-making |
| Bending | Forming | Creates angles, L/U/V shapes, flanges | Brackets, clips |
| Drawing | Forming | Pulls metal into a cavity for deep shapes | Cups, shells, housings |
| Coining | Forming | Applies high localized pressure for sharp detail | Precision features |
| Embossing | Forming | Creates raised or recessed designs | Stiffening ribs, marks |
| Flanging | Forming | Forms a lip along an edge | Joining surfaces, stiffness |
A Note on Terminology
Punching and piercing get used interchangeably. Some sources distinguish them by whether the removed slug is scrap or the part. I always tell buyers: define the feature on the drawing clearly, and the terminology sorts itself out.
Matching Process to Geometry
Look at your part's features one by one. Flat outline? That's blanking. Oval fastening holes like the ones on our steel brackets? That's piercing. A stepped zigzag profile? That's a sequence of bends, and each bend needs springback compensation. Deep hollow sections need drawing, which is the most technically demanding operation because thinning and wrinkling must be controlled.
Choosing the Production System
Single-stage stamping does one operation per stroke. It suits simple parts and low volumes. Progressive die stamping 4 moves a strip through multiple stations, building the part step by step until cut-off. It is the standard for high-volume complex parts. Transfer die stamping moves individual parts between stations. It suits large or deep-drawn parts that cannot stay attached to a carrier strip.
How Can I Ensure Quality Control When Sourcing Stamped Parts from Asia?
Greg, one of our long-term U.S. clients, once told me his biggest fear was opening a container of non-conforming brackets. That conversation shaped how our team runs supplier audits and final inspections today.
Ensure quality by auditing the supplier's facility, requiring PPAP documentation before mass production, defining critical dimensions and tolerances on drawings, mandating in-process checks like first-article inspection, and conducting pre-shipment final inspection with measurement reports before goods leave the factory.

Distance is the real risk when sourcing from Asia. You cannot walk the shop floor yourself. So the quality system has to do the walking for you. Our teams in Vietnam and China handle this on the ground for U.S. buyers, and a few practices matter more than the rest.
Start with a Supplier Audit
Before any purchase order, verify the shop's presses, die maintenance records, and measurement equipment. A stamping shop with worn dies and no calibration schedule will produce drift, no matter what the quote promises.
Lock Down the Drawing First
Most rejects we investigate trace back to unclear drawings. Mark critical-to-quality dimensions. Specify burr direction and maximum burr height. State the springback tolerance on bend angles. When we review drawings with suppliers before quoting, we catch missed requirements early instead of after production.
Use PPAP and First-Article Inspection
PPAP forces the supplier to prove the process is capable before mass production. First-article inspection 5 confirms the first parts off the die match the drawing. Skipping these steps is how "right first time" fails.
Monitor In-Process and Final Checks
Good stamping shops check parts at set intervals during the run. Die wear is gradual, so early detection prevents a whole batch of bad parts. Then a final inspection before shipment, with a dimensional report and photos, is your last gate. We hold shipments that fail this gate, full stop.
Watch the Common Defects
Burrs, cracked bends, wrong hole positions, and inconsistent bend angles are the usual suspects. Each one has a root cause in the die, the material, or the press setup, and each is preventable with process control.
What Factors Affect Lead Time and Cost When Manufacturing Stamping Parts?
Tooling is the trade-off I discuss most with buyers. One client wanted to skip a progressive die to save upfront cost. We ran the numbers together, and the per-part savings paid back the die in one production run.
Lead time and cost depend on tooling complexity and build time, material type and thickness, part geometry, order volume, secondary operations like plating, and logistics. Tooling dominates upfront cost and initial lead time; volume drives the per-part price down significantly.
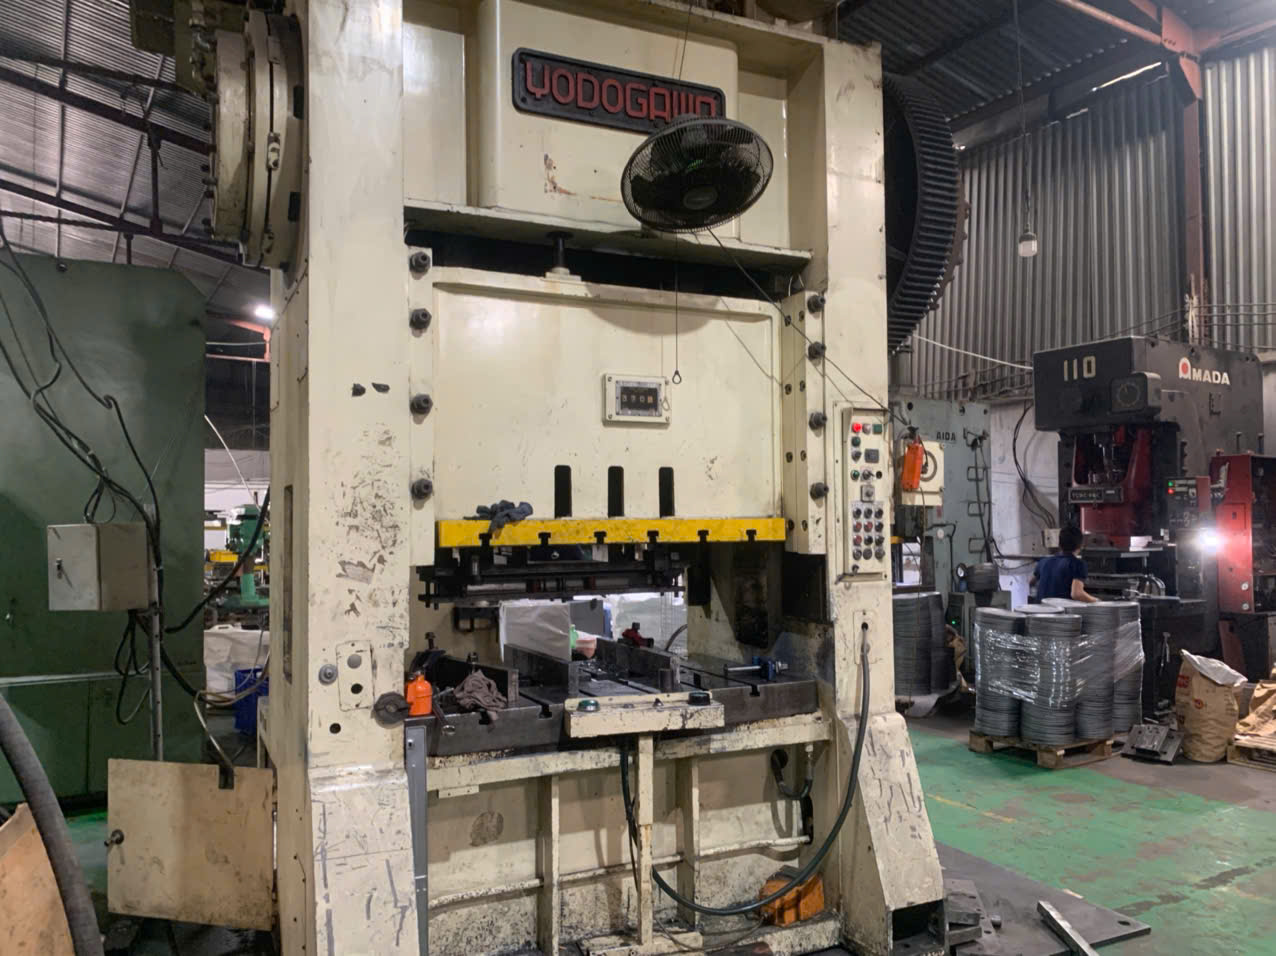
Stamping economics follow a clear pattern. You pay heavily upfront for the die. Then each part becomes very cheap. Understanding where the money and time go helps you plan realistic schedules and budgets.
The Big Cost and Time Drivers
| Factor | Impact on Cost | Impact on Lead Time |
|---|---|---|
| Die complexity | Highest upfront cost item | 4–8+ weeks for tooling build |
| Material choice | Stainless costs more than mild steel | Special alloys add sourcing time |
| Order volume | Higher volume lowers unit price | Larger runs extend production days |
| Tolerances | Tight tolerances raise tooling cost | More tryout and adjustment loops |
| Secondary operations | Plating and heat treatment add cost | Adds days to weeks |
| Shipping mode | Sea is cheap, air is fast | Sea adds 3–5 weeks to the U.S. |
Tooling: The Long Pole
A progressive die takes weeks to design, build, and try out. Forming simulation shortens this by predicting springback and thinning before steel is cut. Die material matters too. Hardened tool steels 6 and coatings extend die life, which lowers maintenance cost on long production runs.
Material and Scrap Rate
Material grade, gauge, and grain direction affect formability and tool wear. Coil nesting optimization reduces scrap, and with raw material prices climbing, this matters more each year. In our sourcing work, we often compare mild steel, galvanized steel, and stainless options against the actual application stainless steel 7 before finalizing a quote.
Volume Changes Everything
At low volumes, stamping may lose to laser cutting plus press braking. At high volumes, nothing beats a progressive die for cost per part. This is why we always ask buyers for their annual usage forecast before recommending a process route. Payment terms also affect the real cost picture. Open account terms ease cash flow during that long tooling-plus-production window, which is why we offer them on qualified projects.
Conclusion
Stamping parts turn flat metal into precise components through cutting and forming steps. Master the process, the die, and the quality gates, and sourcing from Asia becomes predictable.
Frequently Asked Questions
What Steps Are Involved in the Stamping Parts Manufacturing Process?
Last year, our Vietnam team ran a zigzag mounting clip project through six die stations. Watching flat coil become a finished part in seconds never gets old for me.
Which Stamping Processes Should I Choose for My Custom Part Design?
A U.S. purchasing manager once sent us a bracket drawing with a deep cup feature. He assumed simple punching would work. It actually required drawing, which changed the tooling plan completely.
How Can I Ensure Quality Control When Sourcing Stamped Parts from Asia?
Greg, one of our long-term U.S. clients, once told me his biggest fear was opening a container of non-conforming brackets. That conversation shaped how our team runs supplier audits and final inspections today.
Footnotes
1. ISO links quality documentation standards relevant to PPAP requirements before mass production. ↩︎
2. Explains simulation software used to predict springback before die fabrication begins. ↩︎
3. Background on stamping as a cold-forming metalworking process for readers unfamiliar with basics. ↩︎
4. Wikipedia background on progressive die stamping referenced as the standard for high-volume parts. ↩︎
5. Defines first-article inspection, a key quality control step mentioned for verifying initial parts. ↩︎
6. Background on tool steel materials used for die construction and longevity in stamping. ↩︎
7. ISO standard reference for stainless steel material grades discussed in sourcing decisions. ↩︎