
Misreading GD&T markings on stamping parts drawings has burned more buyers than I can count. I have watched tooling budgets vanish because one feature control frame 1 was ignored during our sourcing reviews 2.
To understand GD&T markings on stamping parts drawings, read each feature control frame left to right: geometric symbol, tolerance value, material condition modifier, then datum references. Identify which callouts are critical to function, confirm the governing standard, and verify your supplier can inspect every requirement.
That is the short answer. But procurement needs more than a definition. Below, I break down the symbols, the supplier verification steps, the high-risk tolerances, and the PPAP checkpoints that protect your project.
What Do the Most Common GD&T Symbols on Stamping Drawings Actually Mean for My Sourcing Decisions?
A few years back, our Vietnam team reviewed a bracket drawing where every hole carried a position callout. Only three of them actually mattered for assembly. That review saved the client real tooling money.
The five most common GD&T symbols on stamping drawings are position, flatness, perpendicularity, profile of a surface, and runout. Each one tells you what variation is allowed, which datums control inspection setup, and how much tooling precision and metrology effort your supplier must invest.

GD&T is a symbolic language. It replaces vague plus-minus stacking with clear geometric zones. For stamped parts like brackets, clips, and mounting plates, a handful of symbols cover most real-world callouts. When we quote custom parts for U.S. clients, we always map each symbol to a cost driver first.
The Five Symbols That Matter Most
| Symbol | What It Controls | Typical Stamping Feature | Sourcing Impact |
|---|---|---|---|
| Position | Location of a feature relative to datums | Punched holes, slots, tabs | Drives piercing accuracy and die precision |
| Flatness | Form of a surface, no datum needed | Mounting faces, base tabs | Springback control; may need restrike |
| Perpendicularity | Orientation to a datum plane | Bent flanges, hole axes | Bend tooling quality and angle compensation |
| Profile of a surface | Overall contour within a zone | Formed panels, complex bends | Highest tooling and CMM cost |
| Runout | Rotation-related variation | Post-machined or mixed-process features | Rare on pure stampings; check why it exists |
Reading the Feature Control Frame
Always read the frame in order, left to right. First comes the geometric symbol. Then the tolerance value, often with a diameter symbol indicating a cylindrical zone. Next come modifiers like MMC. Finally, the datum references in priority order: primary, secondary, tertiary.
The datum order is not decoration. It tells the inspector how to fixture the part. A stamped part measured on datum A first, then B, then C can pass. The same part measured in the wrong order can fail. So when you compare supplier quotes, ask each one how they will set up the part. Their answer reveals their real GD&T literacy immediately.
Also check the title block. The drawing should name the governing standard, usually ASME Y14.5 3. If it does not, you and your supplier may inspect the same part two different ways.
How Can I Verify My Stamping Supplier in Vietnam or China Truly Understands GD&T Callouts Before I Award the Tooling Contract?
During one supplier audit 4 near Hanoi, our engineer asked the quality manager to explain a single feature control frame on the client's flange drawing. His answer decided the award more than the price sheet did.
Verify GD&T competence before awarding tooling by testing the supplier directly: ask them to explain critical callouts, review their measurement equipment and fixturing plan, request a sample inspection report on a similar part, and check whether their quote flags unrealistic tolerances or asks clarifying questions.

A quote that comes back fast with zero questions on a complex GD&T drawing is a warning sign, not a convenience. Good stamping suppliers push back. They ask about datum priority, bonus tolerance, and inspection method. Weak suppliers quote the print blindly and hope tryout goes well. Our team runs audits in both Vietnam and China, and the difference shows up long before first article.
A Practical Verification Sequence
- Send one representative drawing before the full RFQ package. Watch what questions come back within a week.
- Ask the supplier to walk through the tightest feature control frame on a video call. They should read it left to right without hesitation.
- Request their metrology list. Position and profile callouts on formed parts usually need a CMM or dedicated checking fixtures, not just calipers.
- Ask for a redacted FAI or PPAP report from a similar past part. Check whether GD&T characteristics appear as measured values, not just "OK" checkmarks.
- Confirm they know which standard governs. ASME Y14.5 and ISO 1101 5 differ on defaults like the envelope principle. A supplier who cannot name the difference may inspect to the wrong ruleset.
What Their RFQ Response Tells You
Compare responses side by side. One supplier quotes to print. Another quotes with process capability assumptions. A third asks for drawing clarification. The third one is usually your best long-term partner, even if their price is not the lowest. Clarifying questions before tooling cost far less than corrections after tooling. We have seen tooling contracts awarded on price alone lead to three rounds of die rework, which erased every cent of the savings.
Which GD&T Tolerances Should I Scrutinize Most Closely to Avoid Non-Conforming Stamped Parts and Costly Rework?
The trade-off I weigh most often is simple: a tighter number on paper versus what a press and die can actually hold. Sheet metal springs back, and no drawing note changes physics.
Scrutinize profile-of-surface callouts on formed geometry, tight flatness on thin gauge material, position tolerances tighter than the piercing process can hold, and perpendicularity on bent flanges. These four are where springback, die wear, and press variation most often create non-conforming stamped parts.

Not all callouts carry equal risk. Some are easy for any competent stamper. Others fight the physics of forming sheet metal. Your job in procurement is to flag the risky ones before RFQ release, not after the die is built. On the Z-shaped clips and multi-bend brackets we manage for U.S. clients, the pattern repeats across projects.
Risk Ranking for Stamping Callouts
| Callout Type | Risk Level | Why It Fails | Mitigation Before Tooling |
|---|---|---|---|
| Profile on formed surfaces | High | Springback varies with material lot and grain | Ask for restrike station; confirm material spec control |
| Flatness on thin gauge | High | Warpage after blanking and forming | Add flattening operation or loosen if non-functional |
| Perpendicularity on flanges | Medium-High | Bend angle springback drifts with die wear | Verify overbend compensation in die design |
| Position on pierced holes | Medium | Fine if pierced in one station; risky across stations | Confirm holes pierce in the same die station |
| Position on holes pierced after forming | High | Formed datums shift the reference frame | Review process sequence with the supplier |
| Size tolerances on hole diameter | Low | Punch and die clearance is stable | Standard capability; rarely a problem |
Match Each Tolerance to a Die Stage
Here is a technique our engineers use in every design review. Map every critical callout to the die stage that controls it: blanking, piercing, forming, or restrike. If one profile callout forces an extra restrike station, that single line on the drawing may add meaningful tooling cost. Knowing this lets you negotiate intelligently. You can ask the design owner whether the callout is truly functional or just legacy drafting habit. Loosening one non-functional profile tolerance can cut tooling cost and lead time without touching fit or function.
Also watch for tolerances tied to formed datums. If datum A is a formed surface that itself varies, everything measured from it inherits that variation. That is a structural problem no press operator can fix.
How Do I Confirm GD&T Requirements Are Correctly Reflected in My Supplier's PPAP and Final Inspection Reports?
A U.S. purchasing manager once forwarded me a PPAP package 6 with every dimension marked "PASS" and not a single measured value for the position callouts. We rejected it the same day and rebuilt the report format with the supplier.
Confirm GD&T compliance in PPAP by cross-checking every feature control frame against a ballooned drawing, requiring actual measured values including bonus tolerance calculations, verifying the inspection method matches the datum scheme, and reviewing capability data on the critical characteristics.
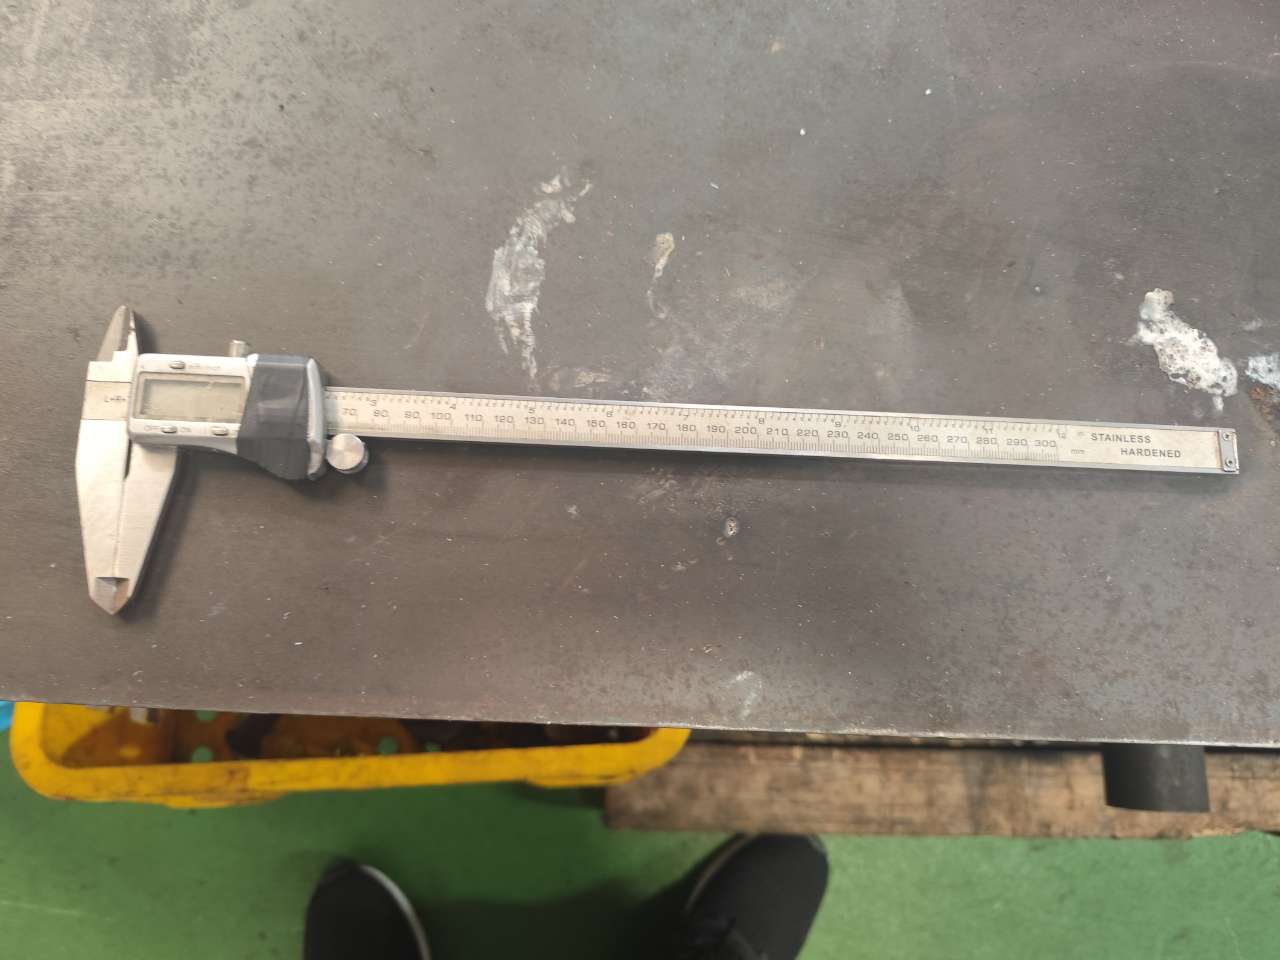
A PPAP package can look complete and still hide gaps. Checkmarks are not data. Before our final inspection team releases any shipment, we trace every GD&T characteristic from drawing to report to measured part. The process is not complicated, but it must be systematic.
The Cross-Check Routine
First, require a ballooned drawing. Every dimension and every feature control frame gets a unique number. The dimensional report must list every balloon, with no gaps. Missing balloons are where non-conformances hide.
Second, demand real numbers. For a position callout at MMC, the report should show the actual hole size, the calculated bonus tolerance, and the measured true position. If the report only shows "OK," you cannot verify anything. You also lose the ability to accept a slightly deviated part that is still functionally fine under bonus tolerance rules.
Third, check the measurement method column. Position relative to three datums cannot be verified with calipers alone. The method should say CMM, functional gage, or vision system, and the fixturing should replicate the datum priority on the drawing.
What a Complete GD&T Line Item Looks Like
| Report Element | Weak Report | Acceptable Report |
|---|---|---|
| Characteristic ID | Missing or unnumbered | Balloon number matching drawing |
| Specification | "Position 0.2" | Full frame: symbol, value, modifier, datums |
| Measured value | "PASS" | Actual value, e.g., 0.14 measured |
| Bonus tolerance | Not shown | Hole size and calculated bonus listed |
| Method | "Gage" | CMM program name or gage drawing number |
| Sample size | One part | Five or more parts across the run |
Finally, ask for capability data 7 on the critical few. Cpk on the highest-risk callouts tells you whether the process will keep producing good parts, not just whether one sample passed. On repeat programs, we review this data with suppliers quarterly, because die wear slowly shifts perpendicularity and position long before parts go out of spec.
Conclusion
GD&T literacy protects your tooling budget. Read frames left to right, test suppliers before awarding, flag high-risk callouts early, and demand measured data in PPAP. That discipline delivers right-first-time stamped parts.
Frequently Asked Questions
What Do the Most Common GD&T Symbols on Stamping Drawings Actually Mean for My Sourcing Decisions?
A few years back, our Vietnam team reviewed a bracket drawing where every hole carried a position callout. Only three of them actually mattered for assembly. That review saved the client real tooling money.
How Can I Verify My Stamping Supplier in Vietnam or China Truly Understands GD&T Callouts Before I Award the Tooling Contract?
During one supplier audit 4 near Hanoi, our engineer asked the quality manager to explain a single feature control frame on the client's flange drawing. His answer decided the award more than the price sheet did.
Which GD&T Tolerances Should I Scrutinize Most Closely to Avoid Non-Conforming Stamped Parts and Costly Rework?
The trade-off I weigh most often is simple: a tighter number on paper versus what a press and die can actually hold. Sheet metal springs back, and no drawing note changes physics.
Footnotes
1. Wikipedia overview of GD&T explains how feature control frames encode tolerance requirements. ↩︎
2. Alibaba.com is a major OEM sourcing platform relevant to procurement and supplier evaluation. ↩︎
3. Official ASME standard defining the GD&T symbols and rules discussed throughout the article. ↩︎
4. ISO 19011 provides authoritative guidance on auditing supplier management systems and processes. ↩︎
5. ISO standard for geometrical tolerancing referenced as an alternative to ASME Y14.5. ↩︎
6. Background explanation of PPAP, the quality documentation process central to this section. ↩︎
7. Explains Cpk and process capability metrics used to evaluate critical GD&T characteristics. ↩︎