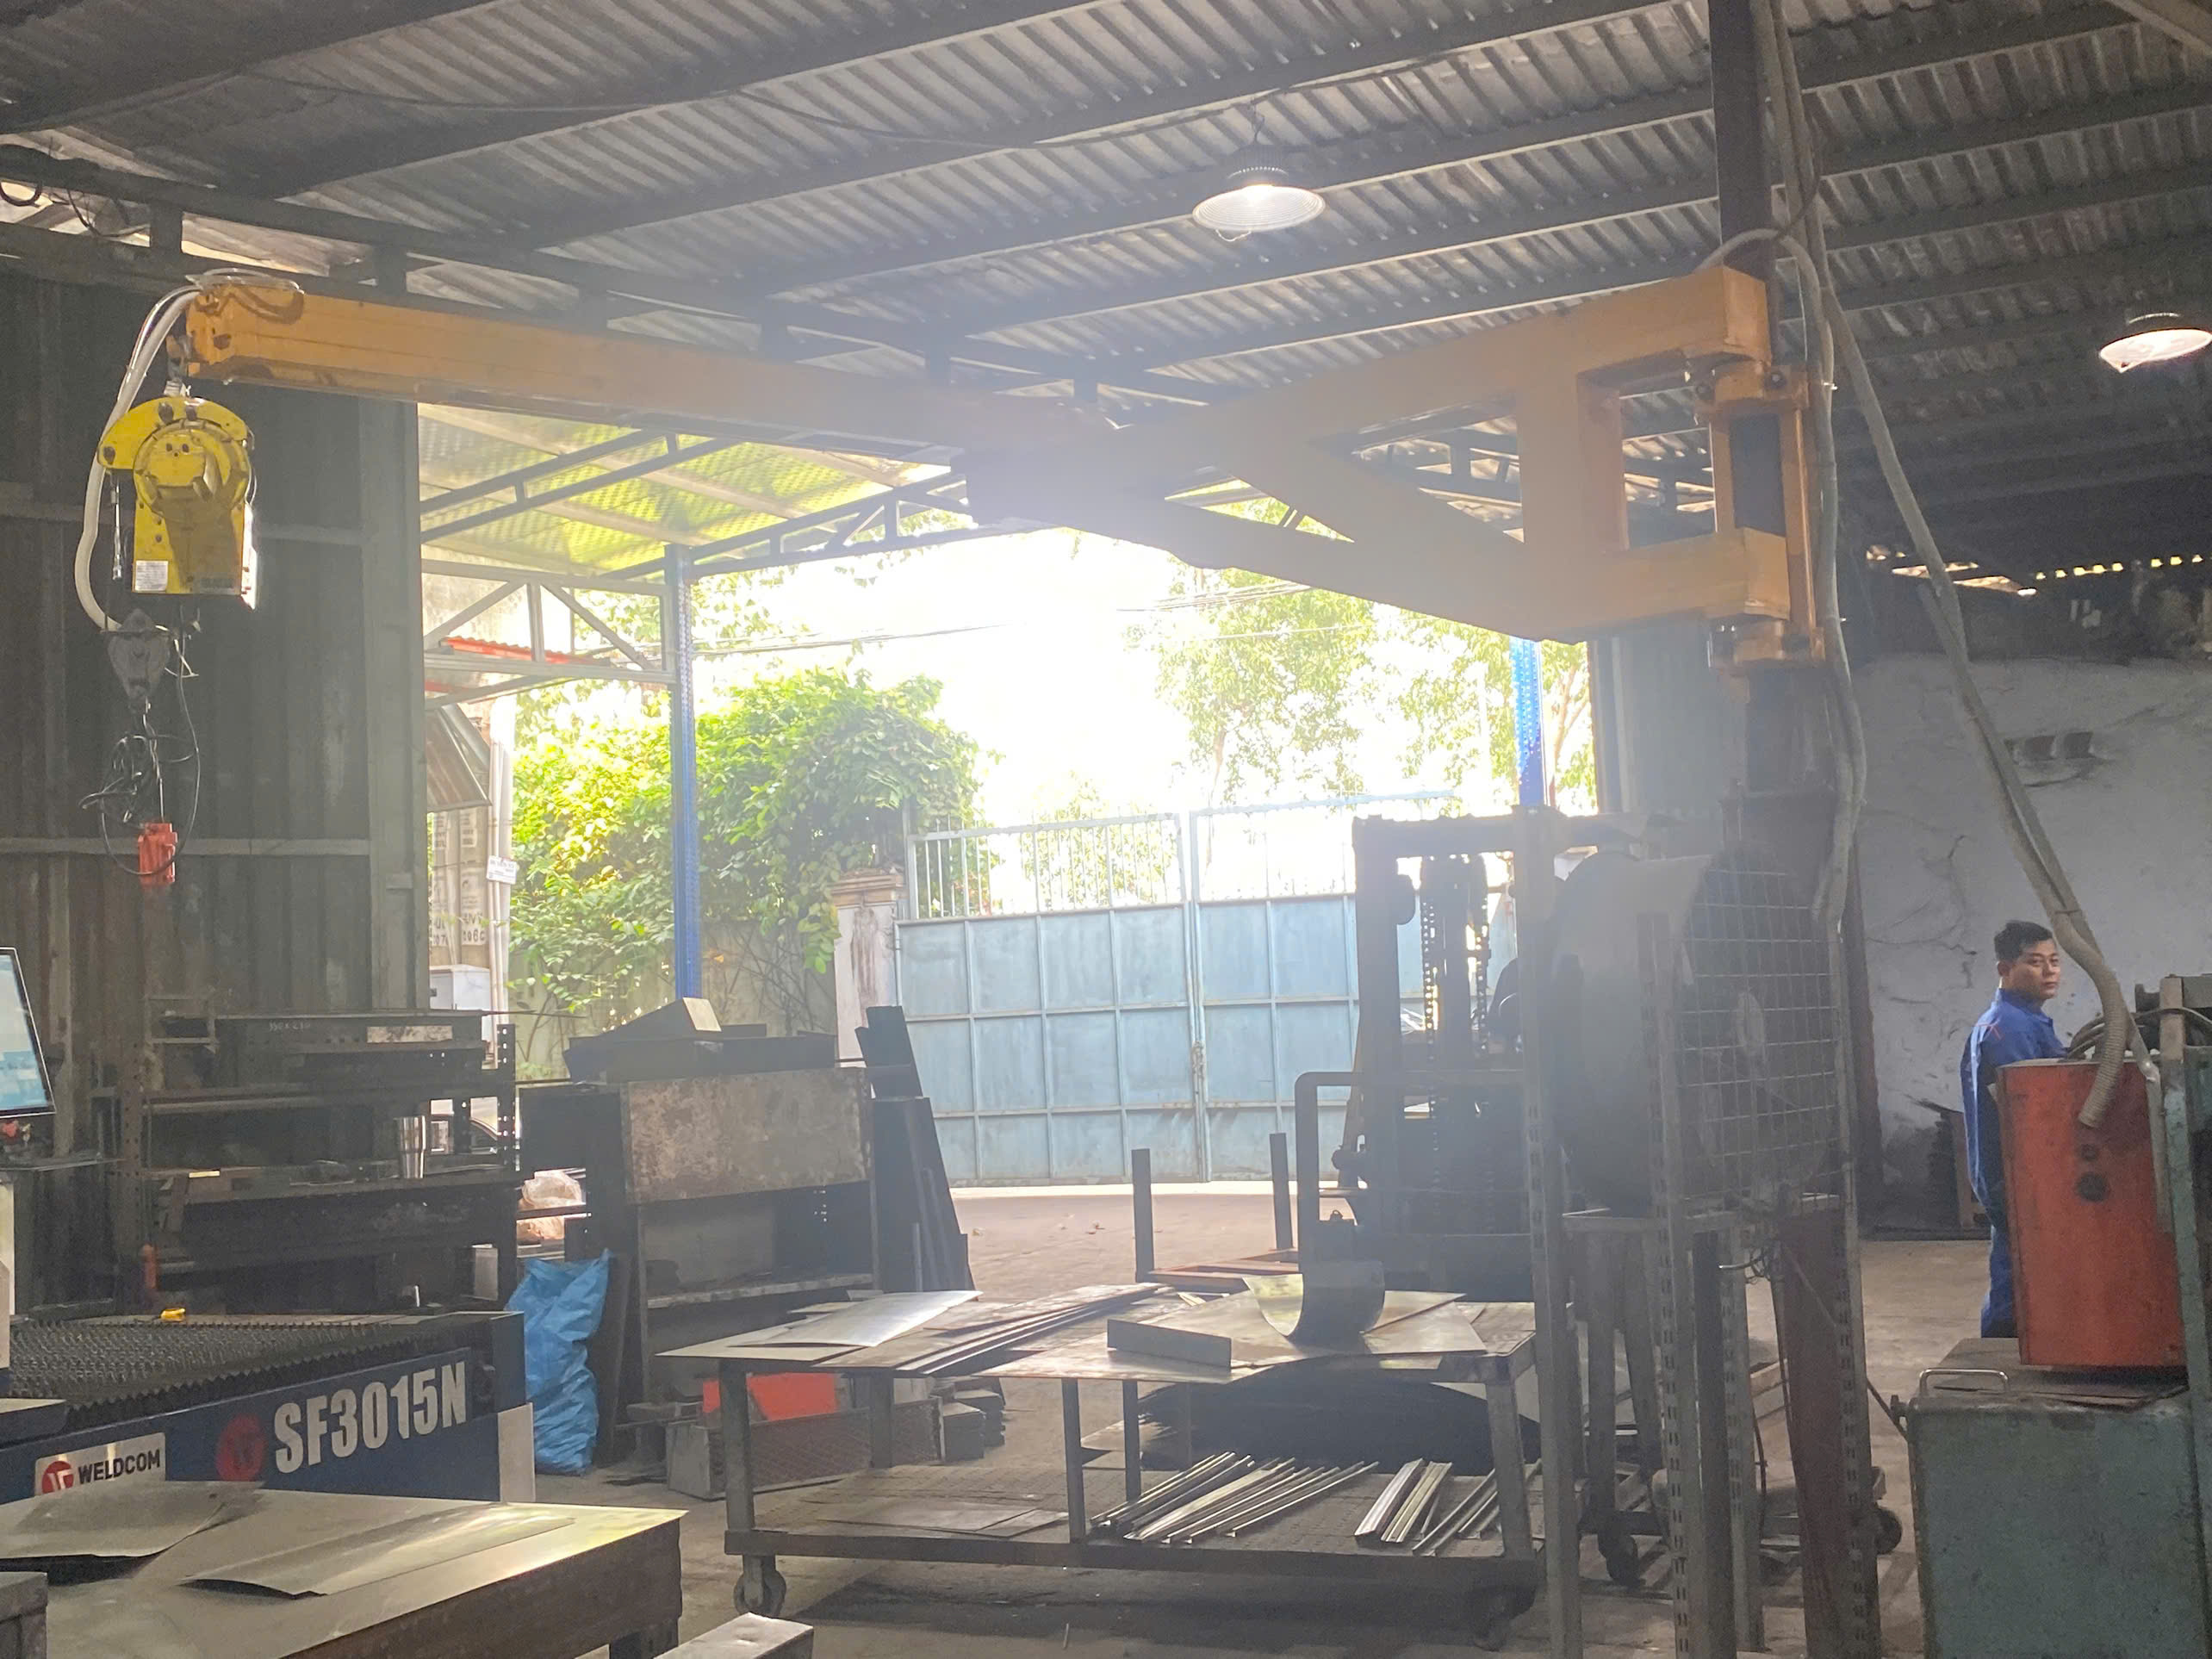

Knowing how to verify proper installation of stamped parts after assembly saved one of our U.S. clients from a costly recall. A hidden bracket had shifted 0.3 mm, and nobody caught it until we did.
To verify proper installation of stamped parts after assembly, combine presence and orientation checks, dimensional measurement with calipers or CMMs, fit-and-seating verification, torque validation on fasteners, and functional testing. Support these checks with FAI reports, PPAP documentation, and traceable inspection records for every production batch.
That is the short answer. Now let me walk you through each verification method in detail, so you can apply them on your own projects.
What Inspection Methods Can I Use to Confirm Stamped Parts Are Installed Correctly?
A stamped clip that looks fine can still fail. Our QC team in Vietnam learned this while auditing zigzag mounting brackets for a U.S. cabinetry client last year.
Use a layered approach: visual inspection for burrs and deformation, presence and orientation checks with fixtures or vision systems, go/no-go gauges for hole alignment, torque verification on fasteners, and functional fit testing. No single method alone confirms a stamped part is installed correctly.

A part is not verified just because it is present. It must be present, oriented correctly, fully seated, within tolerance, and functionally capable inside the finished assembly process capability studies 1. That is the standard we hold our contract manufacturers to, and it is the standard you should demand too.
Start Simple, Then Escalate
The smartest inspection plans move from cheap, fast checks to precise, slower ones. Here is the sequence we typically apply on stamped brackets and mounting clips:
| Method | What It Catches | Speed | Cost |
|---|---|---|---|
| Visual inspection | Burrs, dents, scratches, missing parts | Fast | Low |
| Check fixtures / locating pins | Wrong orientation, incomplete seating | Fast | Low-Mid |
| Go/no-go gauges 2 | Hole position, edge fit, mating clearance | Fast | Low |
| Vision systems | Presence, orientation, hidden features | Very fast | Mid-High |
| Torque verification | Under- or over-tightened fasteners | Fast | Mid |
| Functional testing | Retention force, latch engagement, movement | Slower | Mid |
| CMM 3 / 3D scanning | Precise dimensional deviation vs. CAD | Slow | High |
Why Visual Inspection Alone Fails
Human eyes miss small things. A hole position error of only 0.1 mm can block complete assembly, yet it is invisible without a gauge. Burr direction matters too. A burr facing the mating surface can prevent full seating even when the part passes every dimensional check.
Presence and Orientation Are Critical Before Cover-Up Steps
Some stamped parts get hidden after the next assembly step. Once a panel goes on top of a bracket, later inspection becomes destructive or impossible. So we always push our suppliers to place verification at the station where the part is installed, not at final inspection. Vision systems, part-present sensors, and simple probing stations work well at these hold points. In high-volume runs, automated checks at the right station cost less than one escaped defect.
How Do I Know If Dimensional Tolerances Were Maintained After Assembly?
Early in a stainless clip project, we measured parts immediately after stamping and everything passed. Two days later, several had warped. Internal stress had released, and dimensions drifted.
Confirm dimensional tolerances after assembly by measuring critical features—hole position, bend angle, flatness, and feature location—with calipers, CMMs, or 3D scanners against the engineering drawing. For high-stress materials, re-measure after a stabilization period, because springback and stress relaxation can shift dimensions post-forming.
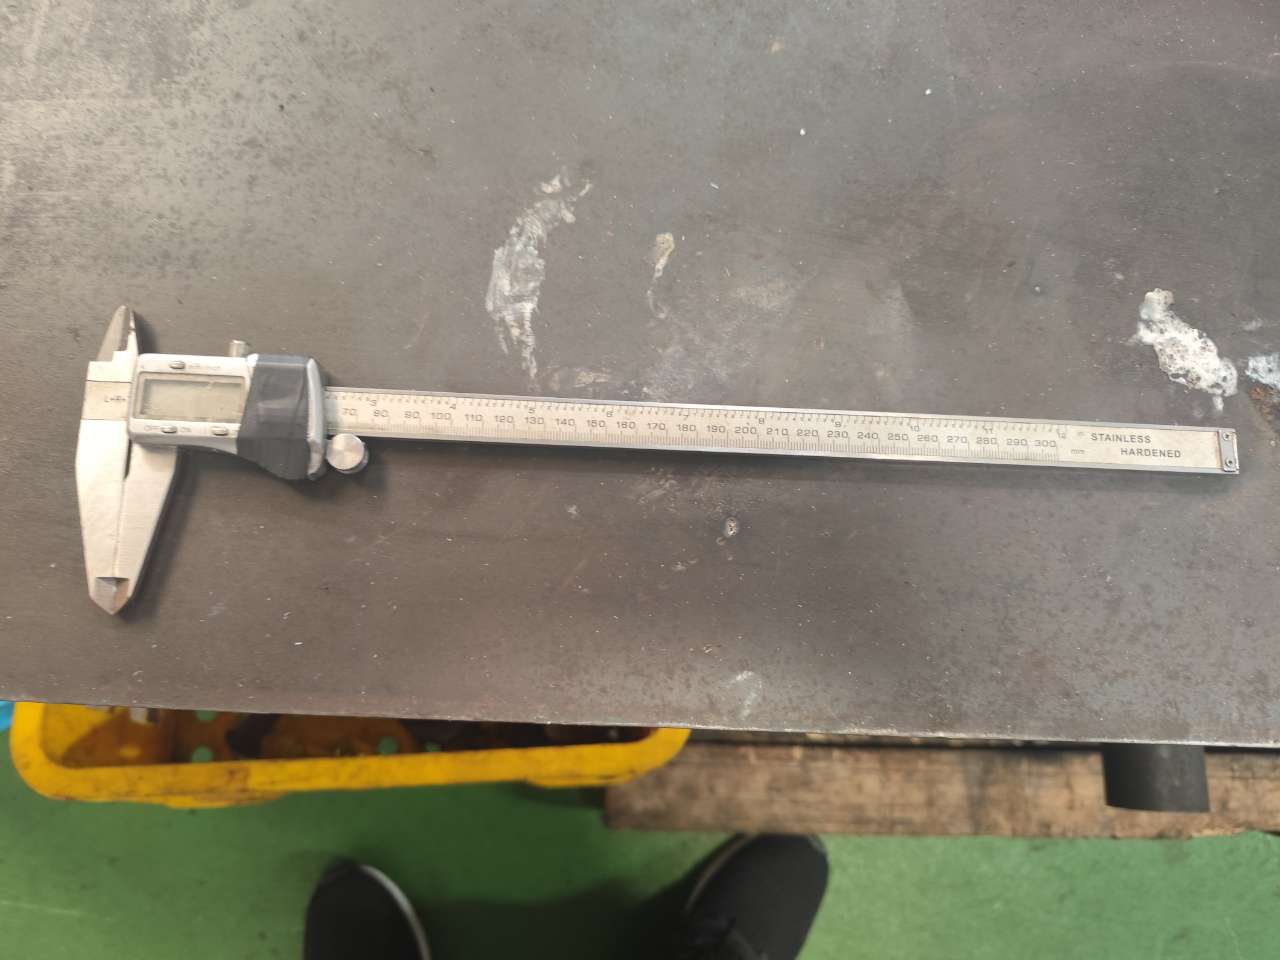
Dimensions are where stamped parts quietly fail. The assembly process itself can distort a part. Clamping force, fastener torque, and adjacent components all apply stress. So a part that measured perfectly on the bench may sit out of tolerance once installed. You need to measure in the assembled state, not just before installation.
Which Dimensions Actually Matter
Do not measure everything equally. Focus on critical-to-quality features. For a typical stamped bracket like the zigzag mounting clips we source, the priority list looks like this:
- Hole position relative to datum edges
- Bend angles at each fold
- Flange flatness and parallelism
- Overall length and width at mating surfaces
- Slot dimensions for adjustable fastening
Matching Tools to Tolerances
| Tolerance Range | Recommended Tool | Typical Use Case |
|---|---|---|
| ±0.5 mm or looser | Calipers, steel rule | General flange lengths, non-critical widths |
| ±0.1 to ±0.5 mm | Micrometers, height gauges, go/no-go gauges | Hole positions, slot widths |
| ±0.05 to ±0.1 mm | CMM, 2.5D measuring machines | Critical mating features, tight bend angles |
| Full-surface comparison | 3D laser scanning 4 vs. CAD | Complex geometry, warpage detection |
Watch for Post-Forming Movement
Springback and stress relaxation 5 are real problems with stainless steel and high-strength steel. The material wants to return toward its original shape. Our process control plans for these materials include a hold time before final measurement. We also trace repeat deviations back to upstream causes—die wear, material batch changes, or press setup drift—rather than treating each failure as a one-off assembly mistake. That root-cause habit is what separates a stable supplier from a lucky one.
What Documentation Should I Request to Verify PPAP Compliance for Stamped Parts?
One purchasing manager we work with in the U.S. once told me his previous supplier sent "certificates" that were just retyped spreadsheets. Since then, we build every PPAP 6 package for him with raw measurement data attached.
Request a full PPAP package: the Part Submission Warrant (PSW), dimensional results tied to a ballooned drawing, material certifications, process flow diagram, PFMEA, control plan, measurement system analysis, initial process capability studies, and sample parts. Verify each document references the correct part number and revision.
PPAP is not paperwork for its own sake. It is proof that the supplier's process can produce your stamped part correctly, repeatedly, at production rate. When we manage PPAP submissions for clients sourcing from Vietnam or Taiwan, we treat missing or vague documents as a red flag about the process itself.
The Core PPAP Elements for Stamped Parts
| Document | What It Proves | What to Check |
|---|---|---|
| Part Submission Warrant (PSW) | Formal supplier declaration | Correct part number, revision, and submission level |
| Dimensional results | All drawing features measured | Ballooned drawing matches results line by line |
| Material certification | Correct alloy, temper, coating | Mill cert lot number matches the parts submitted |
| Process flow diagram | Every step is defined | Includes stamping, deburring, plating, packing |
| PFMEA 7 | Risks are identified | Installation-related failure modes are listed |
| Control plan | Checks are built into production | Inspection frequency and method for each feature |
| MSA (Gage R&R) | Measurements are trustworthy | Gauges used match those in the control plan |
| Capability studies (Cpk) | Process is stable and repeatable | Critical features meet the agreed Cpk target |
| Sample parts | Physical evidence | Samples come from the documented production run |
Traceability Ties It All Together
A PPAP package is only useful if you can trace production parts back to it. Good records capture part number, revision, lot code, measured dimensions, inspection method, photos, and disposition of any defect. When an installation failure appears months later, this trail lets you find the cause fast—tooling wear, a wrong revision, or process drift. Without it, you are guessing. We also recommend requesting an annual PPAP revalidation, or a new submission whenever the tool, material source, or process changes. Revision control failures cause more non-conforming stamped parts than bad stamping does.
Which Common Assembly Defects Should I Watch for When Auditing Stamped Part Installations?
During a supplier audit near Ho Chi Minh City, our team pulled ten assemblies off the line at random. Three had brackets that rocked slightly under finger pressure. All ten had passed the supplier's visual check.
Watch for missing or reversed parts, incomplete seating, misaligned holes, over- or under-torqued fasteners, burr interference, cracked bend radii, coating damage, and deformed flanges. Test retention by hand where possible—rocking, gaps, or binding indicate a defective installation even when the part looks acceptable.

Auditing stamped part installations is mostly about knowing where defects hide. Appearance is necessary but not sufficient. A flawless surface tells you nothing about clamp load, retention force, or hidden misalignment. Here is how I break the defect landscape down when I walk a line.
Defects by Category
Presence and orientation defects. A part is missing, flipped, or rotated. Asymmetric parts installed backward are the classic escape. The best prevention is poka-yoke: asymmetric locating holes or index tabs designed into the stamping itself, so wrong installation becomes physically impossible.
Seating and alignment defects. The part sits in its nest but not fully. Look for visible gaps, rocking, or binding against adjacent components. Slotted holes hide misalignment well, because the fastener still goes in even when the bracket is at the wrong end of the slot.
Fastening defects. Under-torqued screws loosen under vibration. Over-torqued screws strip threads or crush thin flanges. Calibrated torque wrenches with recorded values are the minimum. For critical joints, torque-angle sensors or instrumented fasteners give real-time clamp load data instead of periodic spot checks.
Material and forming defects that surface at assembly. Cracks at tight bend radii, burrs that gouge mating surfaces, and coating damage that starts corrosion later. These originate upstream, so a spike in assembly defects should trigger a look at die wear and material batches, not just retraining of operators.
A Quick Audit Checklist
- Pull random assemblies, not handpicked ones.
- Check presence and orientation against the drawing.
- Press and rock each stamped part by hand.
- Verify fastener torque with a calibrated tool.
- Inspect visible edges for burrs and cracks.
- Confirm lot codes match the inspection records.
- Perform the actual function: latch, clip, or load test.
Conclusion
Hidden installation defects destroy schedules and trust. Verify stamped parts through layered inspection, in-state measurement, full PPAP records, and hands-on audits—and defects stop escaping.
Frequently Asked Questions
What Inspection Methods Can I Use to Confirm Stamped Parts Are Installed Correctly?
A stamped clip that looks fine can still fail. Our QC team in Vietnam learned this while auditing zigzag mounting brackets for a U.S. cabinetry client last year.
How Do I Know If Dimensional Tolerances Were Maintained After Assembly?
Early in a stainless clip project, we measured parts immediately after stamping and everything passed. Two days later, several had warped. Internal stress had released, and dimensions drifted.
What Documentation Should I Request to Verify PPAP Compliance for Stamped Parts?
One purchasing manager we work with in the U.S. once told me his previous supplier sent "certificates" that were just retyped spreadsheets. Since then, we build every PPAP 6 package for him with raw measurement data attached.
Footnotes
1. Background on Cpk capability studies used to verify stable, repeatable stamping processes. ↩︎
2. Provides background on this common dimensional inspection tool referenced in the article. ↩︎
3. Explains coordinate-measuring machines used for precise dimensional verification of stamped parts. ↩︎
4. Background on 3D scanning technology used for full-surface comparison against CAD. ↩︎
5. Explains the material phenomenon causing post-forming dimensional drift discussed in the article. ↩︎
6. Defines the Production Part Approval Process central to the documentation section. ↩︎
7. Explains Process Failure Mode and Effects