A single scratch on a freshly painted custom bracket 1 can derail a shipment — I’ve seen it happen on our production floor more times than I’d like to admit.
Scratches on painted sheet metal products can be successfully repaired when the damage is correctly assessed and matched with the right touch-up paint, surface preparation, and clear coat sealant techniques. Minor scratches need simple touch-ups, while deep gouges exposing bare metal require priming and multi-coat restoration to maintain the factory finish.
The real question is not whether repair is possible. It is whether the repair will hold up to your quality standards and protect against corrosion over time. Below, I break down exactly how to assess, repair, verify, and prevent paint damage on custom sheet metal parts.
How do I determine if the scratches on my custom sheet metal parts are repairable without compromising the finish?
Last month, a U.S. client sent us photos of mounting brackets that arrived with fine scratches along the powder-coated edges 2 — and his first instinct was to reject the entire lot. That reaction is understandable, but not every scratch demands the same response.
To determine if scratches are repairable, examine the depth: superficial marks not visible from six to nine feet away rarely need repair, minor paint chips exposing intact metal respond well to touch-up paint, and deep scratches exposing raw steel require metal primer and multi-layer restoration before the finish is compromised.
The 6-Foot Visibility Test
When our quality team inspects painted parts at final QC, the first thing they do is step back. If a scratch is invisible from roughly six feet away, it falls into the "superficial" category. These marks sit in the outermost layer of paint and do not break through to the substrate. Over time, normal handling and environmental exposure tend to obscure them. Attempting a repair on these micro-scratches can actually cause more harm — over-application of touch-up paint creates a blotchy spot that draws more attention than the original mark.
Depth Classification Table
| Scratch Type | What You See | Metal Exposed? | Recommended Action |
|---|---|---|---|
| Superficial scratch | Faint line, invisible from 6–9 ft | No | Monitor only; no repair needed |
| Minor paint chip | Small flake of paint missing | No (protective layer intact) | Apply touch-up paint directly |
| Deep scratch | Visible groove, shiny metal underneath | Yes — raw steel visible | Sand, prime with zinc-rich primer 3, then paint |
| Extensive peeling | Large area of paint lifting or flaking | Likely yes | Professional repair or full repaint |
When DIY Fails and Professional Help Is Needed
One lesson I have learned through years of managing supplier quality across Vietnam and China is this: the decision to repair or replace should never be emotional. It should follow a checklist.
- Can you see the scratch from six feet? If no, leave it alone.
- Is raw steel exposed? If yes, you need a metal primer 4 before any paint.
- Is paint peeling across a large area? If yes, call in a professional or discuss rework with your supplier.
Color matching is another critical factor. If the touch-up paint does not match the original batch, even a perfect application will look wrong. We always recommend our clients request factory-matched paint samples during the quoting phase so they have them on hand if repairs become necessary.
The substrate material also matters. Aluminum and steel respond differently to primers and coatings. A zinc-rich primer is essential for exposed steel to block rust, but it is not appropriate for aluminum, which faces galvanic corrosion risks 5 with the wrong chemistry. Knowing the alloy before you pick up sandpaper is not optional — it is step one.
What specific touch-up techniques should my supplier use to ensure the repair meets my original quality standards?
During a recent PPAP review 6 for a batch of heavy-duty mounting brackets, our engineer in Vietnam caught three parts with edge chips from a handling mishap. Rather than scrap them, we walked the supplier through a controlled repair — and those parts passed the client's incoming inspection without a single flag.
Your supplier should clean the damaged area thoroughly, feather deep scratches with 400-grit sandpaper, apply zinc-rich primer on any exposed metal, then build up thin coats of color-matched acrylic silicone touch-up paint with a fine artist brush, and finish with two thin layers of clear coat sealant for lasting protection.
Step-by-Step Repair Process
Here is exactly what we instruct our partner factories to follow. Each step matters, and skipping one leads to failures I will describe in the troubleshooting section below.
Step 1: Clean the Surface. Wash the scratch area with mild soap and water. Rinse completely and let it air-dry. If grease, wax, or oxidation remains, wipe with mineral spirits on a soft cloth. Never use abrasive pads or metal brushes — they widen the damage.
Step 2: Sand and Feather. For deep scratches exposing metal, use 400-grit sandpaper to smooth rough edges. The goal is to "feather" the transition between the damaged spot and the surrounding factory finish so no hard paint line remains. After sanding, wipe the area clean with a lint-free cloth to remove all dust.
Step 3: Prime Exposed Metal. If raw steel is visible, apply a zinc-rich metal primer. This blocks moisture from reaching the substrate and prevents rust formation. Allow the primer to cure fully per the manufacturer's instructions before moving on.
Step 4: Apply Touch-Up Paint. Use acrylic silicone paint 7 or an Air Dried Kynar system (ADS II) that matches the original color. Apply with a paint pen or a quarter-inch artist brush — use only the narrow edge to contact the scratch. Apply two to three thin, even coats. Let each coat dry completely before adding the next. Thin coats prevent blotchy buildup.
Step 5: Apply Clear Coat. Once paint is fully dry, apply a clear protective sealant. Two thin layers are better than one heavy coat. This clear coat adds UV resistance and moisture protection.
Step 6: Sand and Polish (Deep Repairs Only). For deeper repairs, lightly wet-sand the clear coat flush with the surrounding finish using very fine grit. Then polish the area with polishing compound to restore gloss.
Tools and Materials Checklist
| Item | Specification | Purpose |
|---|---|---|
| Touch-up paint | Acrylic silicone or ADS II (PPG) | Color-matched paint restoration |
| Artist brush | 1/4-inch, fine-tip | Precise application without blotching |
| Sandpaper | 400-grit, fine | Feathering edges and smoothing |
| Mineral spirits | Standard grade | Removing grease, wax, oxidation |
| Zinc-rich primer | Spray or brush-on | Rust prevention on exposed steel |
| Clear coat sealant | UV-resistant formula | Sealing and protecting the repair |
| Polishing compound | Fine-cut automotive grade | Restoring gloss after wet sanding |
| Lint-free cloth | Microfiber or equivalent | Cleaning between steps |
Why Spray Cans Are Not the Answer
I have seen suppliers reach for aerosol cans because they are fast. But spray applications scatter paint beyond the damaged area. On a small scratch or chip, this creates overspray that is almost impossible to blend. Brush application — slow, deliberate, thin — is the only method that produces invisible repairs on precision parts.
Common Mistakes That Ruin Repairs
- Over-application: More paint does not mean better coverage. It means a visible bump that catches light differently from the rest of the panel.
- Skipping primer on bare metal: Without a zinc-rich primer, moisture reaches steel within days. Rust forms under the new paint, and the repair fails.
- Wrong paint chemistry: Using a mismatched formula destroys paint adhesion. The new layer peels within weeks.
- Repairing in extreme temperatures: Heat causes paint to dry too fast and crack. Cold prevents proper curing. Moderate conditions — around 50°F to 85°F — are ideal.
How can I verify that a repaired paint surface will still provide the corrosion resistance my project requires?
A purchasing manager we work with in the Midwest once told me something that stuck: "I don't care if the part looks good on day one. I care if it looks good on day three hundred." That is the right mindset. Cosmetic appearance after repair means nothing if the corrosion barrier has been compromised.
To verify corrosion resistance after repair, confirm that all exposed metal received proper primer, check paint adhesion with a cross-hatch tape test, measure dry film thickness with a coating gauge, and request salt spray test data from the touch-up paint manufacturer to ensure the repaired area meets the same protective standard as the original factory finish.
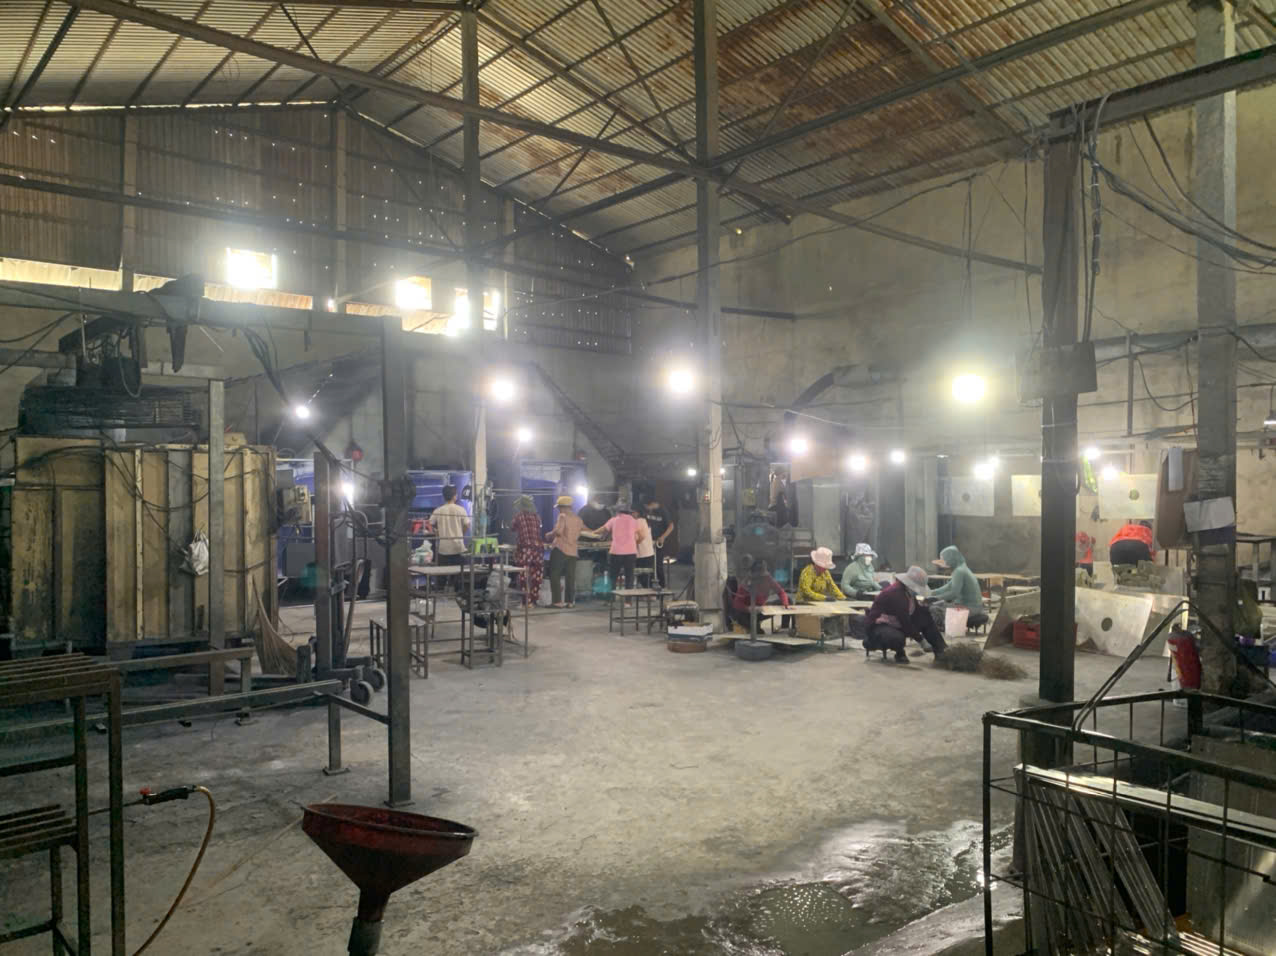
Testing Methods for Repaired Surfaces
Verification does not need to be expensive or complicated. But it does need to be systematic. Here are the methods we use and recommend to our clients.
Cross-Hatch Adhesion Test
This is the simplest field test for paint adhesion. Using a sharp blade, score a small grid pattern (typically 6 × 6 lines, 1 mm apart) into the repaired paint area. Press a strip of adhesive tape firmly over the grid, then peel it off at a consistent angle. If paint lifts with the tape, adhesion has failed. A good repair should show zero or minimal paint removal.
Dry Film Thickness Measurement
A coating thickness gauge measures how much paint sits on the metal surface. Dry Film Thickness Measurement 8 After repair, the repaired spot should match the original coating specification — typically measured in mils or microns. If the repair area is significantly thinner, it will not provide adequate protection. If it is too thick, it may crack or peel.
Verification Methods Comparison
| Method | Equipment Needed | What It Measures | Pass Criteria |
|---|---|---|---|
| Cross-hatch adhesion test 9 | Blade, adhesive tape | Paint adhesion to substrate | No paint lifts with tape |
| Dry film thickness gauge | Coating thickness meter | Paint layer thickness (mils/microns) | Within ±10% of original spec |
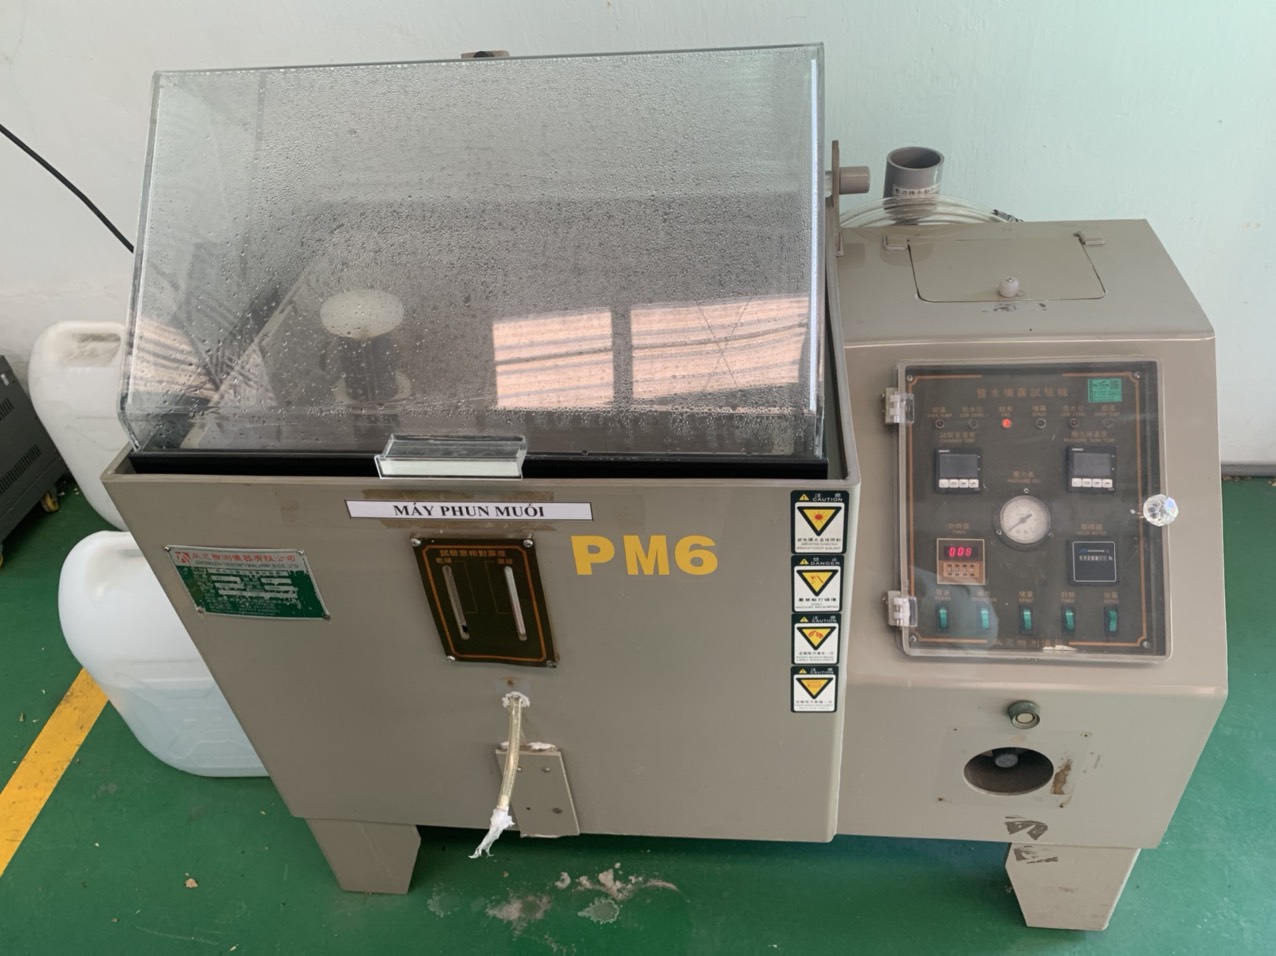
| Salt spray test 10 (lab) | Salt spray chamber | Corrosion resistance over hours | No rust at specified hour mark |
| Visual inspection | Magnifying glass, good lighting | Surface uniformity and defects | No bubbles, peeling, or discoloration |
The Role of Primer in Long-Term Protection
Rust prevention starts at the primer layer. When raw steel is exposed and a zinc-rich primer is applied correctly, it acts as a sacrificial barrier — the zinc corrodes before the steel does. Skip this step, and even a perfectly applied topcoat will fail. I have personally inspected parts where the paint looked flawless at delivery but showed rust bubbles within two months because the factory skipped priming.
For aluminum substrates, the concern shifts to galvanic corrosion. An aluminum-compatible primer — not a zinc-rich one — must be used. Using the wrong primer on the wrong alloy is a common mistake, especially when suppliers handle both steel and aluminum on the same line.
Requesting Documentation from Your Supplier
We always advise our U.S. clients to ask their manufacturing partner for the following after any paint repair:
- Touch-up paint technical data sheet (TDS)
- Primer compatibility confirmation for the specific alloy
- Photos of the repair process (before, during, after)
- Adhesion test results on the repaired area
- Coating thickness readings at the repair site
This documentation creates a quality record. If the part fails in the field, you can trace back to determine whether the repair was at fault.
What preventive measures should my manufacturing partner take to avoid paint damage during the final inspection and shipping phases?
The most frustrating scratches are the ones that happen after painting is complete. We invested significant effort training our inspection teams in Vietnam to handle painted parts with the same care as finished goods — because a careless final inspection can undo weeks of manufacturing and coating work.
Your manufacturing partner should use lint-free gloves during handling, apply protective film or foam wrapping to painted surfaces, design custom packaging with individual part separation, conduct inspections on padded surfaces, and implement clear handling protocols that prevent metal-to-metal contact throughout the final QC and shipping process.
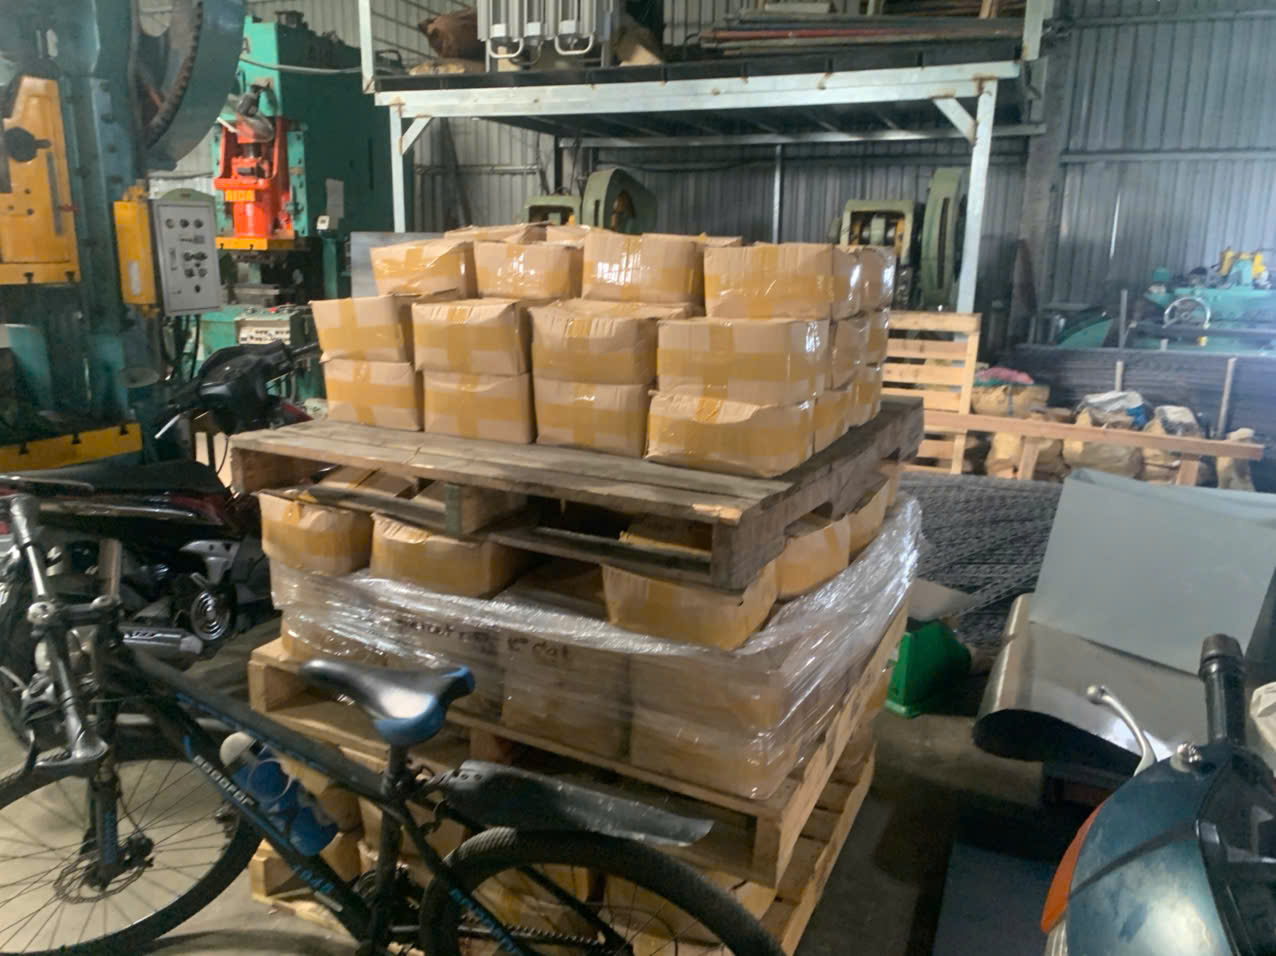
Where Paint Damage Actually Happens
Most people assume scratches occur during machining or painting. In reality, our experience shows that the majority of cosmetic paint damage on finished custom parts happens in three places: the QC inspection table, the packing station, and inside the shipping container during transit. These are the last stages — and they are the most neglected.
Handling Protocols That Work
At our partner facilities, we enforce these specific rules for painted parts:
- Gloves required. Bare hands leave oils that degrade paint adhesion over time. Lint-free cotton or nitrile gloves are standard.
- Padded inspection surfaces. Every QC table where painted parts are examined must have a soft rubber or foam mat. Placing a painted bracket directly on a steel table is how edge chips happen.
- No stacking without separation. Painted parts are never stacked directly on top of each other. Foam sheets, corrugated dividers, or individual poly bags separate every piece.
- Soft-soled approach. For larger sheet metal panels, workers handling them wear soft-soled shoes and use suction-cup lifters instead of clamps or hooks.
Packaging Best Practices
| Risk Factor | Prevention Measure | Implementation Detail |
|---|---|---|
| Metal-to-metal contact | Individual foam wrapping | Each part wrapped before placement in box |
| Vibration during transit | Custom foam inserts or die-cut cradles | Parts held firmly, cannot shift |
| Moisture in container | Desiccant packs and VCI paper | Prevents condensation and surface oxidation |
| Edge impact | Corner protectors and reinforced boxes | Double-wall corrugated with edge padding |
| Stacking pressure | "Do Not Stack" labels and weight limits | Pallet load planning with maximum height |
The Cost of Getting It Wrong
A single scratched part in a shipment of 500 may seem minor. But if your end customer rejects it — or worse, discovers it after assembly — the cost multiplies. Rework, return shipping, production delays, and damaged trust all compound. That is why we treat prevention as a quality investment, not an overhead cost.
Paint repair kits can fix individual incidents. But a pattern of shipping damage signals a systemic packaging or handling problem that no amount of touch-up paint can solve. When we audit supplier facilities, packaging and handling procedures are on the checklist right alongside dimensional accuracy and surface finish.
Regular Inspection and Maintenance Cycles
Prevention does not end at the shipping dock. We advise clients to establish periodic visual inspections of painted sheet metal products after installation. Catching a new scratch or chip early — before moisture penetrates — makes the difference between a simple touch-up and a costly full-panel repaint. Quarterly checks are standard for outdoor-exposed parts. Indoor components can be reviewed semi-annually.
Conclusion
Scratches on painted sheet metal products are repairable — when you assess correctly, repair methodically, verify thoroughly, and prevent proactively. Work with a manufacturing partner who treats paint quality as seriously as dimensional accuracy, and your finished parts will arrive ready to perform.
Frequently Asked Questions
How do I determine if the scratches on my custom sheet metal parts are repairable without compromising the finish?
Last month, a U.S. client sent us photos of mounting brackets that arrived with fine scratches along the powder-coated edges 2 — and his first instinct was to reject the entire lot. That reaction is understandable, but not every scratch demands the same response.
What specific touch-up techniques should my supplier use to ensure the repair meets my original quality standards?
During a recent PPAP review 6 for a batch of heavy-duty mounting brackets, our engineer in Vietnam caught three parts with edge chips from a handling mishap. Rather than scrap them, we walked the supplier through a controlled repair — and those parts passed the client's incoming inspection without a single flag.
How can I verify that a repaired paint surface will still provide the corrosion resistance my project requires?
A purchasing manager we work with in the Midwest once told me something that stuck: "I don't care if the part looks good on day one. I care if it looks good on day three hundred." That is the right mindset. Cosmetic appearance after repair means nothing if the corrosion barrier has been compromised.
Footnotes
1. Explains the manufacturing process and design considerations for custom sheet metal brackets. ↩︎
2. Describes the powder coating process, its benefits, and application methods for metal surfaces. ↩︎
3. Explains how zinc-rich primers provide corrosion protection through sacrificial action. ↩︎
4. Explains different types of metal primers and their importance for adhesion and rust prevention. ↩︎
5. Unified Alloys provides a comprehensive explanation of galvanic corrosion, its causes, risks, and mitigation strategies, including information on mixing aluminum and stainless steel. ↩︎
6. Provides an overview of the Production Part Approval Process (PPAP) in manufacturing. ↩︎
7. Describes the technical properties and benefits of acrylic silicone resins in coatings. ↩︎
8. Highlights the importance of dry film thickness measurement for coating performance and longevity. ↩︎
9. Explains the cross-hatch adhesion test method and its importance for coating quality. ↩︎
10. Describes the ASTM B117 standard for evaluating corrosion resistance of materials and coatings. ↩︎