

The allowable burr height range for stamped parts trips up many buyers. I have seen shipments rejected over a burr spec nobody defined. Our sourcing team learned that lesson the hard way, so we now lock burr limits before tooling starts.
The allowable burr height range for stamped parts is typically up to 10% of material thickness as a general rule, but critical automotive and precision parts often require 0.05–0.10 mm maximum. The exact limit depends on thickness, material, part function, and drawing requirements.
That short answer hides a lot of detail. The right limit for your part depends on how it is used. Let me walk you through how to set, specify, and verify burr height step by step.
How do I determine the acceptable burr height for my stamped parts?
A few years back, a U.S. client sent our team a bracket drawing with no burr callout at all. The supplier shipped parts with sharp edges, and the assembly line workers complained immediately. That project taught us to always define burr height early.
Determine acceptable burr height by starting with the 10% of material thickness rule, then tightening based on function. Cosmetic, mating, sealing, or safety-critical surfaces need lower absolute limits, often 0.05–0.10 mm. Match the spec to the part's actual use, not the tightest possible number.
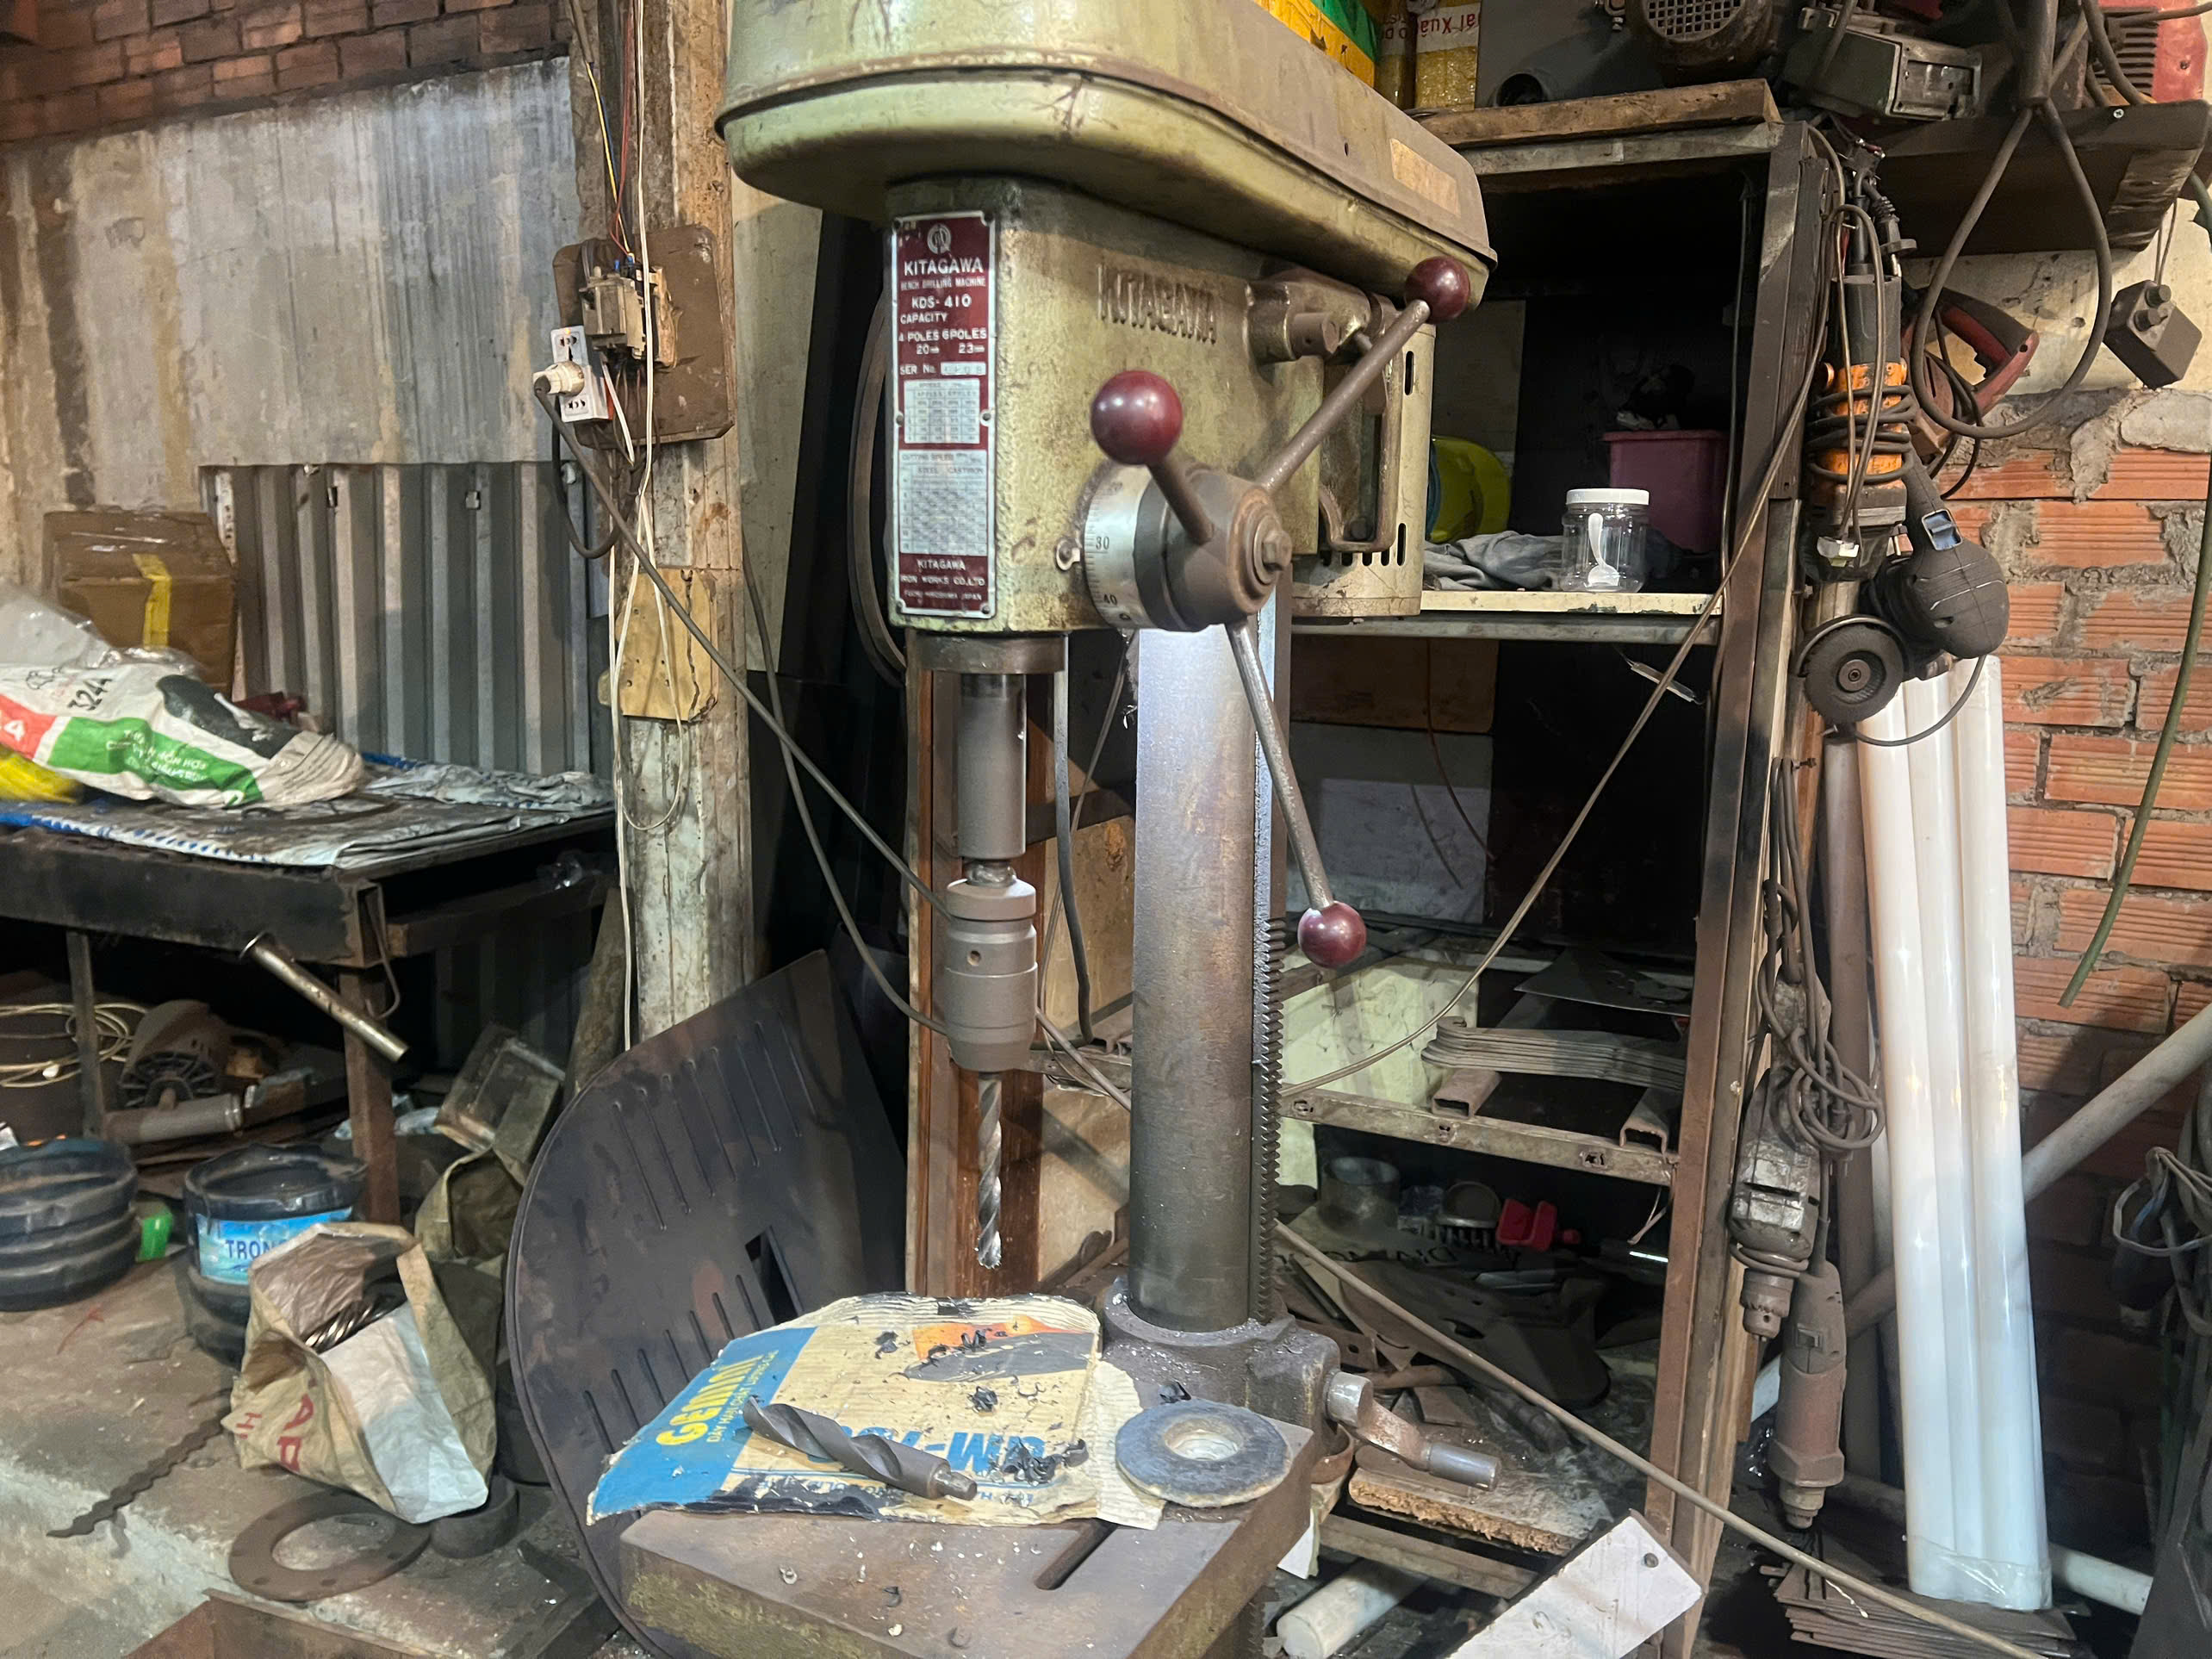
There is no single universal burr limit. A burr is a normal by-product of blanking and piercing. When the punch shears through the sheet, the metal fractures at the bottom edge and leaves a raised sliver. Every stamped edge has four zones: rollover, burnish, fracture, and burr. So burrs are expected. The question is how tall they can be before they cause problems.
Start with the rule of thumb
The classic starting point is 10% of stock thickness. For a 1.5 mm steel bracket, that means a burr up to 0.15 mm. Many general hardware parts, like the shelf supports and mounting clips we source for furniture and construction clients, work fine at this level. Nobody touches the edge, nothing seals against it, and the burr faces away from mating surfaces.
Tighten based on function
Function drives everything. Ask yourself these questions:
- Will a person handle the edge? Sharp burrs cut fingers and cause safety claims.
- Does the edge mate with another part? Burrs prevent flush seating.
- Is the edge welded, sealed, or plated? Burrs trap contamination and disrupt coating.
- Is the part safety-critical? Burrs can become crack initiation points under fatigue.
Here is how published guidance typically breaks down by application:
| Application Type | Typical Burr Height Limit | Notes |
|---|---|---|
| General stamping (brackets, clips) | Up to 10% of thickness | Rule-of-thumb baseline |
| Automotive stamped components | 0.1–0.3 mm | Depends on location and function |
| Safety-critical assemblies | 0.05–0.1 mm | Often with SPC monitoring |
| Precision connectors, medical parts | Below 0.03–0.05 mm | May need secondary deburring |
When we quote custom stamped brackets for U.S. buyers, we walk through this exact checklist before the supplier cuts any tooling steel 1. It saves everyone from a fight at final inspection.
What standards or specifications should I reference for burr height tolerances?
During a supplier audit in Vietnam last year, I asked the quality manager which burr standard he followed. He shrugged and said "customer drawing." He was half right. The drawing rules, but standards fill the gaps when the drawing is silent.
Reference your customer drawing first, since callouts like maximum burr height 0.10 mm on critical edges override everything. When drawings are silent, use published thickness-based guidelines, industry norms such as automotive OEM stamping specs, or the general 10% of thickness convention as the fallback.
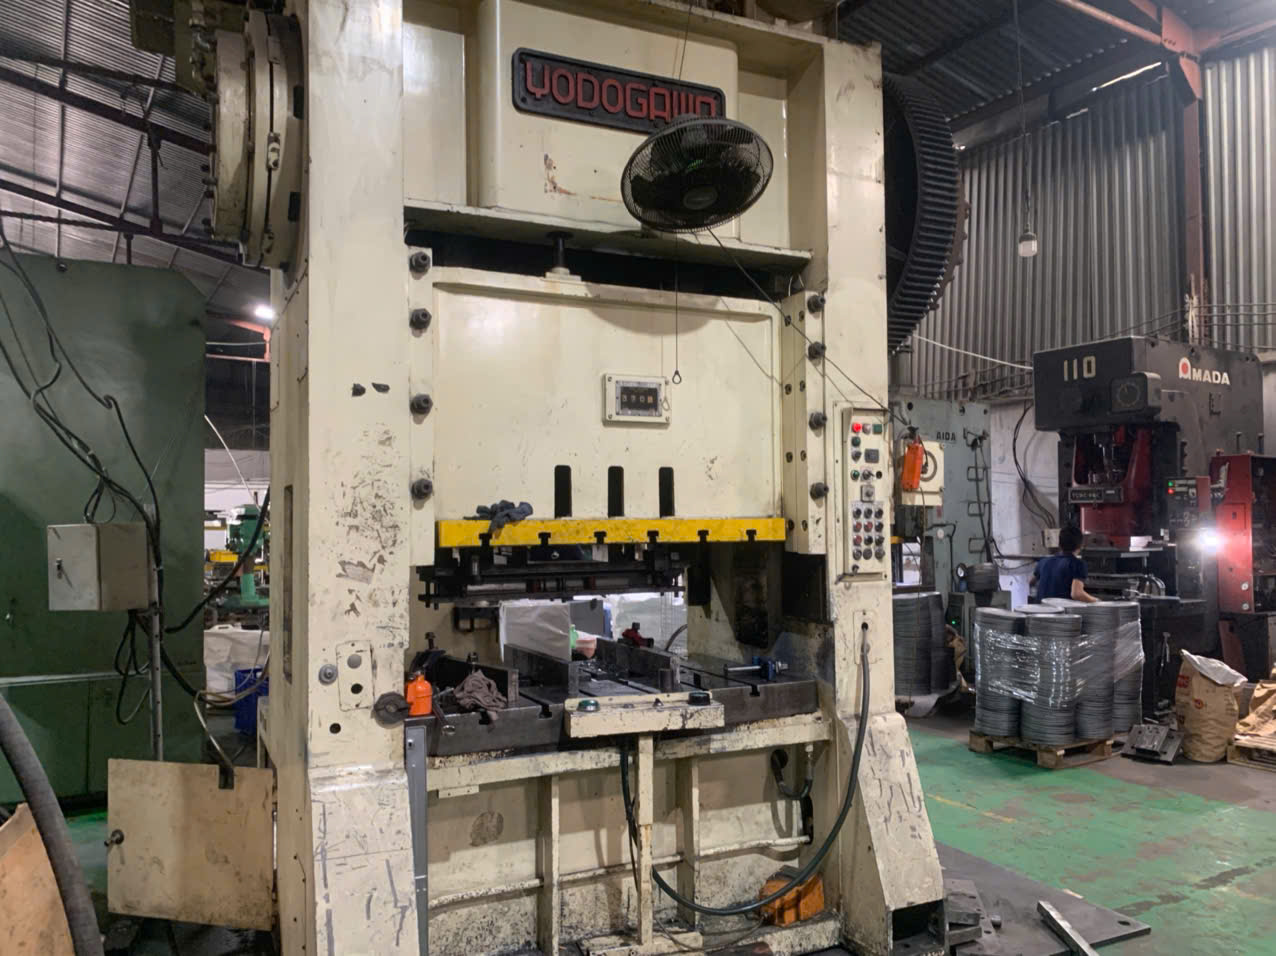
The drawing always sits at the top of the hierarchy. One real-world example we often show clients is a drawing callout that reads "maximum burr height 0.10 mm on marked critical edges only." That approach is smart. It applies a tight limit only where it matters and leaves the rest at the general rule. This keeps tooling and deburring costs down.
Published thickness-based guidelines
Some published guidance classifies allowable burr height by sheet thickness rather than a flat percentage. One commonly cited breakdown looks like this:
| Sheet Thickness | Maximum Burr Height |
|---|---|
| Up to 1 mm | ≤ 0.05 mm |
| 1–2 mm | ≤ 0.08 mm |
| 2–3 mm | ≤ 0.10 mm |
| Above 3 mm | ≤ 0.15 mm |
Notice something interesting. This table is tighter than the 10% rule at every thickness. A 3 mm sheet at 10% would allow a 0.3 mm burr, but this guideline caps it at 0.10 mm. That gap explains the biggest debate in the industry: some shops still treat 10% as acceptable, while others argue it is outdated for modern assembly, welding, and handling requirements.
Material strength matters too
Some standards vary burr limits by tensile strength 2 as well as thickness. Soft, ductile materials like annealed aluminum 3 or low-carbon steel stretch before fracturing, so they produce taller burrs. Harder, more brittle materials fracture cleanly and produce shorter burrs. If your part uses high-strength steel, you can often hold a tighter burr spec without extra cost. If it uses soft copper alloy, budget for deburring or a tighter die clearance.
Our project engineers translate all of this into a single drawing note before we release files to a stamping house. Ambiguity is the real enemy, not the burr itself.
How can I ensure my supplier controls burr height consistently during production?
One trade-off I weigh on every stamping project is die maintenance frequency versus piece price. A supplier who resharpens punches often will hold burr height beautifully, but that discipline has to be built into the quote, not hoped for later.
Ensure consistent burr control by requiring correct punch-die clearance at tooling design, documented die maintenance schedules, and burr height monitoring during production. Include burr limits in the PPAP or first-article approval, and use burr growth as the trigger for punch resharpening.

Burr height is not random. It is a direct output of three controllable factors: die clearance, tool sharpness, and material condition. If you control those, you control the burr.
Die clearance comes first
Punch-die clearance 4 is the single biggest factor. Clearance that is too large lets the material bend and tear instead of shearing cleanly, which creates tall, ragged burrs. Clearance that is too small causes secondary shearing and also increases burrs while accelerating tool wear. The correct clearance depends on material type and thickness, and it must be designed into the tooling from day one. When we run supplier audits for our U.S. clients, we ask to see the clearance calculations in the die design documents. A supplier who cannot show them is guessing.
Burr height as a die wear indicator
Here is a practical trick we push every stamping supplier to adopt: use burr height as a maintenance trigger. As punch edges dull over a production run, burr height creeps upward in a predictable way. Measuring burrs at set intervals tells you exactly when to pull the die for resharpening, before parts drift out of tolerance.
A simple control plan looks like this:
| Production Stage | Control Action | Responsibility |
|---|---|---|
| Tooling design | Verify clearance calculation for material and thickness | Tooling engineer |
| First article / PPAP | Measure and document burr height against drawing | Quality engineer |
| Every X thousand strokes | Sample burr height, record on SPC chart | Line inspector |
| Burr approaches limit | Pull die for punch resharpening | Maintenance |
| Post-maintenance | Re-verify burr height before restart | Quality engineer |
We build these checkpoints into our process control agreements because our clients cannot afford rework loops across an ocean. Getting it right the first time is cheaper than any deburring operation.
What inspection methods can I use to verify burr height meets my requirements?
A buyer once emailed me a photo of a "huge burr" on a stamped clip and asked for a full-lot rejection. When our Vietnam team measured it with a proper gauge, it was 0.06 mm on a 1.2 mm part, well within spec. Photos lie. Measurements do not.
Verify burr height using a digital micrometer with a flat anvil, an optical comparator, a surface profilometer, or a dedicated burr height gauge. Measure perpendicular to the sheet surface at multiple points along the edge, and record results against the drawing limit per an agreed sampling plan.
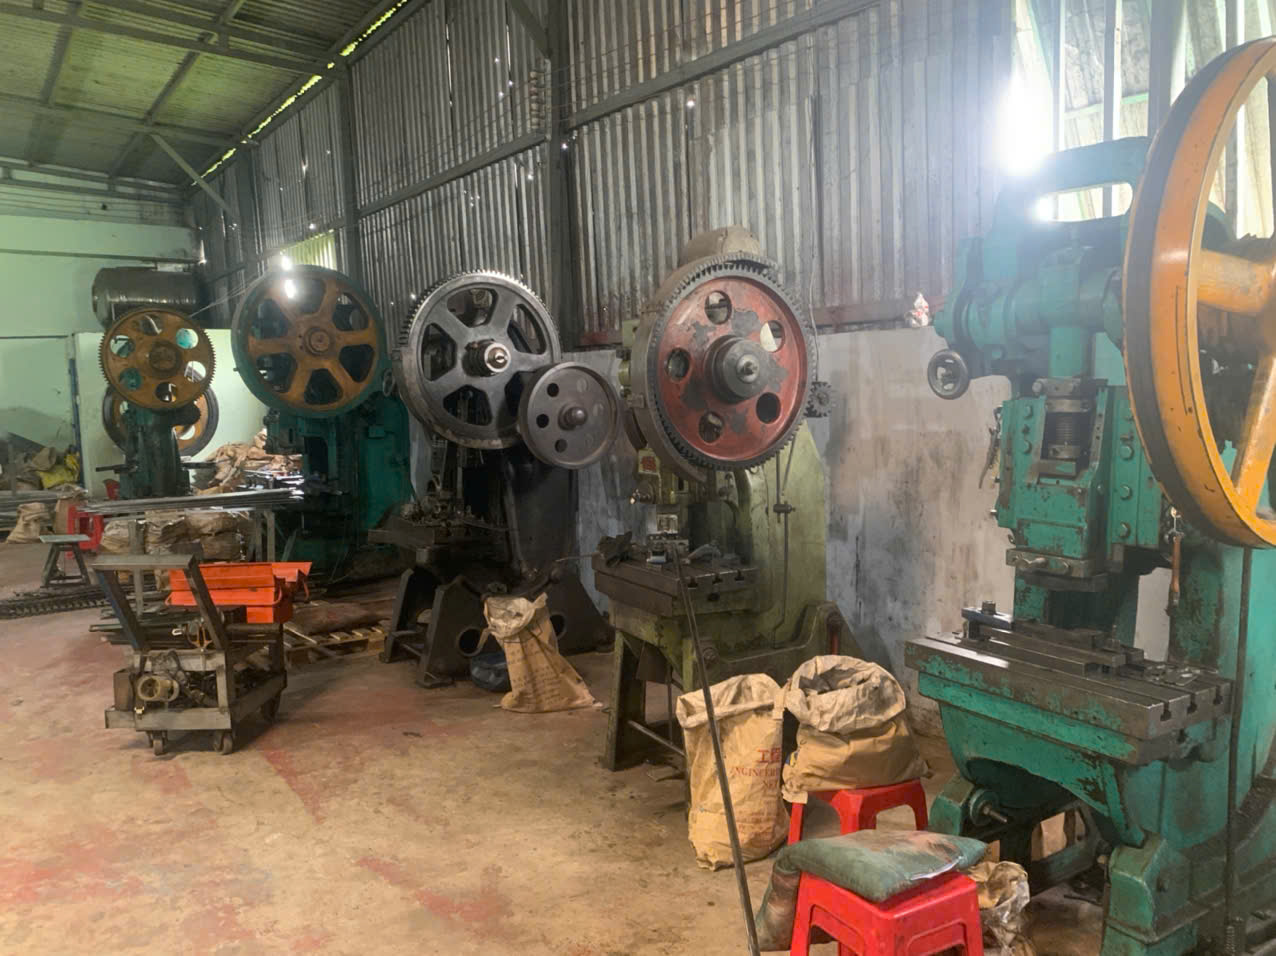
How you measure a burr affects whether a part passes or fails. Two inspectors using different methods can get different numbers on the same edge. So the inspection method should be agreed with the supplier in advance, ideally documented in the quality plan.
Common measurement methods compared
Each method has a place. A micrometer works for quick shop-floor checks. You measure total thickness at the burr, then subtract the nominal sheet thickness. It is fast but can compress soft burrs and read low. An optical comparator projects a magnified silhouette of the edge, letting the inspector measure burr height without touching it. A profilometer traces the edge profile 5 and gives the most repeatable data surface profilometer 6, which matters for SPC reporting. Dedicated burr gauges are purpose-built and simple for line operators.
Sampling depth depends on risk
Inspection intensity should match the industry. Aerospace and medical stamping often mandate documented SPC sampling 7 of burr height on every batch. General hardware, like brackets and mounting clips, typically relies on visual checks plus spot measurements. Neither approach is wrong. They reflect different risk tolerance, not different definitions of quality.
A few practical rules we apply at final inspection:
- Measure perpendicular to the sheet, at the tallest visible point of the burr.
- Take readings at several locations along the sheared edge, not just one.
- Check both critical edges flagged on the drawing and a sample of general edges.
- Record actual values, not just pass/fail, so trends are visible over time.
For shipments heading to demanding U.S. clients, our team photographs the measurement setup alongside the readings. It removes any argument about method later.
Conclusion
Burr height disputes waste time and money on both sides of the ocean. Start with the 10% rule, tighten by function, specify it clearly on drawings, and verify with agreed methods.
Frequently Asked Questions
How do I determine the acceptable burr height for my stamped parts?
A few years back, a U.S. client sent our team a bracket drawing with no burr callout at all. The supplier shipped parts with sharp edges, and the assembly line workers complained immediately. That project taught us to always define burr height early.
What standards or specifications should I reference for burr height tolerances?
During a supplier audit in Vietnam last year, I asked the quality manager which burr standard he followed. He shrugged and said "customer drawing." He was half right. The drawing rules, but standards fill the gaps when the drawing is silent.
How can I ensure my supplier controls burr height consistently during production?
One trade-off I weigh on every stamping project is die maintenance frequency versus piece price. A supplier who resharpens punches often will hold burr height beautifully, but that discipline has to be built into the quote, not hoped for later.
Footnotes
1. Background on tool steel used for stamping dies referenced in the checklist process. ↩︎
2. Explains how material tensile strength influences burr formation during shearing operations. ↩︎
3. Defines annealing process explaining why soft aluminum produces taller burrs when stamped. ↩︎
4. ISO oversees manufacturing standards relevant to die clearance and stamping tolerances. ↩︎
5. ASME B46.1 standard governs surface texture and edge profile measurement methods. ↩︎
6. Background reference on profilometer technology used for burr measurement. ↩︎
7. ASQ authoritative resource explaining statistical process control used for burr height monitoring. ↩︎