

On-site acceptance inspections of stamping parts protect you from costly surprises PPAP documentation 1. Our inspection teams in Vietnam have seen “perfect-looking” shipments fail assembly lines because nobody checked beyond the surface.
During on-site acceptance inspections of stamping parts, buyers should verify part identity and drawing revision, critical dimensions and tolerances, burrs and flatness, surface finish and coating, material certificates, lot traceability, and packaging condition before releasing the batch into inventory or production.
Acceptance inspection is not just a visual check AQL limits 2. It is a risk-control step. Let me walk you through what actually matters at the dock, layer by layer.
What Key Dimensions and Tolerances Should I Verify During My Stamping Parts Inspection?
A few years back, our team in Vietnam caught a batch of Z-fold mounting clips with bend angles drifting two degrees off nominal material test certificates 3. Visually, they looked identical to the golden sample.
Verify critical-to-function dimensions first: hole diameter and position, slot width, bend angles, formed height, flatness, and material thickness. Use calipers, height gauges, pin gauges, or CMM equipment, and always measure against the correct drawing revision, not the previous one.
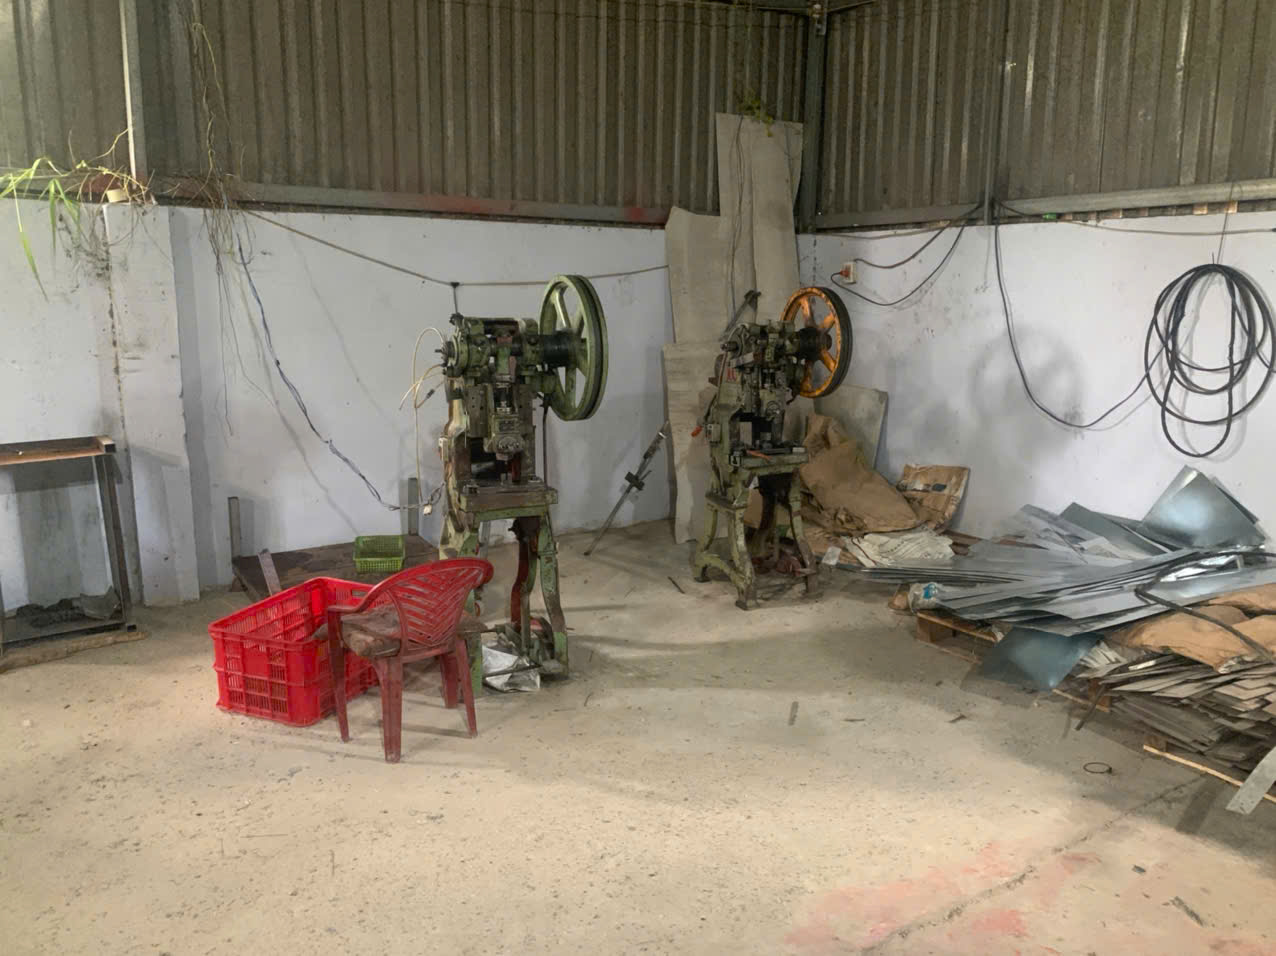
Not every dimension on a drawing deserves equal attention at receiving. The smart approach is to focus on dimensions that control fit and function. For a stamped bracket with punched holes and folded flanges, that usually means the features that mate with fasteners, locate the part in an assembly, or set clearance for neighboring components.
Start with the Drawing Revision
Before you pick up a caliper, confirm the revision level. A part can measure perfectly to Rev B and still be wrong if the build calls for Rev C. When we run PPAP for U.S. clients, revision mismatch is one of the most common root causes of "conforming but unusable" parts. Check the purchase order, the drawing, and the supplier's label. All three must agree.
Prioritize by Function
Here is how I recommend ranking dimensional checks on typical stamped brackets and clips:
| Priority | Feature | Why It Matters | Typical Tool |
|---|---|---|---|
| 1 | Hole size and position | Controls fastening and location | Pin gauge, caliper, CMM |
| 2 | Bend angle | Springback drift affects assembly fit | Angle gauge, protractor |
| 3 | Formed height | Sets stack-up and clearance | Height gauge |
| 4 | Flatness | Warped tabs will not seat flush | Surface plate, feeler gauge |
| 5 | Material thickness | Confirms correct coil stock | Micrometer |
| 6 | Overall length and width | General envelope conformance | Caliper |
Watch for Process Drift
Single-piece measurements only tell part of the story. Bend angles drift as dies wear. Springback changes when the supplier switches coil lots. For critical dimensions, ask whether the supplier can show Cpk data 4 across the run. If they cannot, measure samples pulled from the start, middle, and end of the batch. A part that passes at the front of a run may fail at the back.
How Can I Identify Surface Defects Before Accepting a Stamping Parts Shipment?
One trade-off we weigh constantly on custom projects is inspection speed versus depth. A fast dock screen catches dents and rust. Micro-cracks on bend radii need more than a quick glance.
Inspect stamped parts under good lighting for scratches, dents, cracks, rust, oil residue, and deformation. Check burr height and direction on all cut edges, examine bend radii for cracking, and verify plating or coating coverage is uniform with no peeling, voids, or discoloration.
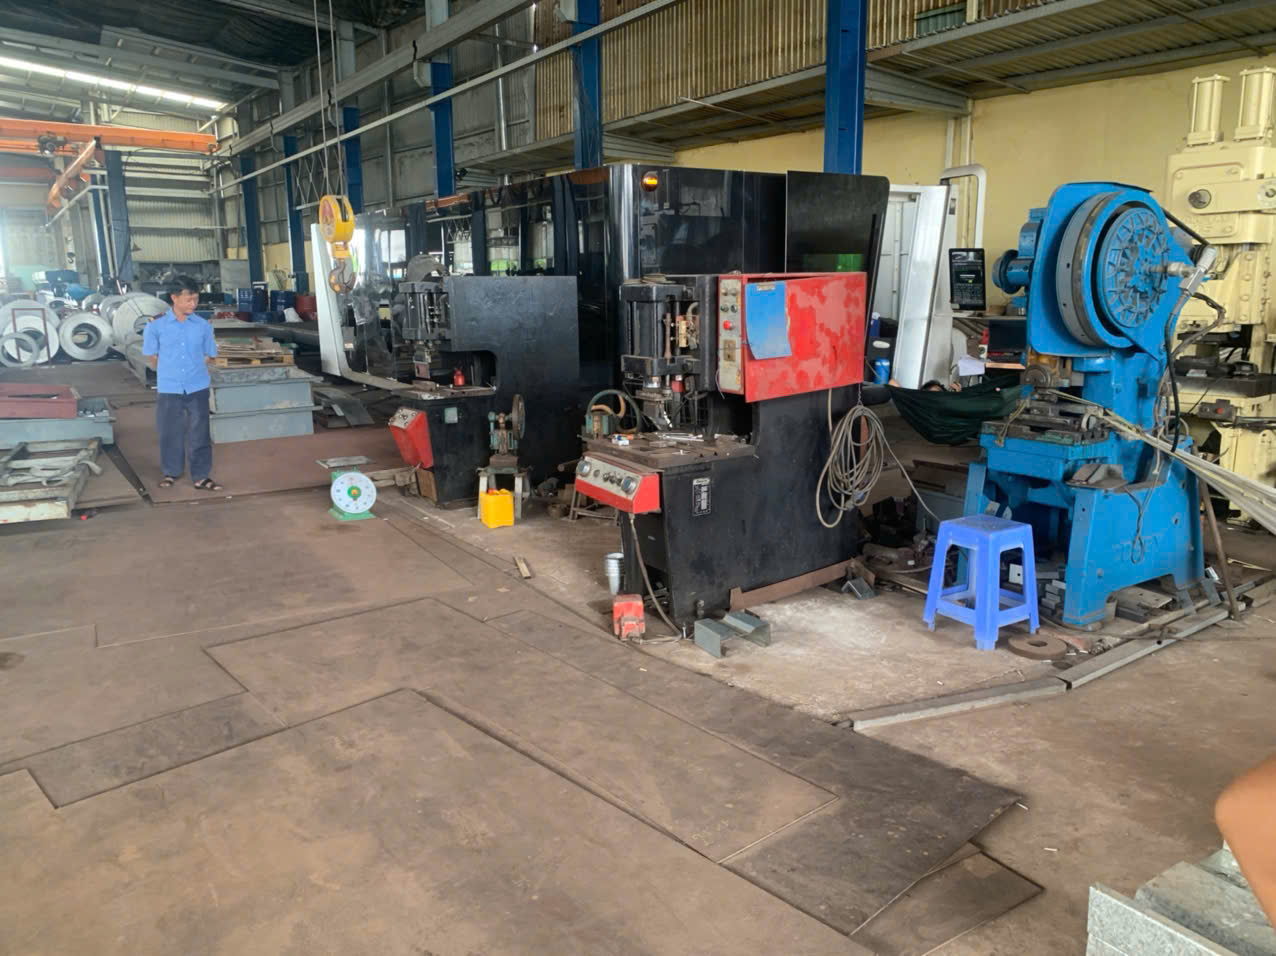
Surface defects on stamped parts fall into three groups: defects from the stamping process, defects from finishing, and defects from handling and transit. Each group points to a different root cause, and knowing the difference helps you hold the right party accountable.
Process-Related Defects
Burrs are the classic stamping defect. Every punched hole and sheared edge produces some burr, but excessive burr height signals die wear or poor clearance control. Run a gloved finger carefully along edges, or use a burr gauge on critical features. Also check burr direction. If the drawing specifies burr side down, a reversed part can interfere with mating surfaces or cut an operator's hand. Look closely at bend radii for hairline cracks, especially on high-strength or work-hardened steel. For safety-critical parts, dye penetrant testing 5 on bend zones catches micro-cracks that visual inspection misses.
Finishing Defects
For zinc-plated or galvanized parts 6, scan for coverage gaps, dull patches, blistering, and peeling at edges and bend lines. Coating thickness is not cosmetic. Thin plating fails salt-spray requirements 7 and corrodes early in the field. If the specification includes coating thickness, verify it with a thickness gauge on several parts rather than trusting the certificate alone.
Handling and Transit Damage
Bare steel parts rust fast when packaging traps moisture. Our team once opened a container in a humid port warehouse and found flash rust on parts that had shipped clean. Check for scratches from parts rubbing together, dents from crushed cartons, and oil contamination. Missing separators inside boxes almost always mean abrasion damage somewhere in the lot.
What Documentation Should I Request to Confirm Process Control and Traceability?
A purchasing manager once told me his biggest fear was not a bad batch. It was a bad batch he could not trace. When we manage supplier audits across Vietnam and Asia, paperwork discipline is often the clearest predictor of quality discipline.
Request the packing list, purchase order confirmation, drawing revision reference, material test certificates, lot or heat traceability records, final inspection report, and any required coating certifications. For new parts, also review the first article inspection report and PPAP documentation before approving mass production shipments.

Documents are your evidence chain. If a defect surfaces three months after release, traceability records are the only way to contain the problem quickly and pursue a supplier claim with confidence. Here is the document set I ask our clients to verify at receiving:
| Document | What to Verify | Risk If Missing |
|---|---|---|
| Packing list | Quantity, part number, lot codes match the shipment | Miscounts and mixed lots go undetected |
| PO and drawing reference | Correct revision level and approved process route | Wrong-revision parts enter production |
| Material test certificate | Grade, thickness, hardness match the drawing | Substituted or off-spec material |
| Lot/heat traceability | Batch links to coil, press, and production run | No containment path if defects appear later |
| Final inspection report | Dimensions measured, sample size, results | No proof supplier actually inspected |
| Coating certification | Thickness, adhesion, salt-spray results | Corrosion failures in the field |
| FAI / PPAP (new parts) | Full dimensional layout and process approval | Unproven process ships at volume |
Match Labels to Paper
Documents alone are not enough. The lot code printed on the certificate must match the label on the carton and any marking on the parts. When we run final inspections for U.S. clients, we photograph labels next to certificates as audit evidence. It takes two minutes and settles disputes fast.
Record Your Own Evidence
Keep your inspection notes, gauge IDs, sample sizes, photos of defects, and copies of every certificate. If you later need a supplier claim or a deviation approval, this file is what makes your case. An inspection without records is just an opinion.
Which Red Flags Signal I Should Reject or Rework a Stamping Parts Batch?
The hardest lesson I learned early in this business was that a hesitant acceptance is worse than a clean rejection. Parts released "with doubts" have a way of becoming line stoppages and chargebacks.
Reject or quarantine a stamping parts batch when you find critical defects like cracks or wrong material, revision mismatches, out-of-tolerance critical dimensions, excessive burrs, widespread rust or coating failure, mixed lots, missing traceability, or defect rates exceeding your agreed AQL limits.
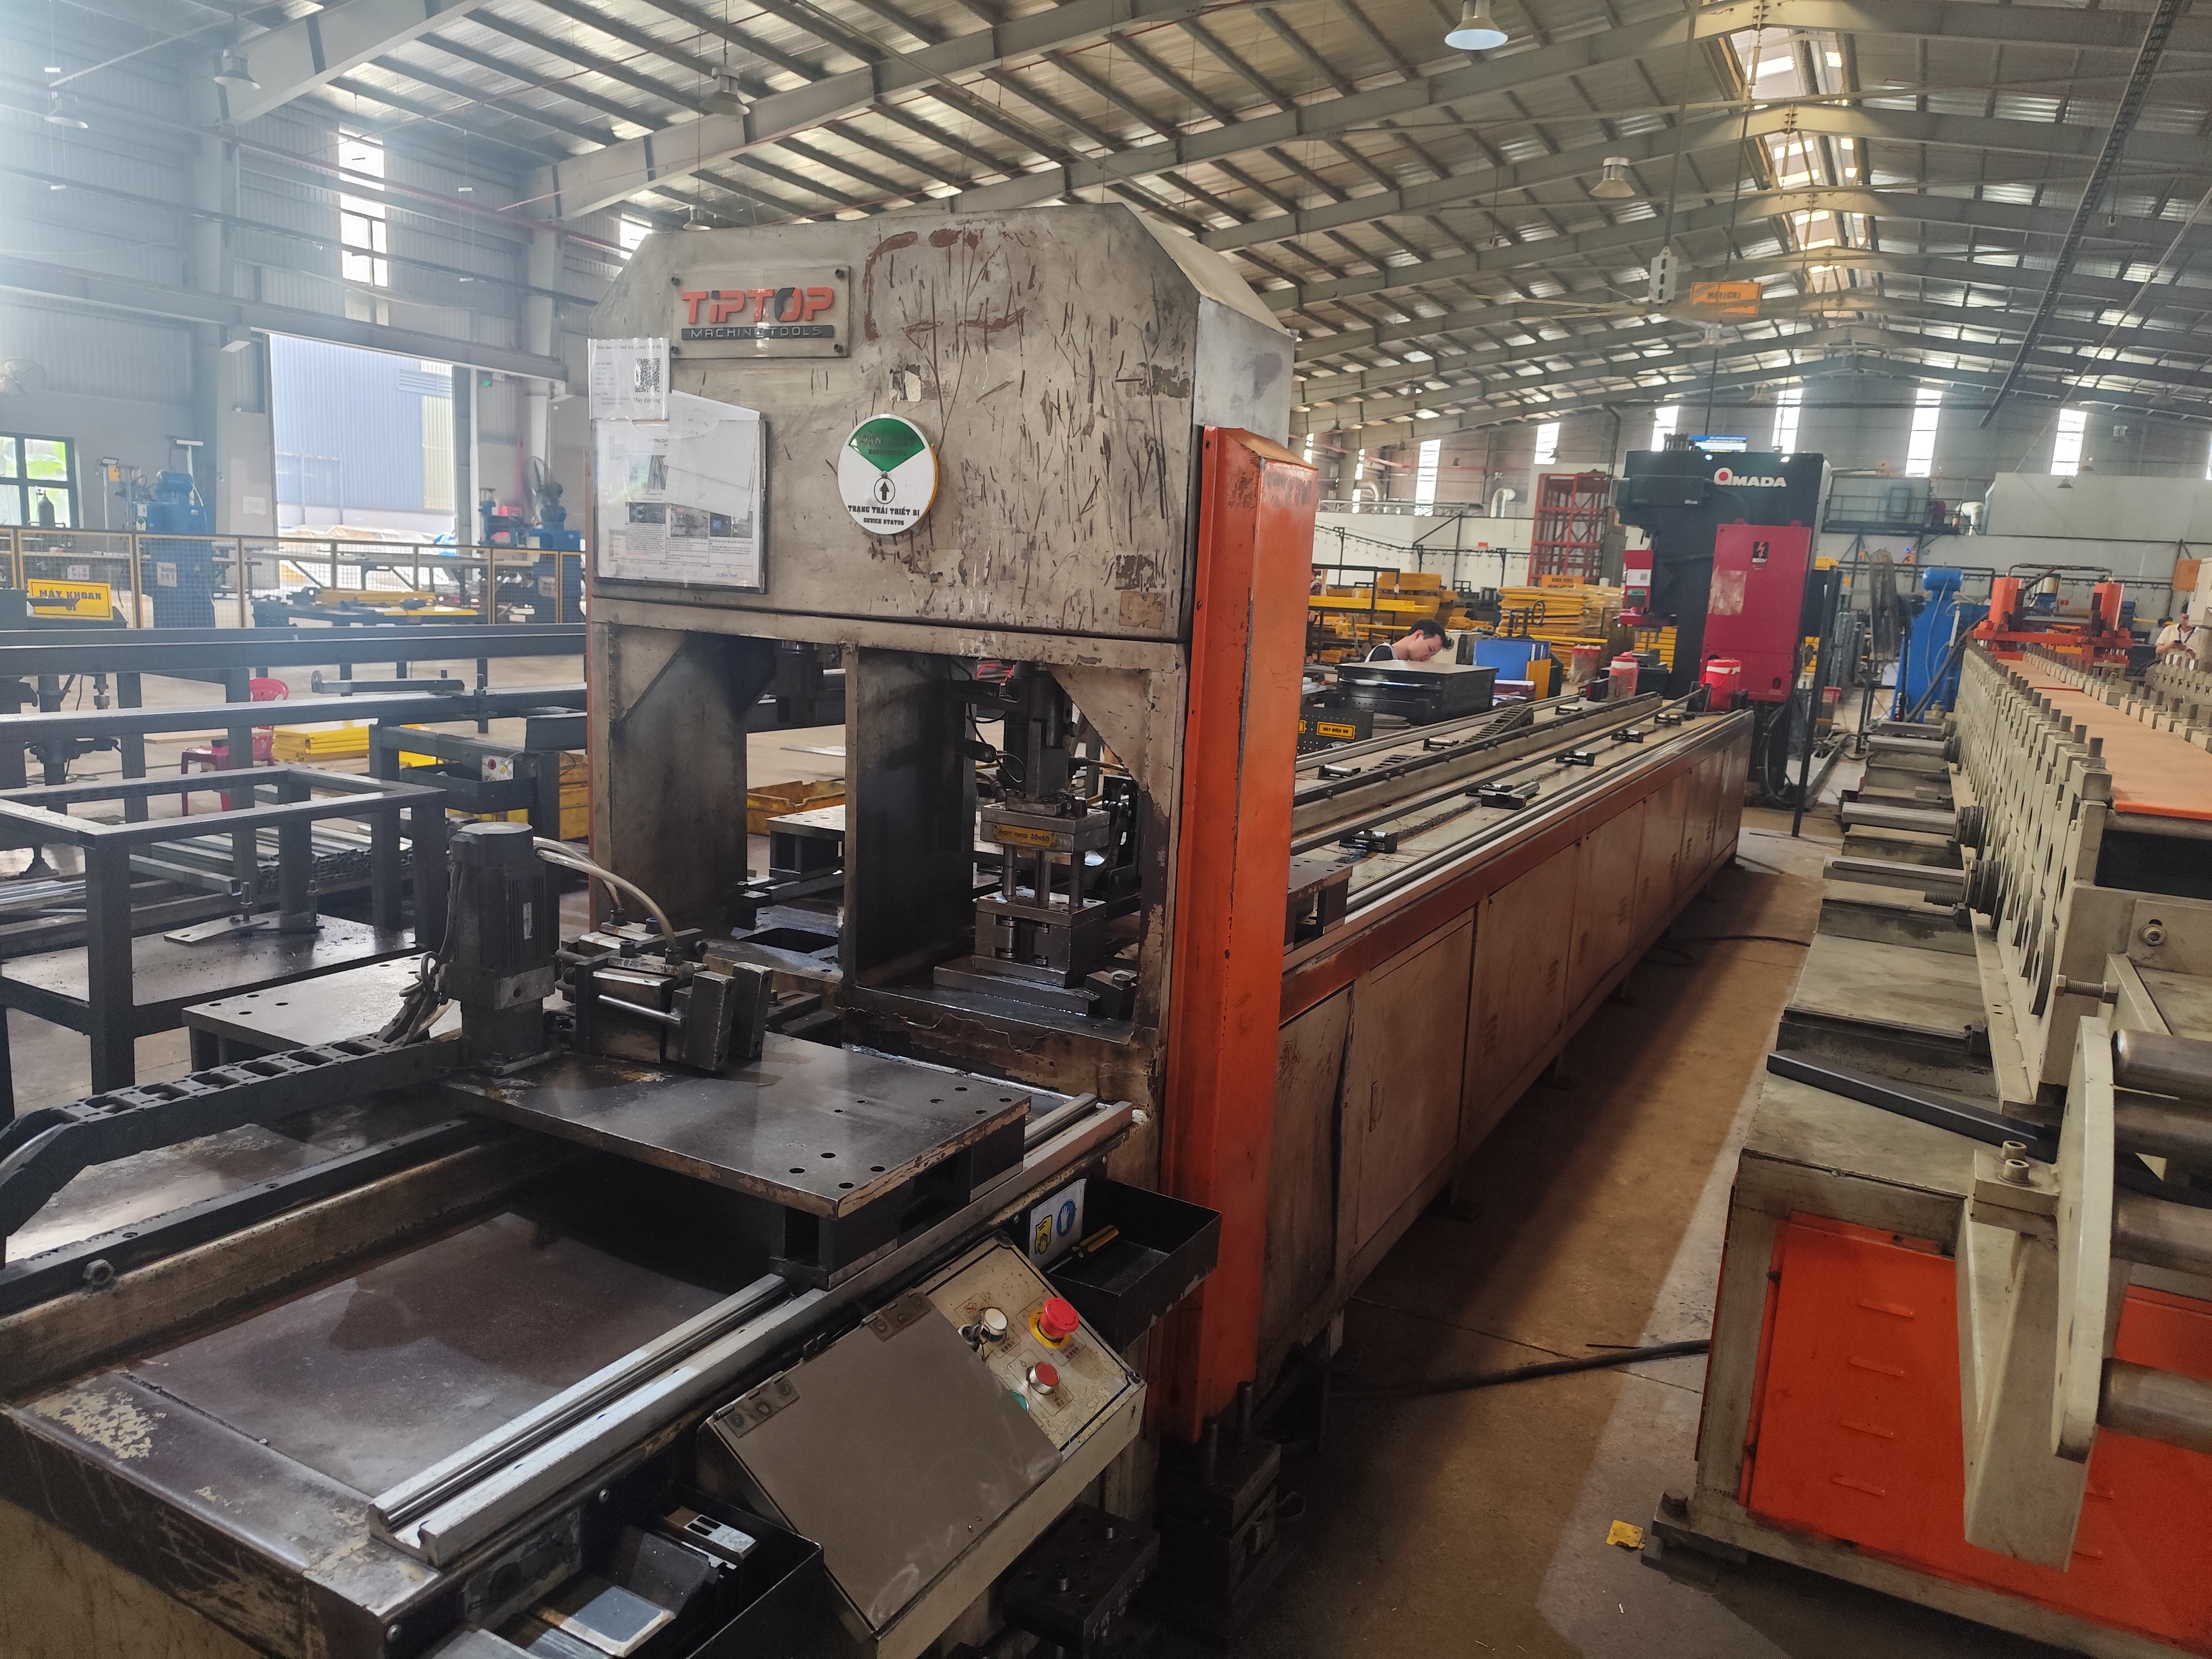
Not every finding justifies rejection. The key is classifying defects by severity and applying different acceptance rules to each class. This keeps decisions consistent and defensible when you escalate to the supplier.
Classify Before You Decide
| Defect Class | Examples | Typical Rule |
|---|---|---|
| Critical | Cracks, wrong material, wrong revision, safety-risk burrs | Zero acceptance; reject and quarantine |
| Major | Out-of-tolerance holes, coating voids, excessive warpage | Reject batch if AQL limit exceeded |
| Minor | Light cosmetic scratches on non-visible surfaces | Accept within agreed limits or disposition |
Follow a Clear Decision Path
- Hold the shipment in quarantine status until all checks are complete. Never mix unverified parts into released stock.
- Sample according to risk. Low-risk commodity parts can follow a standard AQL plan. Safety-critical parts, new suppliers, or parts with a defect history deserve tightened or 100 percent inspection.
- Document every nonconformance with photos, measurements, and lot references.
- Decide: accept, conditional release with deviation approval, sort and rework, or reject and return.
- Notify the supplier immediately with evidence. Fast, documented escalation is what turns a bad batch into a corrective action instead of a recurring problem.
Red Flags Beyond the Parts
Some warning signs sit outside the parts themselves. Crushed cartons, moisture inside packaging, missing separators, and mixed lot codes in one box all signal weak process control. So does a certificate that arrives days after the shipment, or a supplier who cannot tell you which press or coil produced the batch. In our experience coordinating door-to-door logistics for U.S. buyers, packaging discipline and paperwork discipline almost always track together with part quality.
Conclusion
Skipping structured acceptance checks invites assembly failures and supplier disputes. Verify identity, dimensions, surfaces, documents, and packaging — then decide with evidence. That discipline is how we protect every shipment.
Frequently Asked Questions
What Key Dimensions and Tolerances Should I Verify During My Stamping Parts Inspection?
A few years back, our team in Vietnam caught a batch of Z-fold mounting clips with bend angles drifting two degrees off nominal material test certificates 3 . Visually, they looked identical to the golden sample.
How Can I Identify Surface Defects Before Accepting a Stamping Parts Shipment?
One trade-off we weigh constantly on custom projects is inspection speed versus depth. A fast dock screen catches dents and rust. Micro-cracks on bend radii need more than a quick glance.
What Documentation Should I Request to Confirm Process Control and Traceability?
A purchasing manager once told me his biggest fear was not a bad batch. It was a bad batch he could not trace. When we manage supplier audits across Vietnam and Asia , paperwork discipline is often the clearest predictor of quality discipline.
Footnotes
1. Defines the Production Part Approval Process standard mentioned for new part qualification. ↩︎
2. Explains the Acceptable Quality Limit sampling standard used for batch rejection decisions. ↩︎
3. ISO standard defining metallic material inspection documents referenced for traceability. ↩︎
4. Explains the statistical concept referenced for measuring process drift across production runs. ↩︎
5. Background on this nondestructive testing method used to detect surface cracks. ↩︎
6. Background on galvanization process relevant to coating inspection defects discussed. ↩︎
7. ISO standard governing salt spray corrosion testing referenced for coating durability. ↩︎