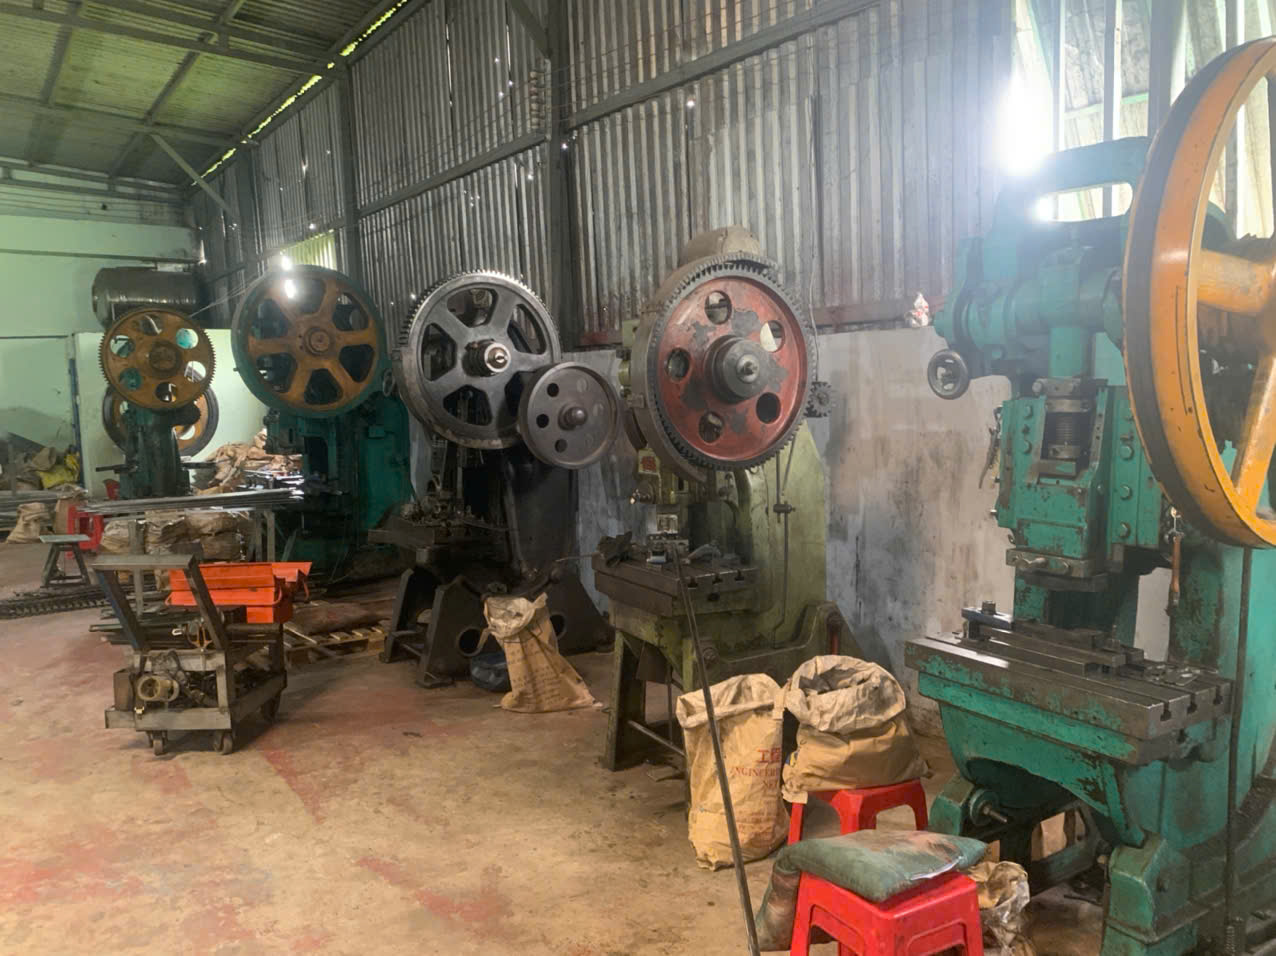

Installation methods for stamping parts often decide whether a project succeeds or fails PPAP 1. I learned this the hard way when our Vietnam team caught a batch of brackets with misaligned PEM nuts—one missed step, and the whole assembly would not fit.
The common installation methods for stamping parts include press-in hardware insertion, manual pneumatic insertion, in-die insertion, robotic insertion, welding, riveting, clinching, seam joining, and threaded fastening. The right choice depends on production volume, part geometry, sheet thickness, joint permanence, and serviceability needs.
[Stamping shapes the part](https://dewintech.com/blog/how-stamping-parts-manufactured-common-processes-explained-are/). Installation turns it into something useful. Let me walk you through each method, how to choose between them, and what to watch for when sourcing from Asia.
How Do I Choose the Right Installation Method for My Stamped Parts?
During a co-development project for a U.S. client last year, our engineers spent two full weeks debating one question: weld the standoffs or press them in? That debate saved the client from a costly plating rework problem.
Choose an installation method based on five factors: production volume, part size and geometry, sheet metal thickness, whether the joint must be permanent or serviceable, and heat sensitivity of coatings. Match the method to the application first, then optimize for cost and cycle time.

There is no single best answer here. In my experience running custom parts projects across Vietnam and China, the wrong installation method almost always traces back to one thing: someone picked a process before understanding the application. So let me break the decision down the way we do it internally.
Start With the Joint Requirement
Ask one question first. Does this joint ever need to come apart? If yes, you need threaded hardware—self-clinching nuts, rivet nuts, studs, or captive screws. If no, you can consider welding, riveting, or clinching. This single question eliminates half the options immediately.
Then Consider the Material and Coating
Heat changes everything. Welding a pre-plated or pre-coated stamped part can burn the finish and force a secondary refinishing step. Mechanical methods like clinching and riveting preserve coatings. We flag this on every drawing review because clients often specify plating and welding together without realizing the conflict.
Match the Method to Your Volume
Here is the comparison table we use with buyers during quoting:
| Installation Method | Best Volume Range | Joint Type | Heat Input | Relative Cost per Part |
|---|---|---|---|---|
| Press-in (squeeze press) | Mid to high | Serviceable threads | None | Low |
| Hand-held pneumatic tool | Low / repair | Serviceable threads | None | Medium |
| In-die insertion | Very high | Serviceable threads | None | Very low at scale |
| Robotic insertion | High, large parts | Serviceable threads | None | Low at scale |
| Spot / projection welding | Any | Permanent | High | Low |
| Riveting | Low to high | Permanent | None | Low |
| Clinching / seam joining | Low to high | Permanent | None | Very low |
| Threaded fasteners | Any | Serviceable | None | Medium |
Sheet thickness matters too. Self-clinching hardware 2 requires a compatible thickness and a properly prepared hole. Seam joints work best on thin sheet, typically under 1 mm. Get these fundamentals right, and the rest of the decision becomes straightforward.
What Installation Methods Are Best for High-Volume Stamping Production?
A buyer once asked me why two quotes for the same bracket differed by 30 percent. The answer was in-die insertion. One supplier installed hardware inside the progressive die 3; the other used a separate manual station.
For high-volume stamping production, in-die insertion, robotic insertion, and automated squeeze-press systems deliver the best results. They cut labor, stabilize quality, and reduce per-part cost. In-die insertion offers the lowest unit cost but requires the highest upfront tooling investment.

Volume changes the economics completely. At low volume, a worker with a hand-held pneumatic tool is cheap and flexible. At 500,000 parts per year, that same approach becomes your biggest source of cost and variation. When we audit suppliers in Vietnam for high-volume programs, the level of installation automation is one of the first things we check.
The Three High-Volume Options
Here is how the main automated approaches compare:
| Approach | How It Works | Strength | Limitation |
|---|---|---|---|
| In-die insertion | Hardware is fed and installed during the stamping cycle inside a progressive die | Lowest unit cost, no extra handling | Complex tooling, high upfront cost, hard to modify |
| Robotic insertion | A robot positions the part under an automated squeeze head | Handles large or complex parts, very consistent | Capital investment, programming time |
| Automated squeeze press | Operator or feeder loads parts; press installs fasteners in 2–5 seconds each | Fast, repeatable, moderate cost | Still needs part handling between stations |
When In-Die Insertion Pays Off
In-die insertion makes sense when three conditions align. First, the part already runs in a progressive die. Second, annual volume is high enough to amortize the extra tooling cost. Third, the design is frozen, because modifying an in-die insertion station is expensive. If a client is still iterating the design, we recommend a separate work cell first, then migrating to in-die once the design stabilizes.
Do Not Forget Welding Automation
High-volume permanent joints usually mean resistance spot welding 4 or projection welding, often robotic. Projection welding pairs naturally with stamping because the projection features can be formed right into the stamped part. That is a design-for-assembly 5 win: the stamping die does part of the joining work for free.
The pattern is consistent. Higher volume justifies more automation, and the best suppliers plan the installation process at the tooling design stage, not after.
How Can I Ensure My Supplier Follows Correct Installation Specifications on Drawings?
Drawing reviews are where our team earns its keep. On one project, a supplier read a rivet nut callout as a plain clearance hole. Our pre-production check caught it before tooling was cut—two hours of review saved eight weeks of delay.
Ensure compliance by requiring a formal drawing review with written supplier confirmation, specifying fastener part numbers and torque or push-out requirements on the drawing, approving first articles through PPAP, and verifying installation with in-process checks and final inspection before shipment.

Most installation failures I have seen were not caused by bad equipment. They were caused by unclear drawings or suppliers who skimmed them. The fix is a disciplined process, and it works in any country.
Build the Process in Four Steps
- Make the drawing unambiguous. Call out the exact hardware part number, not just "M4 nut." Specify hole size and tolerance for self-clinching hardware, installation side, minimum push-out and torque-out values, and any coating restrictions near weld zones.
- Require a written drawing review before quoting. Ask the supplier to confirm every installation note line by line ISO 9001 6. Silence is not agreement. When we onboard a new supplier for a client, we run this review on a call and document every answer.
- Lock the process with PPAP. First article inspection should include installation verification: push-out tests for clinch hardware, peel or pull tests for spot welds, and torque checks for threaded fasteners. Approve the process, not just the part dimensions.
- Verify at every shipment. In-process checks catch drift. Final inspection before loading catches everything else. Our team performs final inspection on-site before goods leave the factory, because a nonconforming container that reaches the U.S. is already a lost quarter.
What Good Documentation Looks Like
A capable supplier can show you an installation work instruction with photos, the specified press force, the anvil and punch identification, and a log of periodic push-out test results. If a supplier cannot produce these, that tells you how they will treat your critical dimensions too.
Clear specs plus verified process equals right-first-time parts. There is no shortcut around either half.
What Installation Issues Should I Watch for When Sourcing Stamped Parts From Asia?
Fifteen years of sourcing across Vietnam, Taiwan, and China have taught me that installation defects hide better than dimensional defects. A hole that is 0.2 mm oversize passes a visual check but produces a spinning clinch nut in the field.
Watch for loose or spinning self-clinching hardware from oversized holes, weld distortion and coating burn on plated parts, substituted fasteners that differ from the drawing, missing push-out testing, and inconsistent manual insertion quality. Demand documented process controls and pre-shipment installation verification.

Sourcing from Asia works extremely well when you know what to inspect. It fails when buyers assume installation quality follows automatically from good stamping quality. It does not. They are separate processes with separate failure modes.
The Most Common Failure Modes We Catch
| Issue | Root Cause | How to Prevent It |
|---|---|---|
| Spinning or loose clinch nuts | Oversized or deburred-away hole, wrong press force | Specify hole tolerance; require push-out and torque-out test logs |
| Weld burn on plating | Welding after plating, or wrong weld schedule | Sequence plating after welding, or switch to mechanical fastening |
| Substituted hardware | Supplier uses a local "equivalent" fastener | Call out brand and part number; verify at incoming inspection |
| Cross-threaded or damaged threads | Rough handling after insertion | Require thread gauge checks at final inspection |
| Distorted flanges near welds | Excessive heat input on thin sheet | Review weld fixture design during process approval |
| Inconsistent manual insertion | Operator-dependent hand tools at growing volume | Push suppliers to press-based insertion as volume rises |
Why Local Presence Changes the Outcome
Email alone cannot manage these risks. When a problem appears, someone must stand at the press, measure the hole, and watch the insertion. Our Vietnam office exists largely for this reason. On one program, we found operators skipping the periodic push-out test to hit a daily quota. No report would ever have shown that. A ten-minute floor walk did.
Payment Terms and Leverage
One practical note for purchasing managers: your leverage over installation quality is strongest before final payment. Structure terms so that pre-shipment inspection—including installation verification—gates the release. We offer open account terms to our clients partly because we control that inspection gate ourselves, so the risk sits with us, not with them.
Conclusion
Stamping makes the part; installation makes the product. Match the method to volume and joint needs, specify it clearly on drawings, and verify it before shipment—every time.
Frequently Asked Questions
How Do I Choose the Right Installation Method for My Stamped Parts?
During a co-development project for a U.S. client last year, our engineers spent two full weeks debating one question: weld the standoffs or press them in? That debate saved the client from a costly plating rework problem.
What Installation Methods Are Best for High-Volume Stamping Production?
A buyer once asked me why two quotes for the same bracket differed by 30 percent. The answer was in-die insertion. One supplier installed hardware inside the progressive die 3 ; the other used a separate manual station.
How Can I Ensure My Supplier Follows Correct Installation Specifications on Drawings?
Drawing reviews are where our team earns its keep. On one project, a supplier read a rivet nut callout as a plain clearance hole. Our pre-production check caught it before tooling was cut—two hours of review saved eight weeks of delay.
Footnotes
1. Clarifies the production part approval process standard mentioned for supplier verification. ↩︎
2. Explains the self-clinching fastener technology referenced repeatedly in the article’s methods. ↩︎
3. Defines the progressive die tooling concept central to in-die insertion discussion. ↩︎
4. Background reference for the welding process discussed as a permanent joining method. ↩︎
5. Background concept referenced when discussing projection welding integrated into stamping design. ↩︎
6. Authoritative quality management standard relevant to supplier drawing review and process controls. ↩︎
7. Provides background on the sheet metal material central to stamping and installation methods. ↩︎