

Installation methods for stamping parts trip up more buyers than the stamping itself galvanic corrosion 1. I have watched our clients receive perfect brackets that failed at assembly because the joining method was wrong.
The common installation methods for stamping parts include self-clinching hardware insertion, welding, riveting, threaded fastening, clinching, and press-fit assembly. The right choice depends on production volume, sheet thickness, joint strength, and whether the connection must be permanent or removable.
Each method has its own tools, costs, and failure risks. Let me walk you through how we help buyers pick the right one, step by step.
How Do I Choose the Right Installation Method for My Stamping Parts?
A purchasing manager in Texas once sent us a drawing that specified welding for a 0.8 mm zinc-plated bracket. Our engineers flagged it immediately. The plating would have burned off at every weld point.
Choose an installation method by evaluating five factors: joint permanence, sheet thickness, production volume, material compatibility, and serviceability. Permanent joints favor welding or clinching; removable joints need threaded fasteners or self-clinching nuts; thin sheets under 1 mm often rule out tapping entirely.
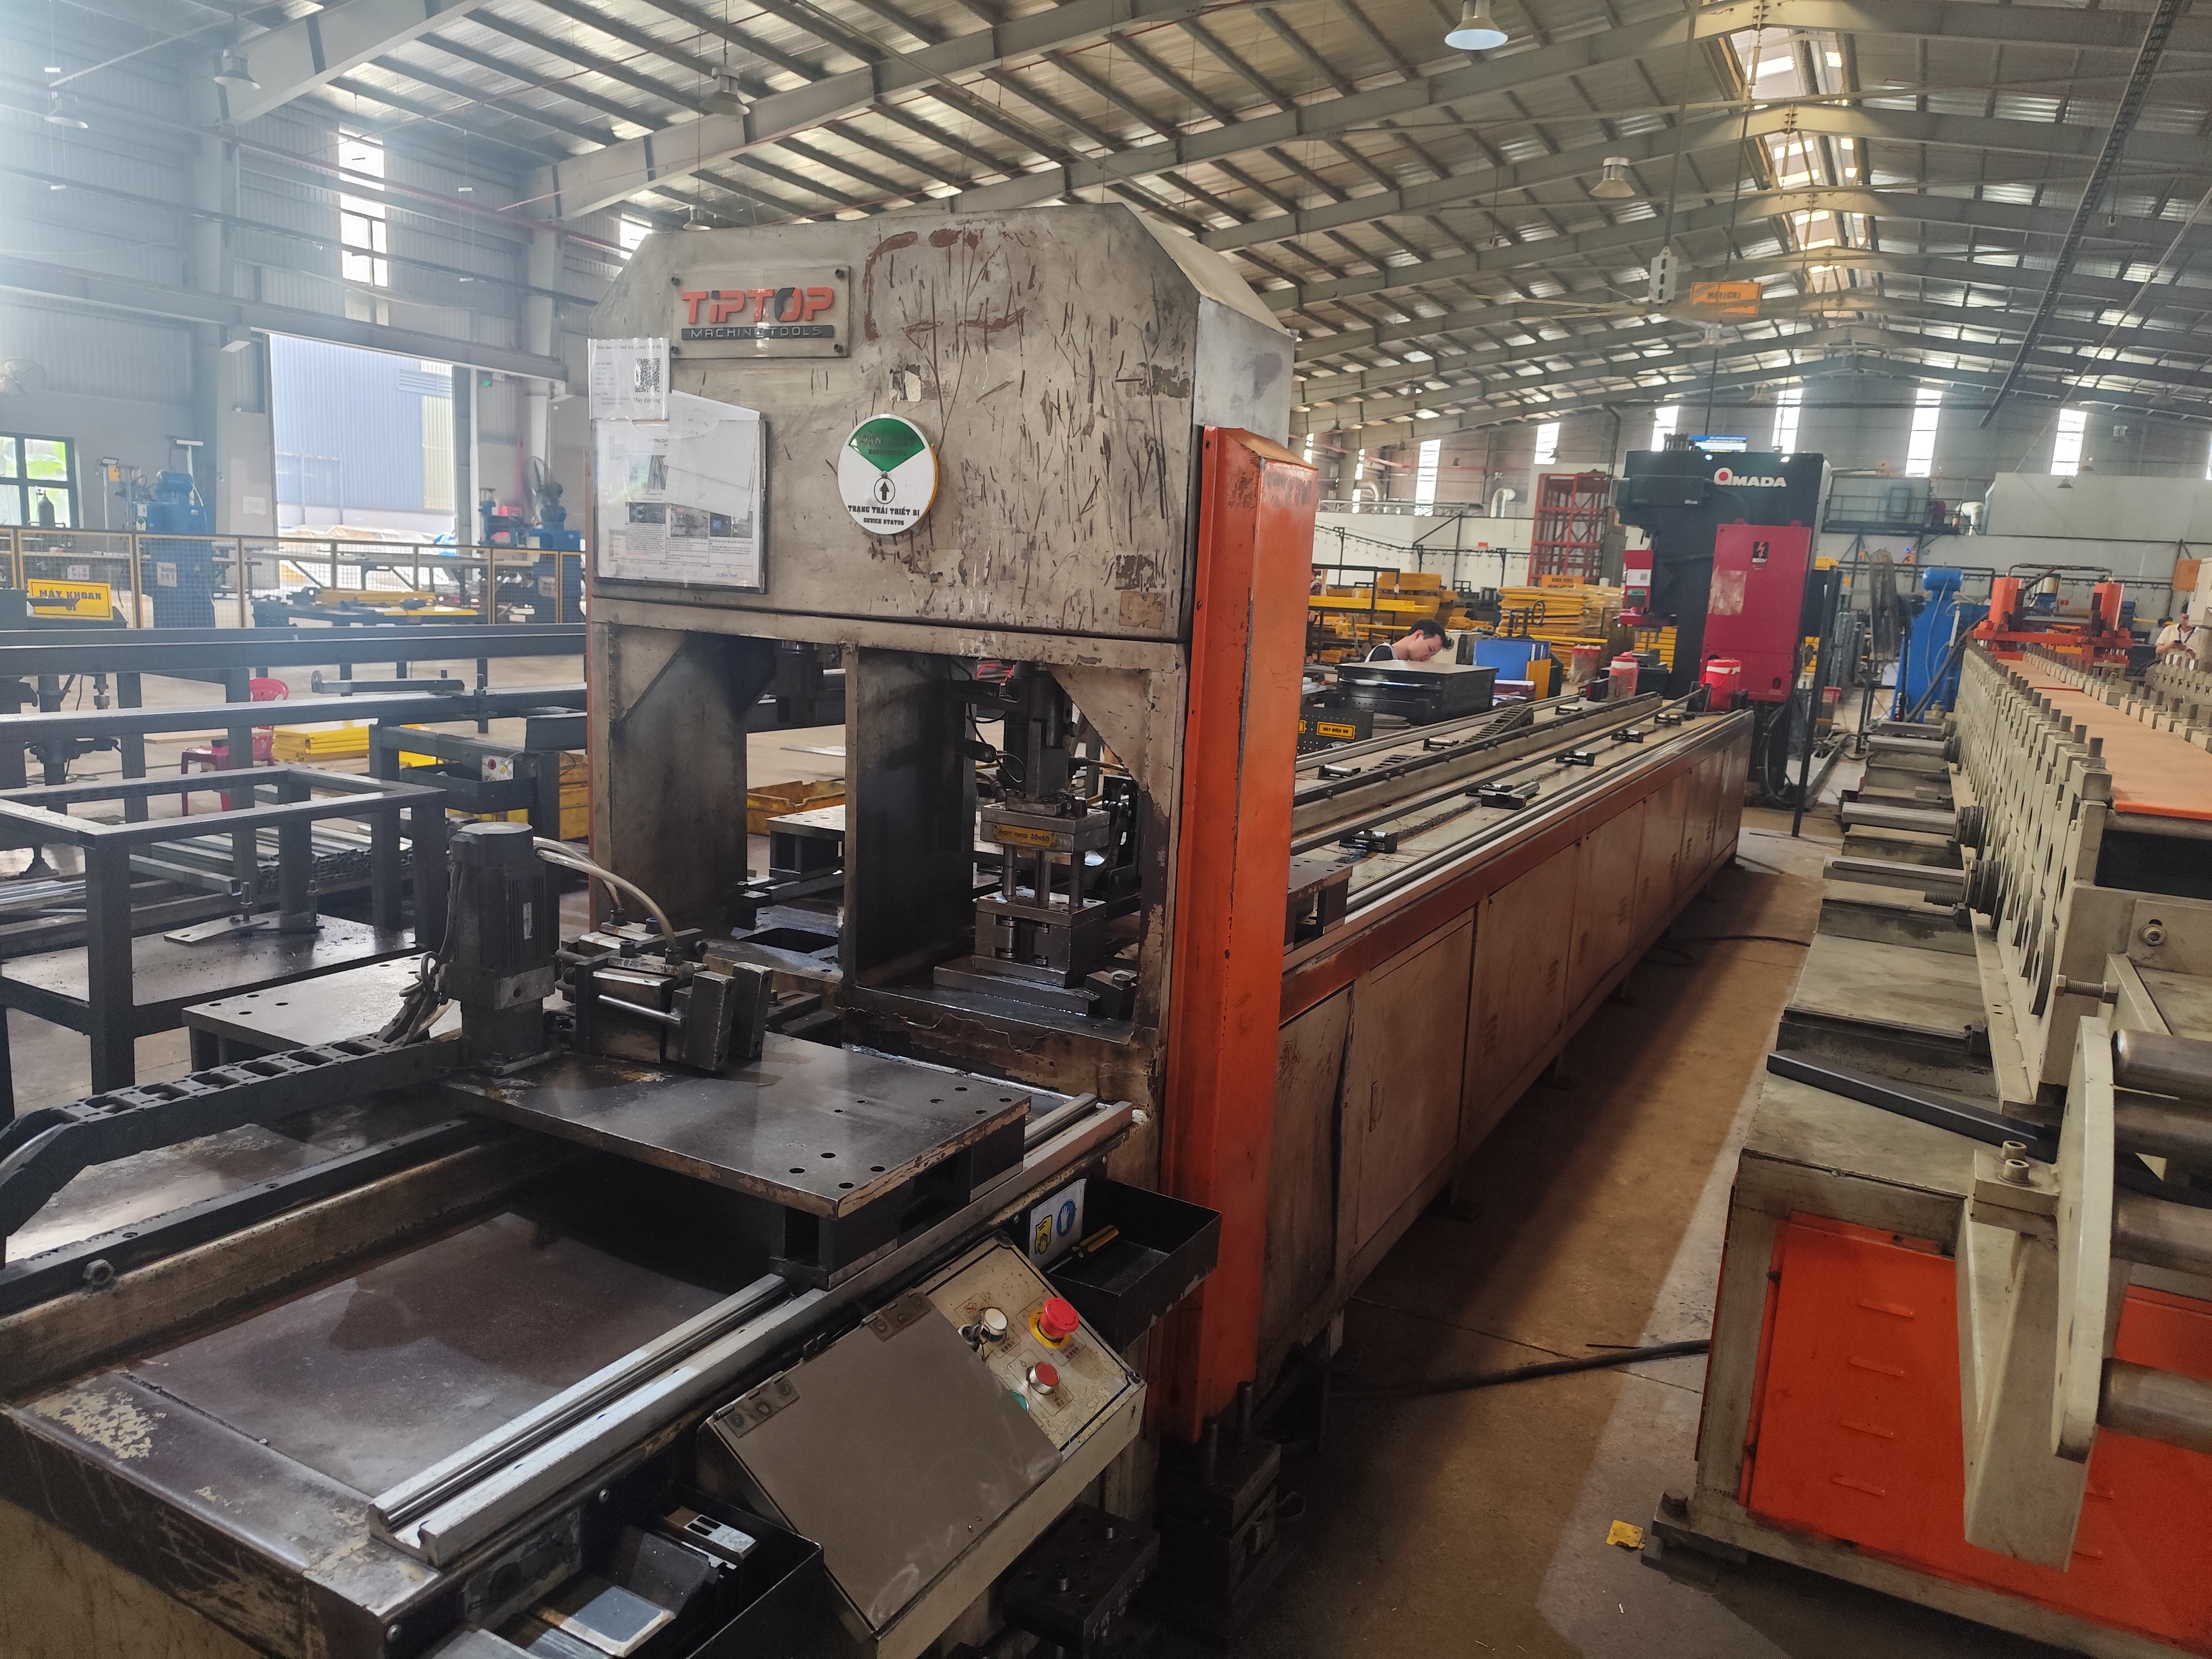
The selection process is not guesswork. It is a checklist. When we review a new custom part project at our Vietnam facility, we run every stamped component through the same decision questions before quoting.
Start With Permanence
Ask one question first. Will anyone ever need to take this joint apart? If yes, you need threaded fastening 2, usually with self-clinching nuts or rivet nuts pressed into the sheet. If no, welding, riveting, or clinching becomes available. This single question eliminates half the options right away.
Then Check Sheet Thickness
Thin sheet metal changes everything. A stamped panel under 1.5 mm usually cannot hold tapped threads reliably. The threads strip under torque. That is why self-clinching hardware exists. It creates a strong threaded point in metal too thin to tap. For sheets under 1 mm, seam joining and clinching also work well because they cold-form the material without heat.
Match the Method to the Job
| Requirement | Best Method | Avoid |
|---|---|---|
| Removable, serviceable joint | Threaded fasteners + PEM nuts | Welding, clinching |
| Maximum permanent strength | Projection or spot welding | Snap-fit |
| Dissimilar metals (steel + aluminum) | Riveting, clinching | Welding |
| Thin sheet under 1 mm | Clinching, seam joining | Tapping |
| Plated or painted surfaces | Riveting, self-clinching hardware | Heat-based welding |
| No fastener budget | Clinching, snap-fit, press-fit | Rivet nuts 3 |
Material pairing matters too. Joining aluminum to steel with the wrong fastener invites galvanic corrosion 4 at the interface. We always check the material mix on the drawing before recommending a method. In our experience exporting to the US, catching this at the drawing review stage saves weeks of rework later.
What Tools and Equipment Do I Need for Proper Stamping Part Installation?
During a supplier audit near Ho Chi Minh City last year, our team spotted an operator installing rivet nuts with a hand hammer. That single observation told us everything about their process control.
Proper stamping part installation requires a squeeze press or pneumatic tool for self-clinching hardware, resistance or laser welders for permanent joints, riveting guns for mechanical joining, and calibrated torque tools for threaded fasteners. High-volume lines add in-die insertion tooling or robotic cells.
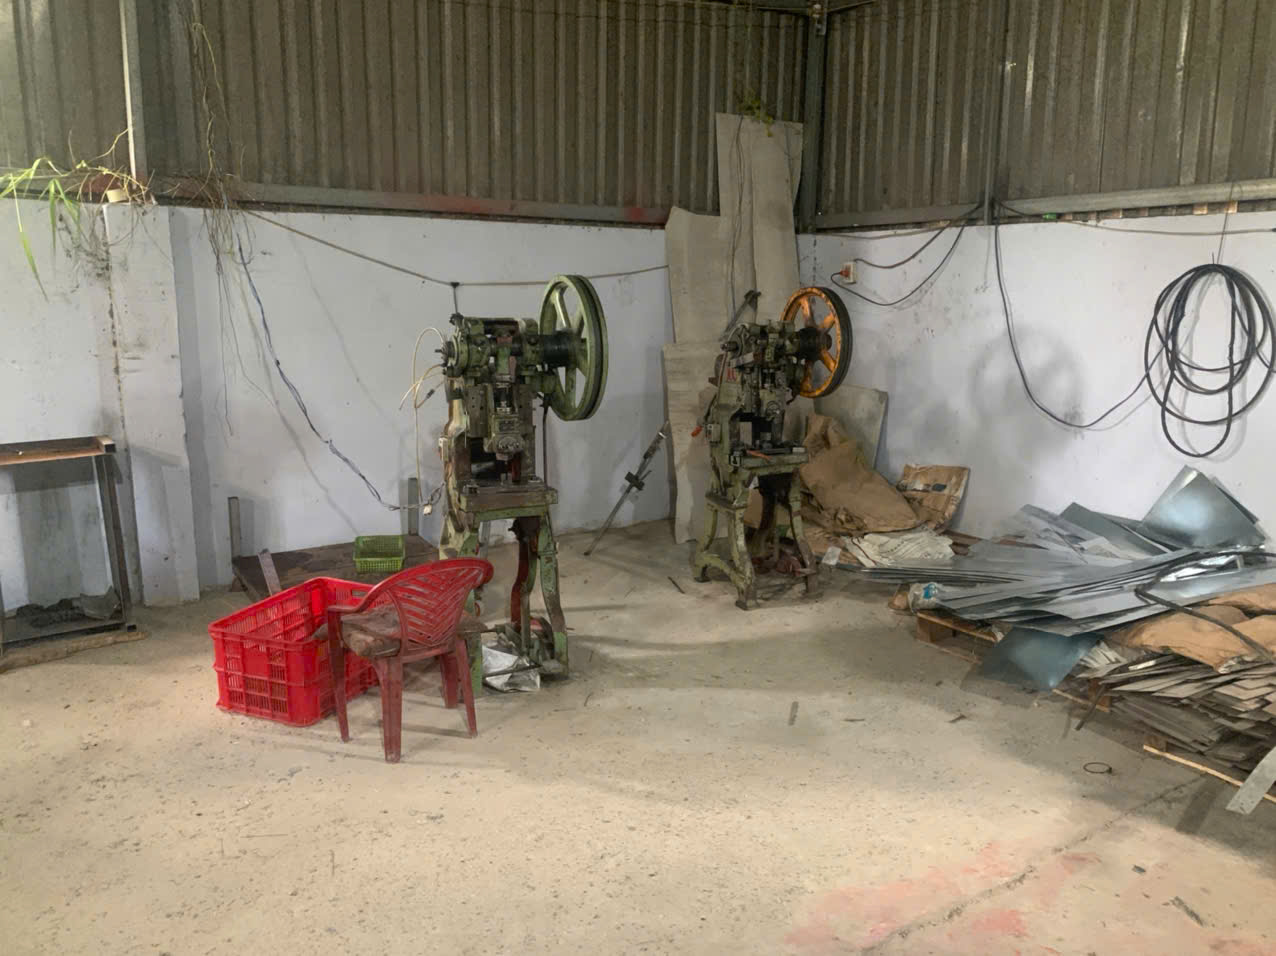
The equipment you need scales with your volume and your joint type. Let me break down the main categories we see across the factories we manage and audit.
Hardware Insertion Equipment
The squeeze press is the workhorse for self-clinching nuts, studs, and standoffs. It uses a custom anvil and punch to position the fastener and apply controlled, parallel force. Cycle times run roughly 2 to 5 seconds per fastener, which is why it dominates mid-to-high volume production. Hand-held pneumatic tools cover low-volume runs, field service, and oversized parts that cannot fit in a press frame. In-die insertion goes further. It installs hardware during the stamping stroke itself, cutting out a whole work cell.
Joining and Verification Equipment
| Installation Method | Primary Equipment | Verification Tool |
|---|---|---|
| Self-clinching hardware | Squeeze press, pneumatic installer | Push-out and torque-out testing |
| Spot / projection welding | Resistance welder with electrodes | Ultrasonic inspection 5, peel test |
| Laser welding | Fiber laser cell with fixturing | Visual + cross-section audit |
| Riveting | Rivet gun, SPR press | Pull-out and shear testing |
| Threaded fastening | Calibrated torque drivers | Torque auditing |
| Clinching | Clinching press with punch/die set | Peel and shear testing |
Notice the right-hand column. Every installation method needs a matching verification method. This is where many low-cost suppliers cut corners. A weld that looks fine can still fail ultrasonic inspection. A rivet nut installed off-axis can spin under load months later. When we run PPAP 6 for our US clients, joint verification data is part of the submission, not an afterthought. The tooling investment is real, but skipping verification equipment costs far more in returned goods.
How Can I Avoid Common Installation Errors That Lead to Non-Conforming Assemblies?
Rework is the silent margin killer. One batch of brackets we inspected years ago had every PEM nut installed from the wrong side. The parts stamped fine. The installation ruined them.
Avoid installation errors by controlling hole size and prep, installing hardware from the correct side, applying parallel squeeze force, verifying torque and push-out values on first articles, and documenting the process in a control plan. Most non-conformances trace back to skipped first-article checks.

Most installation failures are boring and preventable. They come from small process gaps, not exotic engineering problems. Here is the error pattern we see most often, and how we shut each one down.
The Five Most Common Errors
- Wrong hole size for self-clinching hardware. The hole must match the fastener specification exactly. Too large, and the displaced metal cannot lock the fastener. Too small, and the fastener deforms the sheet. We verify hole diameter at final inspection before hardware ever goes in.
- Installing from the wrong side. Self-clinching nuts must be pressed into the punch side of the hole. Reversing this cuts holding power dramatically. Drawings must call this out, and operators must follow it.
- Non-parallel installation force. Hammering or angled pressing tilts the fastener. It may hold at assembly and spin loose in the field. Only a press or proper pneumatic tool applies square, controlled force.
- Welding over plating or coatings. Heat destroys zinc plating and creates weak, porous welds. Sequence matters: weld first, then plate, or mask the weld zones.
- No first-article verification. Torque-out, push-out, and pull tests on the first pieces catch setup errors before they multiply across ten thousand parts.
Our clients in the US tell us their biggest frustration is suppliers who overlook drawing requirements and ship non-conforming assemblies. That is exactly why our process control includes an installation checkpoint in every control plan. Getting it right the first time is cheaper than any rework loop, and it is the only way to protect delivery dates.
Which Installation Methods Work Best for High-Volume Custom Stamping Projects?
Cost per part looks very different at 500 pieces versus 500,000. We learned this the hard way early on, quoting a hand-tool process for a project that later scaled tenfold.
High-volume stamping projects favor in-die hardware insertion, squeeze press cells, resistance projection welding, and robotic assembly. These methods trade higher tooling investment for lower per-part cost and consistent quality. In-die insertion is the most efficient once volume justifies the die modification.

Volume changes the economics of every installation method. A process that wins at prototype quantity can lose badly at production quantity. The key is total installed cost, not fastener price.
How Volume Shifts the Best Choice
| Annual Volume | Recommended Method | Why It Wins |
|---|---|---|
| Under 1,000 pcs | Hand-held pneumatic tools, manual riveting | Low tooling cost, maximum flexibility |
| 1,000–50,000 pcs | Squeeze press cells, spot welding | Fast cycles, consistent force, moderate setup |
| 50,000–500,000 pcs | Projection welding, dedicated press stations | Amortized tooling, stable quality |
| 500,000+ pcs | In-die insertion, robotic cells | Lowest per-part cost, no separate work cell |
In-die insertion deserves special attention. It installs nuts or studs during the stamping stroke, so the part leaves the press already fitted with hardware. There is no second handling step, no separate operator, and no extra work-in-process inventory. The tooling cost is higher up front. But above the volume threshold, the per-part savings compound with every stroke.
Robotic insertion 7 fills a different gap. Large or awkward stamped parts, like chassis panels, are slow and tiring to handle manually. A robot positions them repeatably and feeds fasteners without fatigue. We are also seeing more hybrid cells, where clinching or riveting is combined with adhesive bonding in one automated cycle to boost joint strength and throughput at the same time.
For our US clients running high-volume custom parts programs out of Vietnam, we model these thresholds during quoting. Sometimes the honest answer is to start with a squeeze press cell and budget the in-die tooling for year two, once volumes prove out. Open payment terms help clients manage that tooling investment without straining cash flow.
Conclusion
Stamping shapes the part. Installation makes it useful. Match the method to permanence, thickness, and volume, verify every joint, and non-conforming assemblies stop reaching your dock.
Frequently Asked Questions
How Do I Choose the Right Installation Method for My Stamping Parts?
A purchasing manager in Texas once sent us a drawing that specified welding for a 0.8 mm zinc-plated bracket. Our engineers flagged it immediately. The plating would have burned off at every weld point.
What Tools and Equipment Do I Need for Proper Stamping Part Installation?
During a supplier audit near Ho Chi Minh City last year, our team spotted an operator installing rivet nuts with a hand hammer. That single observation told us everything about their process control.
How Can I Avoid Common Installation Errors That Lead to Non-Conforming Assemblies?
Rework is the silent margin killer. One batch of brackets we inspected years ago had every PEM nut installed from the wrong side. The parts stamped fine. The installation ruined them.
Footnotes
1. Explains the corrosion mechanism referenced when joining dissimilar metals like aluminum and steel. ↩︎
2. ISO technical committee governs fastener standards relevant to threaded fastening specifications discussed here. ↩︎
3. Background reference explaining how rivet nuts function as a removable-joint fastening solution. ↩︎
4. Explains the electrochemical process causing corrosion when joining dissimilar metals like aluminum and steel. ↩︎
5. Authoritative nondestructive testing body defining standards for ultrasonic inspection referenced in weld verification. ↩︎
6. AIAG is the authoritative source defining PPAP requirements mentioned for client submissions. ↩︎
7. IEEE Robotics and Automation Society provides authoritative context on robotic insertion technology in manufacturing. ↩︎