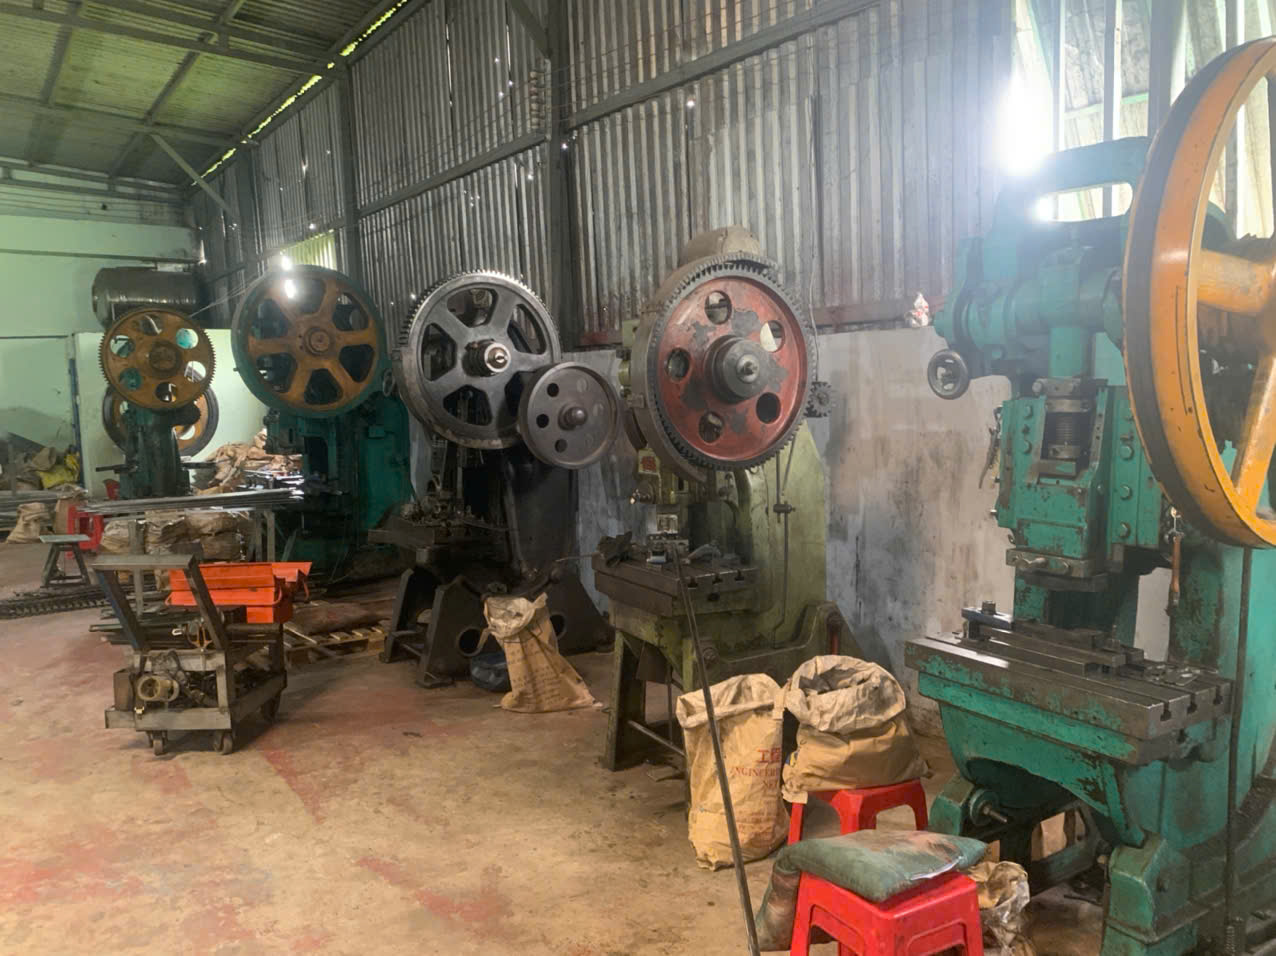
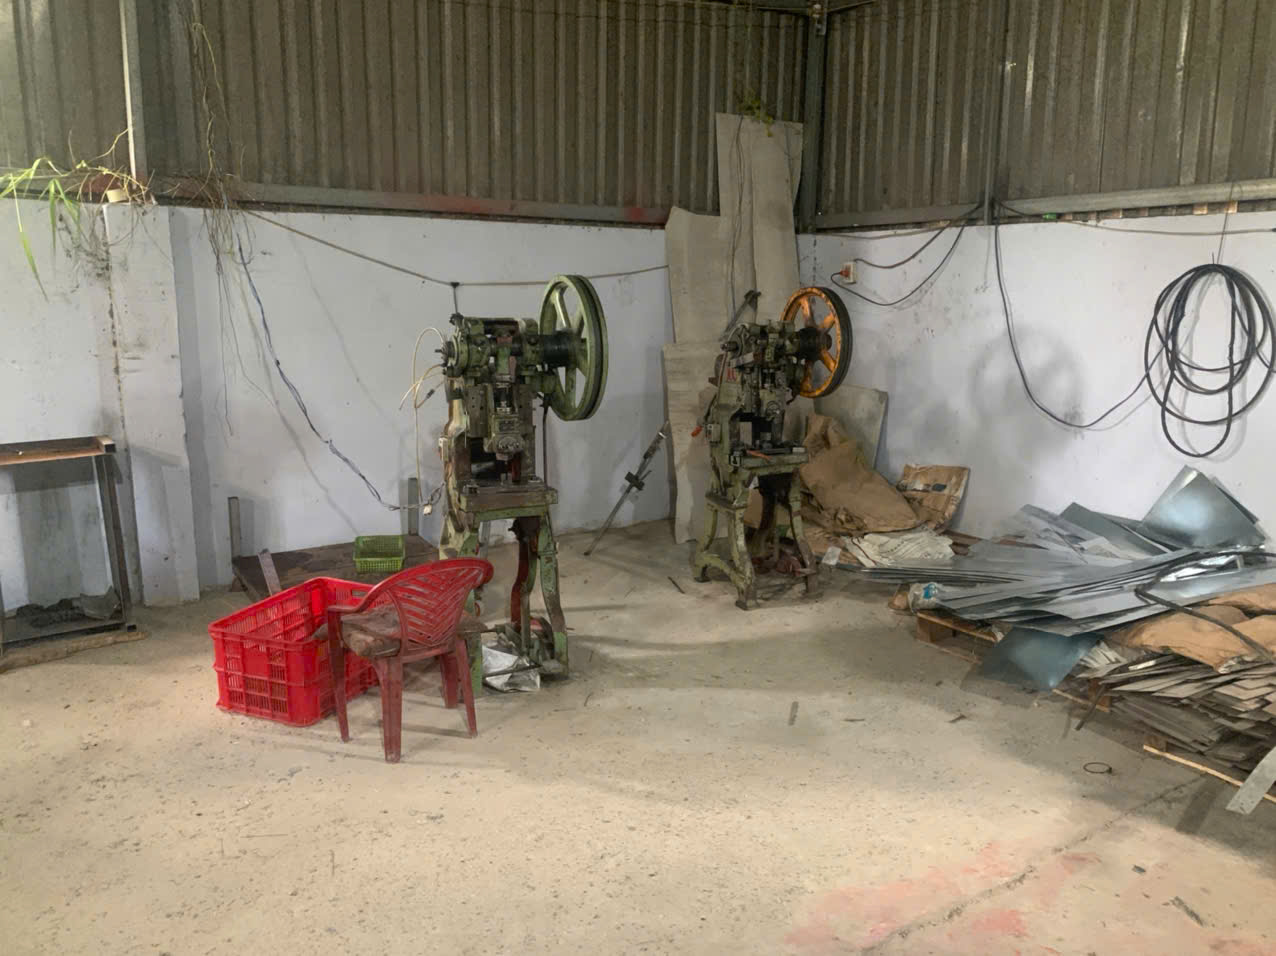
Flatness and evenness standards for stamping parts confuse many buyers coordinate measuring machine 1. I have seen good brackets rejected because our client’s drawing and the stamping shop’s chart defined “flat” differently. One vague callout can sink a whole shipment, delay assembly lines, and trigger costly rework. On our sourcing projects across Vietnam and wider Asia, we solve this by pinning flatness to written standards before the first tool ever cuts steel.
Flatness for stamping parts is defined by GD&T standards like ASME Y14.5 and ISO 1101, with general limits from ISO 2768-2. Typical shop tolerances run about 0.005 inch TIR for small parts, or 0.1–0.5 mm per 100 mm, scaling with part size and thickness.
That short answer hides a lot of detail. Below, I break down how flatness is measured, what tolerances to expect, why parts warp, and how to audit your supplier’s inspection process.
How Do I Measure Flatness on Stamped Metal Parts Accurately?
During a supplier audit in Vietnam last year, I watched an inspector press a stamped Z-clip against a granite plate and call it "flat enough." That moment showed me why measurement method matters as much as the tolerance number itself.
Measure flatness by placing the stamped part on a calibrated surface plate, then finding the smallest gap between two parallel planes that contains the entire surface. Use feeler gauges for quick checks, dial indicators for TIR, and CMM or optical scanning for full traceability.
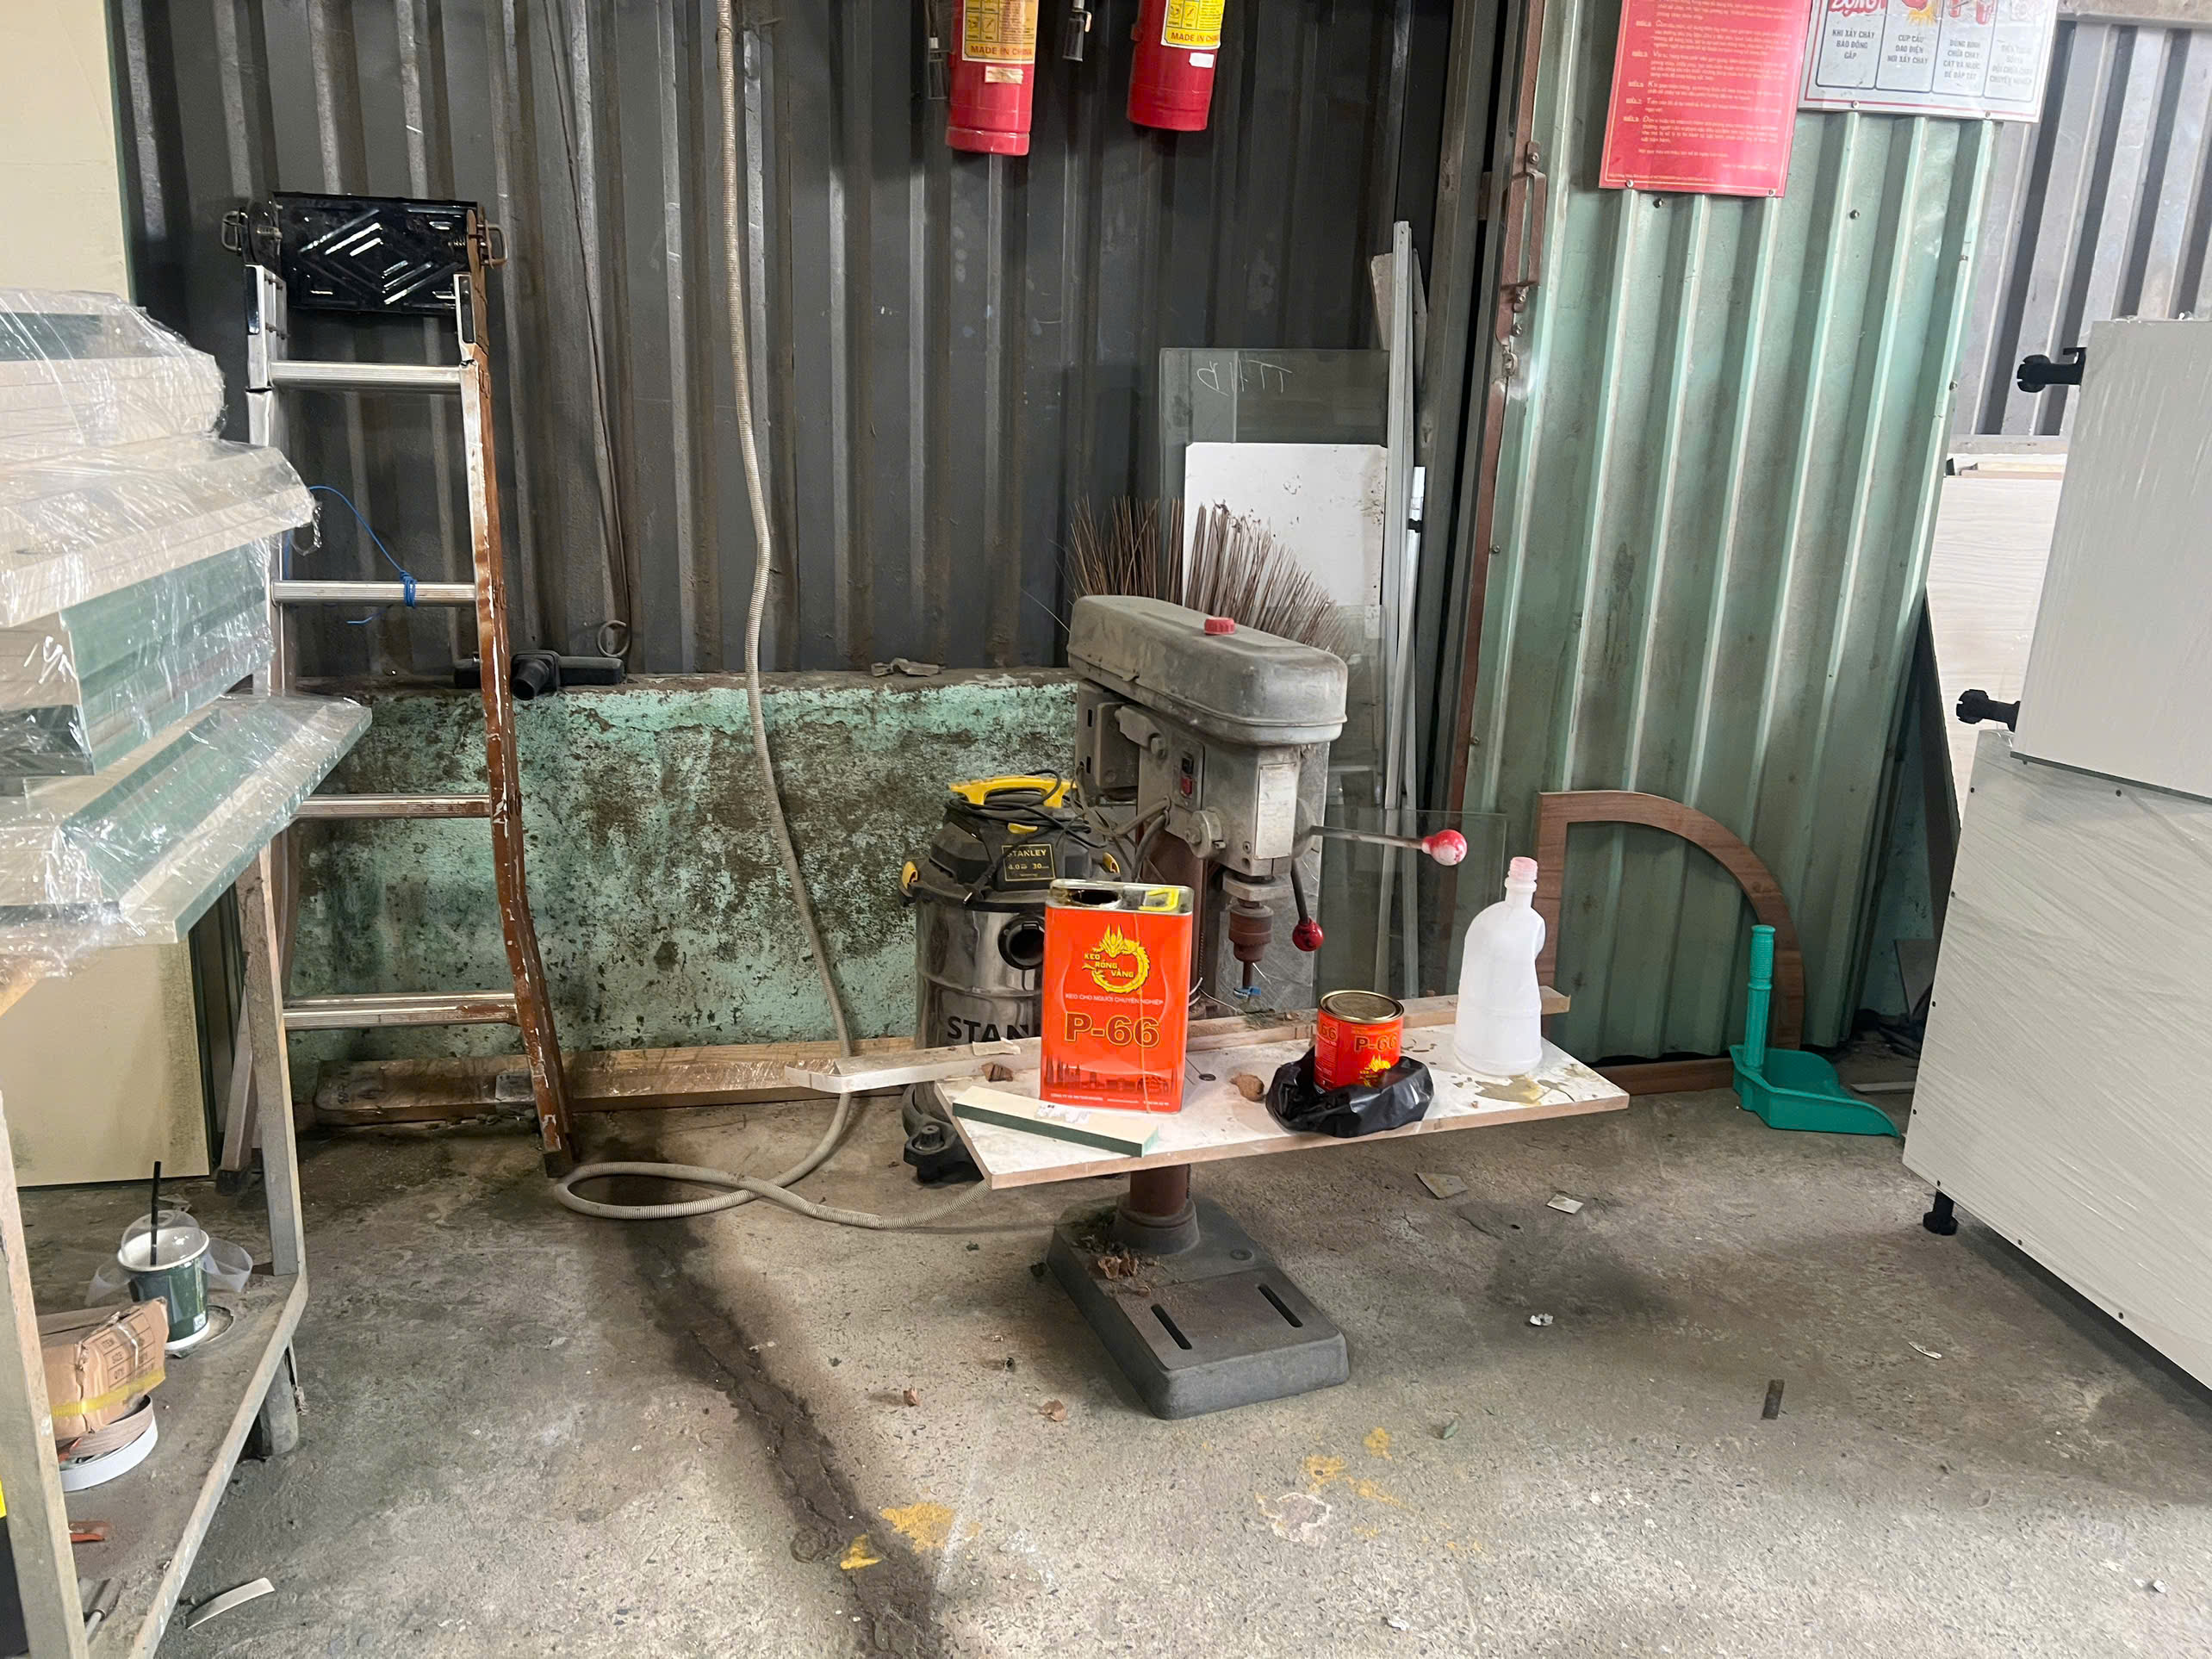
Flatness is not "eyeballing" a part on a bench. The formal definition under ASME Y14.5 2 and ISO 1101 is the minimum-zone method. Imagine two perfectly parallel planes. The whole stamped surface must fit between them. The distance between those planes is your measured flatness. If the drawing says 0.2 mm flatness, the gap must not exceed 0.2 mm.
Common Measurement Methods, From Fast to Precise
Different checks suit different stages of production. In our final inspection process, we usually combine a fast method for 100% checks with a precise method for sampling.
| Method | How It Works | Best For | Typical Resolution |
|---|---|---|---|
| Straightedge + feeler gauge | Slide gauges under a straightedge laid on the part | Quick shop-floor acceptance | 0.02–0.05 mm |
| Surface plate + dial indicator | Sweep the indicator across the part, record TIR | Batch sampling of brackets and clips | 0.01 mm |
| Profilometer trace | Trace a stylus across one line of the surface | Localized waviness checks | Microns |
| CMM point cloud | Probe many points, software fits minimum zone | Drawing-level GD&T verification | 0.002–0.005 mm |
| Optical / laser scanning | Full-field 3D scan of the surface | Complex formed parts, PPAP reports | Varies by system |
The 10:1 Rule
One metrology guideline I insist on during audits: the measuring tool should be about ten times more precise than the tolerance it verifies. If your flatness callout is 0.1 mm, a feeler gauge with 0.05 mm steps cannot prove conformance. This is a best practice, not a law, but it separates serious quality systems from casual ones.
Also, measure the part unclamped and unrestrained. Clamping a springy stamped bracket flat during inspection hides the very distortion you are trying to catch. For thin-gauge clips like the Z-fold fasteners we source, free-state measurement is essential unless the drawing explicitly allows restrained checking.
What Tolerance Levels Should I Expect for Different Stamping Applications?
A purchasing manager in the U.S. once asked me to quote 0.02 mm flatness on a simple 150 mm mounting bracket. When I explained the cost impact, he admitted the part just held a plastic panel. We relaxed the tolerance and cut his piece price significantly.
Expect roughly 0.005 inch TIR for surfaces under 1 inch, 0.005 inch per inch up to 4 inches, and looser values beyond. In metric terms, typical stamping flatness runs 0.1–0.5 mm per 100 mm, with sealing surfaces at the tight end and structural brackets at the loose end.

There is no single universal flatness number for stamping. Real tolerances come from three layers. First, the drawing-level GD&T callout, which always governs. Second, supplier acceptance tables, which apply when the drawing is silent. Third, mill tolerances for the incoming sheet under standards like ASTM A480/A480M 4, which limit how flat the raw material even starts.
Practical Tolerance Tables by Part Size
Here is a summary of widely used shop-level values that we reference when reviewing customer drawings:
| Part Dimension | Common Flatness Tolerance | Notes |
|---|---|---|
| 0 to 1 inch (0–25 mm) | 0.005 inch TIR | Achievable in standard tooling |
| 1 to 4 inches (25–100 mm) | 0.005 inch per inch TIR | Scales linearly with size |
| Over 4 inches (100 mm+) | 0.020 inch + 0.004 inch per extra inch | Secondary leveling may be needed |
| Sheet parts under 36 inches | Max 1/4 inch total deviation | Blank-level, pre-forming expectation |
| Metric general guide | 0.5 mm per 300 mm | Depends on thickness and process |
Matching Tolerance to Function
Tolerance should follow function, not habit. This table reflects how we guide clients during co-development:
| Application | Suggested Flatness Level | Why |
|---|---|---|
| Gasket or sealing face | Tight (0.05–0.1 mm) | Leaks form at gaps |
| Datum or precision mating surface | Tight to medium | Stack-up accuracy depends on it |
| Electronic chassis bracket | Medium (0.1–0.3 mm) | Fastener pull-down absorbs some error |
| Panel clip or spring fastener | Loose (0.3–0.5 mm+) | Part flexes in service anyway |
| Structural framing bracket | Loose | Bolted joints tolerate deviation |
The key lesson: every tightening step adds cost. Tighter flatness means better material control, extra leveling passes, slower stroke speeds, and more inspection time. If the surface is not a sealing face or a datum, do not pay for precision you will never use.
Why Do My Stamped Parts Warp or Distort After Production?
Early in one bracket project, our Vietnamese partner's first article samples all bowed the same direction. The tooling was fine. The coil was the problem: residual coil set locked stress into every blank before the press ever touched it.
Stamped parts warp because of residual stress in the incoming coil, uneven die pressure, stress concentrations around pierced holes, bends near unsupported edges, springback, and thermal effects. The stamping process redistributes internal stresses, and the part deforms as those stresses rebalance after release.

Warping is rarely one cause. It is usually several small stress sources stacking up. Understanding each one helps you fix the right problem instead of blaming the press operator.
The Main Causes, Ranked by How Often We See Them
- Incoming material stress. Coil set, crossbow, and camber ride into the press with every blank. If the material is not leveled first, no die can guarantee flatness.
- Piercing and hole placement. Every punched hole relieves stress unevenly. Holes placed too close together, or too close to edges and bends, create local distortion. A good rule: keep holes at least 1.5× material thickness apart and 2× thickness away from any bend.
- Springback after forming. Metal wants to return partway toward its original shape. High-strength steels spring back more than mild steel. Grain direction matters too, especially in rolled aluminum, where bending with the grain behaves differently than across it.
- Uneven die pressure and blank holder force. Worn tooling, unbalanced progressive stations, or wrong holder pressure leave one zone stretched more than another.
- Thermal and speed effects. High stroke rates heat the strip and the tool. That heat changes material behavior mid-run.
How Production Fixes It
Flatness is often achieved, not just stamped. Real production lines add corrective steps: roller leveling before blanking, secondary restrike or coining operations, rotary deburring followed by straightening, and in some cases stress-relief annealing. Forming simulation software can also predict springback 6 before the tool is cut, which saves expensive tryout loops. When we run OEM co-development projects, we ask suppliers to show where leveling sits in their process flow, because a shop that plans for flatness beats a shop that hopes for it.
How Can I Verify My Supplier's Flatness Inspection Process Meets My Specifications?
One hard lesson shaped how our team audits stamping suppliers today. Years ago, a shop passed every internal check, yet parts failed at the customer's assembly line. Their gauge was fine. Their interpretation of the drawing was not.
Verify your supplier by auditing four things: which standard they inspect to (ASME Y14.5 or ISO), their gauge calibration and resolution against the 10:1 rule, their documented inspection method and sampling plan, and correlation between their measurements and your own on the same parts.
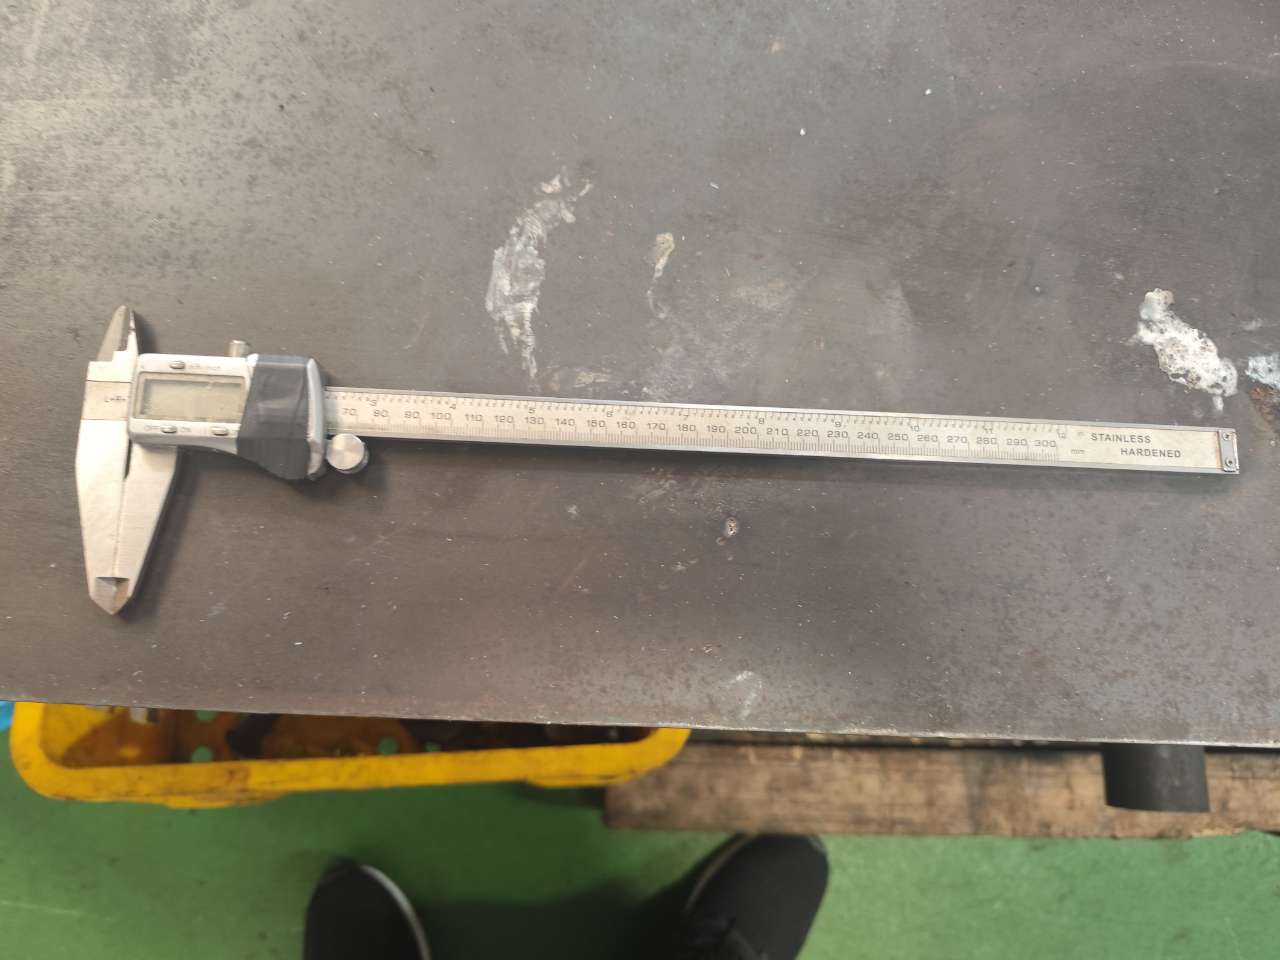
Trust is good. Verification is better. In our supplier audit and PPAP work, we treat flatness inspection as a system, not a single measurement. Here is the structured approach we use, and you can apply it directly.
A Practical Verification Checklist
First, check the paperwork before the parts. Ask which standard governs their default interpretation. If your drawing invokes ASME Y14.5 and they inspect to an in-house table, you have a gap. The drawing controls the part. Supplier tables only apply where the drawing is silent.
Second, examine their equipment. Look at calibration certificates and dates. Confirm gauge resolution is roughly ten times finer than your tightest flatness tolerance. A shop measuring 0.1 mm flatness with a 0.05 mm feeler gauge cannot prove conformance, no matter how honest they are.
Third, review the method. Do they measure free-state or clamped? On a surface plate or in a fixture? How many points do they probe? Is the sampling plan defined, or does the inspector "check a few"? A written inspection instruction with photos is a strong positive signal.
Fourth, run a correlation study. Send a small batch of parts you have measured yourself. Compare their results to yours. Small differences are normal. Systematic bias means their method differs from yours, and that is exactly what you want to catch before mass production.
Finally, lock it into documents. Put the flatness callout, measurement method, and acceptance criteria into the PPAP package 7 and the final inspection report format. When we manage door-to-door projects for U.S. clients, this documentation is what turns "the parts looked flat" into "the parts conform, and here is the data."
Conclusion
Flatness problems drain budg
Frequently Asked Questions
How Do I Measure Flatness on Stamped Metal Parts Accurately?
During a supplier audit in Vietnam last year, I watched an inspector press a stamped Z-clip against a granite plate and call it "flat enough." That moment showed me why measurement method matters as much as the tolerance number itself.
What Tolerance Levels Should I Expect for Different Stamping Applications?
A purchasing manager in the U.S. once asked me to quote 0.02 mm flatness on a simple 150 mm mounting bracket. When I explained the cost impact, he admitted the part just held a plastic panel. We relaxed the tolerance and cut his piece price significantly.
Why Do My Stamped Parts Warp or Distort After Production?
Early in one bracket project, our Vietnamese partner's first article samples all bowed the same direction. The tooling was fine. The coil was the problem: residual coil set locked stress into every blank before the press ever touched it.