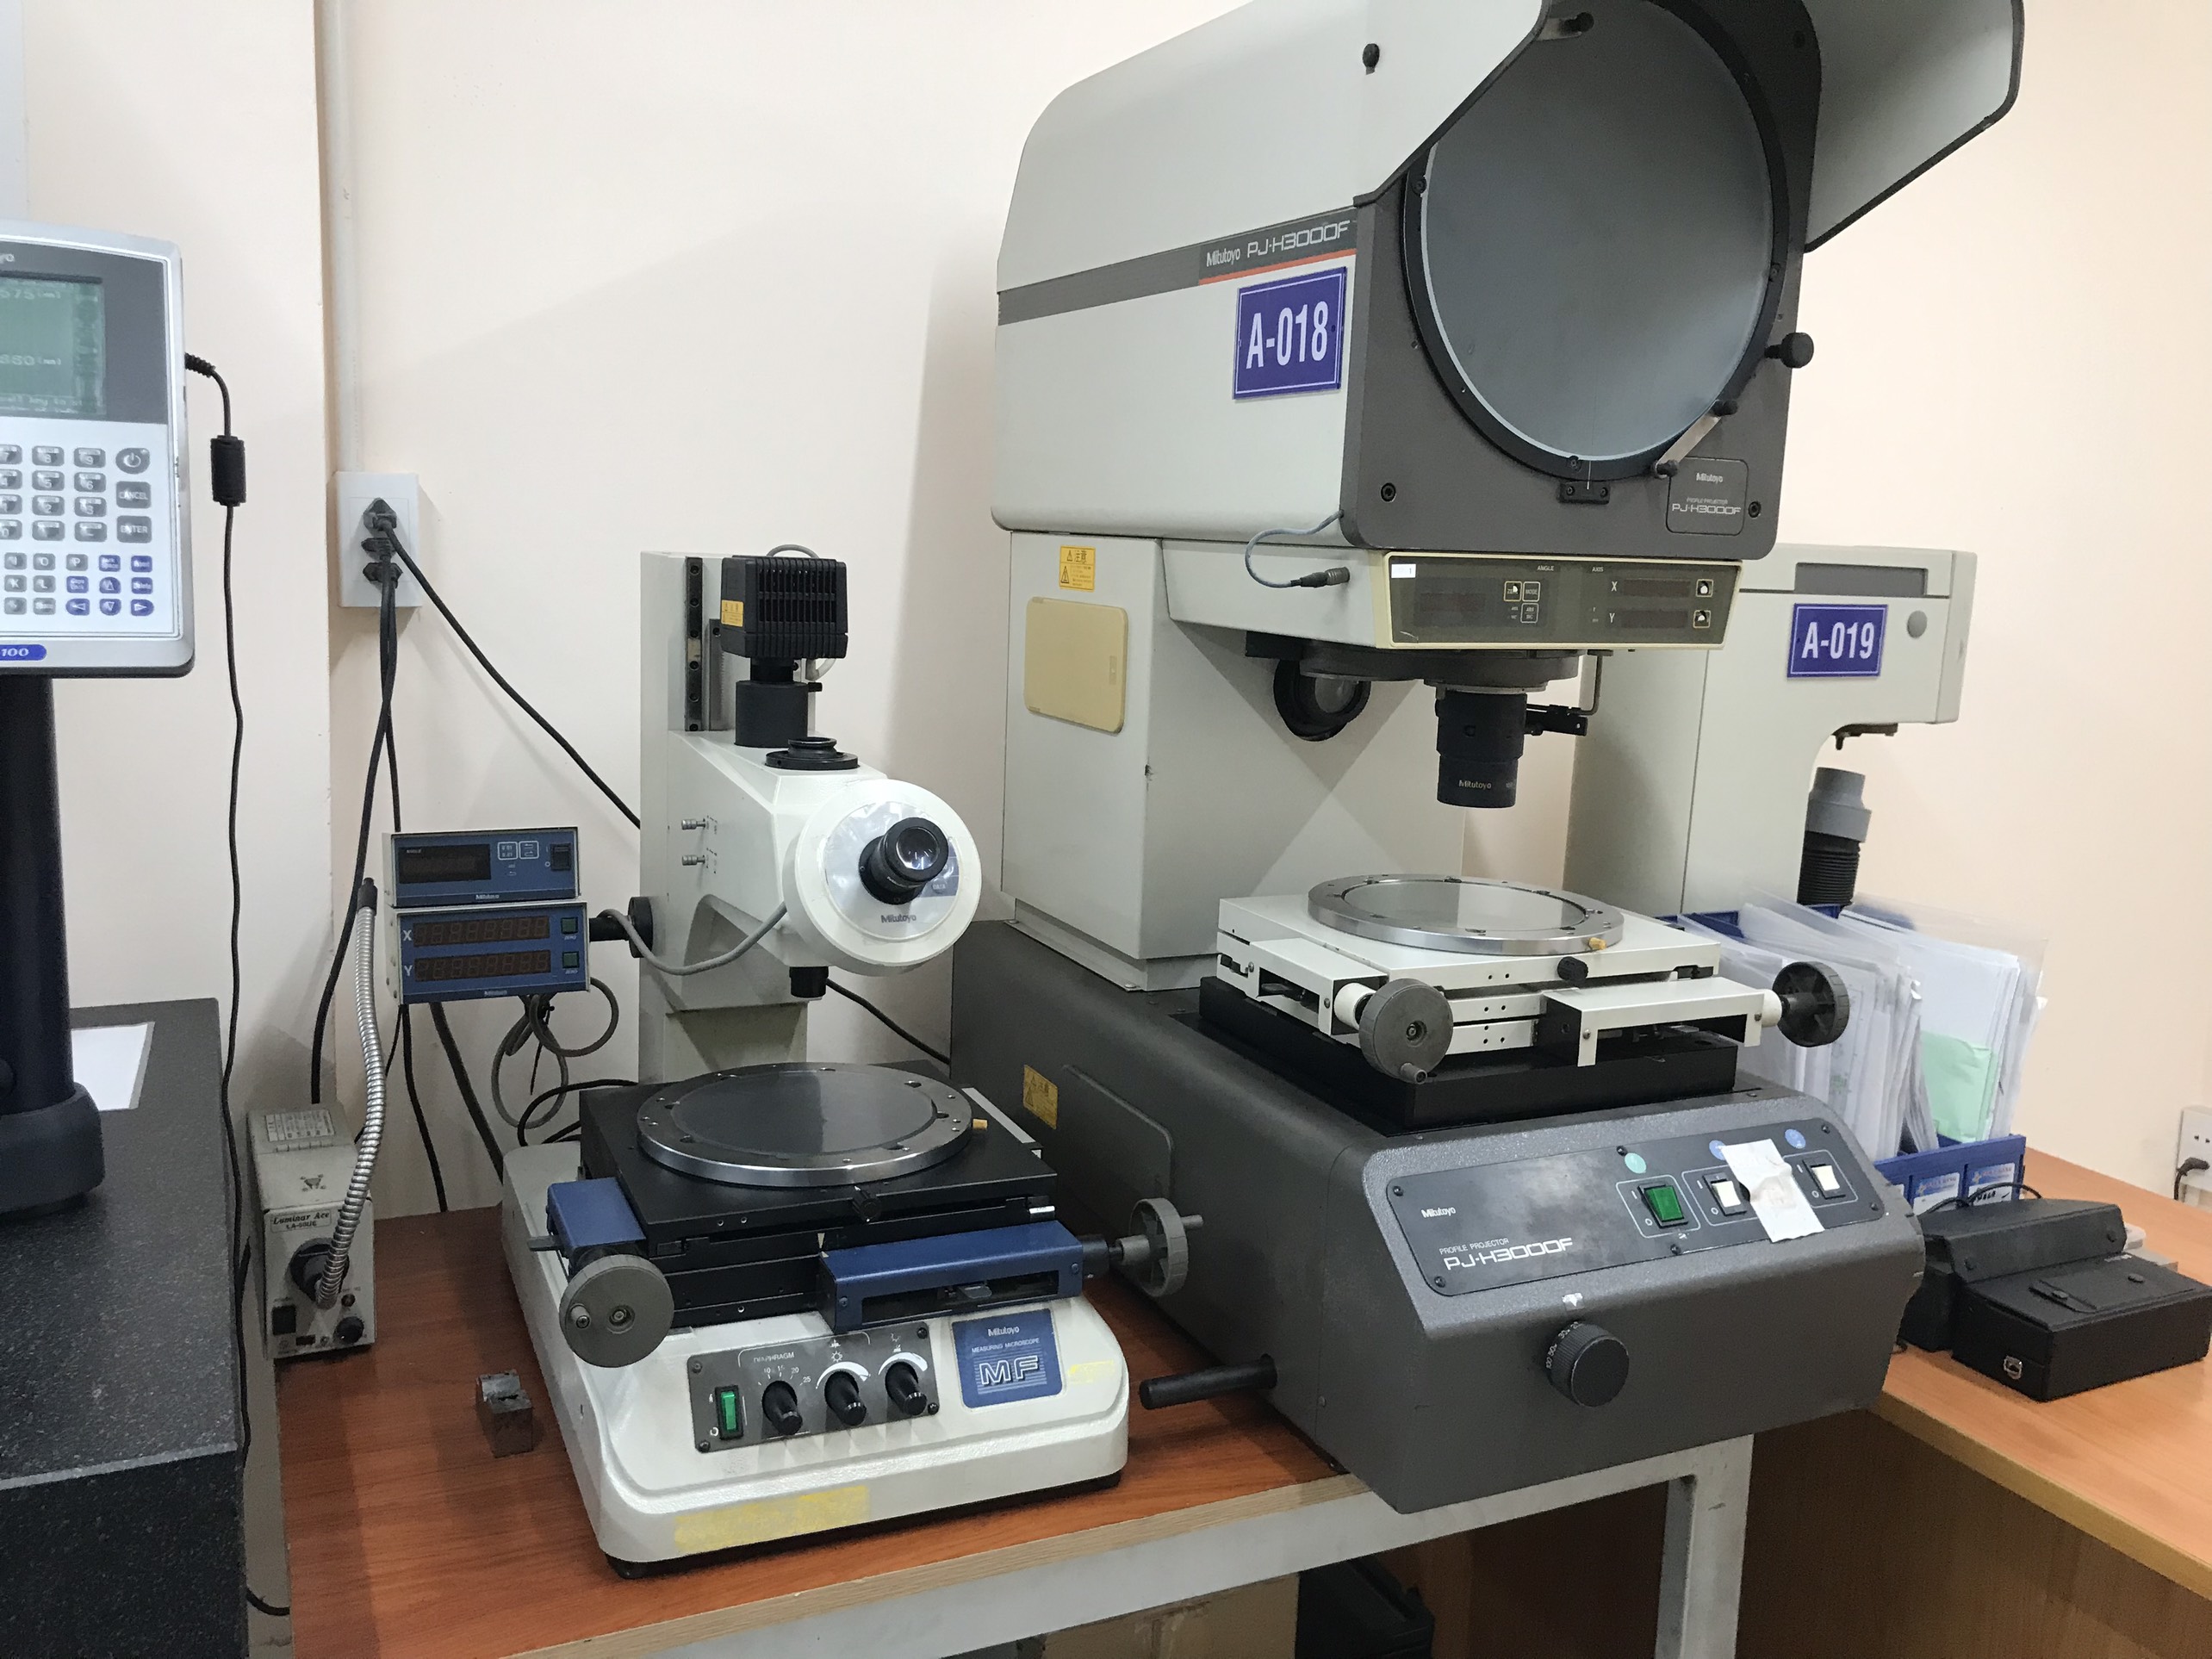
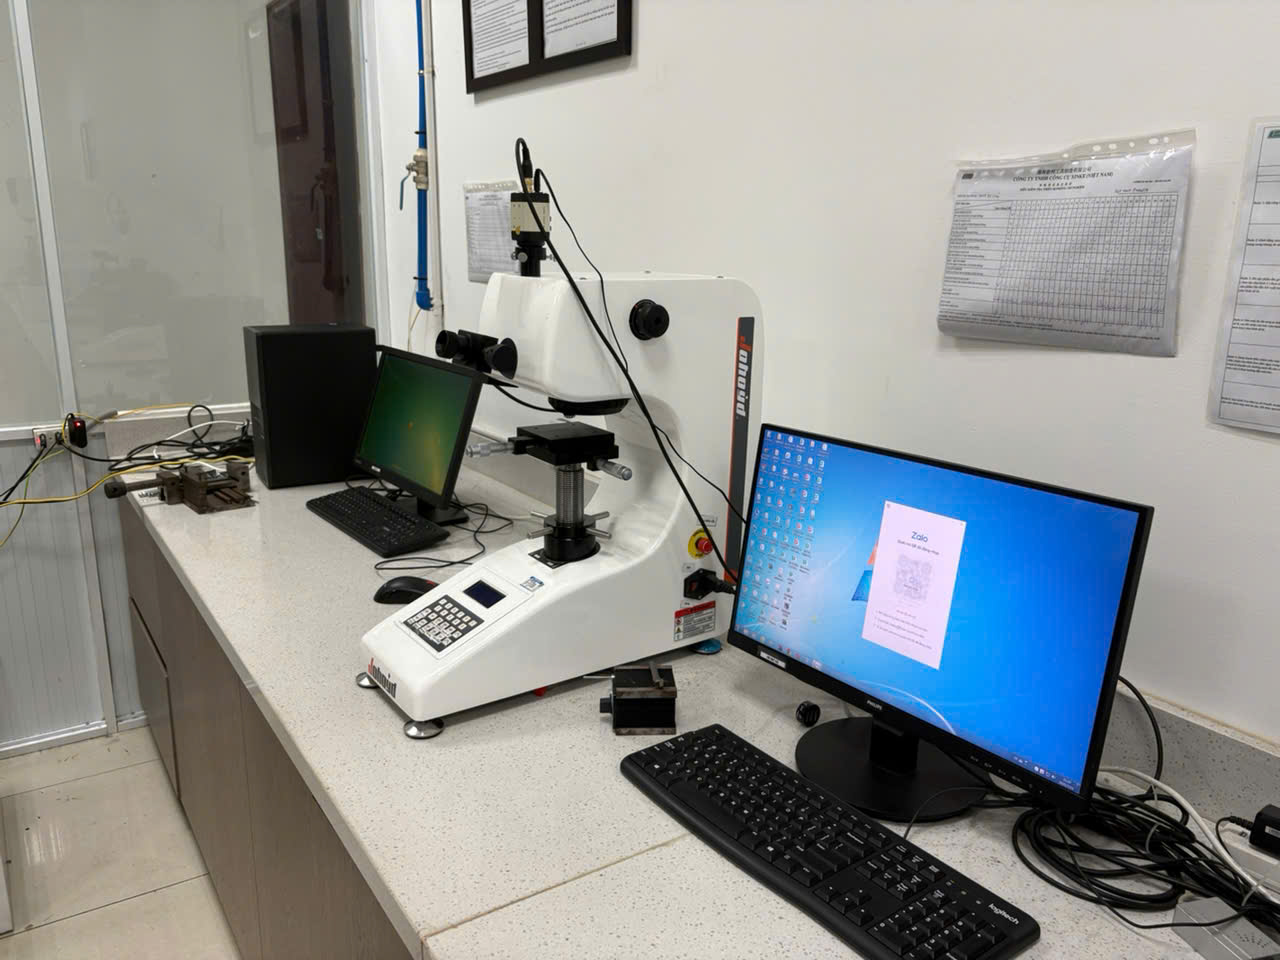
Every week, our team reviews rejected shipments that other suppliers sent to U.S. buyers — scratched surfaces, holes off by 0.2 mm, welds that crack under load. These failures cost thousands in rework and weeks of lost time surface roughness parameters 1. The frustrating part? Nearly every defect could have been caught with a proper final inspection. When we built our quality control workflow 2 at DEWIN, we designed it around one principle: catch every issue before the part leaves the facility, because “right first time” is the only standard our buyers accept.
The key quality inspection steps for finished sheet metal products include visual examination for surface defects, precision dimensional inspection using CMMs and gauges, bend and form verification, weld quality assessment through non-destructive testing, surface finish and coating evaluation, material gauge verification, and functional testing to confirm assembly fit.
Each of these steps targets a different failure mode non-destructive testing methods 3. Skip one, and you risk shipping parts that look fine but fail during assembly. Below, I will walk through the critical inspection phases we use on every custom sheet metal project, from dimensional verification to final documentation.
How do I verify that my finished sheet metal parts meet all critical dimensional tolerances?
A lesson we learned early in our Vietnam facility changed how we approach dimensional accuracy forever Dye Penetrant Testing 4. A batch of mounting brackets passed visual inspection perfectly — clean edges, smooth bends, no scratches. But when our client in Ohio tried to assemble them, the screw holes were off by just 0.1 mm. Every single bracket was rejected. That invisible deviation cost the project two weeks and eroded trust we had spent months building.
To verify dimensional tolerances on finished sheet metal parts, use calibrated instruments — calipers, micrometers, and height gauges for basic checks, and a Coordinate Measuring Machine for complex 3D geometries. Always compare measurements against engineering drawings, and prioritize client-specified Critical Dimensions with intensified inspection.
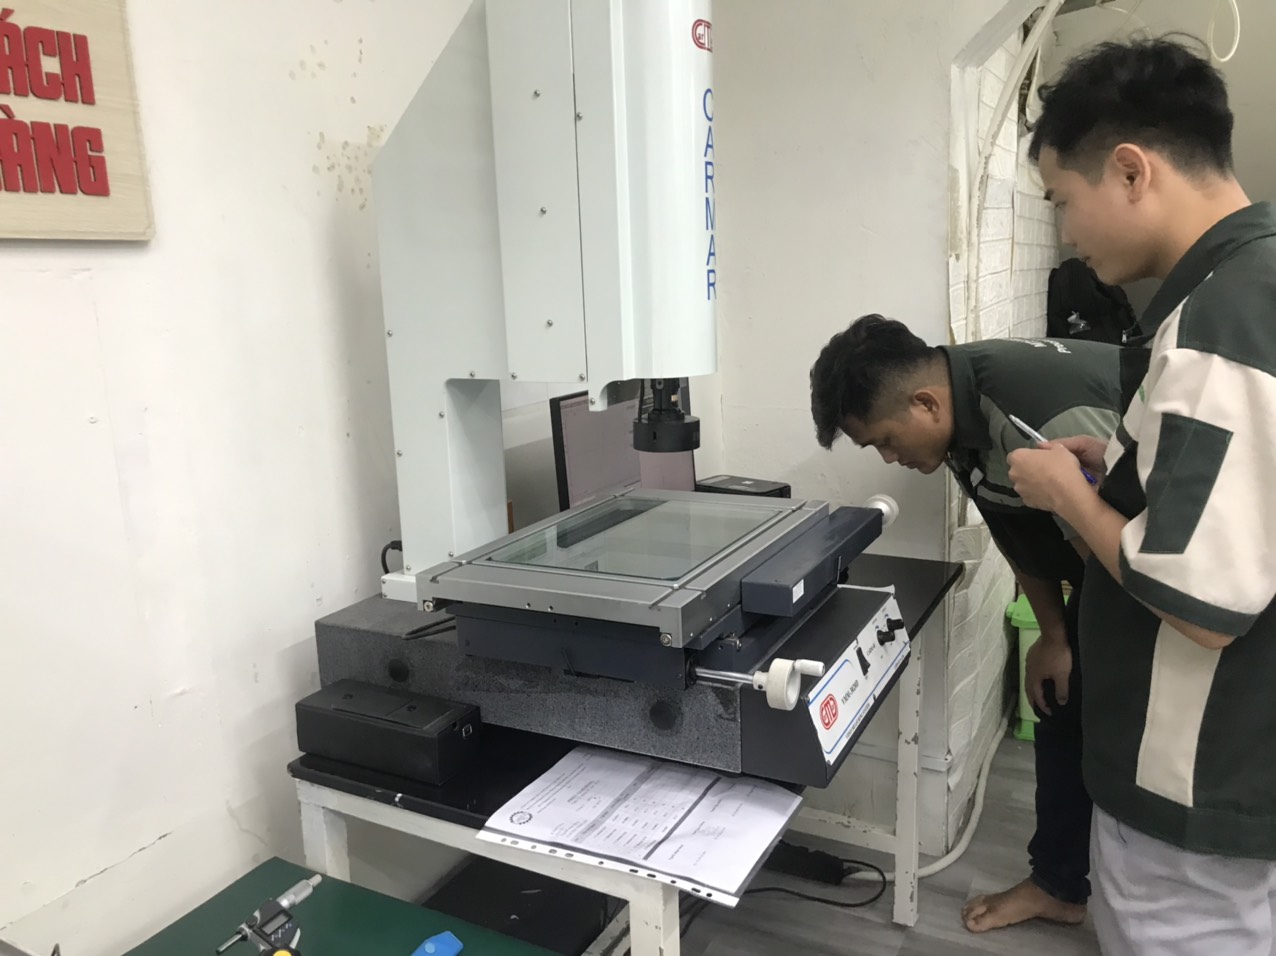
Start with First Article Inspection
Before any mass production run begins, we produce a sample part and measure every dimension against the engineering drawing. This First Article Inspection 5 acts as a gate. If the sample fails, we stop and adjust tooling before wasting material. Our engineers document the FAI results in a formal report that the client reviews and approves. Only after written confirmation do we proceed.
Manual Measurement Tools
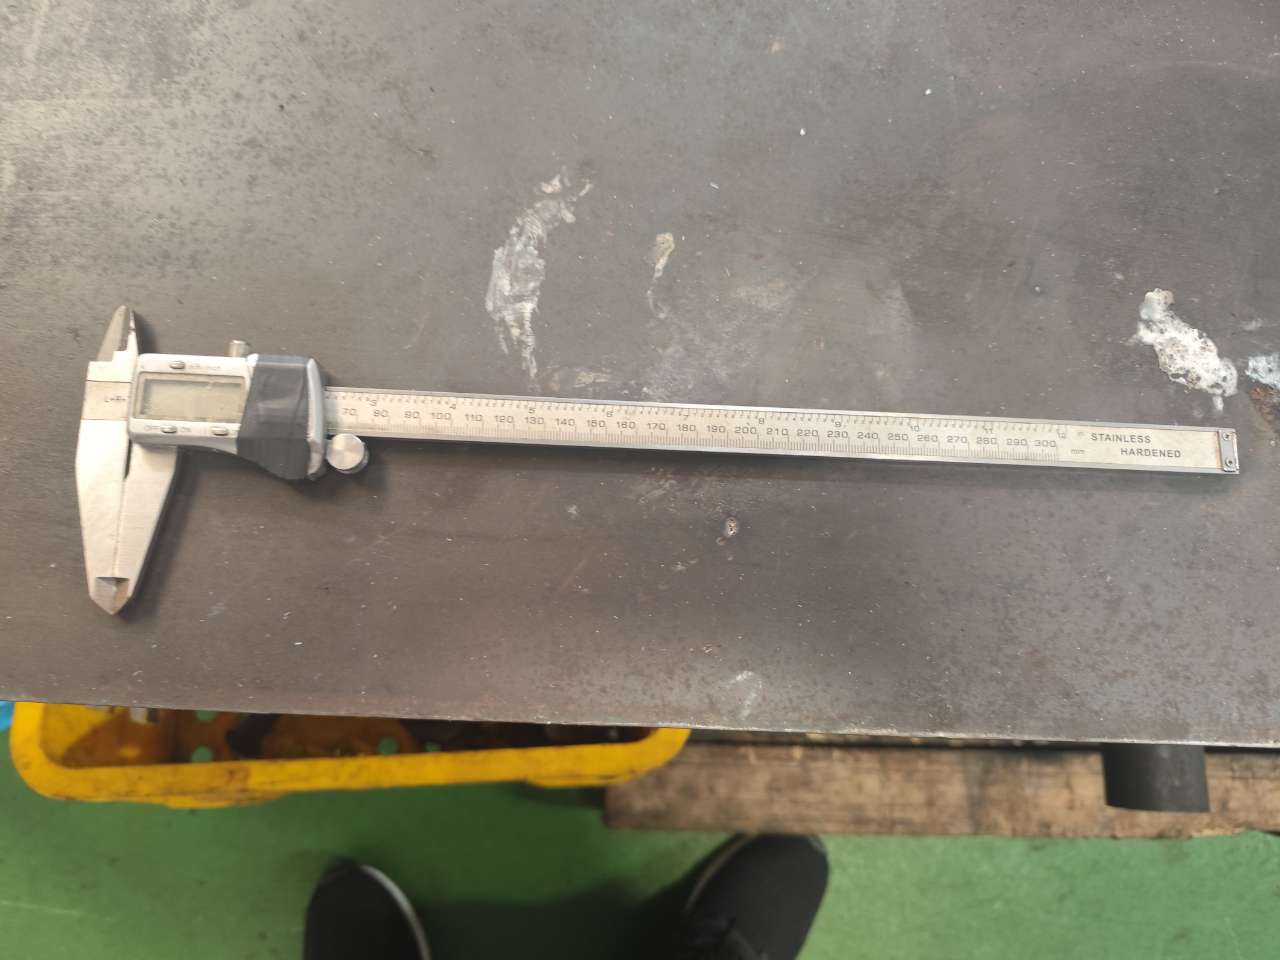
For straightforward dimensions — length, width, hole diameters — manual tools work well. Here is what we keep on every inspection bench:
| Tool | What It Measures | Typical Accuracy |
|---|---|---|
| Vernier Caliper | Length, width, diameter, depth | ±0.02 mm |
| Micrometer | Thickness, small diameters | ±0.001 mm |
| Height Gauge | Vertical dimensions, step heights | ±0.01 mm |
| Depth Gauge | Hole depth, recess depth | ±0.02 mm |
| Angle Gauge | Bend angles | ±0.5° |
These tools are calibrated on a strict schedule. An out-of-calibration caliper can give false confidence that a part meets spec when it does not.
When to Use a CMM
For complex geometries — parts with multiple hole patterns, compound bends, or tight geometric tolerances — manual tools are not enough. We use a Coordinate Measuring Machine 6 to capture 3D coordinates and compare them directly to the CAD model. A CMM can detect positional deviations that a caliper simply cannot measure. For brackets with mating features, this is non-negotiable.
Critical Dimensions vs. General Dimensions
Not all dimensions carry the same risk. Our clients often flag specific features as Critical Dimensions — the ones where deviation causes assembly failure or safety risk. We apply tightened inspection criteria to these features. General dimensions get standard sampling checks. Critical Dimensions get 100% inspection.
| Dimension Type | Inspection Approach | Sample Rate |
|---|---|---|
| General Dimension | Standard sampling per AQL | 10–15% of batch |
| Critical Dimension (CD) | Intensified inspection | 100% of batch |
| Reference Dimension | Verified during FAI only | FAI sample only |
This tiered approach balances thoroughness with efficiency. It ensures the features that matter most get the attention they deserve without slowing production to a crawl.
What specific surface finish and coating defects should I look for during my final inspection?
Last quarter, a buyer interaction reshaped how we think about surface quality. A client sourcing enclosure panels for medical equipment rejected an entire shipment — not because the dimensions were off, but because three panels had faint scratches visible under clinical lighting. The supplier had inspected them under standard warehouse fluorescent lights and saw nothing. The lesson: your inspection environment has to match the end-use environment.
During final inspection, look for scratches, dents, burrs, discoloration, orange peel in coatings, uneven powder coverage, rust spots, oil stains, and adhesion failures. Check under strong, angled lighting. Use a profilometer to measure surface roughness parameters like Ra and Rz, and perform adhesion tests on coated surfaces to verify coating integrity.
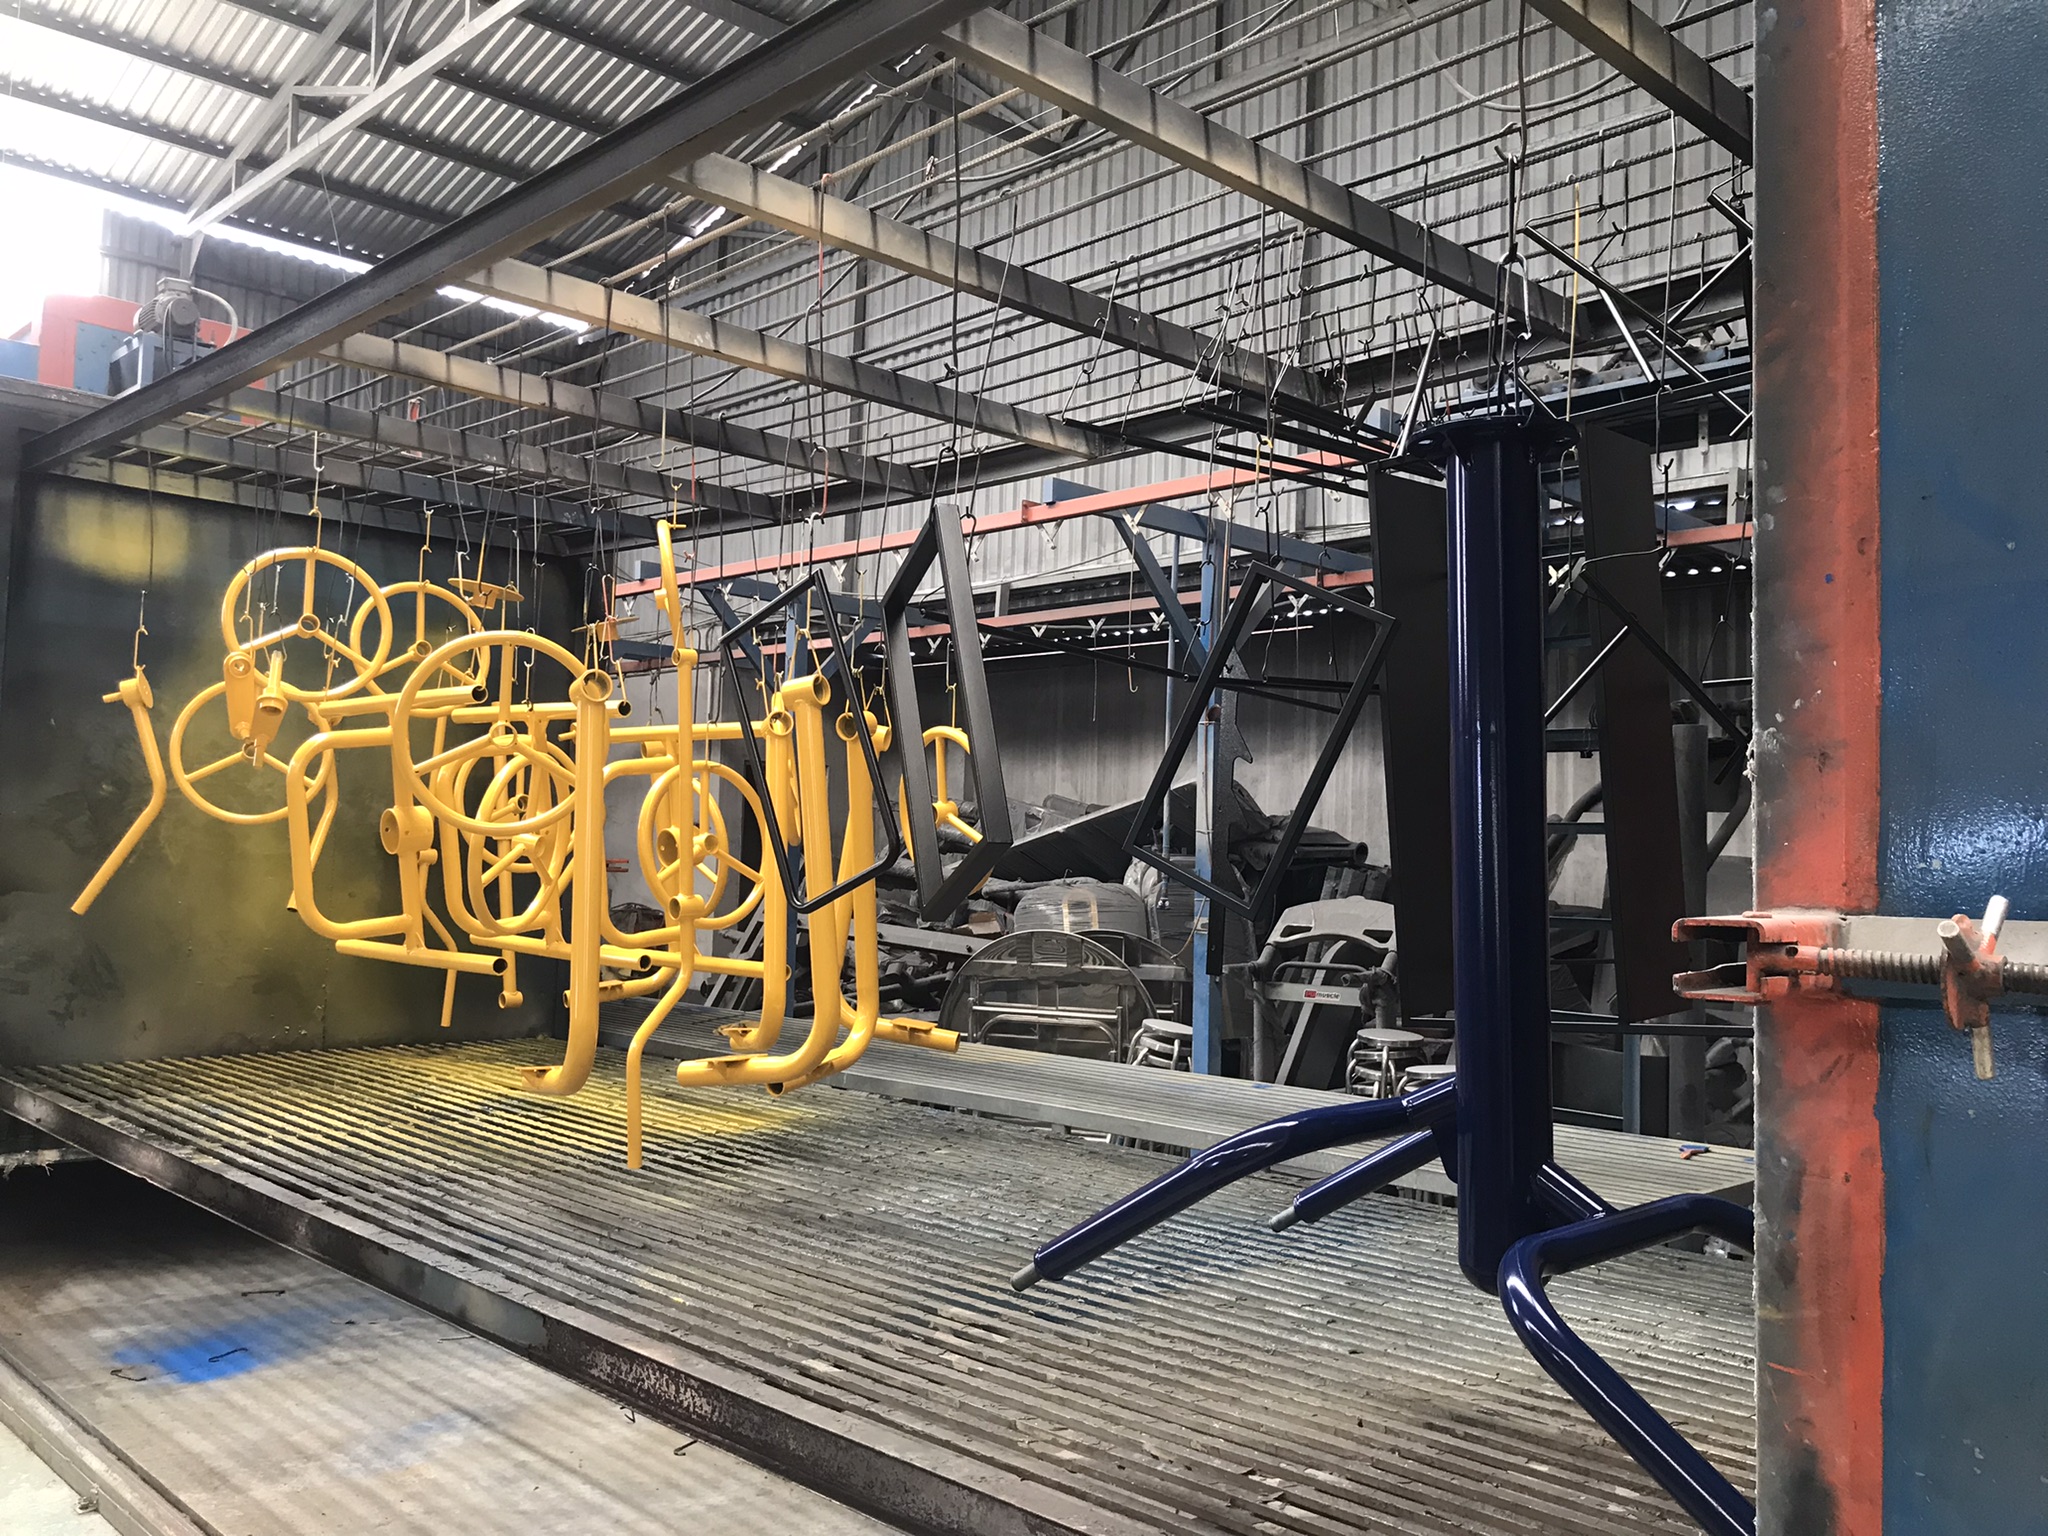
Visual Inspection Technique Matters
Surface defects hide in plain sight. The angle of light, the inspector's distance from the part, and even the background color affect what gets caught. Our inspectors use angled lighting — approximately 45 degrees — to expose scratches and dents that overhead light would mask. For critical cosmetic parts, we use a dedicated viewing light box.
We train our team to check systematically rather than glance at the whole part. They scan each face one at a time, rotating the part to catch reflections that reveal surface irregularities.
Common Sheet Metal Defects on Finished Parts
Here is a reference table of the most common surface and coating defects we encounter and what causes them:
| Defect | Description | Typical Cause |
|---|---|---|
| Scratch | Linear surface mark | Handling, tooling contact |
| Dent | Localized depression | Impact during transport or stacking |
| Burr | Raised sharp edge | Incomplete deburring after cutting |
| Orange peel | Bumpy coating texture | Incorrect spray distance or viscosity |
| Rust spot | Localized oxidation | Moisture exposure before coating |
| Coating blister | Bubble under paint/powder coat | Poor surface prep, trapped moisture |
| Discoloration | Color variation across surface | Inconsistent heat treatment or coating thickness |
| Oil stain | Residual lubricant on surface | Incomplete cleaning before finishing |
Measuring Surface Roughness
For functional surfaces — where parts mate against gaskets, seals, or other components — surface finish must be quantified. Saying "smooth enough" is not a specification. We use profilometers to measure Ra (average roughness) and Rz (average maximum height). These numbers go into our inspection report so the client can verify the finish meets their requirement.
Coating Adhesion Testing
A beautiful powder coat means nothing if it peels off in service. We perform cross-hatch adhesion tests 8 per ASTM D3359 on coated parts. A grid is scored into the coating, tape is applied and pulled, and we evaluate how much coating lifts. This simple test catches adhesion failures caused by poor surface preparation — one of the most frequent coating problems we see from subcontractors.
How can I ensure the structural integrity and weld quality of my custom sheet metal assemblies?
The trade-off between inspection cost and failure risk is something we weigh on every welded assembly project. A simple bracket welded in two spots might only need visual weld inspection. But a load-bearing frame destined for industrial automation equipment demands more. The question is not whether to inspect welds — it is how deeply to inspect them, and the answer depends on what happens if the weld fails.
To ensure structural integrity and weld quality, combine visual weld inspection with appropriate non-destructive testing methods. Use dye penetrant testing to reveal surface cracks, ultrasonic testing for internal defects, and magnetic particle inspection for ferromagnetic materials. Verify weld penetration, bead consistency, and alignment against welding procedure specifications.
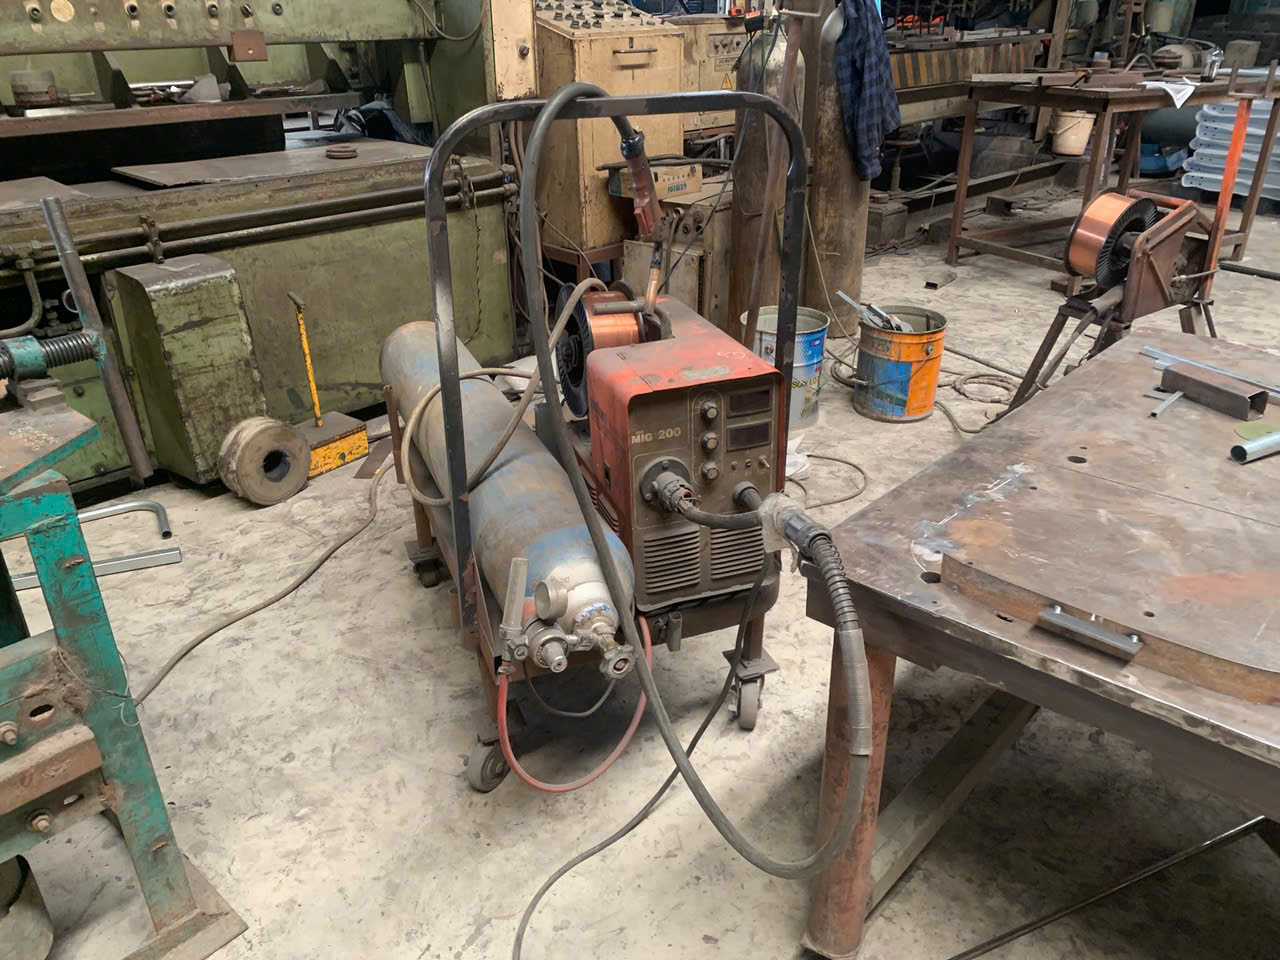
Visual Weld Inspection — The First Gate
Every weld gets a visual check first. Our inspectors look for undercut, porosity, spatter, uneven bead width, incomplete fusion, and misalignment. These are things an experienced welder notices immediately. Visual inspection catches the majority of weld defects, but it cannot see what is inside the joint.
Non-Destructive Testing Methods
When parts are safety-critical or load-bearing, we go beyond visual checks. The method we choose depends on the material and the type of defect we need to detect.
Dye Penetrant Testing (DPT) works on any non-porous material. A colored or fluorescent liquid is applied to the weld surface. It seeps into surface-breaking cracks. After cleaning, a developer draws the dye back out, making cracks visible. This method is affordable and effective for surface defects.
Ultrasonic Testing (UT) sends high-frequency sound waves through the weld. Internal defects — voids, inclusions, lack of fusion — reflect the sound differently than solid metal. A trained operator reads the signals on a screen. UT is our go-to for critical welds where internal quality matters.
Magnetic Particle Inspection (MPI) works only on ferromagnetic steels. The part is magnetized, and iron particles are applied. They cluster around subsurface defects, making them visible. MPI is fast and reliable for carbon steel assemblies.
Eddy Current Testing uses electromagnetic induction to detect surface and near-surface cracks. It is especially useful for aluminum and non-ferrous sheet metal parts.
Material Integrity Beyond Welds
Structural integrity is not just about weld quality. The base material itself can harbor defects — laminations, inclusions, or thickness variations from the mill. For critical applications, we verify material gauge thickness with a micrometer and may request mill test certificates to confirm the raw material grade. Raw material inspection at the front end prevents problems at the back end.
In-Process Quality Checks for Welded Assemblies
We do not wait until the final product to inspect welds. Our in-process quality checks include verifying fit-up before welding, monitoring welding parameters (amperage, voltage, travel speed) during production, and inspecting root passes before cap passes are applied. This layered approach catches problems when they are cheapest to fix.
What documentation and QC reports should I require from my supplier to guarantee a right first time delivery?
When we onboard a new U.S. client, the first conversation is rarely about price. It is about documentation. Experienced purchasing managers like the ones we work with know that a part without a proper inspection report is just a part with unknown quality. They have been burned before — receiving boxes of parts with no traceability, no measurement data, and no way to verify that anything was actually checked. That is why our documentation package exists: it turns trust from a feeling into evidence.
To guarantee right first time delivery, require a First Article Inspection report, dimensional inspection data with actual measured values, material test certificates, surface finish and coating test results, non-destructive testing reports for welds, a certificate of conformance, and photographic records. All documents should reference the specific drawing revision and purchase order.
The Essential Document Package
Not every project needs every document. But here is the full set we recommend for custom sheet metal parts with mid-to-high quality requirements:
| Document | Purpose | When Required |
|---|---|---|
| First Article Inspection (FAI) Report | Proves first sample meets all drawing specs | Before every production run |
| Dimensional Inspection Report | Records actual measured values vs. nominal | Every shipment |
| Material Test Certificate (MTC) | Confirms material grade, thickness, properties | Every material lot |
| Surface Finish / Coating Report | Documents Ra/Rz values, coating thickness, adhesion | When finish is specified |
| NDT Report (UT, DPT, MPI) | Verifies weld or material integrity | For welded or safety-critical parts |
| Certificate of Conformance (CoC) | Supplier declares parts meet all requirements | Every shipment |
| Photo Documentation | Visual evidence of finished parts and packaging | Every shipment |
| Non-Conformance Report (NCR) | Documents deviations and corrective actions | When deviations occur |
Why Actual Values Matter More Than Pass/Fail
A report that simply says "PASS" next to each dimension is nearly useless. We record actual measured values — for example, "Hole diameter: 10.02 mm (spec: 10.00 ±0.05 mm)." This gives the client two things: proof that the measurement was actually taken, and trend data over time. If a dimension is consistently measuring at the high end of the tolerance band, that is an early warning that tooling may need adjustment.
Traceability and Revision Control
Every document we issue references the specific drawing revision number and purchase order. This sounds basic, but it prevents a common failure mode: parts manufactured to an outdated drawing. When a client sends a revision update, our system flags the change and requires updated inspection criteria before production resumes. ISO 9001 certification frameworks reinforce this discipline, and it is embedded in how we manage projects.
PPAP and Beyond
For clients in automotive or other regulated industries, we support PPAP (Production Part Approval Process) submissions. This includes all of the above plus process flow diagrams, control plans, and measurement system analysis. Even for non-automotive clients, elements of PPAP — particularly the control plan and FAI — add rigor that reduces risk.
Functional Testing Documentation
For assemblies, we document functional testing results. Does the bracket fit the mating assembly? Does the buckle engage smoothly? Does the enclosure close and latch correctly? We record these outcomes with photos and, where applicable, video. This evidence gives the purchasing manager confidence to approve the shipment without waiting for parts to arrive and be re-inspected on their end.
Conclusion
Quality inspection for finished sheet metal products is a multi-step discipline, not a single checkpoint. From dimensional accuracy and surface finish to weld integrity and documentation, each phase exists to catch specific failure modes before parts ship. Require the evidence, verify the data, and partner with a supplier who treats quality control as a system — not an afterthought. Understanding the ISO quality standards for sheet metal fabrication can further help you set clear expectations and hold suppliers accountable to recognized benchmarks.
Frequently Asked Questions
How do I verify that my finished sheet metal parts meet all critical dimensional tolerances?
A lesson we learned early in our Vietnam facility changed how we approach dimensional accuracy forever Dye Penetrant Testing 4 . A batch of mounting brackets passed visual inspection perfectly — clean edges, smooth bends, no scratches. But when our client in Ohio tried to assemble them, the screw holes were off by just 0.1 mm. Every single bracket was rejected. That invisible deviation cost the project two weeks and eroded trust we had spent months building.
What specific surface finish and coating defects should I look for during my final inspection?
Last quarter, a buyer interaction reshaped how we think about surface quality. A client sourcing enclosure panels for medical equipment rejected an entire shipment — not because the dimensions were off, but because three panels had faint scratches visible under clinical lighting. The supplier had inspected them under standard warehouse fluorescent lights and saw nothing. The lesson: your inspection environment has to match the end-use environment.
How can I ensure the structural integrity and weld quality of my custom sheet metal assemblies?
The trade-off between inspection cost and failure risk is something we weigh on every welded assembly project. A simple bracket welded in two spots might only need visual weld inspection. But a load-bearing frame destined for industrial automation equipment demands more. The question is not whether to inspect welds — it is how deeply to inspect them, and the answer depends on what happens if the weld fails.
Footnotes
1. Explains key surface roughness parameters like Ra and Rz and their significance in surface evaluation. ↩︎
2. Found a relevant article on quality control in manufacturing with a focus on workflow and best practices. ↩︎
3. Provides a general overview of NDT, its purpose, and common methods used in industry. ↩︎
4. Explains Dye Penetrant Testing as a low-cost method for detecting surface-breaking defects. ↩︎
5. Details the process and purpose of First Article Inspection in manufacturing. ↩︎
6. Provides a comprehensive overview of CMMs, their function, and applications in measurement. ↩︎
7. Highlights the importance of calibrated instruments for accuracy and reliability in various industries. ↩︎
8. Describes ASTM D3359 as a standard method for evaluating coating adhesion using the cross-hatch test. ↩︎
9. Introduces ISO 9001 as a globally recognized standard for quality management systems. ↩︎