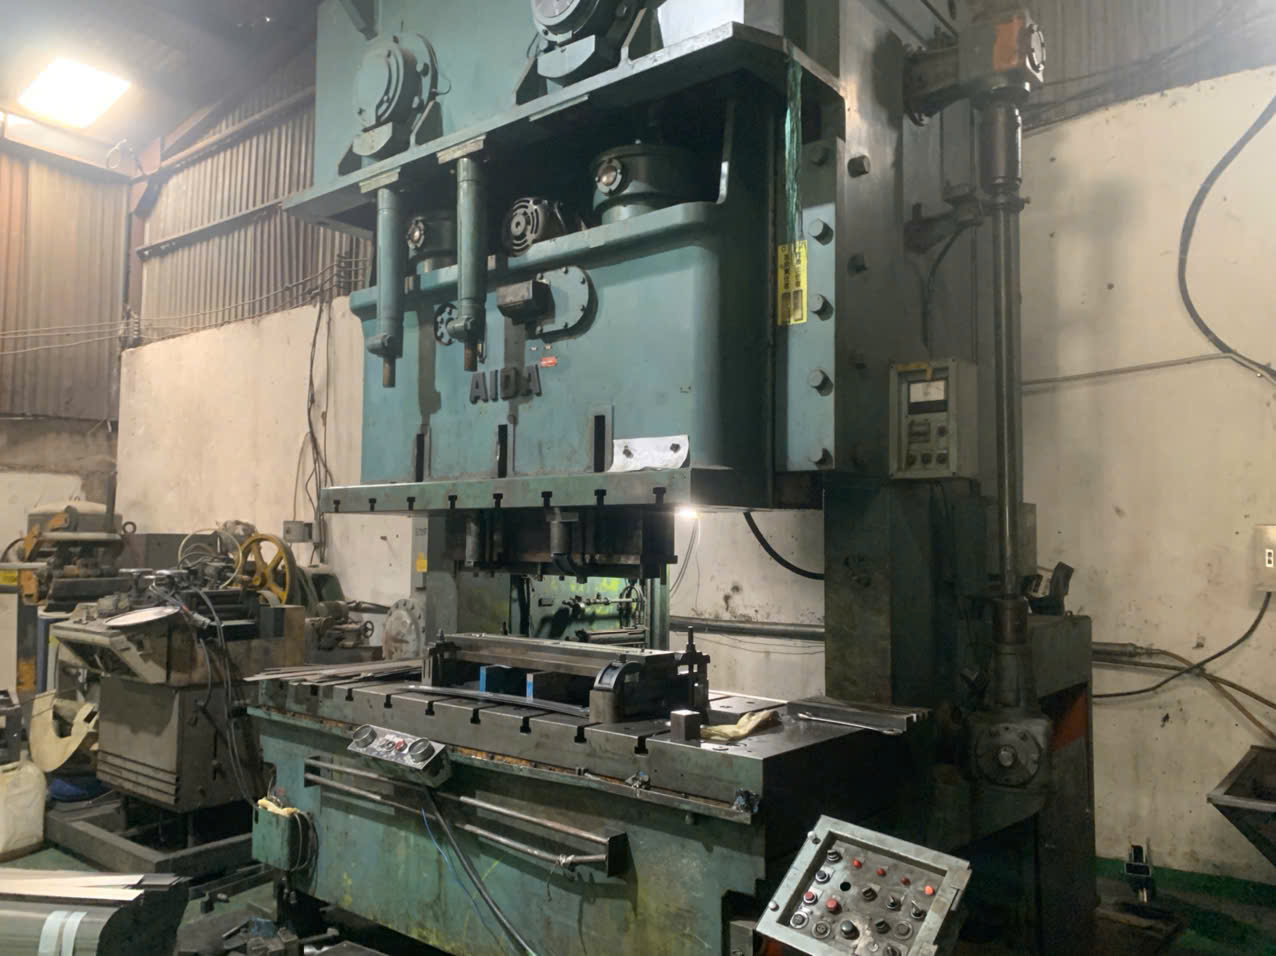
A rejected lot of brackets last quarter taught our quality team a painful lesson about heat treatment and hardness for stamping parts — specifications left vague will always come back as non-conforming product.
Heat treatment and hardness for stamping parts determine final strength, wear resistance, spring force, and dimensional stability. Understanding hardening processes, correct hardness scales, common defects, and clear specification practices prevents costly rejections and ensures your stamped components perform reliably in service.
This article breaks down what purchasing managers and engineers need to know — from the metallurgy that drives hardness to practical RFQ checklists that prevent supplier quality failures. Every section draws on real-world sourcing and inspection experience across Asia.
How does heat treatment affect the strength and durability of my stamping parts?
One trade-off we weigh on nearly every custom stamping project is whether the part can be stamped in its final temper or needs post-stamp heat treatment to hit performance targets.
Heat treatment changes the microstructure of stamped metal, increasing or decreasing hardness, tensile strength, and material ductility as needed. Hardening processes like quenching create martensite for wear resistance, while annealing and stress relieving restore ductility and reduce internal stress after forming.
Hardening vs. Softening — Two Sides of the Same Coin
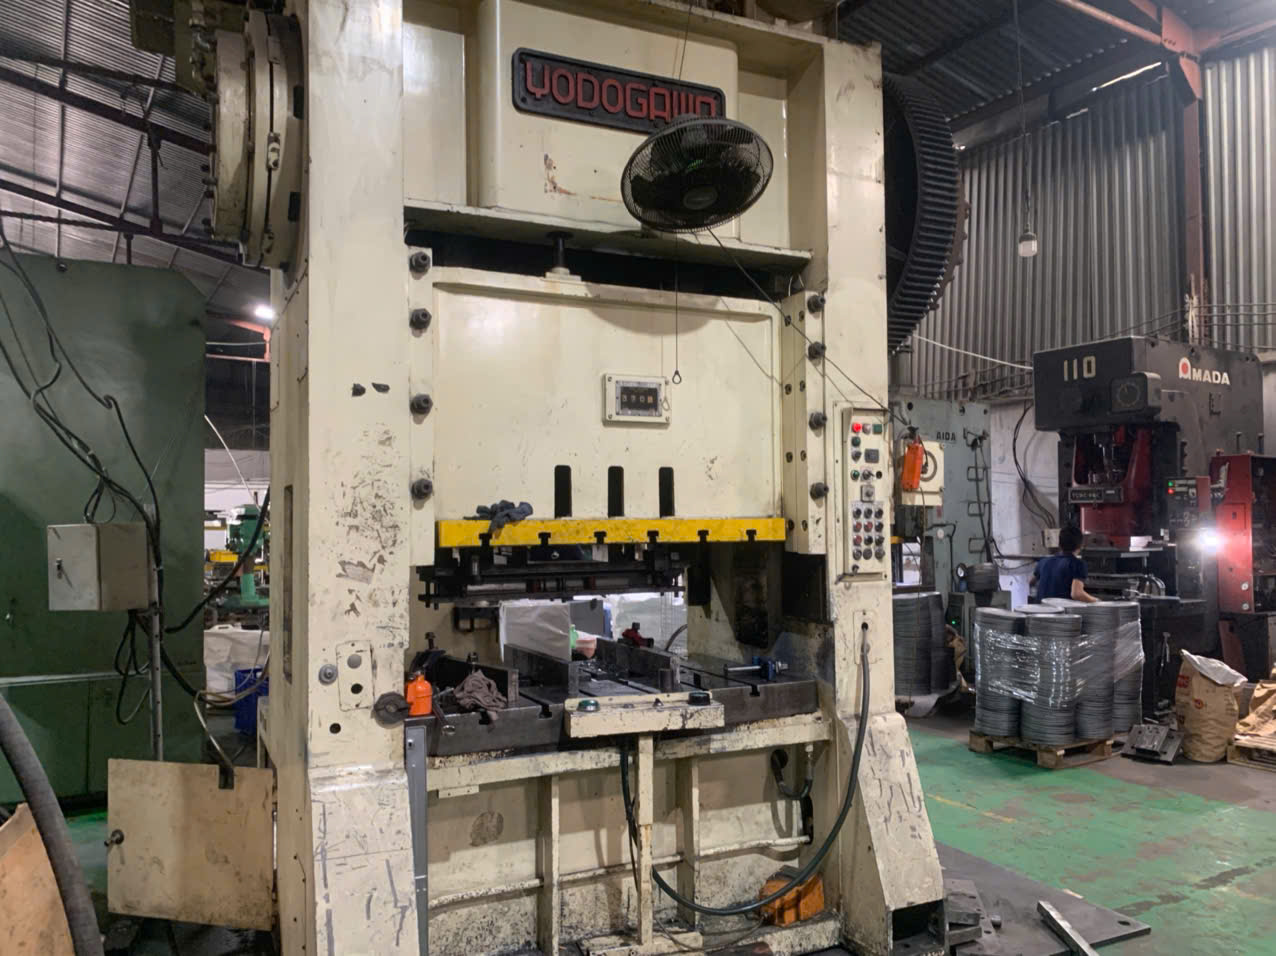
Heat treatment for stamping parts falls into two broad categories. The first is hardening. The second is softening. Each one serves a different purpose, and choosing the wrong one leads to parts that crack, warp, or wear out early.
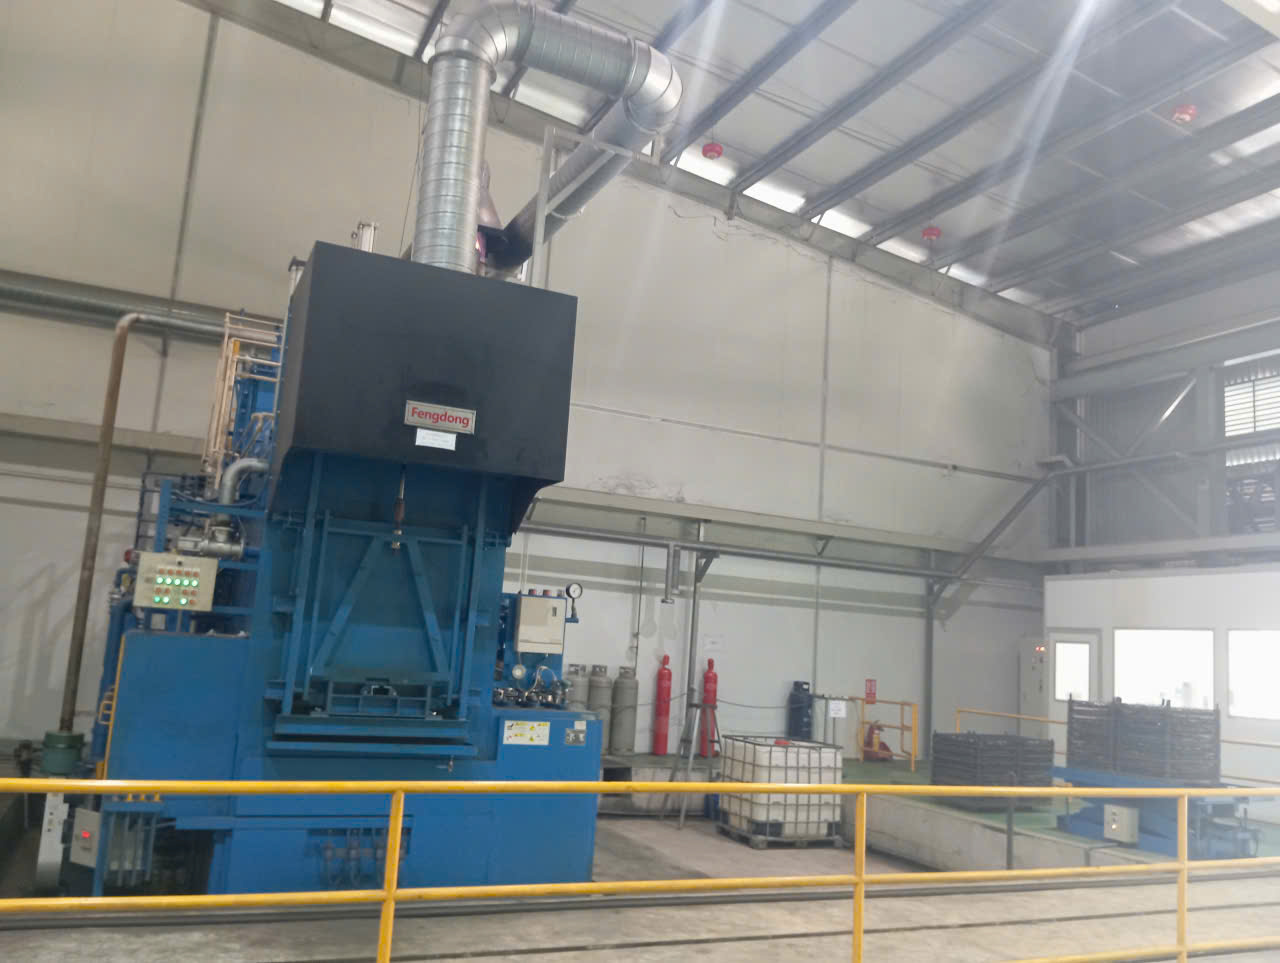
Hardening processes heat the metal above a critical temperature — often around 750 °C for many steels — and then cool it rapidly. This rapid cooling, called quenching, transforms the crystal structure into martensite 1, a very hard phase. The result is higher tensile strength and better wear resistance. Common hardening methods include oil quench, induction hardening, gas nitriding, carbonitriding, vacuum hardening, and austempering.
Softening processes do the opposite. The annealing process heats the metal and cools it slowly. This relieves internal stress and increases ductility. Deep drawn stamped components almost always require annealing between forming stages so the material does not crack.
The Pre-Tempered vs. Post-Treated Decision
Our engineering team in Vietnam regularly walks clients through this decision. Here is how we frame it:
| Factor | Pre-Tempered (Stamp in Final Condition) | Post-Treated (Stamp Soft, Harden After) |
|---|---|---|
| Best for | High-volume, simple geometry, flat springs | Complex shapes, deep draws, tight hardness specs |
| Material examples | Blue temper steel, full-hard stainless, pre-hardened spring steel | Annealed low-carbon steel, soft stainless |
| Distortion risk | Very low — no post-process heat cycle | Higher — dimensional distortion must be controlled |
| Supply chain | Simpler — no secondary process | More complex — requires heat treatment vendor |
| Tooling wear | Higher — harder material wears dies faster | Lower — soft material is easier to form |
When you stamp a pre-tempered material, you skip post-processing and avoid the risk of warping. But you need a material with enough formability to survive the die. When you stamp soft and harden after, you can form complex shapes first. The trade-off is that quenching and tempering will change dimensions, so you must define distortion limits upfront.
How Critical Variables Drive Final Properties
Three variables control every heat treatment cycle: temperature, soaking time, and cooling rate. If any one drifts, the lot is at risk.
For hot stamped parts, heating above 750 °C and quenching at a cooling rate over 60–80 °C/s yields hardness in the 470–510 HV range, with yield strengths of 950–1200 MPa and ultimate tensile strengths of 1300–1700 MPa. Drop below that critical cooling rate, and the martensite does not fully form. The part ends up softer than specification, with reduced wear resistance.
Carburizing and quenching can push surface hardness even higher — 840–900 HV — with case hardening depths of 0.02–0.12 mm through carbonitriding. This is common for bearing cages and small precision parts that need a hard outer shell but a tough core.
On the other end, quenching and tempering for general structural brackets typically targets 180–190 HB. That is enough for superior wear resistance without the brittleness risk that comes from extreme hardness.
Which hardness testing methods should I trust when qualifying a new supplier?
During a recent supplier audit at a stamping facility in Vietnam, I watched the operator take a Rockwell reading on a thin bracket — and immediately knew the result would be unreliable because the part was too thin for that test method.
When qualifying a supplier, trust hardness testing methods matched to part geometry and material: use the Rockwell hardness scale (HRC) for thick, hardened parts; Vickers (HV) microhardness for thin or case-hardened surfaces; and Brinell (HB) for large, soft components. Always specify the test method, location, and acceptance range in your drawing.

Understanding the Three Major Scales
Each hardness scale measures resistance to indentation, but they use different indenters, loads, and are suited to different situations. Choosing the wrong scale gives you numbers that look fine but mean nothing.
| Scale | Indenter | Typical Use | Part Thickness Requirement | Best For |
|---|---|---|---|---|
| HRC (Rockwell C) | Diamond cone | Hardened steel, tool steel grades 2 | ≥ 1.5 mm | Thick brackets, hardened gears, dies |
| HV (Vickers) | Diamond pyramid | Thin parts, coatings, case-hardened layers | Any (micro loads available) | Carbonitrided surfaces, thin springs, microstructure analysis |
| HB (Brinell) | Steel or carbide ball | Castings, forgings, soft metals | ≥ 6 mm recommended | Large structural parts, annealed steel |
Why Test Location Matters
I have seen suppliers pass hardness tests by measuring on a thick flange while the critical wear surface — a thin tab — was untested and out of spec. Your drawing must call out exactly where the hardness reading is taken. If your bracket has a contact surface that sees load, that is where the test probe goes. Not on the base plate. Not on a witness coupon that went through a different heat treat batch.
Portable vs. Bench Testing
Suppliers often use portable hardness testers for convenience. These are fine for incoming screening but can lack the precision of a bench-mounted Rockwell or Vickers tester. When we run incoming inspection at our facilities, we cross-check portable readings against bench results on the first article. If the correlation is within ±1 HRC, we accept portable readings for the rest of the lot. If not, we require bench testing for every sample.
Converting Between Scales
Conversion tables exist for moving between HRC, HV, and HB, but they are approximations. A reading of 470–510 HV on a hot stamped part roughly corresponds to 47–51 HRC. A quench-and-temper result of 180–190 HB translates to about 18–19 HRC — a much softer condition. Always specify the native scale you want tested. Do not rely on conversions for acceptance decisions.
Real-Time and Non-Destructive Options
Advanced quality programs now integrate eddy current testing 3 directly into the stamping line. This provides 100% non-destructive hardness verification on every part, rather than batch sampling with a Rockwell tester. While not yet common among smaller Asian suppliers, we are seeing it adopted at higher-tier facilities that serve automotive OEMs.
What heat treatment defects should I watch for during PPAP and incoming inspection?
A lesson learned early in our PPAP 4 work with U.S. clients: the first article samples looked perfect visually, but three months into production, field returns showed brittle fracture on every fifth bracket. The root cause was over-hardening during a furnace excursion that nobody caught because the inspection plan only checked dimensions, not hardness.
During PPAP and incoming inspection, watch for dimensional distortion, surface cracking, excessive brittleness, discoloration from oxidation, weak spring force, decarburization, and hydrogen embrittlement. Each defect signals a specific heat treatment process failure and can be caught with the right inspection protocol.

The Seven Defects You Must Inspect For
Here is a breakdown of the most common heat treatment defects, their root causes, and how to detect them before they reach your customer. Understanding common quality defects when sourcing stamping parts more broadly will also strengthen your incoming inspection program.
| Defect | Root Cause | Detection Method | Risk Level |
|---|---|---|---|
| Dimensional distortion | Non-uniform heating/cooling, residual stress | CMM or fixture gauging after heat treat | High — parts may not assemble |
| Surface cracking | Over-hardening, too-rapid quench, pre-existing stress risers | Visual, dye penetrant, magnetic particle | Critical — structural failure |
| Excessive brittleness | Insufficient tempering after quench | Hardness test (HRC too high), bend test | Critical — in-service fracture |
| Discoloration / scaling | Poor atmosphere control, oxidation in furnace | Visual inspection | Medium — cosmetic and dimensional |
| Weak spring force | Under-hardening, wrong temper temperature | Spring force test, hardness test (HRC too low) | High — functional failure |
| Decarburization | Carbon loss at surface during heating | Microstructure analysis (cross-section), microhardness traverse | High — surface is softer than core |
| Hydrogen embrittlement | Hydrogen absorption during plating of high-hardness parts (above 40 HRC) | Sustained load test, bake-out verification | Critical — delayed brittle fracture |
Distortion — The Silent Killer
Heat treatment changes the microstructure. That change involves volume shifts at the atomic level. A flat bracket that was within tolerance after stamping can bow, twist, or grow after quenching. Our inspection team always measures critical dimensions both before and after heat treatment on first articles. If the distortion pattern is consistent, the stamping die can sometimes be adjusted to compensate — a technique that digital twin simulations 5 are now making more predictable.
Hydrogen Embrittlement — The Delayed Failure
This one deserves special attention. When parts above 40 HRC undergo electroplating, hydrogen atoms enter the steel lattice. If the parts are not baked within hours of plating (typically 190 °C for 4–24 hours depending on specification), hydrogen embrittlement 6 can cause sudden cracking days or weeks later. We flag this risk on every project where the hardness spec exceeds 40 HRC and the finish involves zinc, cadmium, or chrome plating. The baking step must be written into the process flow chart during PPAP.
Cryogenic Treatment — For Dimensional Stability
On high-precision stamped parts, retained austenite 7 after quenching can slowly transform to martensite over time, causing the part to change dimensions in storage or service. Post-quench cryogenic treatment 8 at approximately -80 °C to -196 °C converts that retained austenite, locking in the final size. This is not common for every bracket, but for tight-tolerance instrument components, it is essential.
How can I specify hardness requirements clearly to avoid non-conforming parts from my supplier?
A buyer interaction last year crystallized this issue for me. The client's drawing said "Harden per supplier standard." The supplier chose the cheapest process. The parts failed in the field. Three rounds of corrective action later, the client rewrote every drawing with explicit heat treatment callouts. That rework cost more than the original tooling.
To avoid non-conforming parts, specify hardness requirements by stating the exact scale (HRC, HV, or HB), the acceptable range (e.g., 28–32 HRC), the test location on the part, the heat treatment process and specification, distortion limits, finish sequence, and any post-treatment baking requirements. Vague callouts guarantee quality failures.

The RFQ Checklist for Heat-Treated Stamping Parts
We developed this checklist after years of managing custom stamping projects between U.S. buyers and Asian suppliers. Every item below has been the root cause of at least one rejected lot when it was missing from the specification.
-
Material grade, thickness, and starting temper. State the exact alloy (e.g., AISI 1075, SUS 301), the nominal thickness, and whether the incoming material should be annealed, half-hard, or full-hard. Require a mill certificate.
-
Target hardness range and scale. Write it as a range on the print: "28–32 HRC" or "450–510 HV." Never say "harden to spec" without citing the spec number.
-
Heat treatment process specification. If you have a preferred process (e.g., oil quench per AMS 2759 9, vacuum hardening per your internal spec), cite it. If not, require the supplier to submit their proposed process for approval before production.
-
Hardness test location. Mark it on the drawing with a flag note. State how many measurements per part and per lot.
-
Distortion limits. Call out flatness, coplanarity, or critical dimension tolerances that apply after heat treatment — not just after stamping.
-
Finish sequence. State explicitly whether heat treatment comes before or after plating, painting, or cleaning. The order matters for adhesion, hydrogen embrittlement risk, and dimensional control.
-
Post-plating bake requirement. If the part exceeds 40 HRC and gets plated, specify the bake cycle (temperature, time, and maximum delay after plating).
-
Sample size and inspection report format. Define PPAP sample quantity, report template (e.g., ISIR, FAI per AS9102 10), and lot traceability requirements.
-
Known failure history. If previous lots had cracking, weak spring force, discoloration, or brittleness, state it in the RFQ notes. This is free information that helps the supplier avoid repeating the mistake.
Example Specification Block
Here is a sample callout that we recommend clients put directly on their engineering drawing:
HEAT TREATMENT:
Material: AISI 1095, 1.2 mm, annealed condition
Process: Oil quench and temper per AMS 2759/1
Hardness: 44–48 HRC at location shown
Flatness after HT: ≤ 0.15 mm over 50 mm span
Finish sequence: Heat treat → deburr → zinc plate → bake at 190 °C for 8 hrs within 4 hrs of plating
PPAP: 5 pcs, full dimensional report + hardness report with lot traceability
Why "Per Supplier Standard" Is Dangerous
When you leave the heat treatment process to the supplier's discretion, you lose control of the three critical variables: temperature, soaking time, and cooling rate. Different furnaces, different quenchants, and different operators will produce different results. The only way to ensure consistency across lots — and across supplier changes — is to lock down the process on paper. Our project managers review every heat treatment callout with the client before issuing the purchase order, because fixing a vague spec after tooling is cut costs ten times more than getting it right upfront. For a deeper look at how heat treatment parameters affect mechanical properties during sourcing, see our guide on evaluating heat treatment impact on mechanical properties.
Tool Steel Grades and Their Heat Treatment Sensitivity
For stamping dies themselves, tool steel grades like D2, A2, and S7 each respond differently to heat treatment. A die hardened to 60 HRC will stamp harder materials but is more prone to chipping. A die tempered to 54 HRC may last longer on medium-hardness material because it has better toughness. This is another area where specifying the die hardness — not just the part hardness — prevents premature tool failure and unexpected cost overruns. OEM beginners navigating these decisions for the first time can benefit from understanding how to choose the right material for metal stamping parts.
Conclusion
Heat treatment and hardness for stamping parts require precise specifications, correct testing methods, and vigilant defect inspection. Define every variable on your drawing, and your supplier can deliver conforming parts the first time.
Frequently Asked Questions
How does heat treatment affect the strength and durability of my stamping parts?
One trade-off we weigh on nearly every custom stamping project is whether the part can be stamped in its final temper or needs post-stamp heat treatment to hit performance targets.
Which hardness testing methods should I trust when qualifying a new supplier?
During a recent supplier audit at a stamping facility in Vietnam, I watched the operator take a Rockwell reading on a thin bracket — and immediately knew the result would be unreliable because the part was too thin for that test method.
What heat treatment defects should I watch for during PPAP and incoming inspection?
A lesson learned early in our PPAP 4 work with U.S. clients: the first article samples looked perfect visually, but three months into production, field returns showed brittle fracture on every fifth bracket. The root cause was over-hardening during a furnace excursion that nobody caught because the inspection plan only checked dimensions, not hardness.
Footnotes
1. Explains the hard microstructural phase formed during quenching mentioned in the article. ↩︎
2. Comprehensive Wikipedia guide to tool steel classifications and AISI-SAE grading systems. ↩︎
3. Describes the non-destructive testing method used for real-time hardness verification. ↩︎
4. Authoritative Wikipedia overview of the Production Part Approval Process (PPAP) standards used in manufacturing. ↩︎
5. IEEE covers digital twin technology used to predict stamping die distortion compensation. ↩︎
6. Background on the delayed brittle fracture mechanism discussed for plated high-hardness parts. ↩︎
7. Authoritative Wikipedia entry explaining the metallurgical phenomenon of retained austenite in heat-treated steels. ↩︎
8. Authoritative Wikipedia resource detailing the cryogenic treatment process and its role in enhancing material durability. ↩︎
9. Official SAE standard governing steel heat treatment referenced for oil quench processing. ↩︎
10. Aerospace First Article Inspection standard cited for PPAP reporting requirements. ↩︎