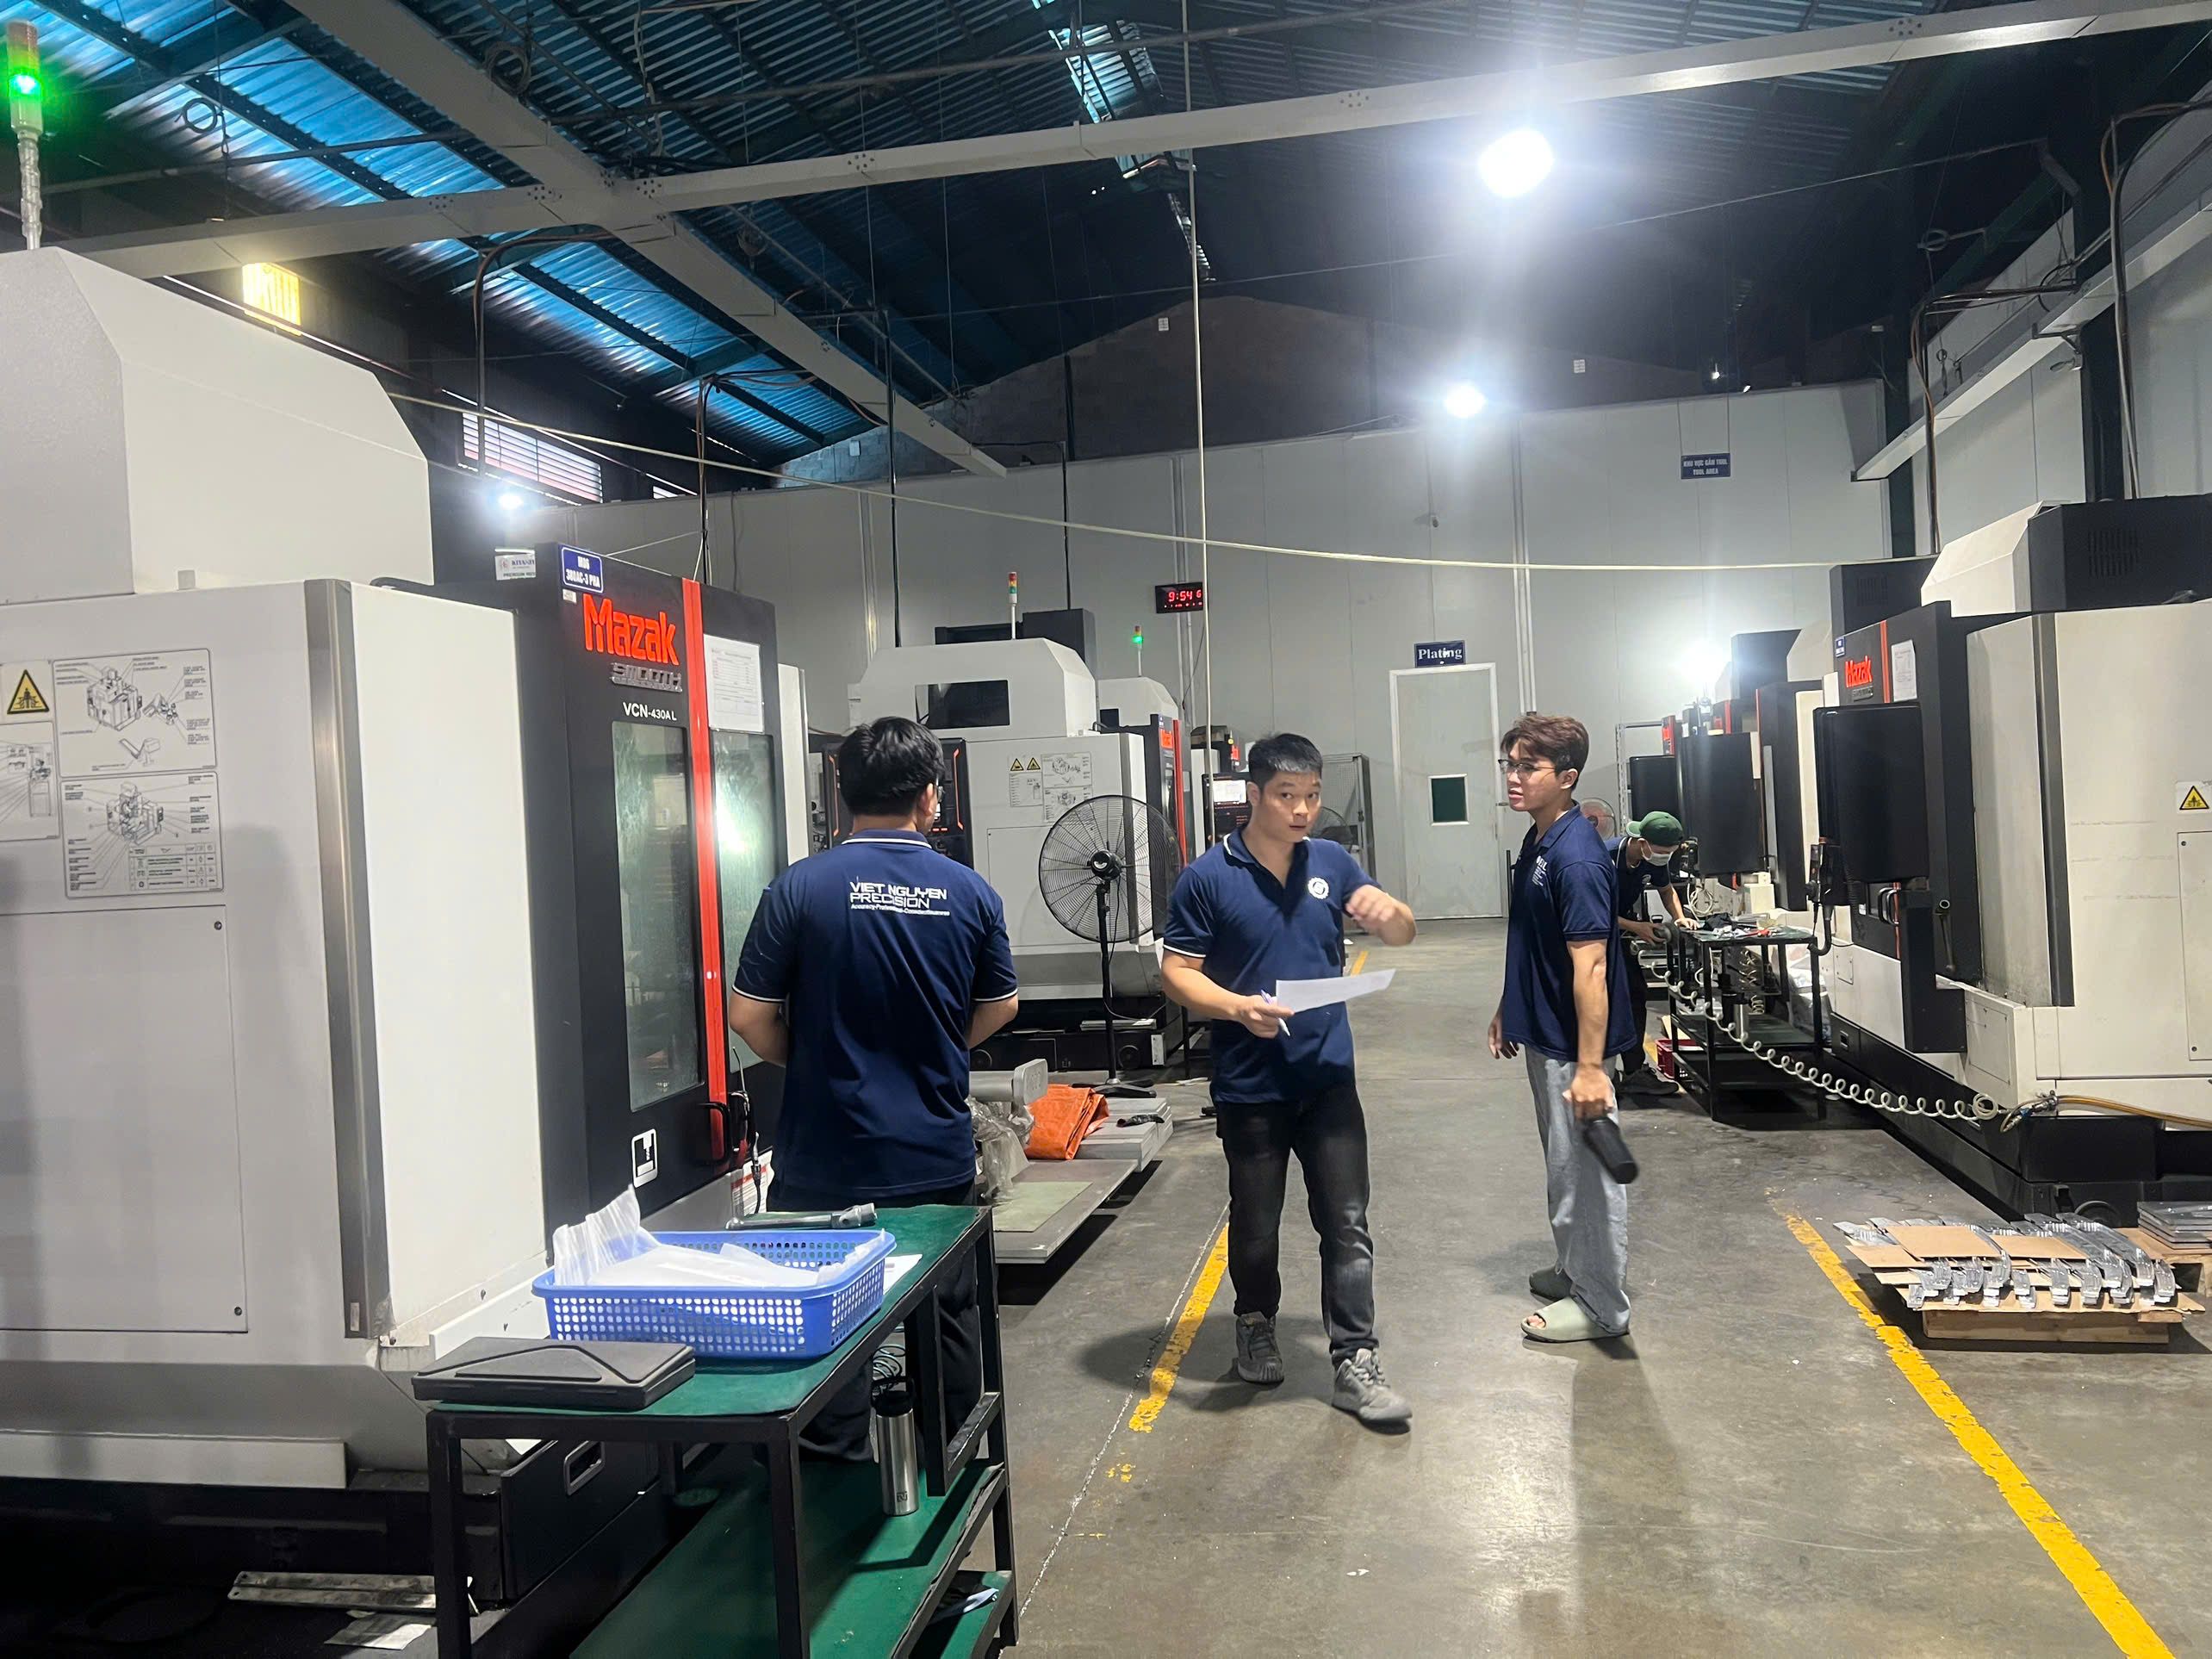
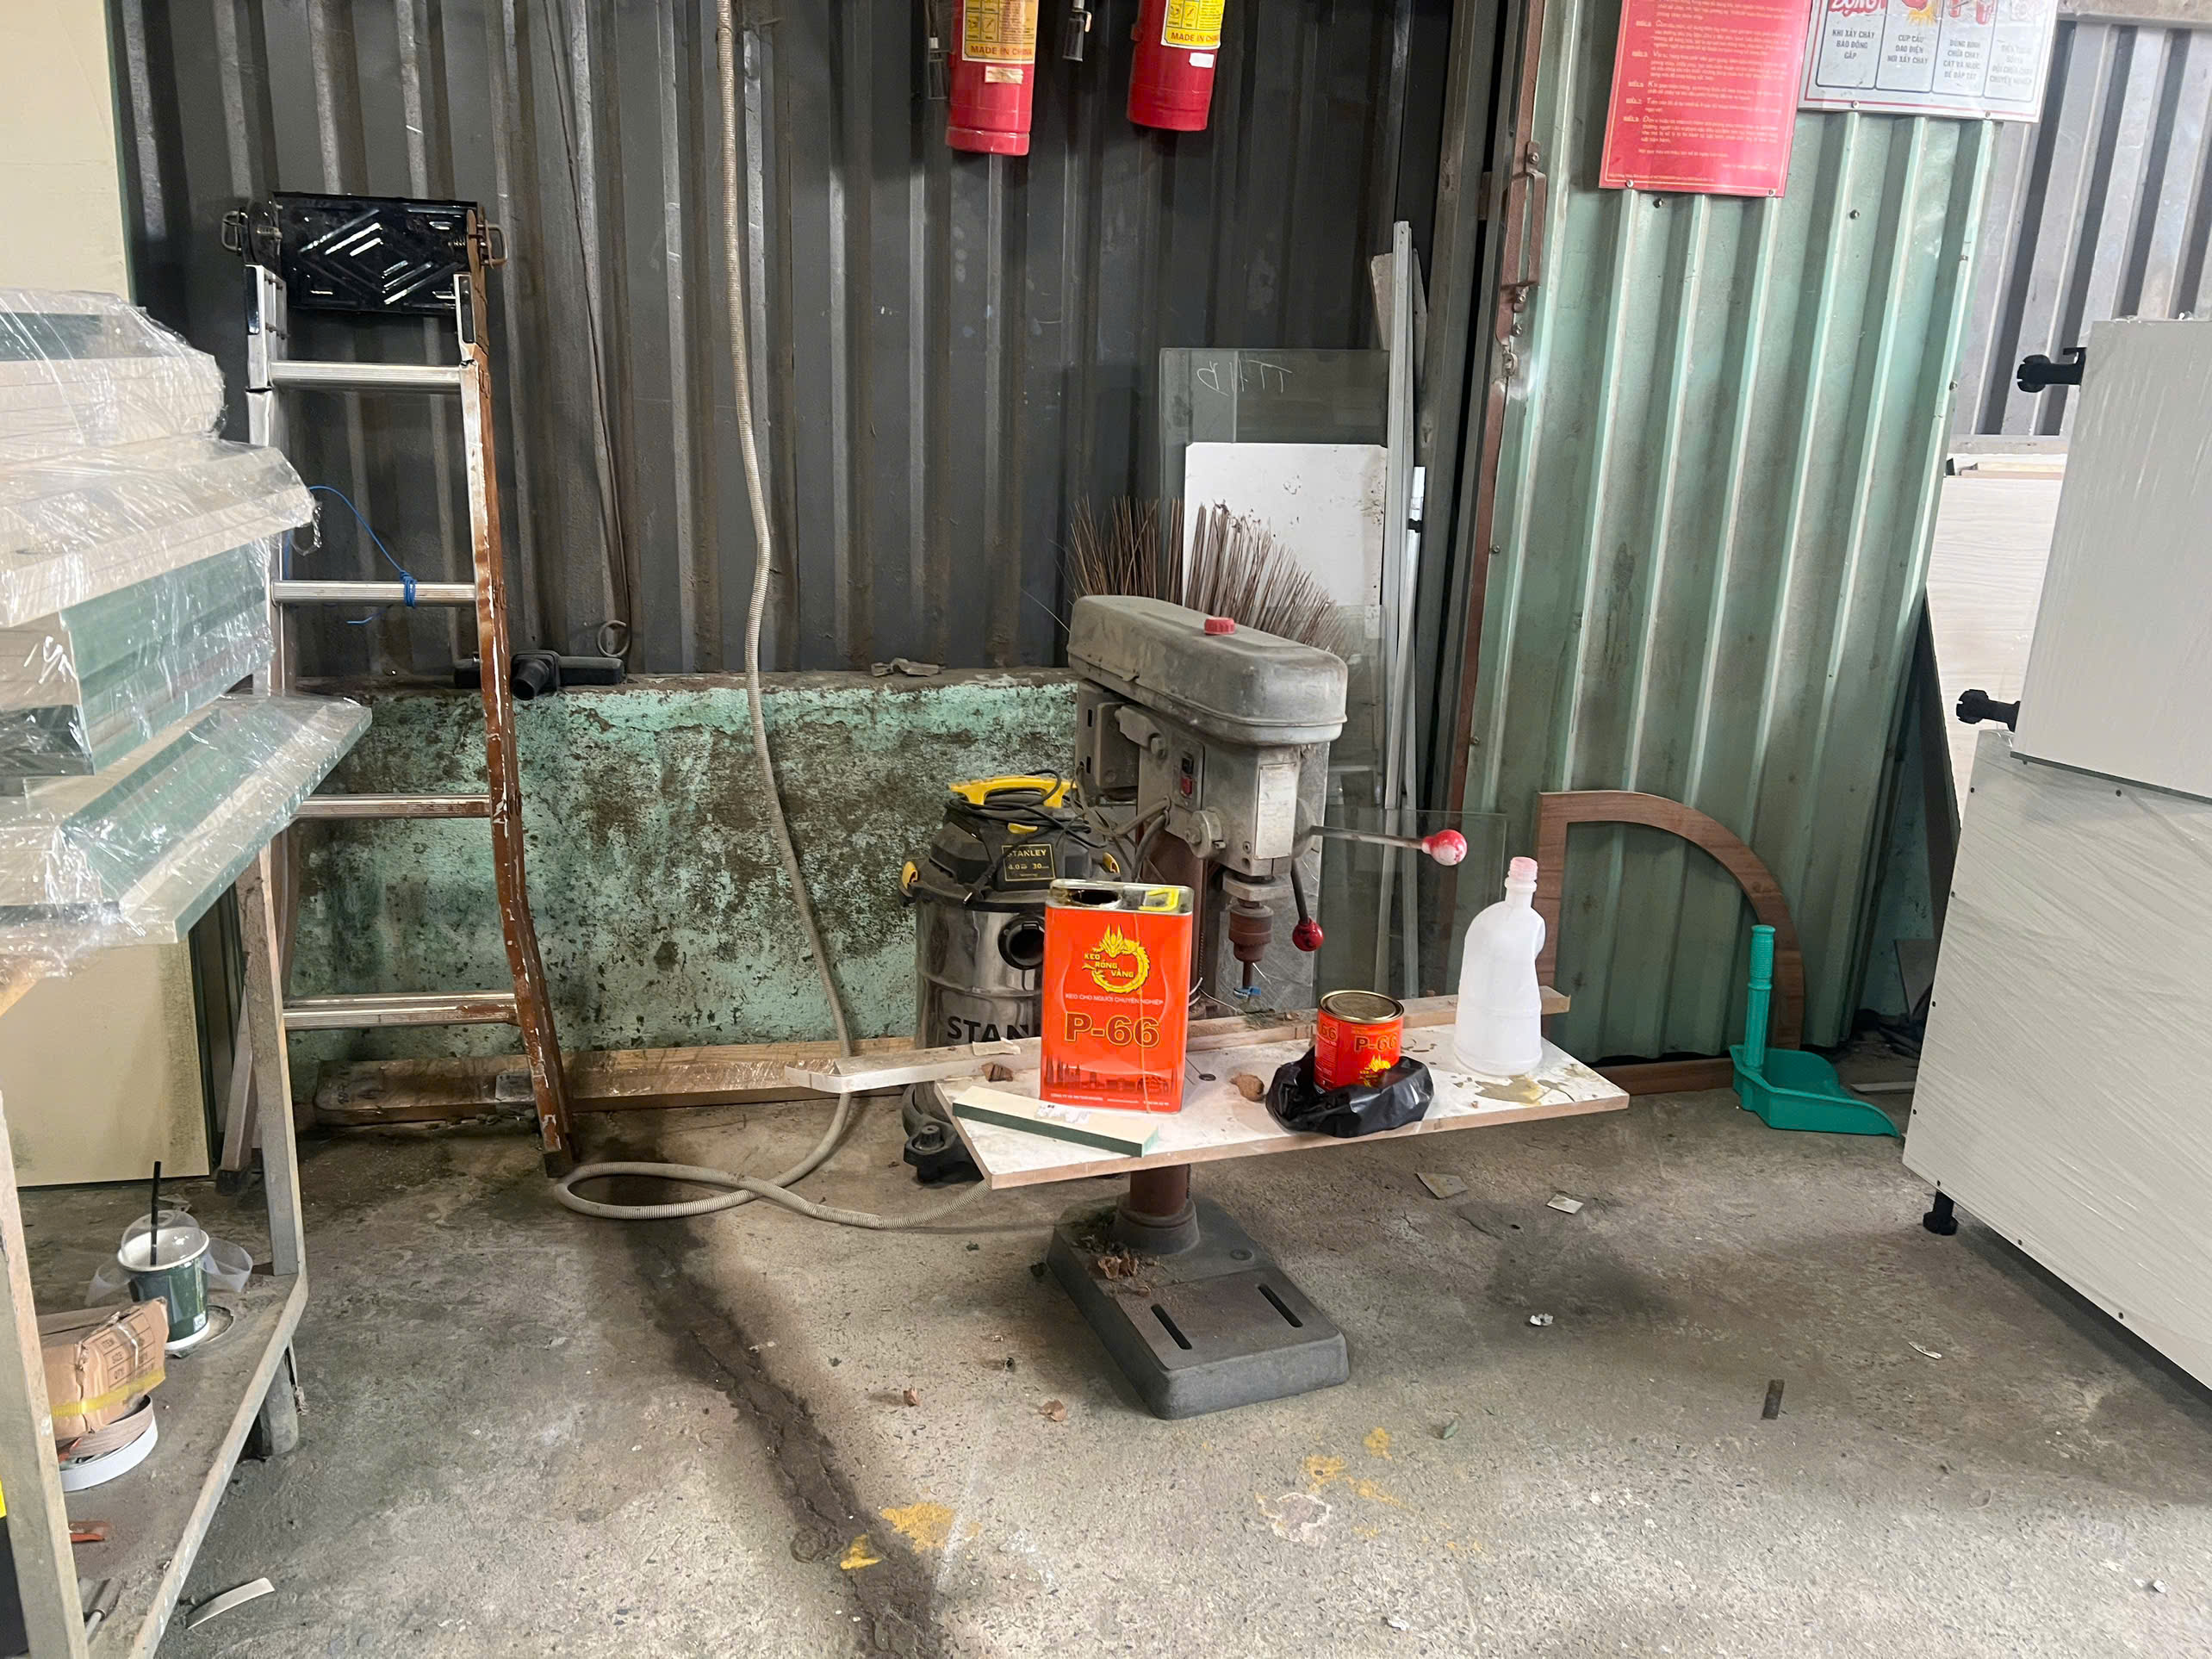
Maintenance considerations for stamping parts in household appliances came up on our production line last quarter, when a U.S. client’s washer brackets started drifting out of tolerance mid-run.
Maintenance considerations for stamping parts in household appliances include regular cleaning, lubrication of moving elements, wear and corrosion inspection, timely sharpening or replacement of worn tooling, correct alignment, dry controlled storage, and documented preventive schedules based on cycle counts and material abrasiveness.
That covers the short answer. Now let me walk you through each area in detail, based on what we see in real appliance stamping projects.
How Can I Prevent Wear and Corrosion in Stamped Appliance Parts Over Time?
A humid warehouse in Vietnam taught our team a hard lesson early on zinc plating 1. We found rust blooms on a pallet of unfinished steel clips within two weeks of storage.
Prevent wear and corrosion by cleaning stamped parts after production, drying them fully, applying rust-preventive oil, protecting coatings like zinc plating from scratches, lubricating sliding tooling surfaces regularly, and controlling humidity in both production and storage environments.
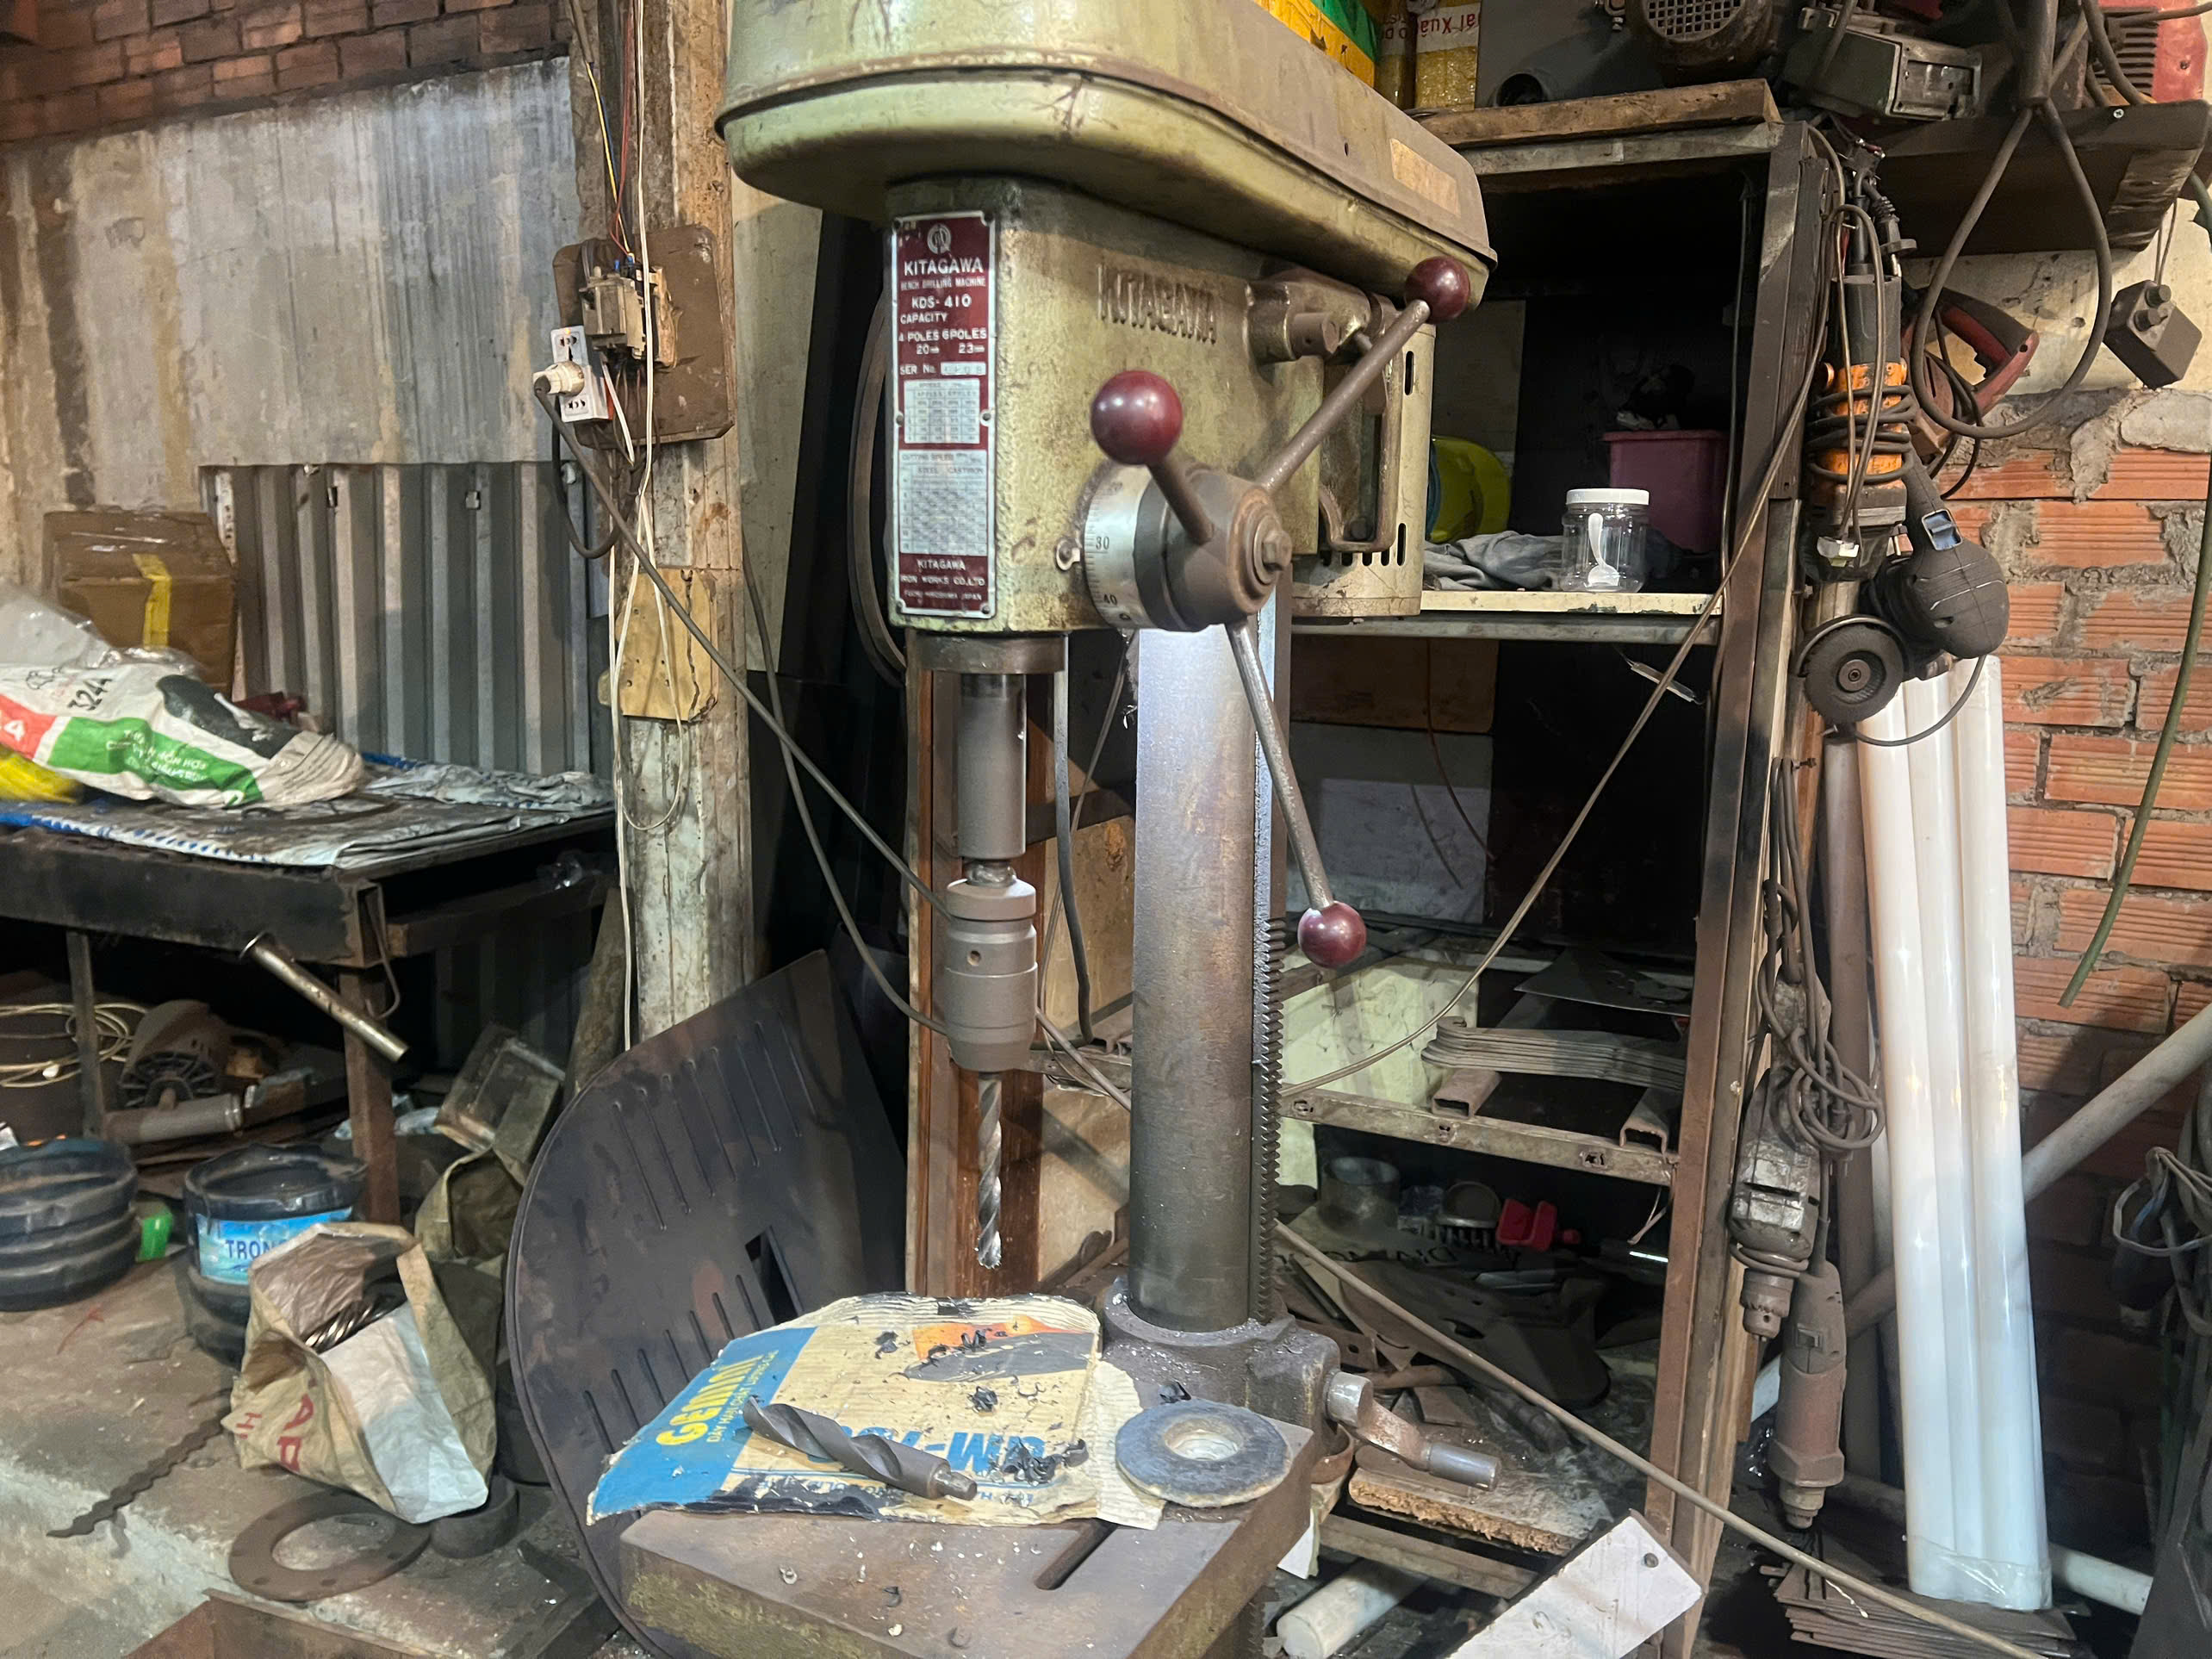
Wear and corrosion are the two silent killers of stamping quality. They rarely announce themselves. Instead, they creep in over weeks. Then one day a part fails inspection, and you trace the problem back months.
Why Appliance Parts Are Especially Vulnerable
Household appliances live in wet, warm places. Washing machine drums, dishwasher frames, and refrigerator liners all face constant moisture. A stamped bracket with a micro-scratch in its zinc coating will oxidize fast in that environment. In our experience exporting to the US, coating integrity is one of the first things a demanding purchasing manager will check on arrival.
The tooling side matters just as much. Punches, dies, guide pillars, and guide sleeves all wear with every stroke. Thin-gauge appliance steel is unforgiving. A dull cutting edge shows up immediately as burrs and rollover on the finished part.
Practical Prevention Steps
Here is the routine we ask our contract manufacturing partners to follow:
| Prevention Task | What It Protects | Typical Frequency |
|---|---|---|
| Remove oil, shavings, and fines from dies | Cutting edges, cavities | After every run |
| Dry tooling and apply rust-preventive oil | Die surfaces, punches | End of each shift |
| Lubricate guide pillars and sleeves | Alignment accuracy | About every 5,000 cycles or weekly |
| Inspect coating integrity on finished parts | Corrosion resistance | Every inspection lot |
| Control humidity in storage | Bare steel components | Continuous |
Two more points matter. First, match the lubricant to the process. Deep-draw operations 2 need different lubrication than simple blanking. Second, never let metal slivers sit in a die overnight. They embed into surfaces, scratch parts, and accelerate galling.
What Maintenance Schedule Should I Follow for Stamping Parts in My Appliance Products?
Scheduling is where I see the biggest gap between average suppliers and good ones. When we audit factories in Vietnam and Taiwan, the first document I request is the die maintenance log.
Follow a layered schedule: clean dies after every run, lubricate sliding components every 5,000 cycles or weekly, perform full inspections every 10,000 cycles, recalibrate locating pins and guide pillars quarterly, and adjust all intervals based on volume and material abrasiveness.
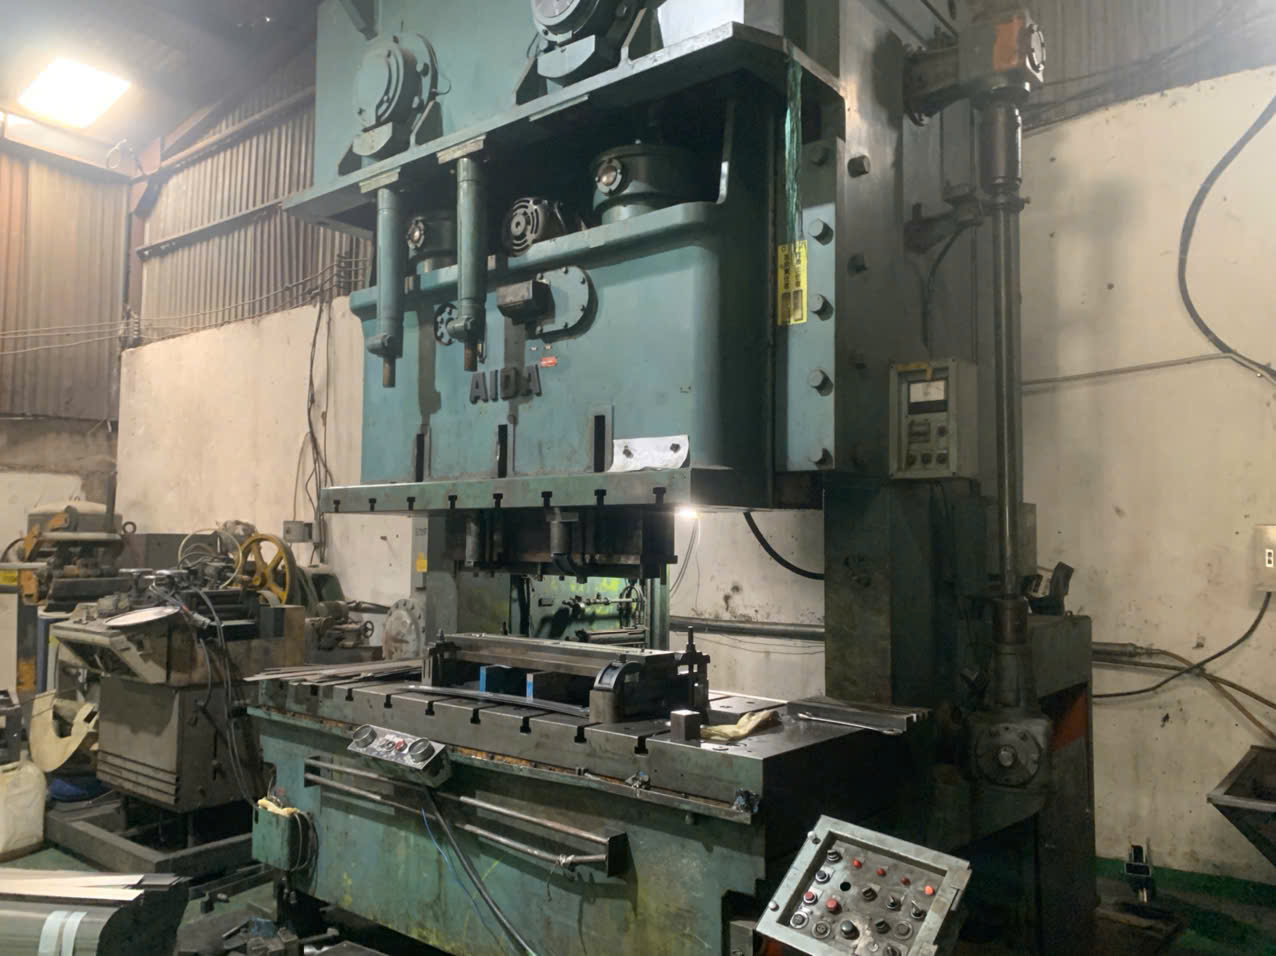
A calendar alone is not enough. Stroke counts tell you more than dates do. A die running three shifts wears ten times faster than one running occasional short batches. So the best schedules combine time-based and cycle-based triggers.
A Baseline Preventive Schedule
Use this as a starting framework, then tighten it for abrasive materials or high-volume lines:
| Interval | Maintenance Action |
|---|---|
| After every production run | Clean out oil, dust, slivers, and dried lubricant |
| End of each shift | Wipe down, dry, and lightly oil exposed die surfaces |
| Every 5,000 cycles or weekly | Lubricate guide pillars, sleeves, and sliding die parts |
| Every 10,000 cycles | Full inspection of punches, edges, springs, and fasteners |
| Every 3 months | Calibration check on locating pins and guide pillars |
| Annually or by wear evidence | Major overhaul, resharpening, spring replacement |
Adjusting the Schedule to Your Reality
No universal schedule exists. Three factors should drive your adjustments. First, production intensity: high-volume appliance lines need tighter review cycles. Second, material: high-strength or abrasive steels dull edges faster than soft aluminum. Third, part criticality: a structural mounting bracket deserves more scrutiny than a cosmetic trim piece.
There is a fair counterargument that frequent maintenance eats uptime. I hear it from plant managers often. But in every project we have managed, a planned thirty-minute service beats an unplanned two-day die repair. Small interventions are always cheaper than tool failure, scrap batches, or a stopped line during a shipment deadline.
Keep a written log for every die. Track what wore out, when, and after how many strokes. Within a few months, that log will predict failures better than any generic guideline.
How Do I Identify Early Signs of Stamping Part Failure Before It Affects Production?
One of our QC engineers caught a hairline crack on a punch during a routine PPAP review 3 for a dryer component. That single catch saved the client an entire non-conforming shipment.
Identify early failure by watching for burrs and rough edges on parts, dimensional drift toward tolerance limits, unusual press noise or vibration, visible chipping or galling on tooling, weakened springs, loose fasteners, and rising scrap rates on inspection reports.

The finished part is your best diagnostic tool. Before a die fails outright, it whispers through the parts it produces. Learn to read those signals and you will almost never face a surprise breakdown.
Read the Parts First
Burrs are the classic early warning. When a cutting edge dulls, burr height grows stroke by stroke. Measure it. If burr height trends upward across a run, schedule sharpening now, not after the next order. Watch for these signals too:
- Dimensional drift, where measurements creep toward the tolerance limit over successive lots.
- Surface defects such as scoring lines, galling marks, or embedded slivers.
- Inconsistent bend angles, which often point to worn guides or spring fatigue.
- Deformation or cracking at bend radii, suggesting work-hardening 4 or die misalignment.
Then Inspect the Tooling System
Parts tell you something is wrong. Tooling tells you what. During inspections, we focus on five zones: punch edges for dulling and chips, die cavities for cracks and galling, guide pillars and sleeves for play, springs for lost tension, and fasteners for loosening from vibration. Loose fasteners are sneaky. Press vibration backs them out slowly, and misalignment follows.
Some advanced appliance plants now mount vibration sensors 5 on presses and even on stamped brackets in high-frequency products like washing machines. That predictive approach catches stress fractures before any visible damage appears. You do not need sensors to start, though. A disciplined visual check plus a burr gauge and calipers will catch most problems early.
Finally, connect inspection data to your maintenance log. A rising scrap rate on one die is not bad luck. It is a trend, and trends can be acted on before customers ever see a defect.
What Storage and Handling Practices Help Me Maintain Stamping Part Quality Long-Term?
Door-to-door logistics is part of our service scope, so I have unpacked plenty of containers on the receiving end. Poor packing and damp storage ruin more good parts than bad stamping ever does.
Store stamped parts and dies clean, dry, and lightly oiled in a ventilated, humidity-controlled space. Use interleaving or VCI packaging, avoid stacking that deforms thin parts, handle with gloves to prevent scratches, and match any replacement parts to original material grade and thickness.

Storage sounds boring until it costs you a shipment. Thin-gauge stamped brackets and clips are dimensionally precise but physically delicate. They dent, scratch, and rust more easily than machined blocks. Handling discipline protects the value you paid for in tooling and process control.
Storing Finished Stamped Parts
Keep parts off concrete floors, since concrete wicks moisture. Use VCI paper 6 or bags for bare steel, and separate layers so parts cannot rub and scratch coatings. Never overstack. A pallet crushed under its own weight turns flat mounting tabs into rejects. For export, we specify desiccant, sealed liners, and sturdy interior dunnage before ocean freight, because a container crossing the Pacific sees serious humidity swings.
Storing Idle Dies and Tooling
Dies waiting between orders need their own routine:
| Step | Purpose |
|---|---|
| Clean out all debris and old lubricant | Prevents embedded slivers and gum buildup |
| Dry completely, then coat with rust-preventive oil | Blocks oxidation during idle months |
| Close the die with a slight gap or storage blocks | Protects edges and relaxes springs |
| Store in a dry, ventilated, dust-protected area | Stops rust and contamination |
| Tag with last-service date and stroke count | Makes the next setup predictable |
Handling and Replacement Discipline
Handle parts with clean gloves. Bare hands leave salt and oils that start corrosion on unfinished steel. And when replacing a stamped component in the field, always match the original material grade and thickness. Substituting a lower-grade or thinner steel weakens the assembly and can void appliance warranties. That is exactly why our process control includes material certs 7 on every lot we ship.
Conclusion
Neglected stamping parts quietly raise scrap and downtime. Clean, lubricate, inspect, store properly, and schedule by cycle counts. Do that, and quality, tool life, and uptime follow.
Frequently Asked Questions
How Can I Prevent Wear and Corrosion in Stamped Appliance Parts Over Time?
A humid warehouse in Vietnam taught our team a hard lesson early on zinc plating 1 . We found rust blooms on a pallet of unfinished steel clips within two weeks of storage.
What Maintenance Schedule Should I Follow for Stamping Parts in My Appliance Products?
Scheduling is where I see the biggest gap between average suppliers and good ones. When we audit factories in Vietnam and Taiwan, the first document I request is the die maintenance log.
How Do I Identify Early Signs of Stamping Part Failure Before It Affects Production?
One of our QC engineers caught a hairline crack on a punch during a routine PPAP review 3 for a dryer component. That single catch saved the client an entire non-conforming shipment.
Footnotes
1. Explains zinc coating process referenced for corrosion protection on stamped parts. ↩︎
2. Background on deep drawing process mentioned alongside blanking operations. ↩︎
3. Defines PPAP, the quality process referenced for catching tooling defects. ↩︎
4. Background concept explaining metal deformation behavior at bend radii. ↩︎
5. NIST resources support predictive maintenance sensor technology mentioned for press monitoring. ↩︎
6. Explains VCI packaging technology used to protect stamped parts from corrosion. ↩︎
7. ISO standards govern material certification practices referenced in quality process control. ↩︎