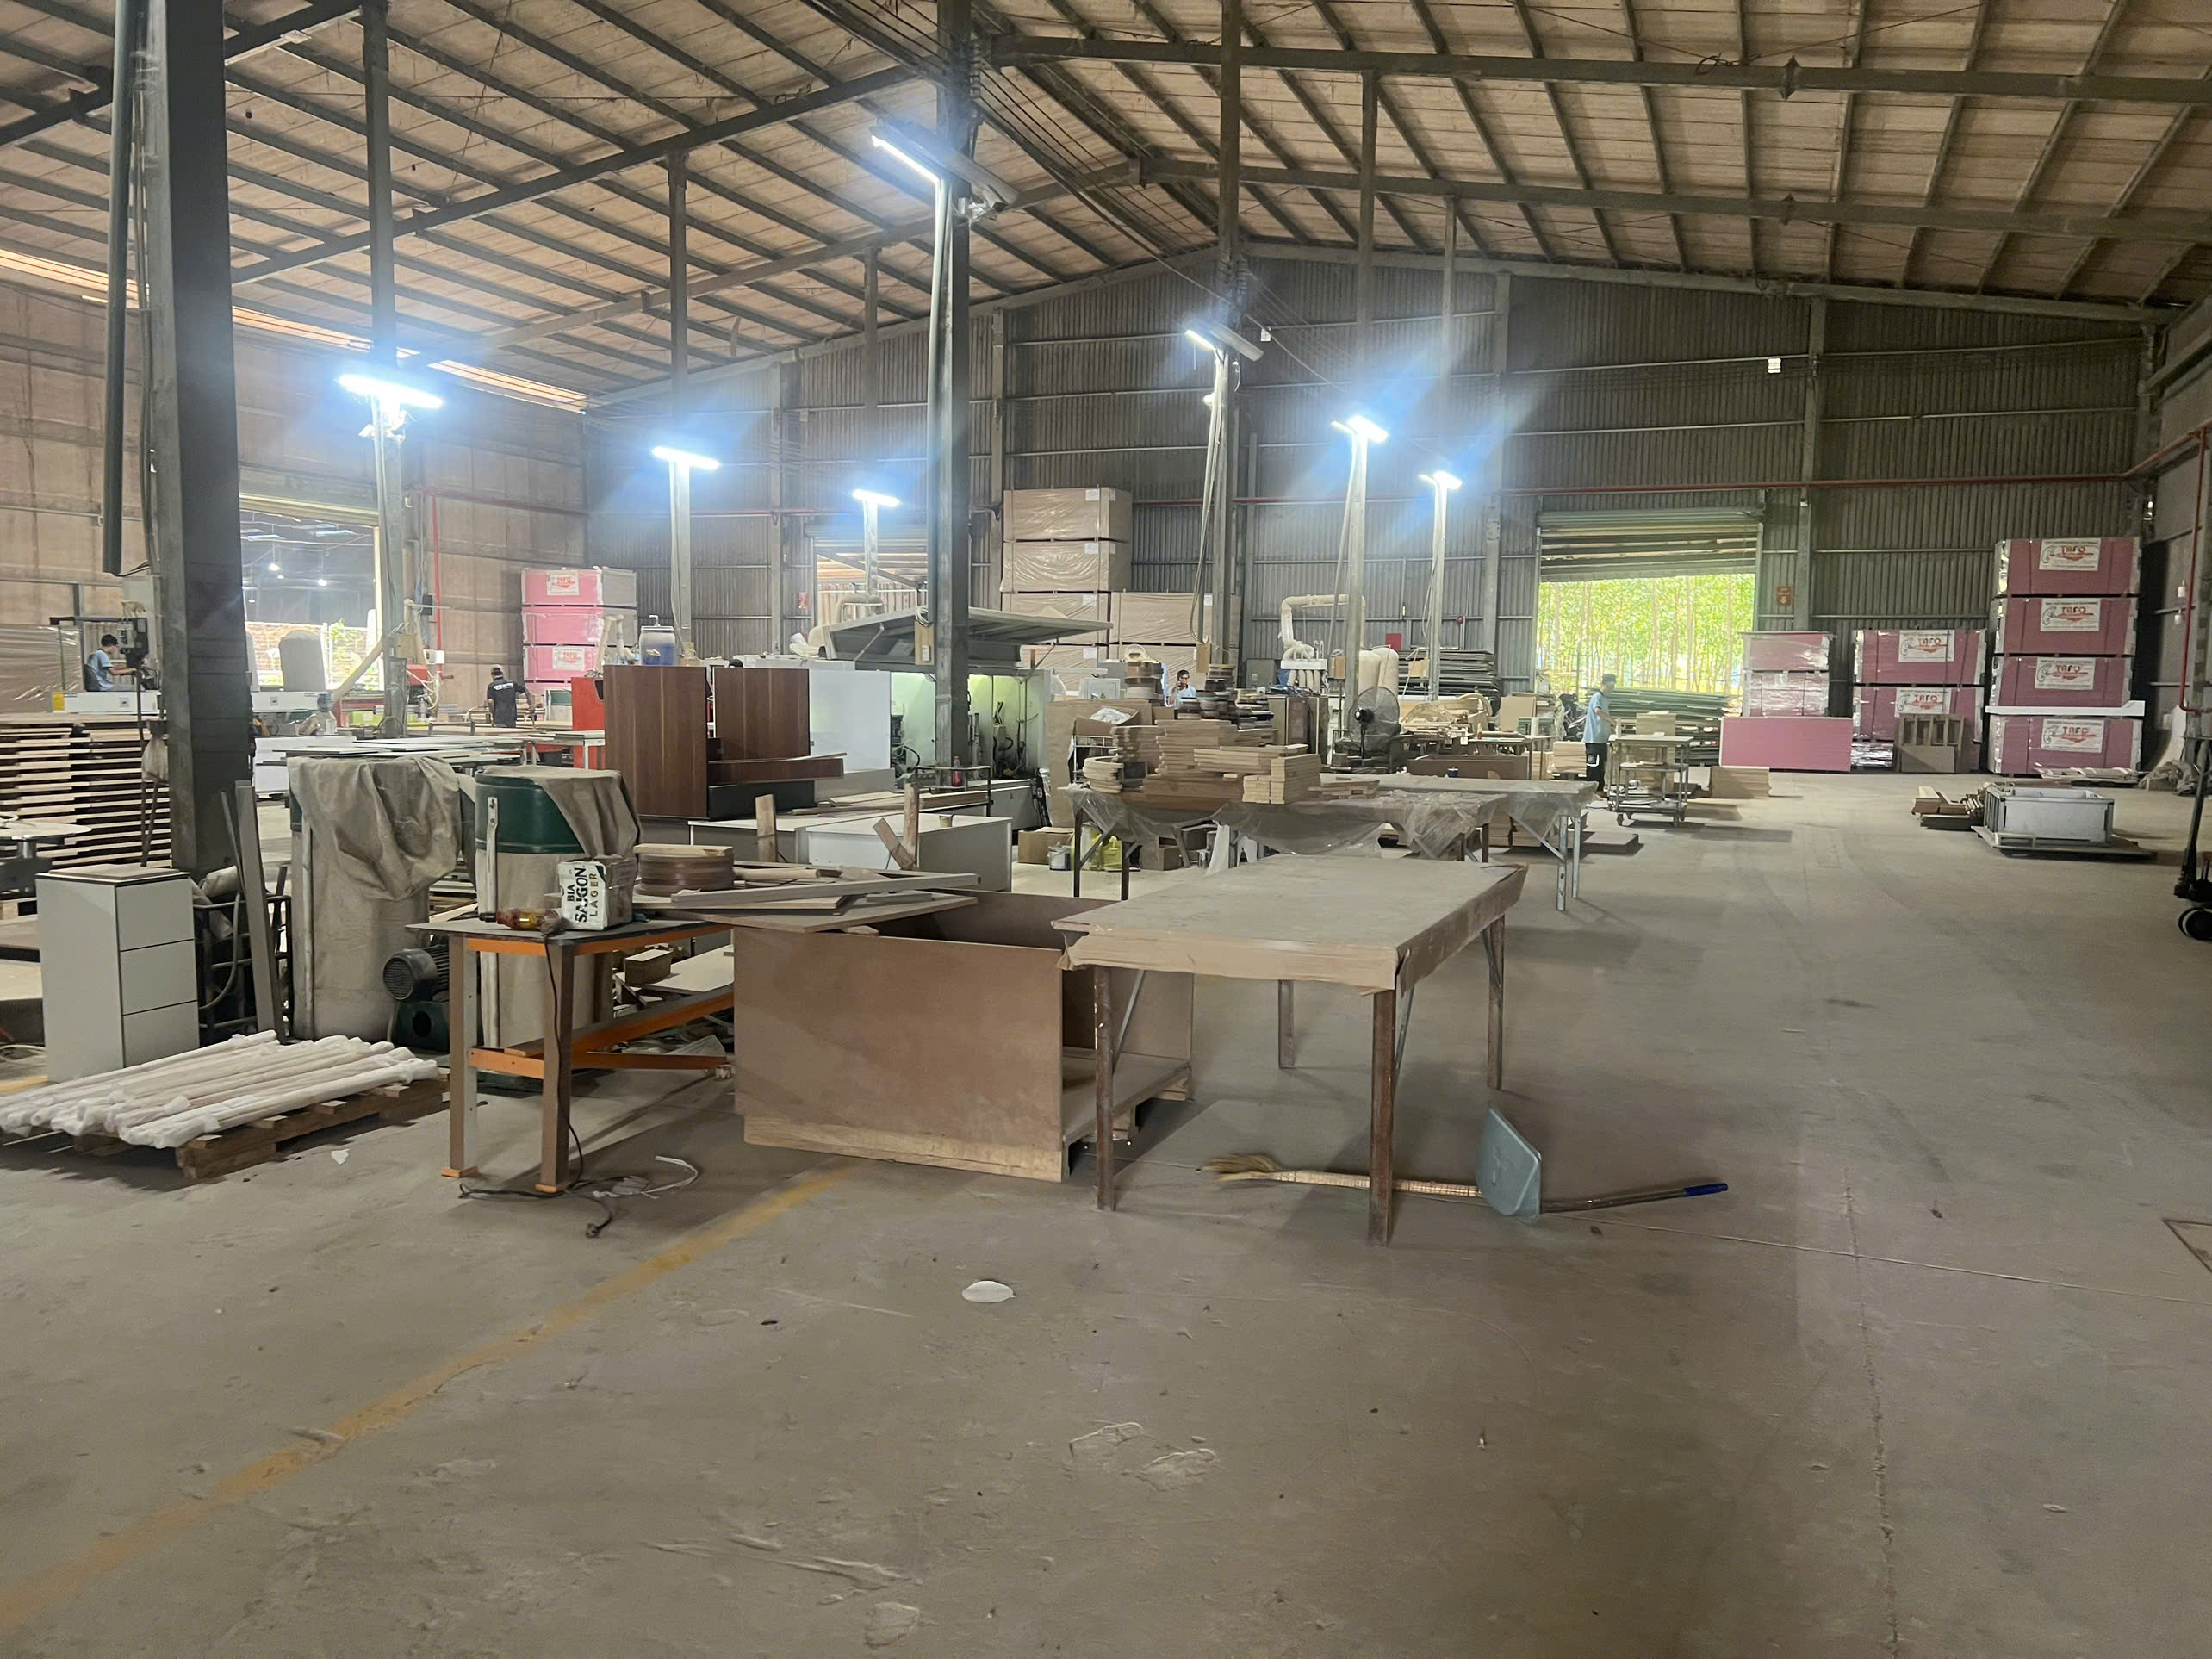
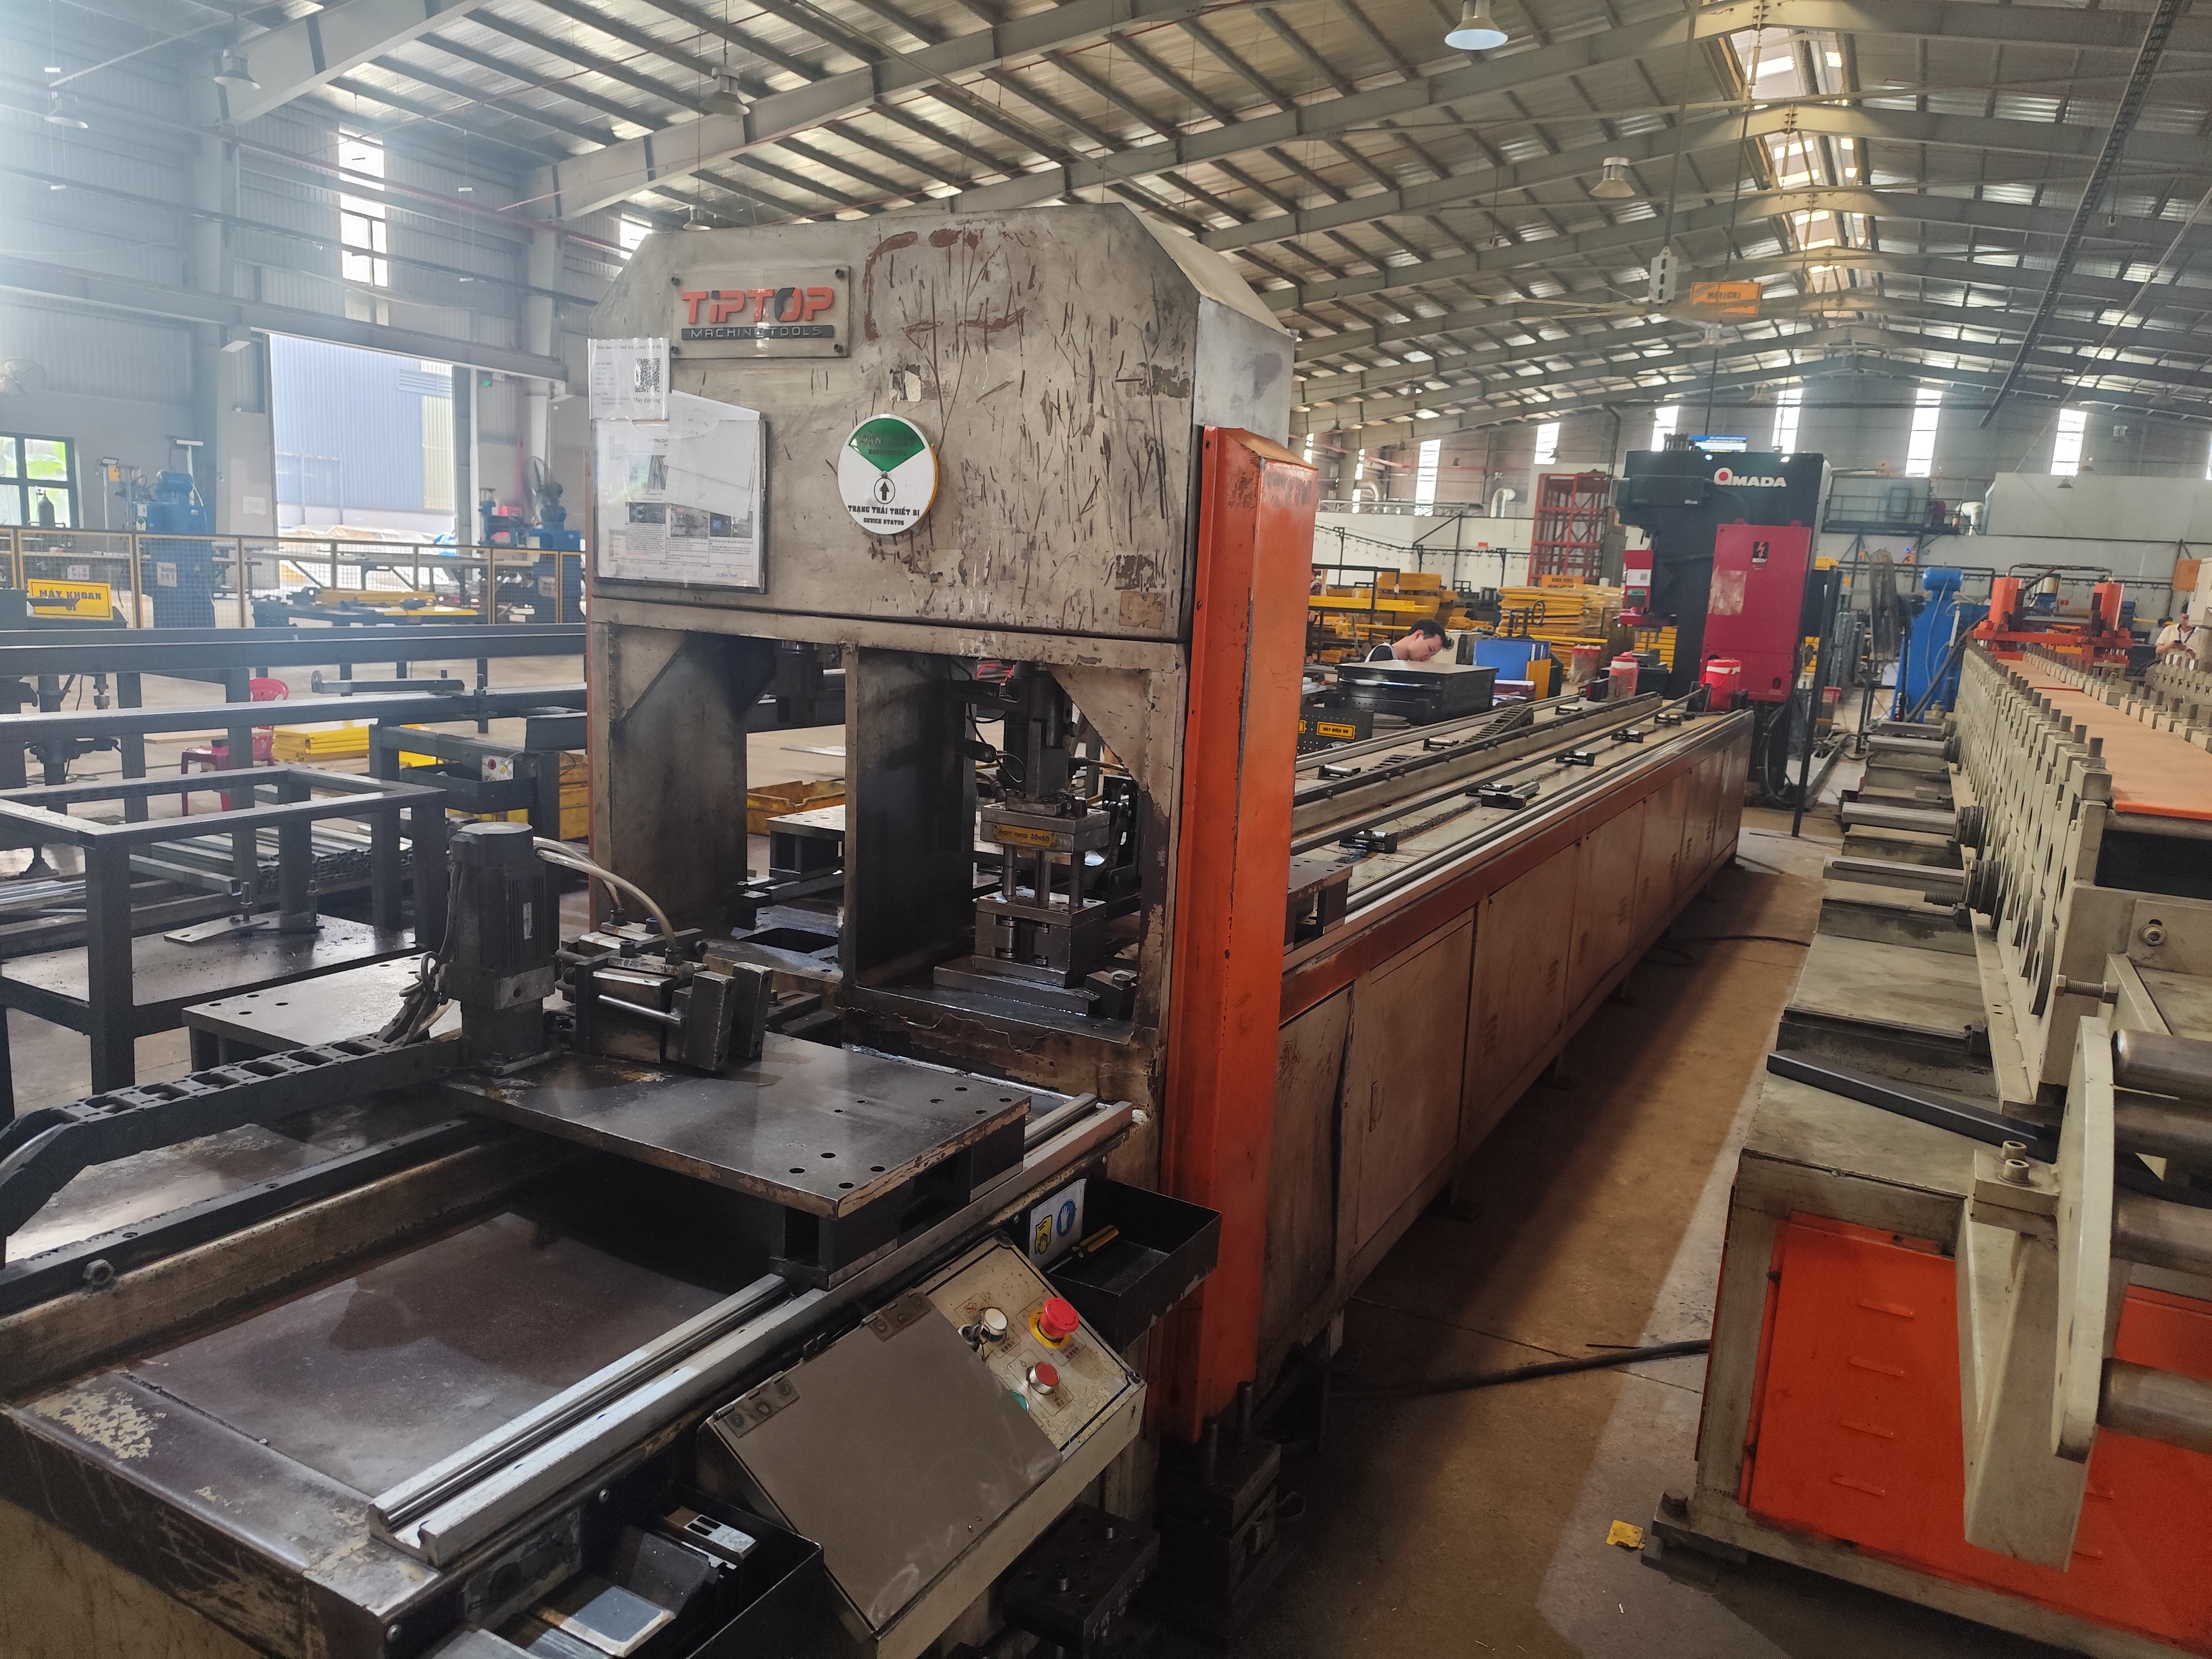
Household appliance stamping parts fail quietly. Our sourcing team in Vietnam once traced a client’s warranty spike to rusted brackets nobody ever inspected. Neglect turns small parts into big failures.
Maintenance precautions for household appliance stamping parts include keeping them clean and dry, preventing corrosion during storage, lubricating moving interfaces, tightening fasteners regularly, avoiding harsh cleaners, and inspecting for early wear, cracks, or deformation before they cause appliance failures.
Stamped brackets, clips, and mounting plates 1 hold your appliances together. They are cheap to buy but expensive to ignore. Let me walk you through the precautions that actually matter, stage by stage.
How Can I Prevent Corrosion and Rust on Household Appliance Stamping Parts During Storage?
During a supplier audit near Ho Chi Minh City, I opened a carton of galvanized brackets 2 and found white rust across the whole batch. The warehouse humidity had done its damage in three weeks.
Prevent corrosion on stored stamping parts by keeping humidity below roughly 50%, applying a thin anti-rust oil or VCI packaging, avoiding direct floor or wall contact, separating dissimilar metals, and inspecting stock monthly for early rust spots before they spread.
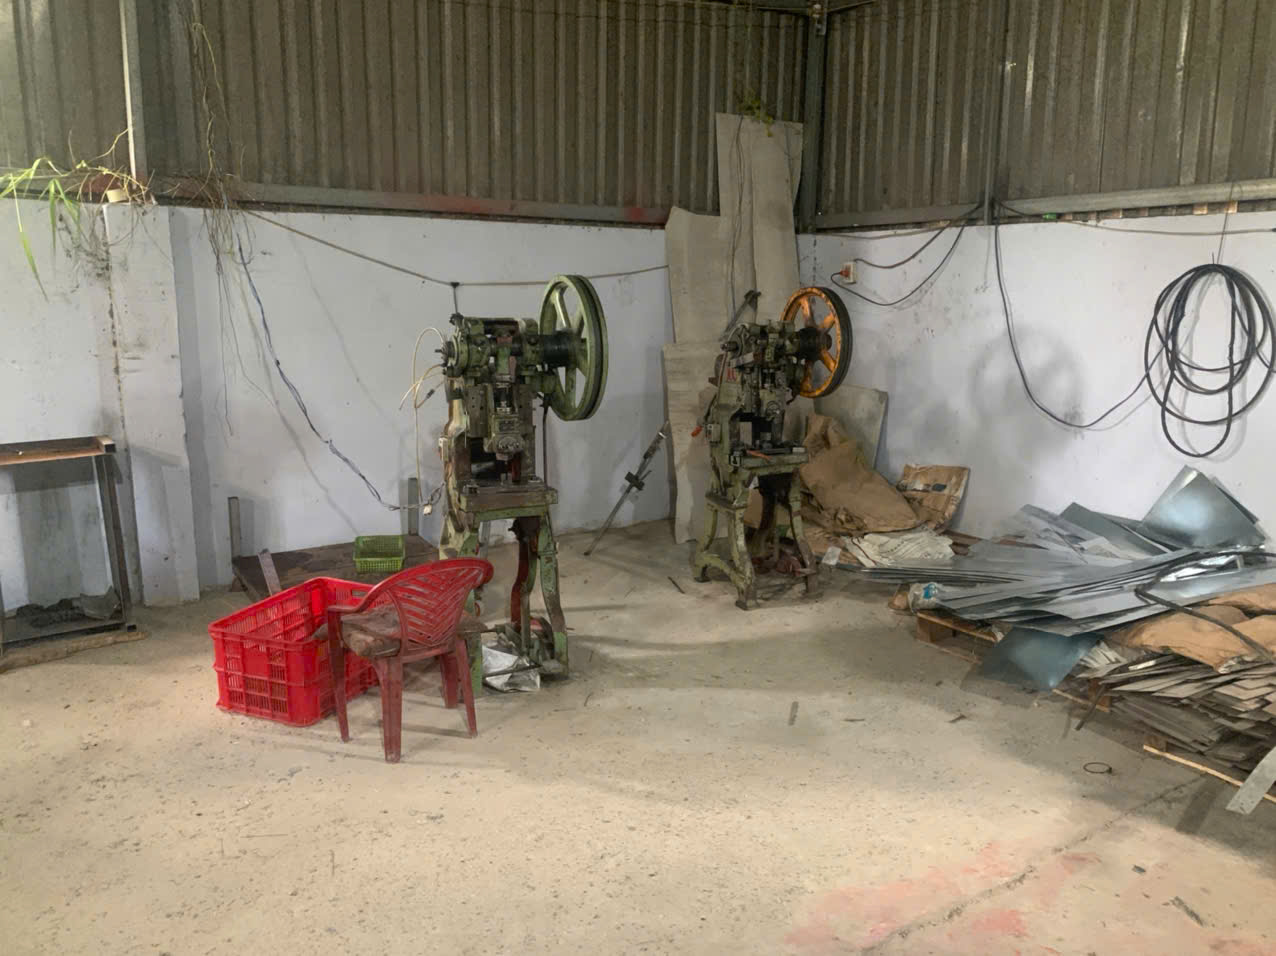
Moisture is the number one enemy of stamped steel. Even galvanized or plated parts corrode when condensation sits on them. So your storage strategy should attack moisture from every angle.
Control the Storage Environment First
Store parts in a dry, ventilated room. Keep them off concrete floors, because concrete releases moisture upward. Use pallets or shelving. Avoid exterior walls where temperature swings cause condensation. If your region is humid, a simple dehumidifier pays for itself quickly. We ask our contract manufacturers in Vietnam to log warehouse humidity daily during the rainy season, because that is exactly when claims used to appear.
Choose the Right Protective Method
Different finishes need different protection. Here is a quick comparison:
| Part Finish | Corrosion Risk | Recommended Storage Protection |
|---|---|---|
| Bare cold-rolled steel | Very high | Anti-rust oil plus VCI paper or bags |
| Galvanized (zinc-coated) | Moderate | Dry storage, avoid condensation, no acid contact |
| Stainless steel | Low | Keep away from carbon steel 3 dust and chlorides |
| Powder-coated or painted | Low–moderate | Protect edges and scratches, avoid stacking damage |
Handle Parts Correctly Before Storage
Fingerprints leave salts and acids that start corrosion. Wear gloves when handling bare steel 4. Never store parts that are still damp from cleaning or washing. Wipe them dry first. Also, do not mix stainless and carbon steel parts in one bin. Carbon steel particles transfer onto stainless surfaces and create rust spots later. Finally, rotate stock on a first-in, first-out basis. Old inventory sitting in a corner is where rust always starts.
What Maintenance Schedule Should I Follow to Extend the Lifespan of My Stamping Parts?
One of our U.S. purchasing clients asked me a fair question: how often should his end-users actually check these parts? We built him a simple schedule, and complaints about loose panels dropped noticeably.
Follow a tiered schedule: wipe and visually check stamping parts monthly, inspect fasteners and lubrication points quarterly, do a full check for wear, alignment, and corrosion every six months, and replace fatigued springs, clips, or corroded brackets annually or as needed.
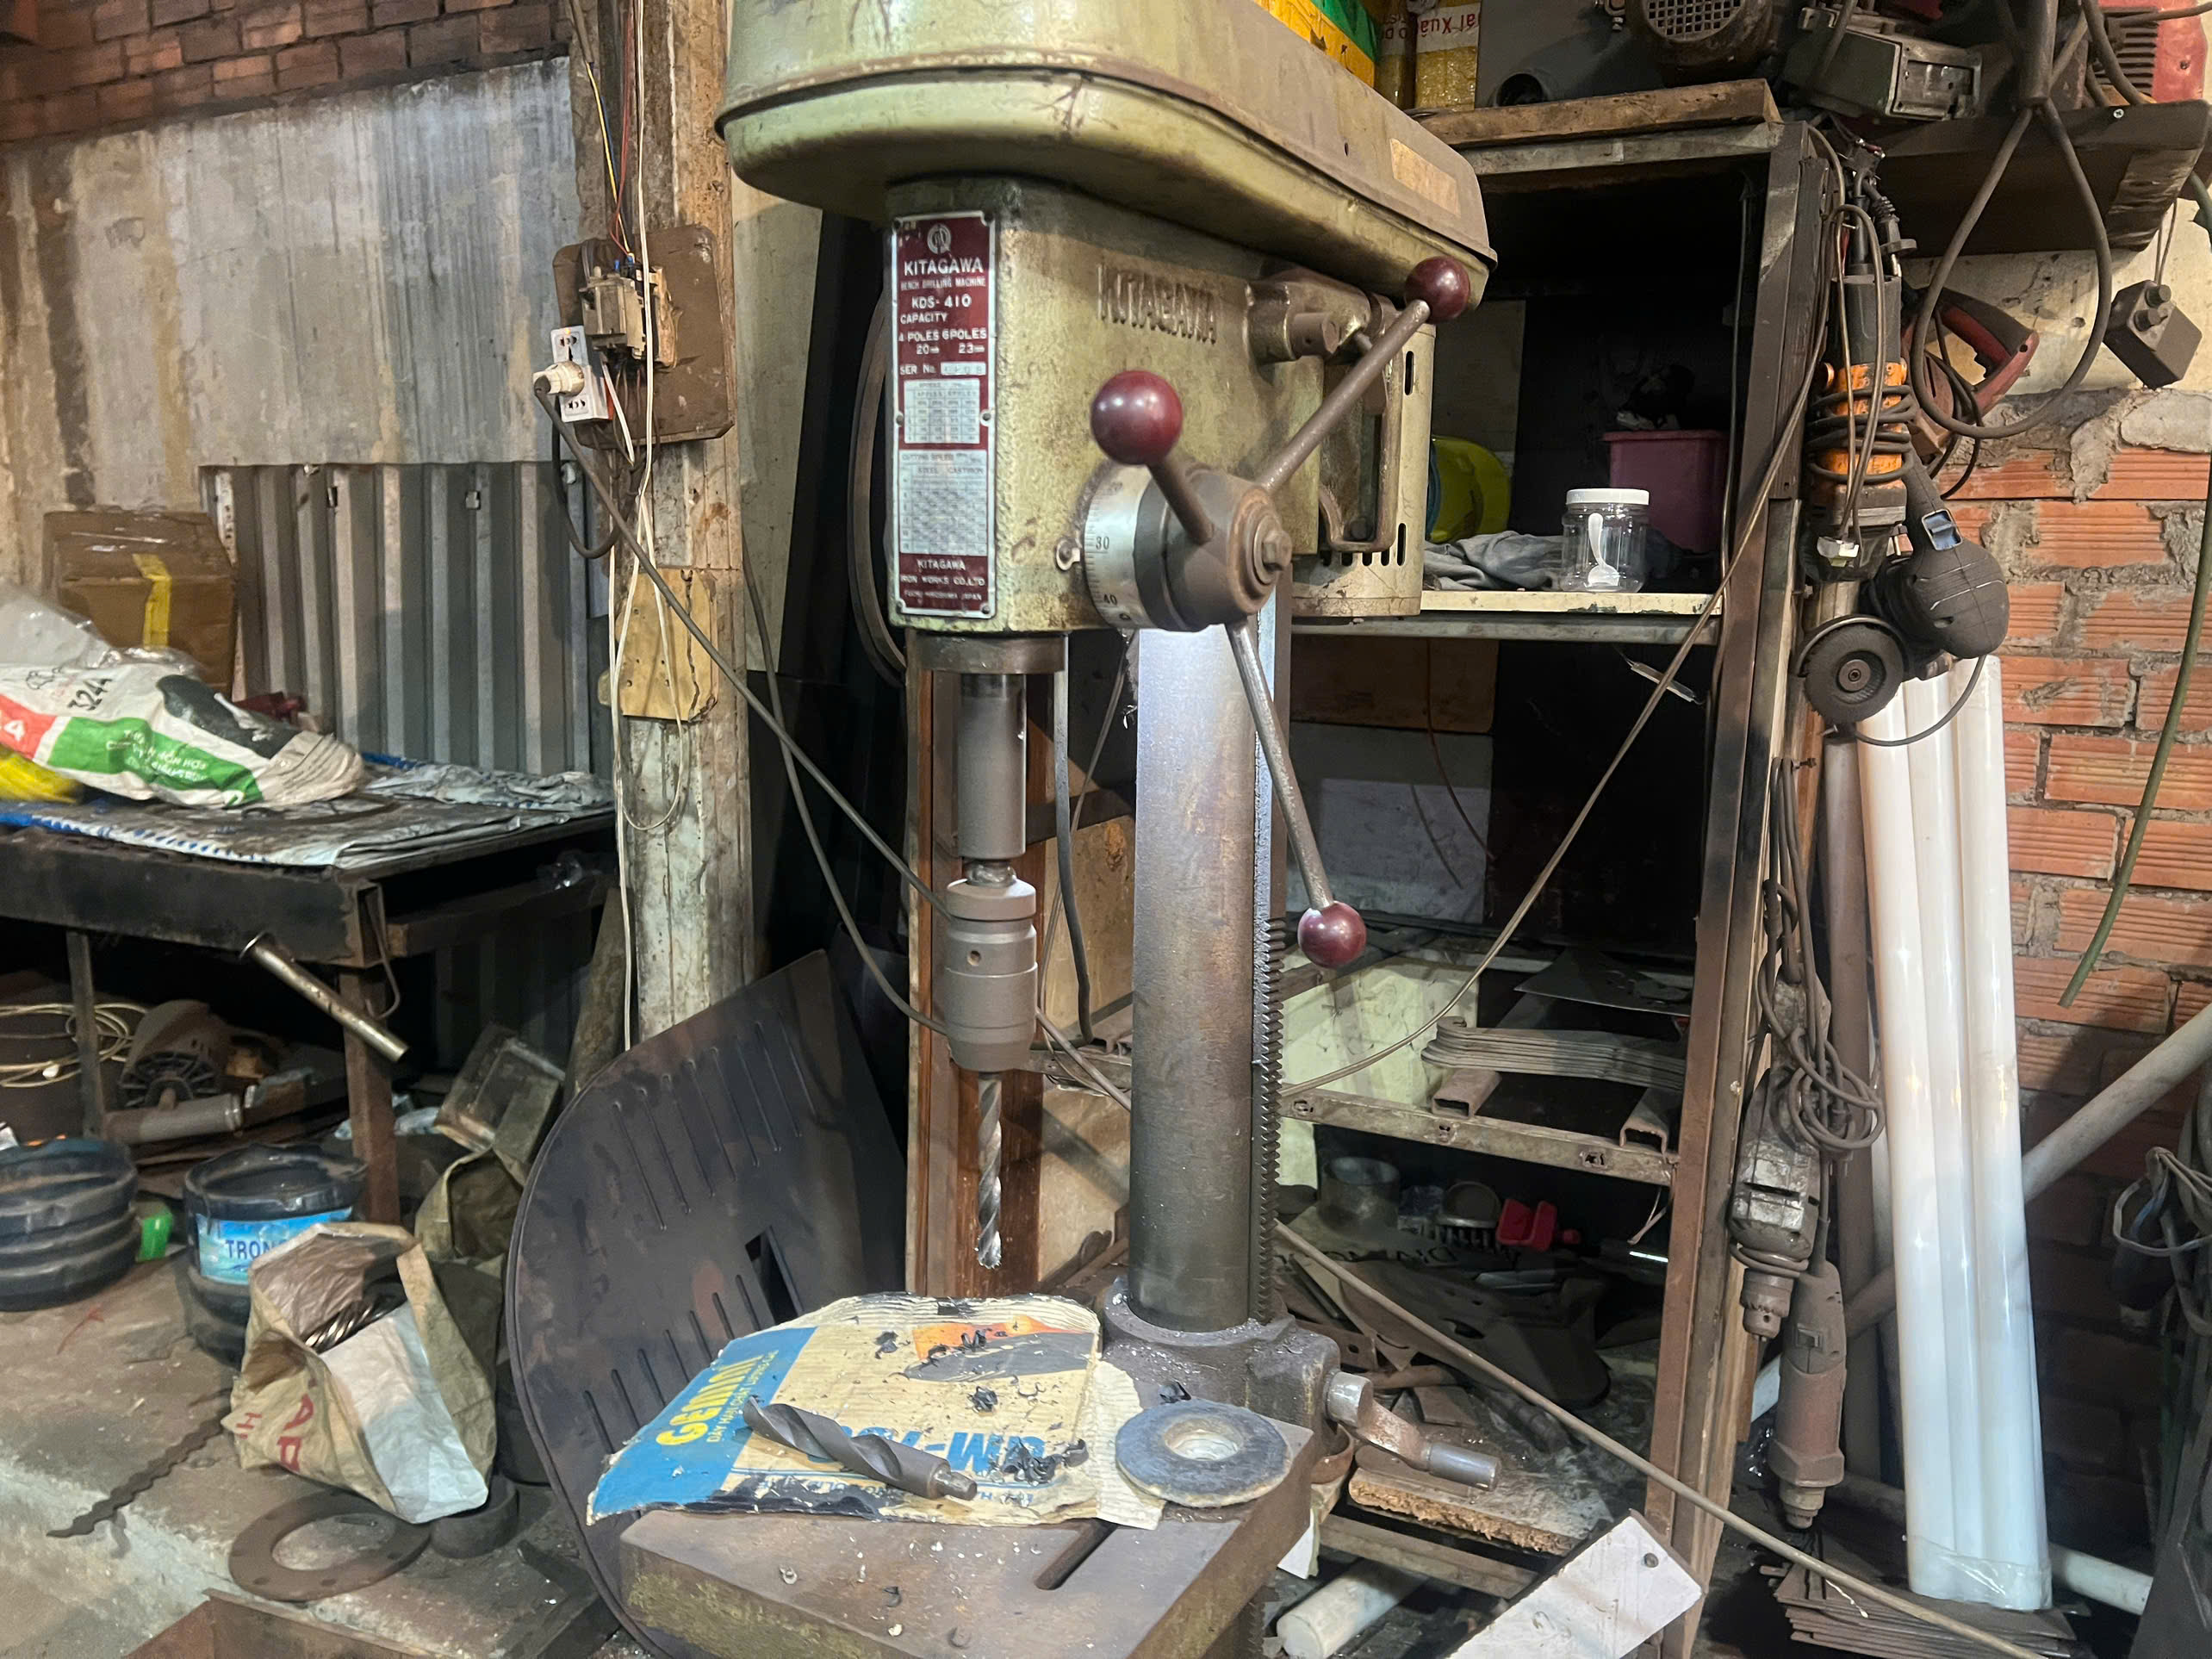
A schedule beats memory every time. Industrial stamping shops maintain their dies on strict intervals, and the same logic scales down to appliance parts in your home or facility. The trick is matching effort to risk.
A Practical Tiered Schedule
| Frequency | Task | Why It Matters |
|---|---|---|
| Monthly | Wipe surfaces, remove dust and grease | Buildup traps moisture and hides defects |
| Quarterly | Check screws, rivets, and joints; re-tighten | Vibration loosens fasteners over time |
| Quarterly | Lubricate moving hinges and brackets lightly | Reduces friction wear on contact surfaces |
| Every 6 months | Inspect coatings for scratches, peeling, rust | Early touch-ups stop corrosion spread |
| Every 6 months | Check alignment and fit of panels and brackets | Misalignment accelerates deformation |
| Annually | Replace fatigued springs and worn clips | Elastic elements lose tension with cycles |
Keep a Simple Maintenance Log
Write down what you checked and what you found. A log turns reactive repair into predictive maintenance. You will notice patterns, such as one bracket loosening every quarter, which usually signals a deeper alignment problem. In our PPAP and process control 5 work, documentation is what catches slow drift before it becomes scrap. The same principle applies at home: a note on your phone is enough.
Adjust the Schedule to Conditions
Appliances near heat, steam, or vibration need shorter intervals. A washing machine bracket lives a harder life than a shelf clip inside a cabinet. Double the inspection frequency for parts near motors, compressors, or water. And after any repair, always re-check fastener torque within the first month, since new joints settle.
Which Cleaning Methods Are Safe for Household Appliance Stamping Parts Without Damaging Their Surface Finish?
Choosing a cleaner involves a trade-off I weigh often when writing care instructions for clients: strong chemicals clean faster, but they strip protective coatings faster too. The gentlest method that works is always the right one.
Clean stamping parts safely using a soft microfiber cloth with mild soapy water or diluted neutral cleaner, wipe along the grain, dry immediately, and avoid abrasive pads, steel wool, chlorine bleach, and acidic cleaners that damage zinc, paint, or passivated surfaces.

Surface finish is not cosmetic. On stamping parts, the finish is the corrosion barrier. Scratch it, and you have opened a door for rust. So every cleaning decision should protect that layer first.
Match the Cleaner to the Finish
| Cleaning Agent | Bare/Galvanized Steel | Stainless Steel | Powder-Coated |
|---|---|---|---|
| Mild soapy water | Safe | Safe | Safe |
| Neutral pH cleaner (diluted) | Safe | Safe | Safe |
| Isopropyl alcohol | Safe for grease spots | Safe | Test small area first |
| Chlorine bleach | Never | Never (causes pitting) | Never |
| Acidic descalers | Never | Risky | Never |
| Abrasive powder or steel wool | Never | Never | Never |
Follow a Gentle Cleaning Sequence
First, remove loose dust with a dry soft cloth or brush. Second, apply mild soapy water with a damp cloth, not a soaked one. Water pooling in bent flanges and punched holes is a common rust trigger. Third, wipe with a clean damp cloth to remove residue. Fourth, dry the part completely, especially inside slots, hems, and hole edges. Fifth, on brushed finishes, always wipe along the grain direction so you do not create visible cross-scratches.
Small Habits That Protect the Finish
Never scrape dried grime with a knife or screwdriver. Soften it with warm soapy water instead. Skip pressure washers, because they drive water into seams you cannot dry. In our final inspection process 6, we reject parts for finish scratches that a customer would create at home in one careless cleaning session. Treat the surface as gently as an inspector would.
How Do I Identify Early Signs of Wear or Deformation in My Stamping Parts Before They Cause Product Failures?
A lesson I learned early in this business: stamped parts almost always warn you before they fail. During one final inspection, a slightly enlarged screw hole told us a whole fixture had been vibrating loose for weeks upstream.
Look for elongated or ovalized screw holes, hairline cracks at bend radii, rust bleeding from seams, visible gaps or misaligned panels, rattling or new noises, loose fasteners, and springs or clips that have lost tension—each signals wear or deformation before failure.

Early detection is mostly about knowing where to look. Stamped parts concentrate stress in predictable spots, so your inspection can be fast and targeted rather than exhaustive.
Check the High-Stress Zones First
Bend radii crack first, because forming already work-hardened the metal there. Hole edges elongate first, because fasteners bear on them under vibration. Weld or rivet points loosen first, because they carry joint loads. Spend eighty percent of your inspection time on these three zones and you will catch most problems.
Use Simple Senses, Not Special Tools
Listen for new rattles, buzzing, or clicks during operation. New noise almost always means something moved. Feel for play by gently pressing brackets and panels; solid parts should not flex or shift. Look at gaps between panels; a gap that was once even and is now wedge-shaped means a mounting part has deformed. Also watch for rust streaks running from a seam. That stain means corrosion is active inside a joint you cannot see.
Decide: Monitor, Tighten, or Replace
Use a simple decision rule. If a fastener is loose but the hole is round, tighten it and note the date. If the hole is ovalized or the metal is cracked, replace the part; tightening will not last. If a spring or clip no longer snaps back firmly, replace it, because elastic fatigue 7 is not repairable. And when a deformed part affects safety, grounding, or door alignment, stop using the appliance and call a professional. In our co-development projects, we design brackets to fail gracefully, but that only helps if someone acts on the warning signs.
Conclusion
Neglected stamping parts cause rust, rattles, and failures. Consistent cleaning, dry storage, scheduled fastener checks, and early wear detection keep household appliance stamping parts—and your appliances—reliable for years.
Frequently Asked Questions
How Can I Prevent Corrosion and Rust on Household Appliance Stamping Parts During Storage?
During a supplier audit near Ho Chi Minh City, I opened a carton of galvanized brackets 2 and found white rust across the whole batch. The warehouse humidity had done its damage in three weeks.
What Maintenance Schedule Should I Follow to Extend the Lifespan of My Stamping Parts?
One of our U.S. purchasing clients asked me a fair question: how often should his end-users actually check these parts? We built him a simple schedule, and complaints about loose panels dropped noticeably.
Which Cleaning Methods Are Safe for Household Appliance Stamping Parts Without Damaging Their Surface Finish?
Choosing a cleaner involves a trade-off I weigh often when writing care instructions for clients: strong chemicals clean faster, but they strip protective coatings faster too. The gentlest method that works is always the right one.
Footnotes
1. Industry sourcing reference for the stamped metal components discussed throughout the article. ↩︎
2. Explains the zinc-coating process behind galvanized parts referenced in corrosion prevention. ↩︎
3. Background on carbon steel properties relevant to cross-contamination corrosion risk described. ↩︎
4. OSHA guidance on protective gloves supports the handling precaution mentioned. ↩︎
5. AIAG defines PPAP, the formal quality documentation process referenced for manufacturing traceability. ↩︎
6. ISO 9001 governs quality inspection processes like the one described for finish defects. ↩︎
7. Defines material fatigue mechanism causing springs and clips to lose tension. ↩︎