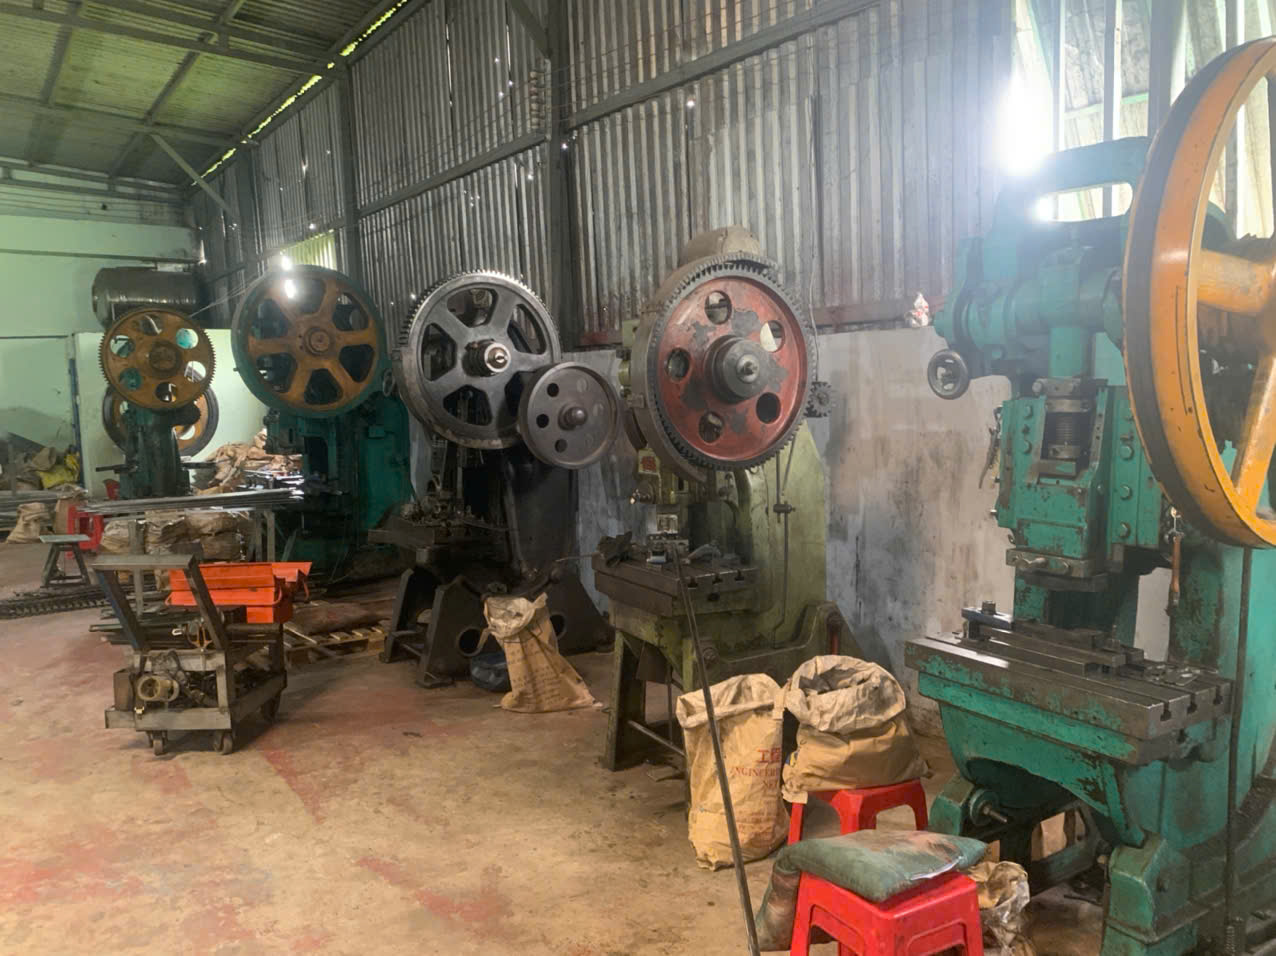

Preparation before installing stamping parts decides whether an assembly succeeds. On our production lines, most installation failures trace back to skipped prep, not the installation itself. Skipped prep means scrap, rework, and delays.
Before installing stamping parts, you must review engineering drawings and specifications, inspect each part for defects and dimensional accuracy, clean parts of oils and debris, prepare and calibrate installation tools and fixtures, and train your team on the correct assembly sequence, torque values, and safety procedures.
That answer covers the essentials. But each step has details that matter. Let me walk you through the four preparation areas one by one, based on what actually works on the shop floor.
What Documents and Drawings Should I Review Before Installing Stamping Parts?
A few years back, one of our Vietnam projects taught me a hard lesson. A single overlooked drawing note on flange orientation caused a full batch of stamped brackets to be installed backwards.
Before installation, review the latest engineering drawings, dimensional tolerances, material specifications, the installation manual, assembly sequence, torque values, and part orientation notes. Confirm the drawing revision matches the parts received, and check PPAP or first-article inspection reports for approval status.

Documents are the foundation of preparation before installing stamping parts. In my experience managing custom parts projects for U.S. clients, the paperwork stage is where most non-conformance problems are either caught or created. Our engineers always start with a document package review before any part touches a workstation.
The Core Document Checklist
Start with the engineering drawing 1. Check the revision number first. A part made to Rev B but installed against Rev C instructions will fail. Then check the tolerances. Stamped parts often have tight hole-position and bend-angle tolerances 2. You need to know which dimensions are critical before you inspect or install anything.
Next, review the installation manual or work instructions. Confirm the assembly sequence. Confirm the torque values for fasteners. Confirm the part orientation. Stamped brackets with asymmetric bends can often be installed two ways, and only one is correct.
| Document | What to Verify | Why It Matters |
|---|---|---|
| Engineering drawing | Revision level, critical dimensions, tolerances | Prevents installing against outdated specs |
| Material certification | Grade, thickness, coating | Confirms part matches design intent |
| PPAP 3 / FAI report | Approval status, measured results | Proves the batch was validated |
| Installation manual | Sequence, torque values, orientation | Prevents assembly errors and rework |
| Quality plan | Inspection points, sampling rules | Defines what gets checked and when |
Cross-Check Before You Commit
Finally, cross-reference supplier data where available. Press-run records, die wear cycles, and tonnage logs can warn you about springback or dimensional drift in a specific batch. When we run PPAP for our clients, we attach this data so the installer knows exactly what was validated. If any document is missing or unclear, stop and ask. A ten-minute email saves a ten-day rework cycle.
How Do I Inspect Stamping Parts for Quality Before Installation?
There is a trade-off I weigh on every project: inspection time versus rework risk. After years of serving purchasing managers who demand right-first-time results, I always choose more inspection upfront.
Inspect stamping parts by checking for burrs, cracks, rust, scratches, and deformation, then verify critical dimensions with calipers, micrometers, and gauges against the drawing. Clean parts to remove stamping oils and metal shavings, and flag any out-of-tolerance parts before they reach the assembly line.
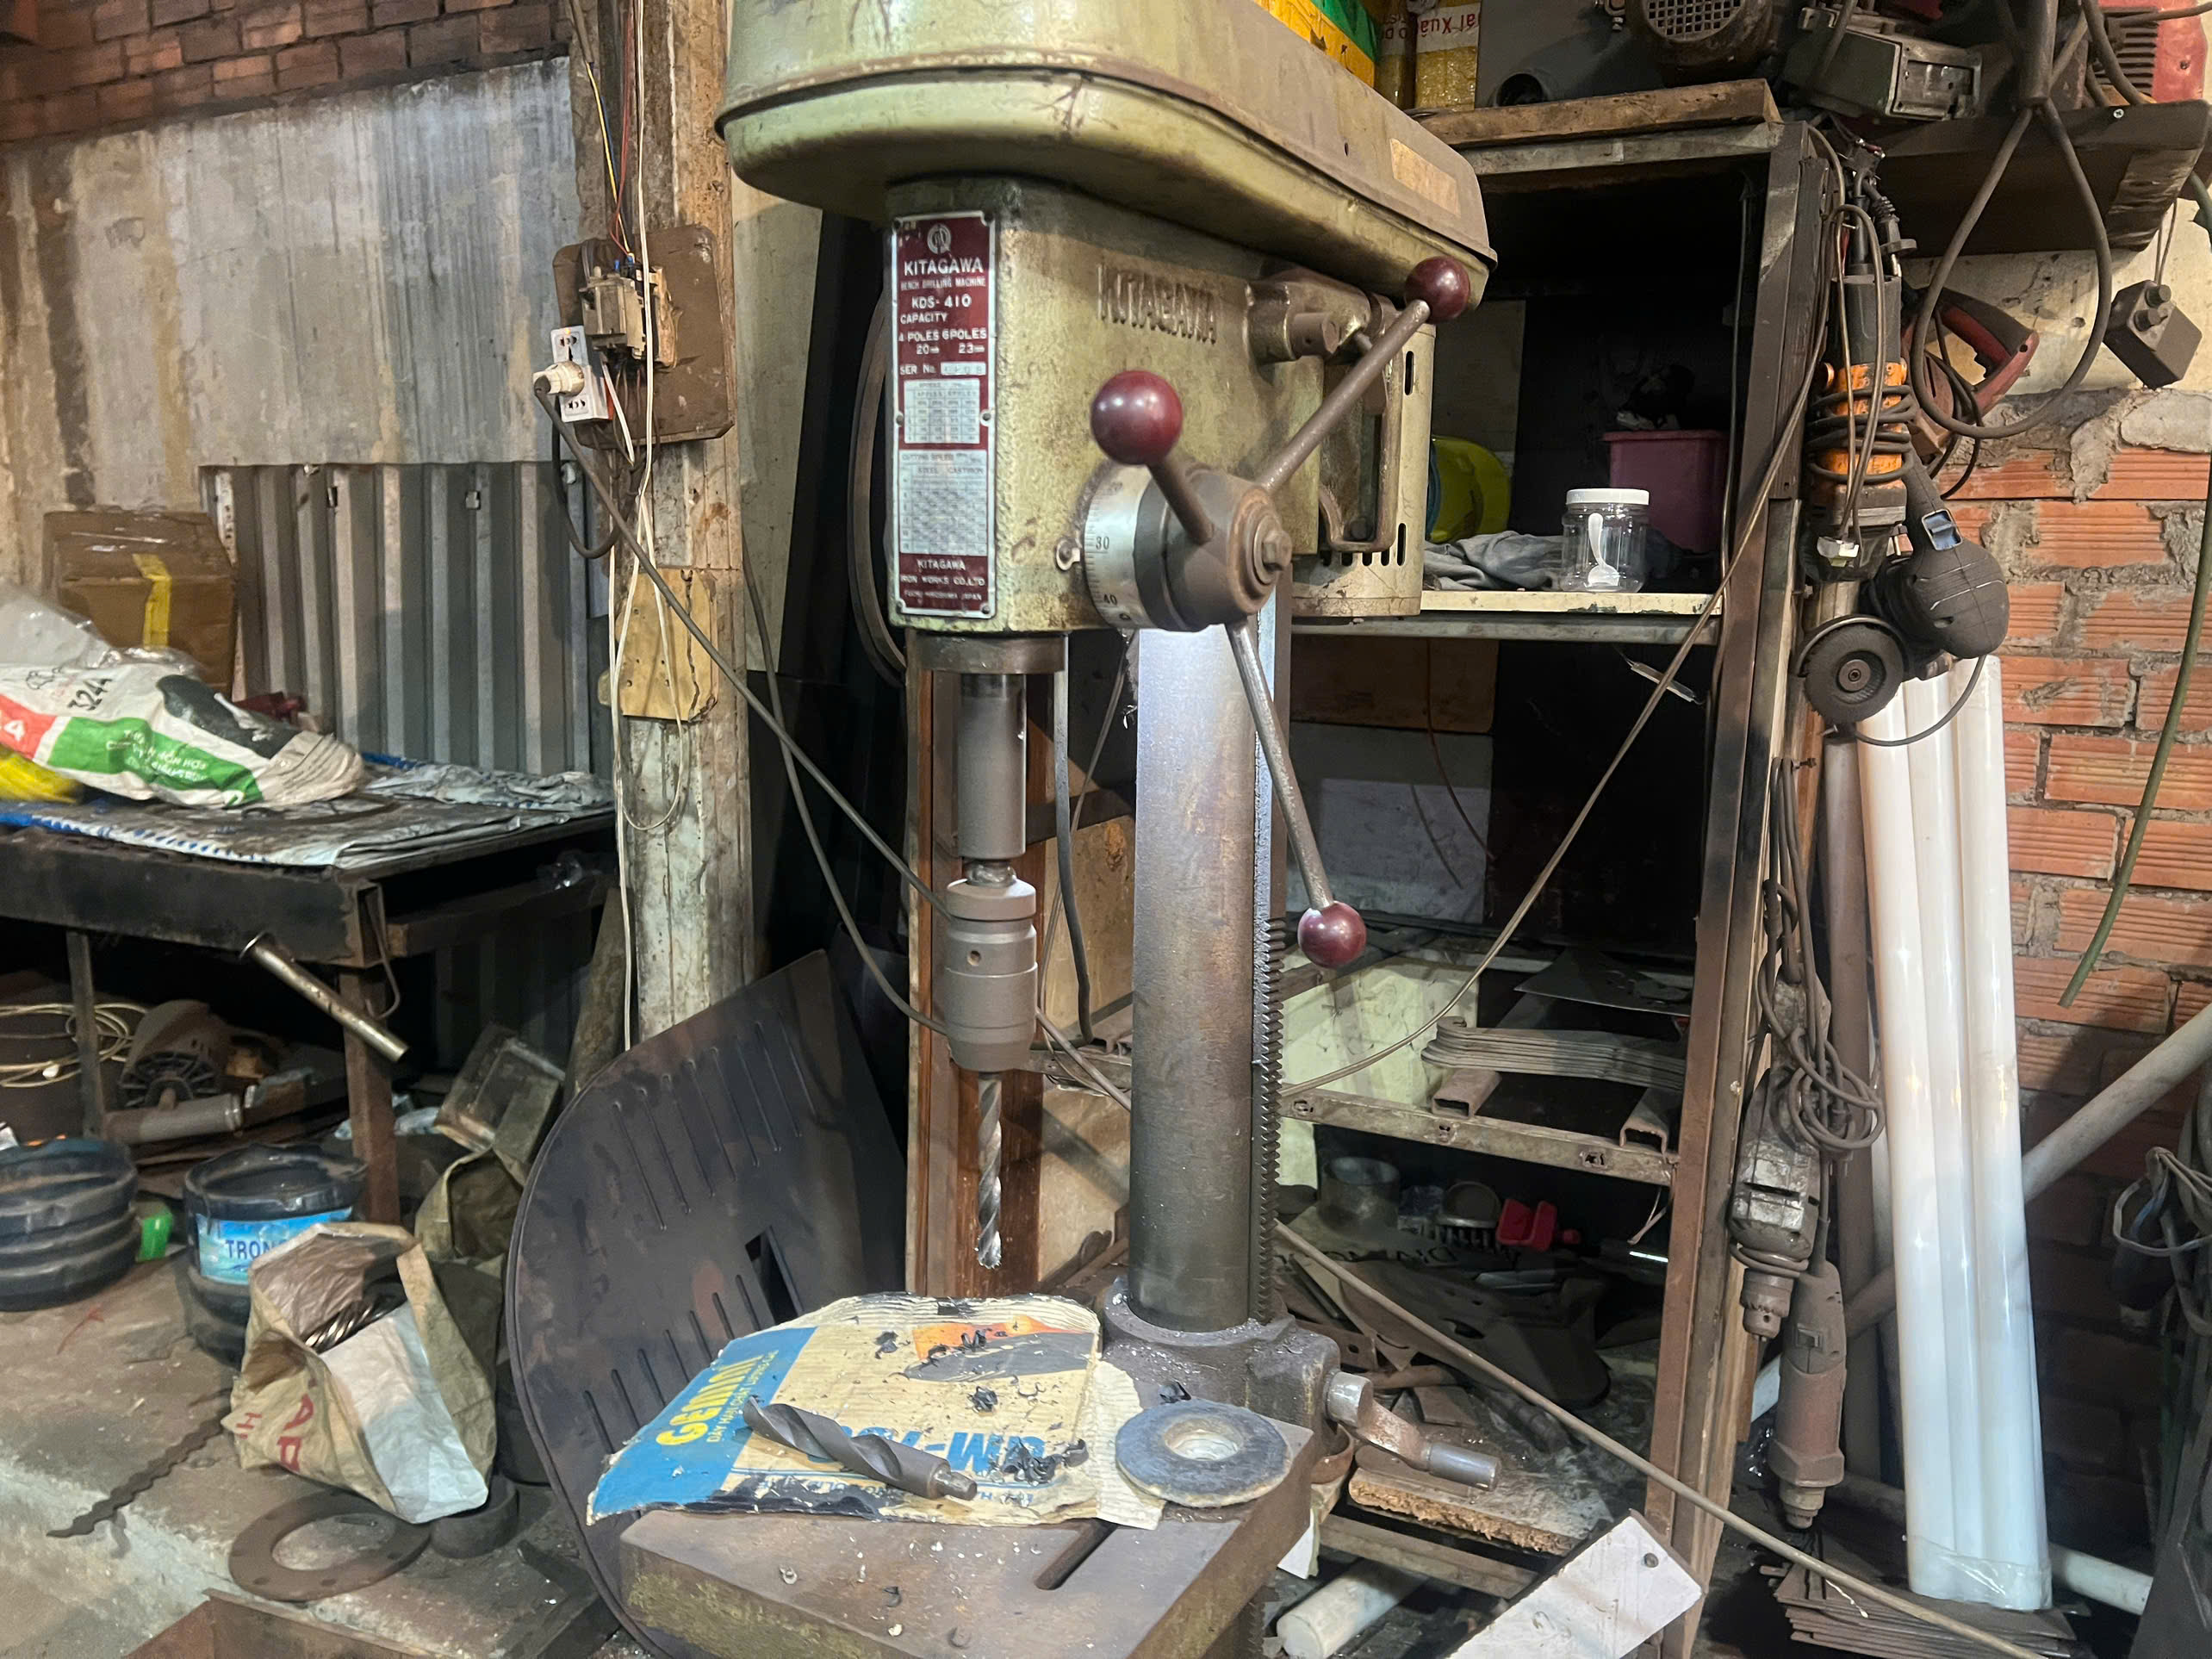
Quality inspection before installing stamping parts is a gate, not a formality. Our QC team in Vietnam runs this gate on every custom parts shipment, and the process breaks down into three layers: visual, dimensional, and cleanliness.
Visual Inspection First
Look at every surface. Burrs on sheared edges can cut hands and prevent flush mating. Cracks near bend radii signal material fatigue or over-forming. Rust or coating damage matters if the part faces corrosion exposure. Deformation from rough handling in transit is common and easy to miss. Check the folded flanges and mounting tabs carefully, because these features carry the load in most bracket applications.
Dimensional Verification Second
Measure the critical dimensions marked on the drawing. For stamped brackets and clips, that usually means hole diameters, hole positions, bend angles, and overall height. Springback can shift bend angles by a degree or two between batches, so never assume batch two matches batch one.
| Inspection Type | Tools Needed | Typical Defects Found |
|---|---|---|
| Visual | Eyes, magnifier, good lighting | Burrs, cracks, rust, scratches |
| Dimensional | Calipers, micrometers, angle gauges 4, pin gauges | Hole size drift, bend-angle springback |
| Fit check | Mating parts, go/no-go gauges | Interference, misaligned holes |
| Cleanliness | White cloth, solvent wipe | Residual oil, metal shavings, dust |
Cleanliness Last
Remove stamping oils, lubricants, and metal fines with an appropriate degreaser. Contamination interferes with welding, adhesive bonding, coating, and even simple bolted joints. On precision assemblies, demagnetize parts too, because magnetized particles cling to steel and cause fit problems. Only cleaned and verified parts should move to the installation station.
What Tools and Equipment Do I Need to Prepare for a Smooth Installation?
One buyer once told me his line stopped for half a day because nobody had the right torque driver on hand. That conversation reshaped how we prepare installation kits for every custom project we ship.
Prepare calibrated measuring instruments, correct fasteners and torque tools, alignment jigs and fixtures, deburring tools, cleaning supplies, and appropriate PPE. Verify tool calibration dates, test fixtures for proper function, and organize the workstation so every item is ready before installation begins.

Tooling readiness sounds simple, but it is the area where small gaps cause big delays. When our team prepares installation support packages for clients, we group everything into four categories and check each one before work starts.
Organize by Category
First, measurement tools. Calipers, micrometers, angle gauges, and shims must be present and calibrated. Check the calibration sticker. An out-of-calibration caliper gives you false confidence, which is worse than no measurement at all.
Second, installation tools. Match torque drivers and wrenches to the fastener specs on the drawing. Stamped parts made from thin gauge metal are easy to distort with over-torque. A torque-controlled tool protects the part and the joint.
Third, fixtures and jigs. Alignment fixtures hold the part in the correct position during fastening. Test them with a sample part before production. A worn or dirty fixture positions parts wrong every single time.
Fourth, support items. Deburring tools, degreasers, lint-free cloths, lubricants, and PPE round out the kit.
| Category | Key Items | Pre-Use Check |
|---|---|---|
| Measurement | Calipers, micrometers, gauges, shims | Calibration date valid |
| Installation | Torque drivers, wrenches, screwdrivers | Torque setting matches drawing |
| Positioning | Jigs, fixtures, clamps | Function tested with sample part |
| Support | Deburring tools, cleaners, PPE | Stocked and within shelf life |
Set Up the Workstation
Then, organize the workstation itself. Clear debris. Lay out parts in installation order. Position lighting so inspectors can see edges and holes clearly. If the environment is cold and the parts arrived from a warm truck, let them acclimate to ambient temperature first. Thermal mismatch matters when joining dissimilar metals, because expansion differences shift hole alignment. A prepared station keeps the rhythm steady and the errors low.
How Should I Train My Team on Installation Procedures for Custom Stamping Parts?
Early in my career coordinating between our Singapore office and factory floors, I learned that a perfect part plus an untrained installer still equals a defect. Training is preparation, just as much as inspection is.
Train your team by walking through the drawings and installation manual together, demonstrating correct part orientation and torque application, running supervised trial installations with first-piece inspection, and documenting sign-offs. Include safety training, PPE requirements, and handling protocols for sharp stamped edges.

Custom stamping parts 5 are unforgiving of guesswork. Each project has its own orientation rules, torque values, and sequence. So generic training is not enough. Here is the structured approach we recommend to our clients, and which we apply during contract manufacturing projects ourselves.
A Five-Step Training Sequence
- Document walkthrough. Review the drawing and installation manual with the whole team. Point out critical dimensions, orientation markers, and torque values. Encourage questions. A confused installer who stays silent becomes a defect later.
- Demonstration. A trained lead performs one complete installation slowly. Show how to identify the correct face of an asymmetric bracket. Show how to seat the part in the fixture. Show the torque sequence.
- Supervised practice. Each team member installs sample parts under observation. Correct mistakes immediately, before habits form.
- First-piece inspection. The first production installation from each operator gets a full dimensional and visual check. Only after it passes does that operator run production. This mirrors the trial-stamping logic used in die setup, where trial parts must pass inspection before handover.
- Sign-off and records. Document who was trained, on what revision, and when. If the drawing revision changes later, retrain. Traceability here protects you during audits and customer complaints.
Safety Belongs in Training
Stamped parts have sharp sheared edges. Require cut-resistant gloves 6 for handling. Cover lifting technique for heavier components and lockout procedures 7 for any powered fixtures. Also train the team on what to do when something looks wrong: stop, flag it, and escalate. In our process control work, the operators who feel free to stop the line catch the most problems. That culture is trained, not assumed.
Conclusion
Preparation before installing stamping parts drives quality, safety, and uptime. Review documents, inspect and clean parts, ready your tools, and train your team. Skip prep, and you pay in scrap and delays.
Frequently Asked Questions
What Documents and Drawings Should I Review Before Installing Stamping Parts?
A few years back, one of our Vietnam projects taught me a hard lesson. A single overlooked drawing note on flange orientation caused a full batch of stamped brackets to be installed backwards.
How Do I Inspect Stamping Parts for Quality Before Installation?
There is a trade-off I weigh on every project: inspection time versus rework risk. After years of serving purchasing managers who demand right-first-time results, I always choose more inspection upfront.
What Tools and Equipment Do I Need to Prepare for a Smooth Installation?
One buyer once told me his line stopped for half a day because nobody had the right torque driver on hand. That conversation reshaped how we prepare installation kits for every custom project we ship.
Footnotes
1. Background on engineering drawings clarifies why revision control is critical before installation. ↩︎
2. ISO maintains international standards for dimensional tolerances referenced in stamped part inspection. ↩︎
3. Explains the PPAP validation process referenced when confirming batch approval status. ↩︎
4. NIST provides authoritative guidance on calibration standards for measurement tools like calipers. ↩︎
5. Provides background on the metal stamping process underlying custom part production. ↩︎
6. OSHA PPE standards back the recommendation for cut-resistant gloves when handling sharp edges. ↩︎
7. OSHA’s official guidance on lockout/tagout supports the safety training procedures described. ↩︎