
Preparations before installing stamping parts decide whether your assembly line runs smoothly or stalls first-article or dimensional inspection report 1. On our production line, one skipped check once cost a client two weeks of rework.
Before installing stamping parts, verify part dimensions against engineering drawings, inspect for burrs, cracks, and warping, clean parts to remove oils and debris, prepare calibrated measuring tools and fixtures, and confirm supplier PPAP documentation. These steps prevent misalignment, assembly failures, and costly downtime.
Each of these preparations sounds simple. But most installation failures I have seen trace back to one skipped step. Let me walk you through each one in detail.
What Quality Checks Should I Perform Before Installing Stamping Parts?
A batch of stamped brackets once arrived at our Vietnam facility looking perfect. Under closer inspection, our QC team found hairline cracks near the bend radius on a third of them.
Before installation, check stamping parts for burrs, cracks, warping, surface defects, and dimensional accuracy. Verify hole positions, bend angles, and flatness with calipers and gauges. Also confirm material grade, coating condition, and cleanliness so no defect enters your assembly process.

Quality checks are your last line of defense. Once a defective stamped bracket goes into an assembly, removing it costs far more than catching it at receiving. So I always tell buyers to treat pre-installation inspection as a mandatory gate, not an optional step.
Visual and Surface Inspection
Start with your eyes. Look for burrs along cut edges. Burrs interfere with mating surfaces and can cut hands during handling. Check for cracks near bends, especially on parts with tight bend radii. Look for scratches, rust spots, or coating damage on galvanized or plated parts. A stepped zigzag bracket, for example, concentrates stress at each bend. Those bends deserve extra attention.
Dimensional and Functional Checks
Next, measure the critical features. Use calipers for lengths and hole diameters. Use a flatness gauge or surface plate for warping. Warped material causes misalignment during installation and stress on fasteners afterward. Also test fit the fastening holes. An elongated slot that is punched slightly off position may still pass a quick glance but fail at assembly.
Here is the checklist we use at incoming inspection:
| Check Item | Method | Common Defect Found |
|---|---|---|
| Burrs and sharp edges | Visual + tactile (gloved) | Edge burrs from worn die |
| Cracks at bends | Magnifier or visual | Hairline cracks from tight radii |
| Flatness / warping | Surface plate, feeler gauge | Twisted flanges, bowed tabs |
| Hole position and size | Calipers, pin gauges | Off-center or undersized holes |
| Coating and finish | Visual comparison | Scratches, rust, plating gaps |
| Cleanliness | Wipe test | Residual stamping oil, metal shavings |
One more point people often miss: allow heat-treated or freshly stamped parts to acclimate to ambient temperature before final measurement. Metal expands and contracts. Measuring a warm part can produce misleading dimensional readings.
How Do I Verify Stamping Parts Match My Engineering Drawings Before Installation?
Greg, a purchasing manager we work with in the U.S., once told me his biggest fear: suppliers who overlook critical drawing notes. Our engineers built our verification process around that exact pain point.
Compare each stamping part directly against the latest drawing revision. Measure all critical dimensions, tolerances, hole locations, and bend angles. Confirm material grade and thickness match specifications, then document results in a first-article or dimensional inspection report before approving installation.
Drawing verification is where theory meets metal. In my experience managing custom parts projects across Vietnam and China, most non-conformances happen because someone worked from an outdated drawing or ignored a tolerance callout. So the first rule is simple: confirm the drawing revision before you measure anything.
Step-by-Step Verification Process
Follow a structured sequence. Do not skip steps, even under time pressure.
- Confirm the drawing revision. Match the revision letter on the drawing to the one on the purchase order and the supplier's inspection report.
- Identify critical dimensions. These are usually flagged on the drawing. Hole positions, slot lengths, and bend angles matter most for mounting brackets.
- Measure a sample. Use calipers, micrometers, and pin gauges. For complex profiles, a CMM 2 or optical comparator gives better data.
- Check tolerances, not just nominals. A hole at 5.2 mm may be fine if the tolerance is ±0.25 mm, or a reject if it is ±0.1 mm.
- Verify material and thickness. Cross-check the mill certificate 3 against the drawing's material callout. A bracket in the wrong steel grade may bend under load.
- Record everything. A dimensional report creates traceability if problems appear later.
Why Tolerances Deserve Extra Attention
Tolerances tell you what the designer actually needs. A slotted hole exists because the designer expects positional variation. A tight tolerance on a bend angle means that angle is functional. When we quote custom stamped parts, we always ask clients which tolerances are truly critical. That conversation prevents both over-inspection and missed requirements. If your supplier never asks that question, treat it as a warning sign.
Also link each batch to its die number and production date. If a dimensional drift appears mid-batch, this traceability lets you isolate the affected parts fast instead of quarantining everything.
What Tools and Equipment Do I Need to Prepare for Stamping Parts Installation?
There is a trade-off I weigh on every project: buying precision instruments costs money upfront, but improvising with the wrong tools costs far more in scrapped assemblies. Our team learned this early in our contract manufacturing work.
Prepare calibrated measuring instruments such as calipers, micrometers, feeler gauges, and pin gauges, plus alignment fixtures, jigs, torque tools, deburring tools, cleaning agents, compressed air, and suitable lubricants. Also stage correct fasteners and protective handling equipment before installation begins.
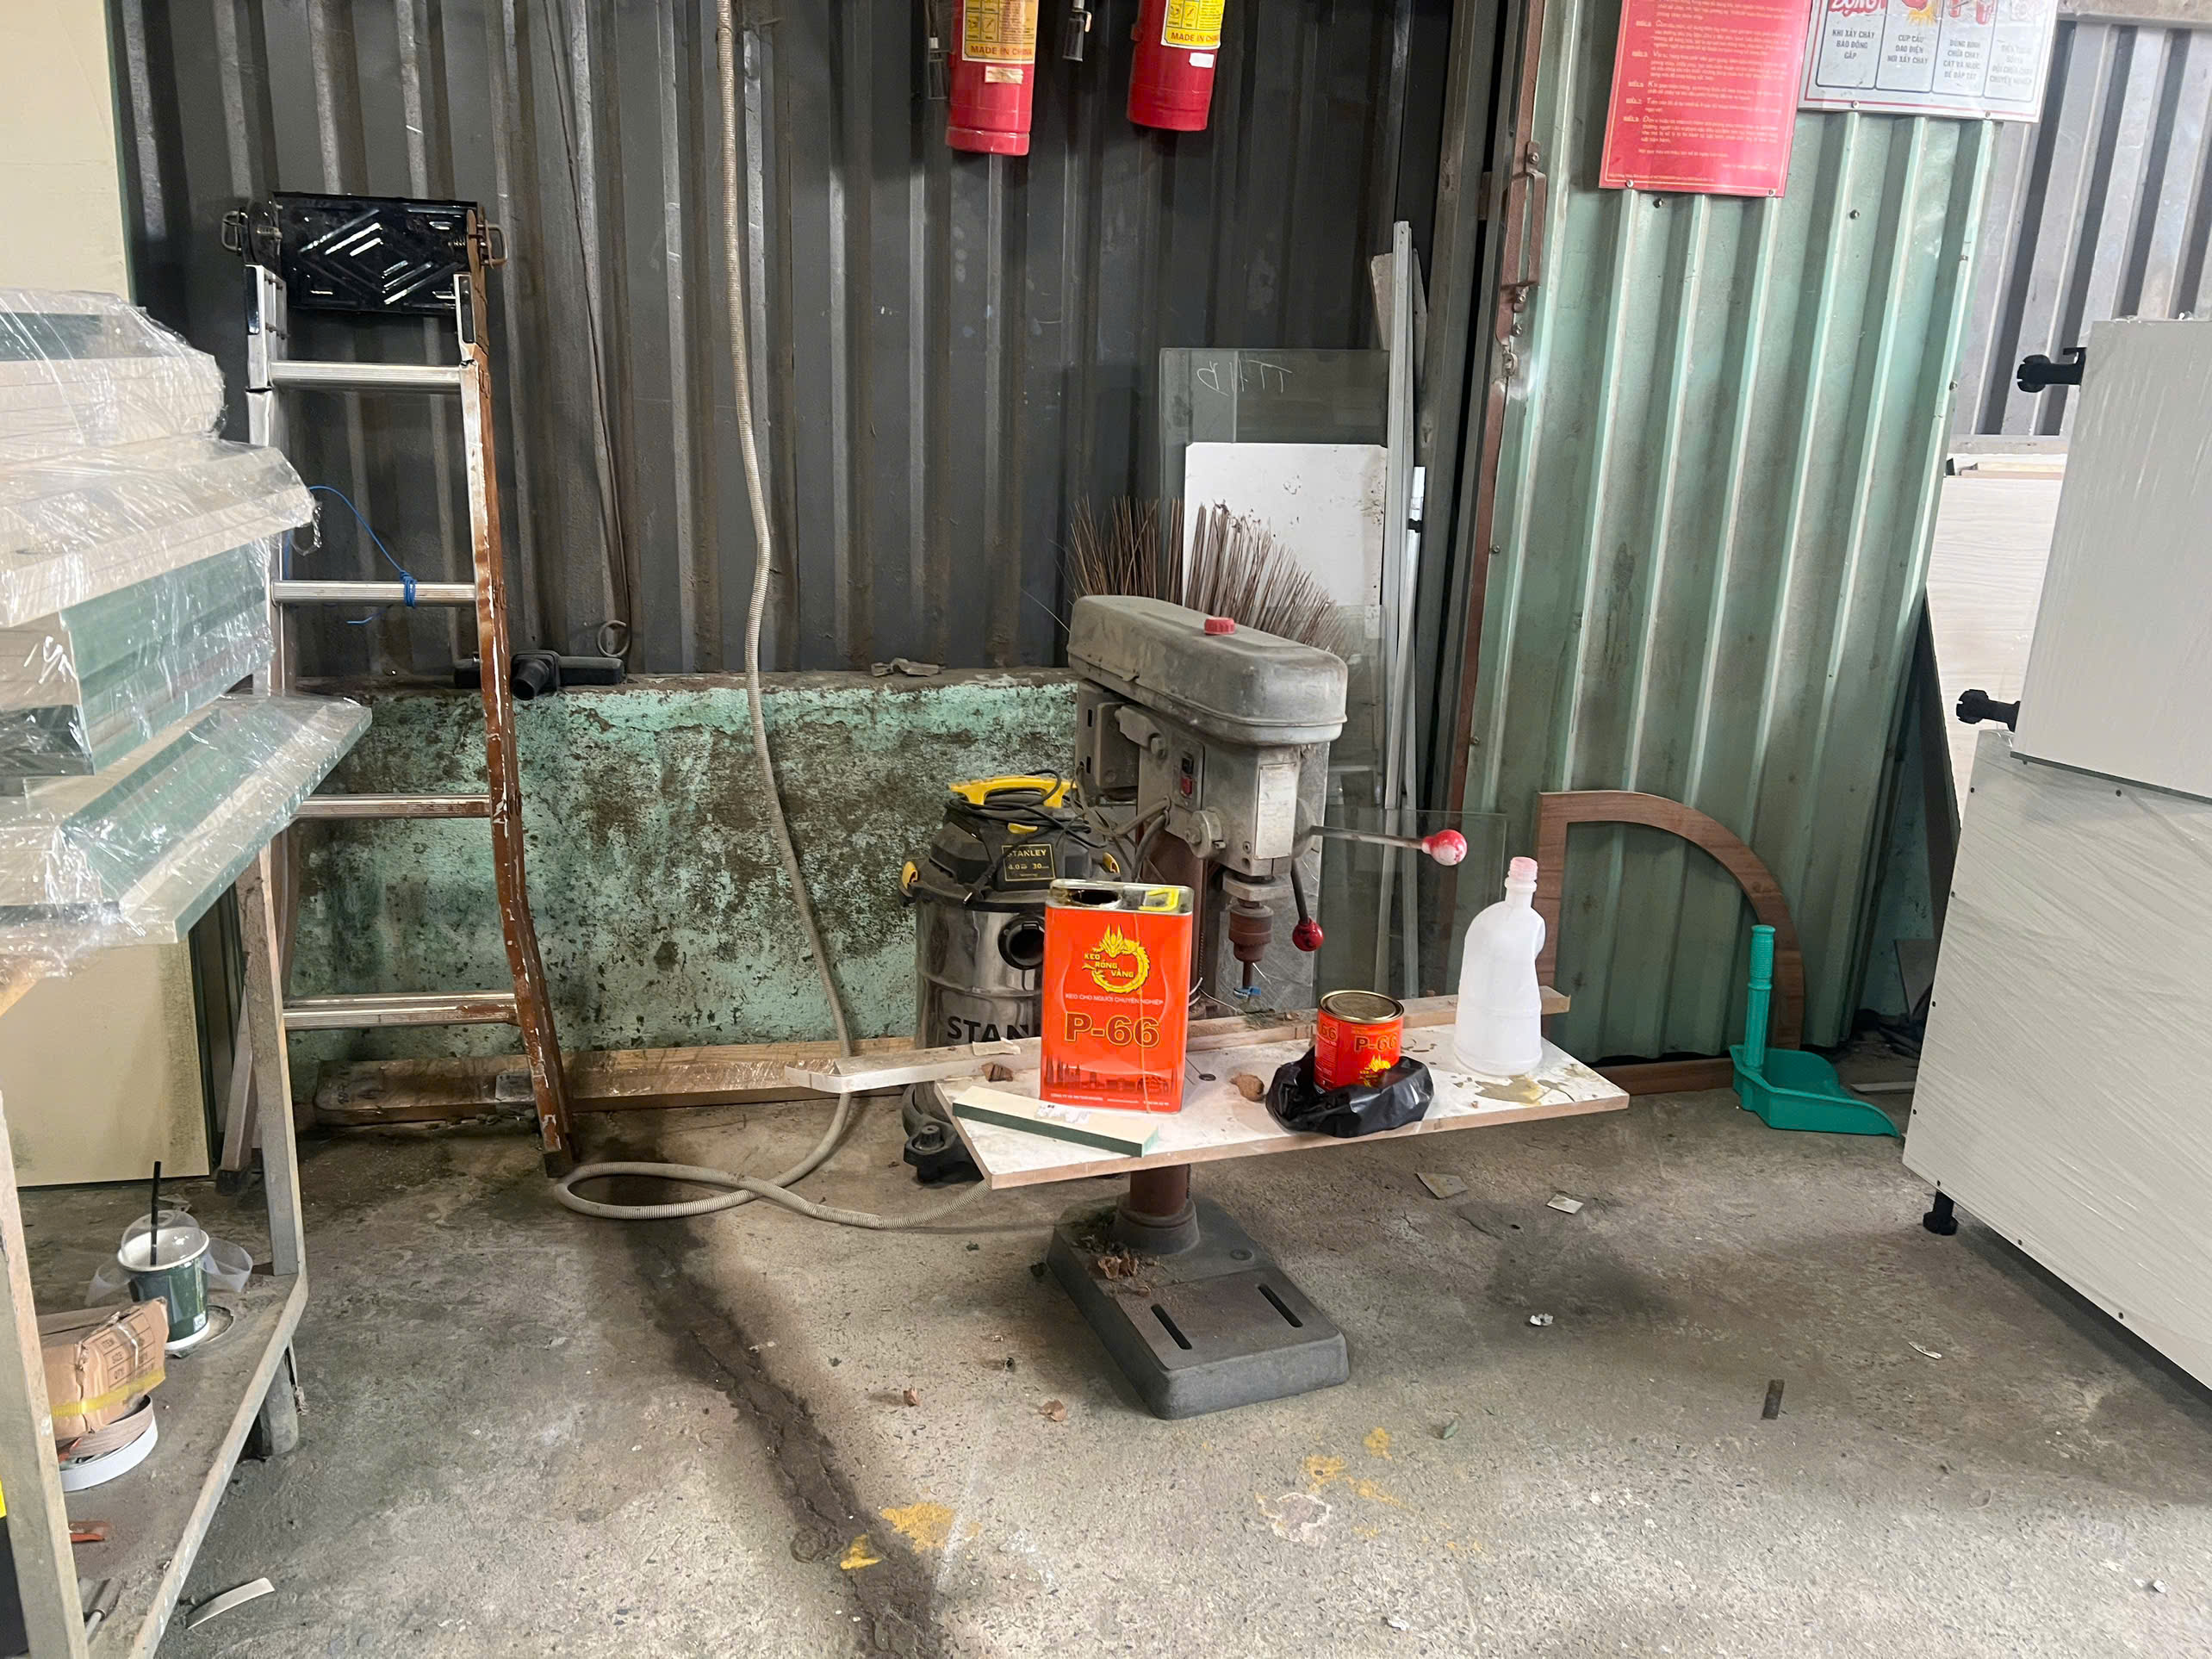
Having the right tools staged before installation saves hours of hunting mid-job. It also prevents the temptation to improvise, which is how parts get damaged. I group the required equipment into four categories, and I recommend checking each one off before the first part is mounted.
The Four Tool Categories
| Category | Key Items | Purpose |
|---|---|---|
| Measuring | Calipers, micrometers, feeler gauges, pin gauges, gauge blocks | Verify dimensions and fit-up gaps |
| Alignment | Jigs, fixtures, shims, squares, levels | Position parts accurately and repeatably |
| Fastening | Torque wrenches 4, screwdrivers, correct screws/rivets/welding gear | Secure parts without over- or under-tightening |
| Preparation | Deburring tools, cleaning agents, compressed air, lubricants, gloves | Clean, protect, and safely handle parts |
Calibration Is Not Optional
Every measuring instrument must carry a valid calibration status. An uncalibrated caliper can read 0.1 mm off and you would never know. For mounting brackets with slotted holes, that error is enough to shift an entire assembly out of alignment. At our final inspection stage, we check calibration stickers before any measurement is accepted. Your installation team should do the same.
Fasteners and Fixtures Deserve Equal Attention
Match fasteners to the drawing, not to whatever is in the bin. Screw diameter, thread pitch, head style, and coating all matter. A zinc-plated screw in a stainless bracket can create galvanic corrosion 5 over time. Fixtures and jigs should be inspected for wear too. A worn locating pin in a jig positions every part slightly wrong, and the error compounds across the assembly.
Finally, pre-stage parts in orientation-specific trays or racks. This small step reduces handling damage, keeps sharp edges away from workers' hands, and speeds up installation sequencing. It costs almost nothing and pays back immediately.
How Can I Confirm My Supplier's PPAP Documentation Before Installing Stamping Parts?
PPAP submissions are part of our standard service scope for U.S. clients, and I have reviewed enough packages to know where the gaps usually hide. A lesson I learned years ago: an incomplete PPAP always surfaces as a problem on the shop floor later.
Request the full PPAP package before installation, then review the Part Submission Warrant, dimensional results, material certifications, process flow diagram, control plan, and PFMEA. Confirm the samples measured match your current drawing revision and that the warrant is signed and approved.

PPAP, or Production Part Approval Process 6, exists to prove one thing: your supplier can produce conforming stamping parts consistently, not just once. If you install parts before confirming PPAP approval, you are gambling that the production process is stable. Sometimes you win. When you lose, you lose big.
The Core Elements to Review
You do not need to be a quality engineer to review a PPAP package. Focus on these elements first:
| PPAP Element | What to Confirm |
|---|---|
| Part Submission Warrant (PSW) | Signed, dated, and matching your part number and revision |
| Dimensional results | All drawing dimensions measured, all within tolerance |
| Material certification | Mill certs match the drawing's material grade and thickness |
| Process flow diagram | Every operation listed, from coil to packaging |
| Control plan | Inspection points, frequencies, and reaction plans defined |
| PFMEA 7 | High-risk failure modes (burrs, cracks, mispunched holes) addressed |
| Sample parts | Physical samples match the documented measurements |
Red Flags That Should Stop Installation
Watch for these warning signs. A PSW referencing an older drawing revision means the approval does not cover your current design. Dimensional reports with every value suspiciously at nominal suggest pencil-whipped data. Missing material certs mean you cannot verify the steel grade. Any of these should trigger a hold before installation, not after.
When we manage PPAP for clients sourcing from Vietnam, we cross-check the supplier's dimensional results against our own independent final inspection. The two data sets should agree. If they diverge, we investigate before anything ships. That independent verification step is what turns PPAP from paperwork into genuine protection. I encourage every purchasing manager to either do this themselves or work with a partner who does it for them. It is the difference between hoping parts conform and knowing they do.
Conclusion
Skipped preparations cause scrap, downtime, and rework. Verify drawings, inspect quality, stage calibrated tools, and confirm PPAP first. Do this, and your stamping parts install right the first time.
Frequently Asked Questions
What Quality Checks Should I Perform Before Installing Stamping Parts?
A batch of stamped brackets once arrived at our Vietnam facility looking perfect. Under closer inspection, our QC team found hairline cracks near the bend radius on a third of them.
How Do I Verify Stamping Parts Match My Engineering Drawings Before Installation?
Greg, a purchasing manager we work with in the U.S., once told me his biggest fear: suppliers who overlook critical drawing notes. Our engineers built our verification process around that exact pain point.
What Tools and Equipment Do I Need to Prepare for Stamping Parts Installation?
There is a trade-off I weigh on every project: buying precision instruments costs money upfront, but improvising with the wrong tools costs far more in scrapped assemblies. Our team learned this early in our contract manufacturing work.
Footnotes
1. ISO governs inspection and dimensional reporting standards referenced in quality verification ↩︎
2. Explains coordinate measuring machine technology mentioned as a precision measurement tool ↩︎
3. ISO standards govern material certification documentation referenced for verifying steel grade compliance ↩︎
4. Background on torque wrench tool function relevant to fastening equipment preparation ↩︎
5. Authoritative background on corrosion chemistry relevant to fastener and coating material selection ↩︎
6. Background reference explaining the PPAP methodology discussed extensively in the article ↩︎
7. Wikipedia explains FMEA methodology underlying the PFMEA element in PPAP packages ↩︎