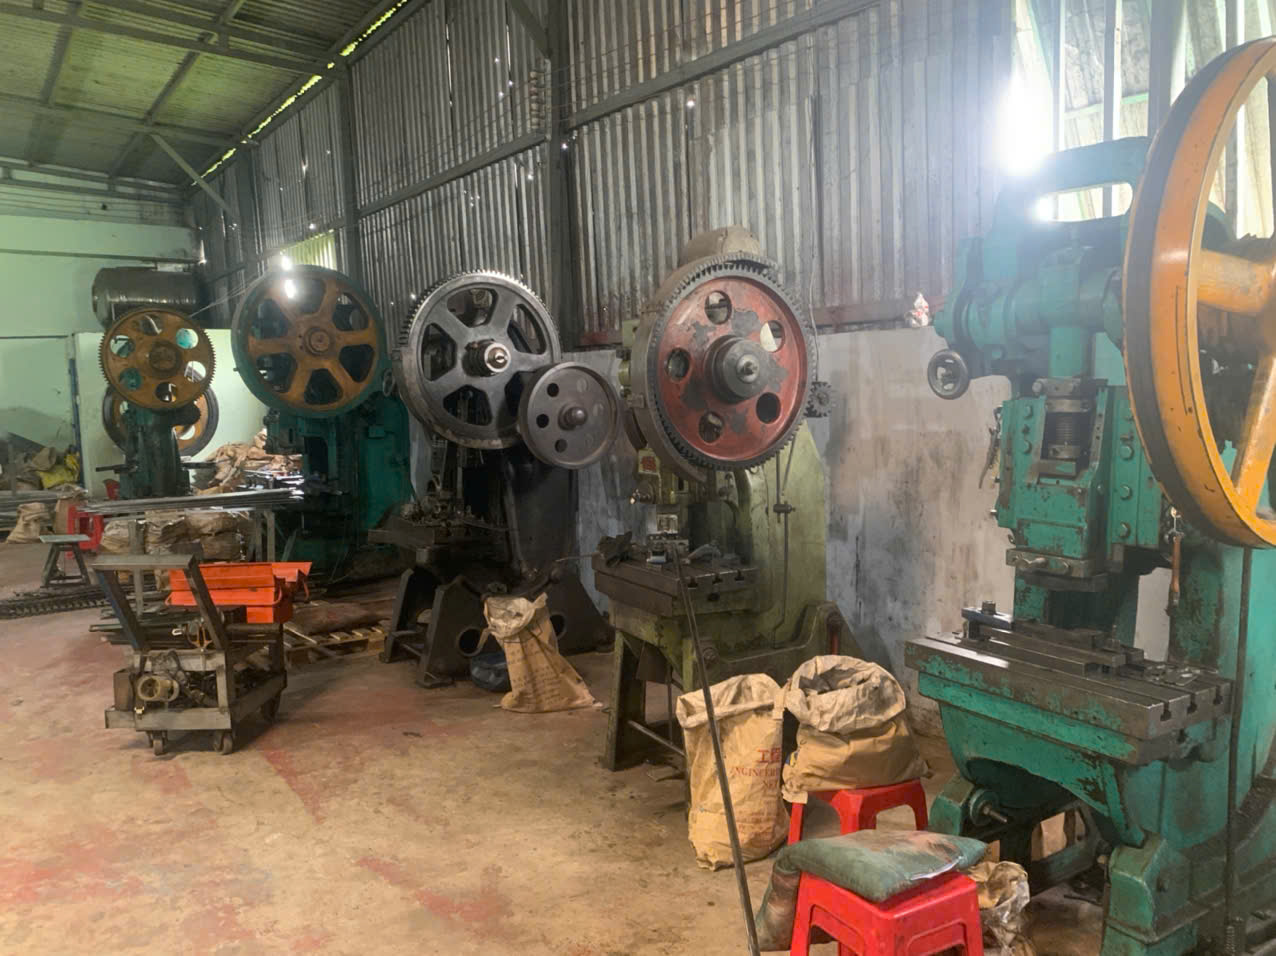

Quality inspection items for stamping parts decide whether your shipment arrives usable or ends up in a claims folder Rockwell or Vickers test 1. Our final inspection team learned that lesson the hard way years ago.
Before shipping, stamping parts must pass dimensional verification against drawing tolerances, visual and surface finish checks, burr and edge inspection, material certification review, hardness testing, coating adhesion tests, functional fit checks, quantity confirmation, and packaging plus traceability documentation review.
A part can look perfect and still fail in assembly coordinate measuring machine 2. That is why a real [pre-shipment inspection](https://dewintech.com/blog/what-quality-inspection-procedures-apply-sourcing-stamping-parts-vietnam/) goes far beyond a quick glance. Let me walk you through each layer, in the order our own inspectors follow.
What critical dimensions and tolerances should I verify during stamping parts inspection?
Early in one Vietnam project, our team caught a hole position drifting 0.08 mm over a production run. The parts looked identical to the eye. The CMM told a different story.
Verify all drawing-defined critical dimensions: hole diameter and position, slot width, bend angles, formed height, flatness, overall length and width, and material thickness. Measure these with calipers, micrometers, height gauges, or a CMM, and confirm each falls within the stated tolerance band.
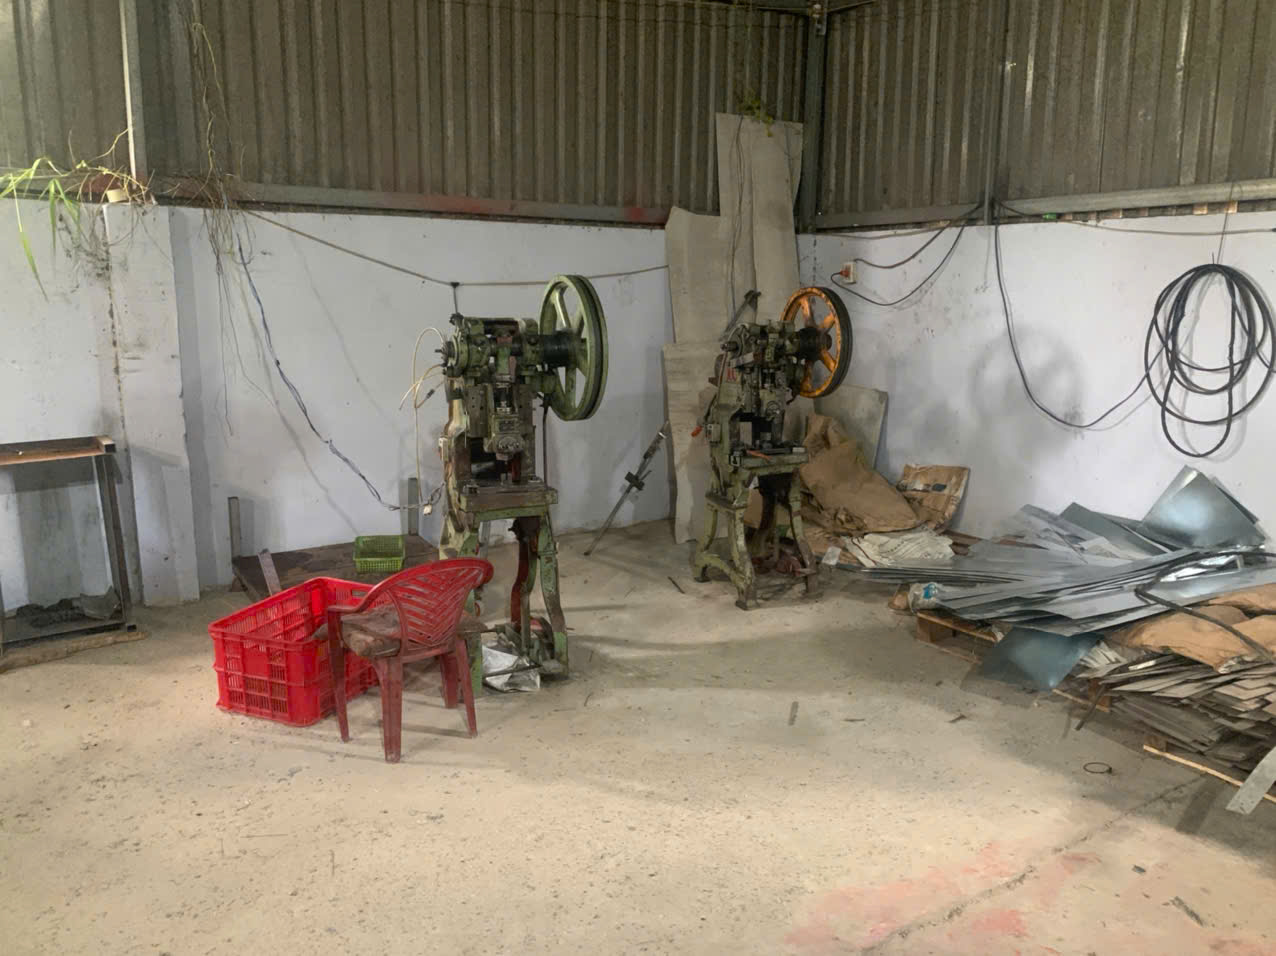
Dimensional inspection is the backbone of any stamping parts inspection. The drawing is the contract. If the part does not match the drawing, nothing else matters. In our experience managing suppliers across Vietnam, Taiwan, and India, dimensional drift is the single most common cause of rejected lots. Tools wear. Dies heat up. Springback 3 shifts as coil batches change. So a part measured correctly on Monday can be out of tolerance by Friday.
Which dimensions matter most?
Not every dimension carries the same risk. We always ask the client's engineer to flag critical-to-function features before production starts. Those get tighter checks and higher sampling frequency.
| Dimension Type | Why It Matters | Typical Measuring Tool |
|---|---|---|
| Hole diameter and position | Fastener fit and alignment in assembly | Pin gauges, CMM |
| Bend angle | Springback causes drift; affects mating parts | Angle gauge, profile projector |
| Formed height | Stack-up errors in multi-part assemblies | Height gauge, CMM |
| Flatness and warpage | Panels rock or gap if the base is not flat | Surface plate, feeler gauge |
| Material thickness | Affects strength and clip force | Micrometer |
| Slot width and length | Adjustable mounting features must slide freely | Calipers, Go/No-Go gauges |
Watch for springback on complex bends
Formed brackets with multiple 90-degree bends are prone to springback. The part can shift slightly after it leaves the die and relaxes. We measure formed parts after they settle, not straight off the press, because residual stress can move a bend angle by a degree or more. For repeat orders, we also cross-reference tooling wear cycles with dimensional trends. When measurements start creeping toward a tolerance limit, that is the signal to schedule die maintenance before defects appear, not after.
How can I ensure my stamping parts pass surface finish and cosmetic quality checks?
A buyer once returned a lot of bare steel clips to one of our audited suppliers over fine tool marks. The parts were dimensionally perfect. The lesson stuck: cosmetic standards must be agreed before production, not argued after.
Inspect stamping parts under adequate lighting for scratches, dents, rust, oxidation spots, discoloration, tool marks, contamination, and surface ripples. Check edges for burrs and sharpness. Define acceptable defect limits in writing beforehand, and use magnification for fine defects on visible surfaces.
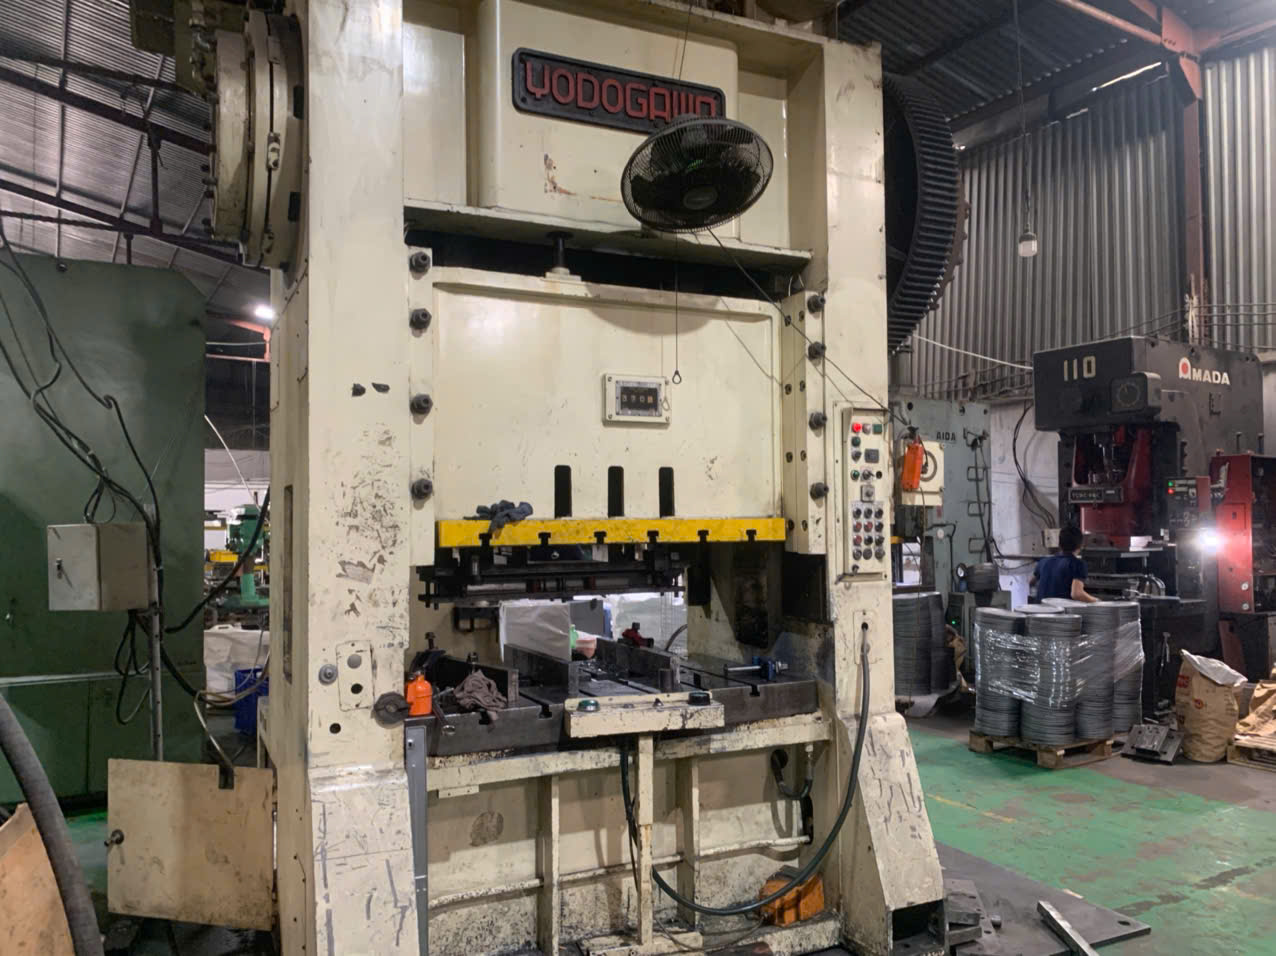
Surface inspection sounds simple, but it fails most often because nobody defined what "acceptable" means. Our team in Vietnam always builds a cosmetic standard with the client before mass production. It states which surfaces are visible in the final product, what size scratch is tolerable, and which defects trigger rejection. Without that document, every visual judgment becomes a negotiation.
Burrs and edge condition deserve special attention
Burrs are the hidden troublemaker of stamped parts. A burr you can barely see can cut an assembler's hand, scratch a mating surface, or block a part from seating fully. During inspection we check three things. First, burr height against the drawing limit. Second, burr direction, since drawings often specify which side the burr must face. Third, whether deburring or tumbling was actually performed when required.
A practical visual inspection sequence
- Place parts under consistent, bright lighting on a clean surface.
- Check flat faces for scratches, dents, and press marks.
- Run a gloved finger along cut edges to detect burrs and sharpness.
- Inspect punched holes for tear-out or rollover beyond spec.
- Look for rust spots, oil staining, fingerprints, or contamination.
- Compare finish consistency across the sample set, since batch-to-batch color shift signals a process change.
For bare steel or zinc-plated brackets like the ones we handle regularly, corrosion prevention matters too. We verify that anti-rust oil or VCI packaging is applied before sea freight, because a part that leaves the factory clean can arrive in the U.S. with oxidation bloom after weeks in a humid container.
What material certifications and hardness tests should I require before shipment?
One trade-off we weigh on every project is cost versus verification depth. A mill test report costs nothing to request. Skipping it can cost an entire production run if the wrong coil went into the press.
Require a mill test report confirming material grade, chemical composition, and mechanical properties. Verify actual thickness with a micrometer and hardness with a Rockwell or Vickers test. For plated parts, request coating thickness measurements and adhesion or salt spray test results.
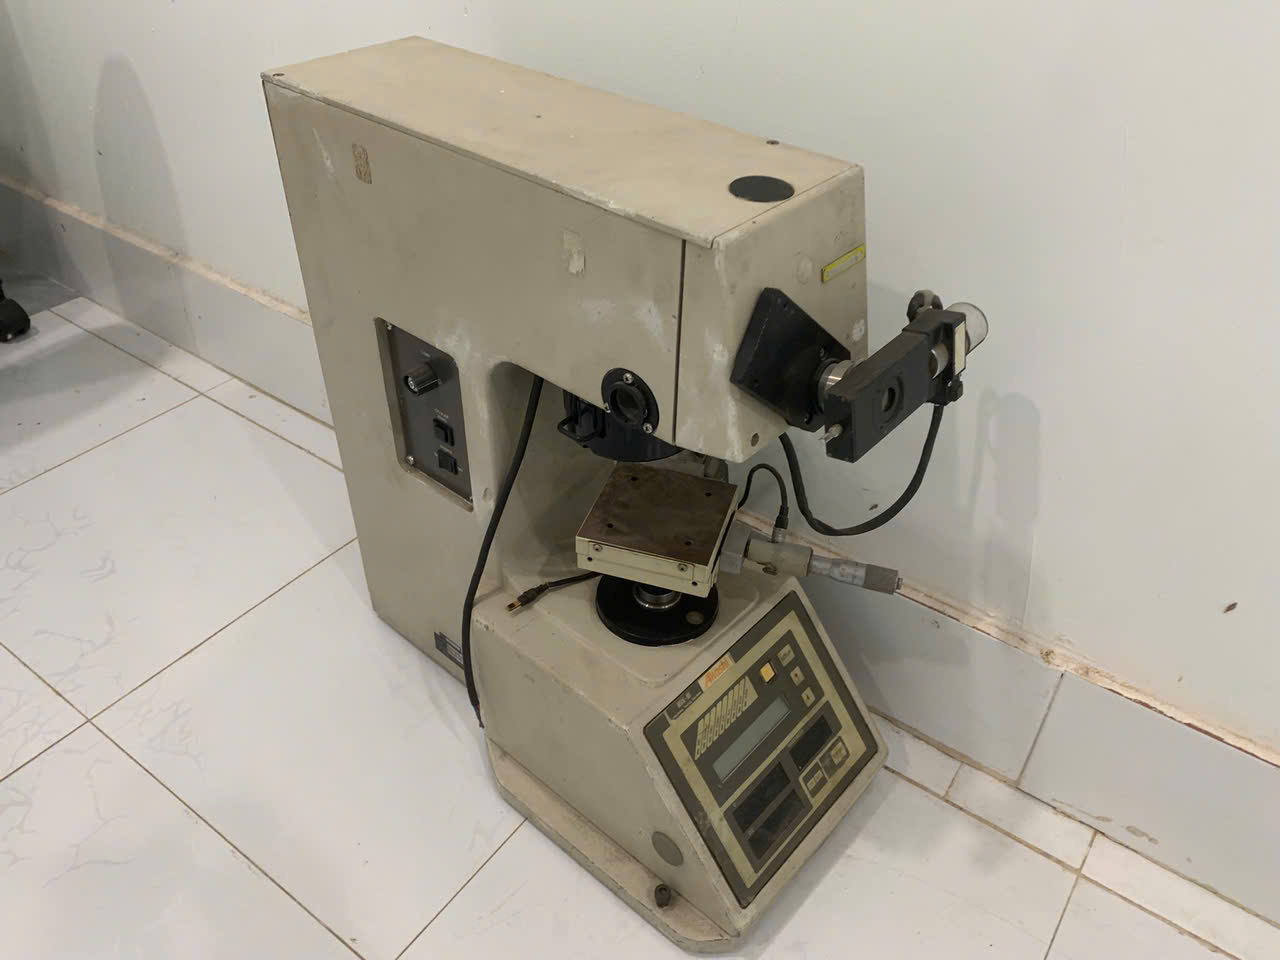
Material verification is the layer buyers skip most often, and it is the hardest failure to catch later. A bracket made from the wrong steel grade can pass every dimensional check and still crack under load six months into service. That is why our process control system ties every production lot back to its incoming material record, and why we retain material certificates for traceability on every custom parts project we manage.
The documents and tests to request
| Item | What It Proves | When to Require It |
|---|---|---|
| Mill test report (MTR) | Material grade, chemistry, tensile strength | Every lot, every shipment |
| Thickness measurement | Actual gauge matches drawing spec | Every lot, sampled |
| Hardness test (HRB/HRC/HV) | Material temper and formability are correct | Structural, spring, or safety parts |
| Coating thickness report | Plating meets minimum microns specified | All plated or coated parts |
| Cross-hatch adhesion test | Coating will not peel in service | Painted or powder-coated parts |
| Salt spray test 4 result | Corrosion resistance meets the hour rating | Outdoor or corrosive environments |
Why hardness matters for spring clips
For spring fasteners and retention clips, hardness is functional, not academic. Too soft, and the clip loses grip force after a few insertion cycles. Too hard, and it cracks during forming or in the field. When our engineers review a spring clip drawing, we confirm the hardness range and the test method before the supplier orders material. During pre-shipment inspection, we spot-check hardness on actual parts, not just trust the certificate. Paper and reality do not always match, and finding the gap before loading the container is far cheaper than finding it in a customer complaint.
Which final inspection methods and documentation should I request to avoid non-conforming stamping parts?
A purchasing manager in the U.S. once told me his previous supplier "inspected everything" but could never produce a single report. Inspection without documentation is just a rumor. Our final inspection stage exists to convert checks into evidence.
Request a First Article Inspection report, AQL-based sampling inspection per ANSI/ASQ Z1.4 or ISO 2859, functional Go/No-Go gauge checks, a signed final inspection report with measurement data and photos, quantity confirmation, packaging verification, and lot traceability records tied to the purchase order.
Final inspection is the last containment gate before the goods reach you. The method should match the risk. For general industrial hardware, AQL sampling is usually sufficient. For automotive safety features or medical components, critical characteristics may need 100% inspection. We decide this with the client at the PPAP stage, not at the loading dock.
Choosing between sampling and 100% inspection
| Approach | Best For | Trade-Off |
|---|---|---|
| AQL sampling (Z1.4 / ISO 2859 5) | Stable processes, general hardware | Small risk of escapes; low cost |
| 100% manual inspection | Critical dimensions, safety features | Slow, costly, inspector fatigue |
| Automated vision inspection | High-volume parts, cosmetic screening | Equipment investment; excellent traceability |
| Go/No-Go gauges and fit jigs | Fast functional screening of every part | Confirms pass/fail only, not actual values |
The documentation package you should receive
A complete pre-shipment file should include the FAI report, the dimensional data sheet First Article Inspection 6 for the sampled parts, hardness and coating records, defect photos if any were found and sorted, the packing list matched to the PO and revision level, and lot codes marked on cartons. We photograph packaging condition before the container doors close. If a carton arrives crushed, that photo settles the question of where the damage happened.
Equally important is the release rule. Every checklist we run ends with one of five outcomes: pass, hold, sort, rework, or reinspect. A lot never ships in an ambiguous state. That single discipline eliminates most of the "we thought it was fine" disputes that plague international sourcing.
Conclusion
Skipping any inspection layer invites rework, delays, and returns. Verify dimensions, surfaces, materials, and documents before every shipment — or partner with a team like ours at DEWIN that already does.
Frequently Asked Questions
Which dimensions matter most?
Not every dimension carries the same risk. We always ask the client's engineer to flag critical-to-function features before production starts. Those get tighter checks and higher sampling frequency.
What critical dimensions and tolerances should I verify during stamping parts inspection?
Early in one Vietnam project, our team caught a hole position drifting 0.08 mm over a production run. The parts looked identical to the eye. The CMM told a different story.
How can I ensure my stamping parts pass surface finish and cosmetic quality checks?
A buyer once returned a lot of bare steel clips to one of our audited suppliers over fine tool marks. The parts were dimensionally perfect. The lesson stuck: cosmetic standards must be agreed before production, not argued after.
Footnotes
1. Background on the hardness testing methods used to verify material temper. ↩︎
2. Explains the CMM tool referenced for dimensional inspection of stamping parts. ↩︎
3. ISO standards body relevant to metal forming tolerances and springback control practices. ↩︎
4. Wikipedia overview of the corrosion resistance test method mentioned for coated parts. ↩︎
5. Official ISO reference for the sampling procedures standard cited in the article. ↩︎
6. Defines the FAI report process referenced as a required pre-shipment document. ↩︎
7. Explains the AQL sampling standard referenced for batch shipment inspection. ↩︎