
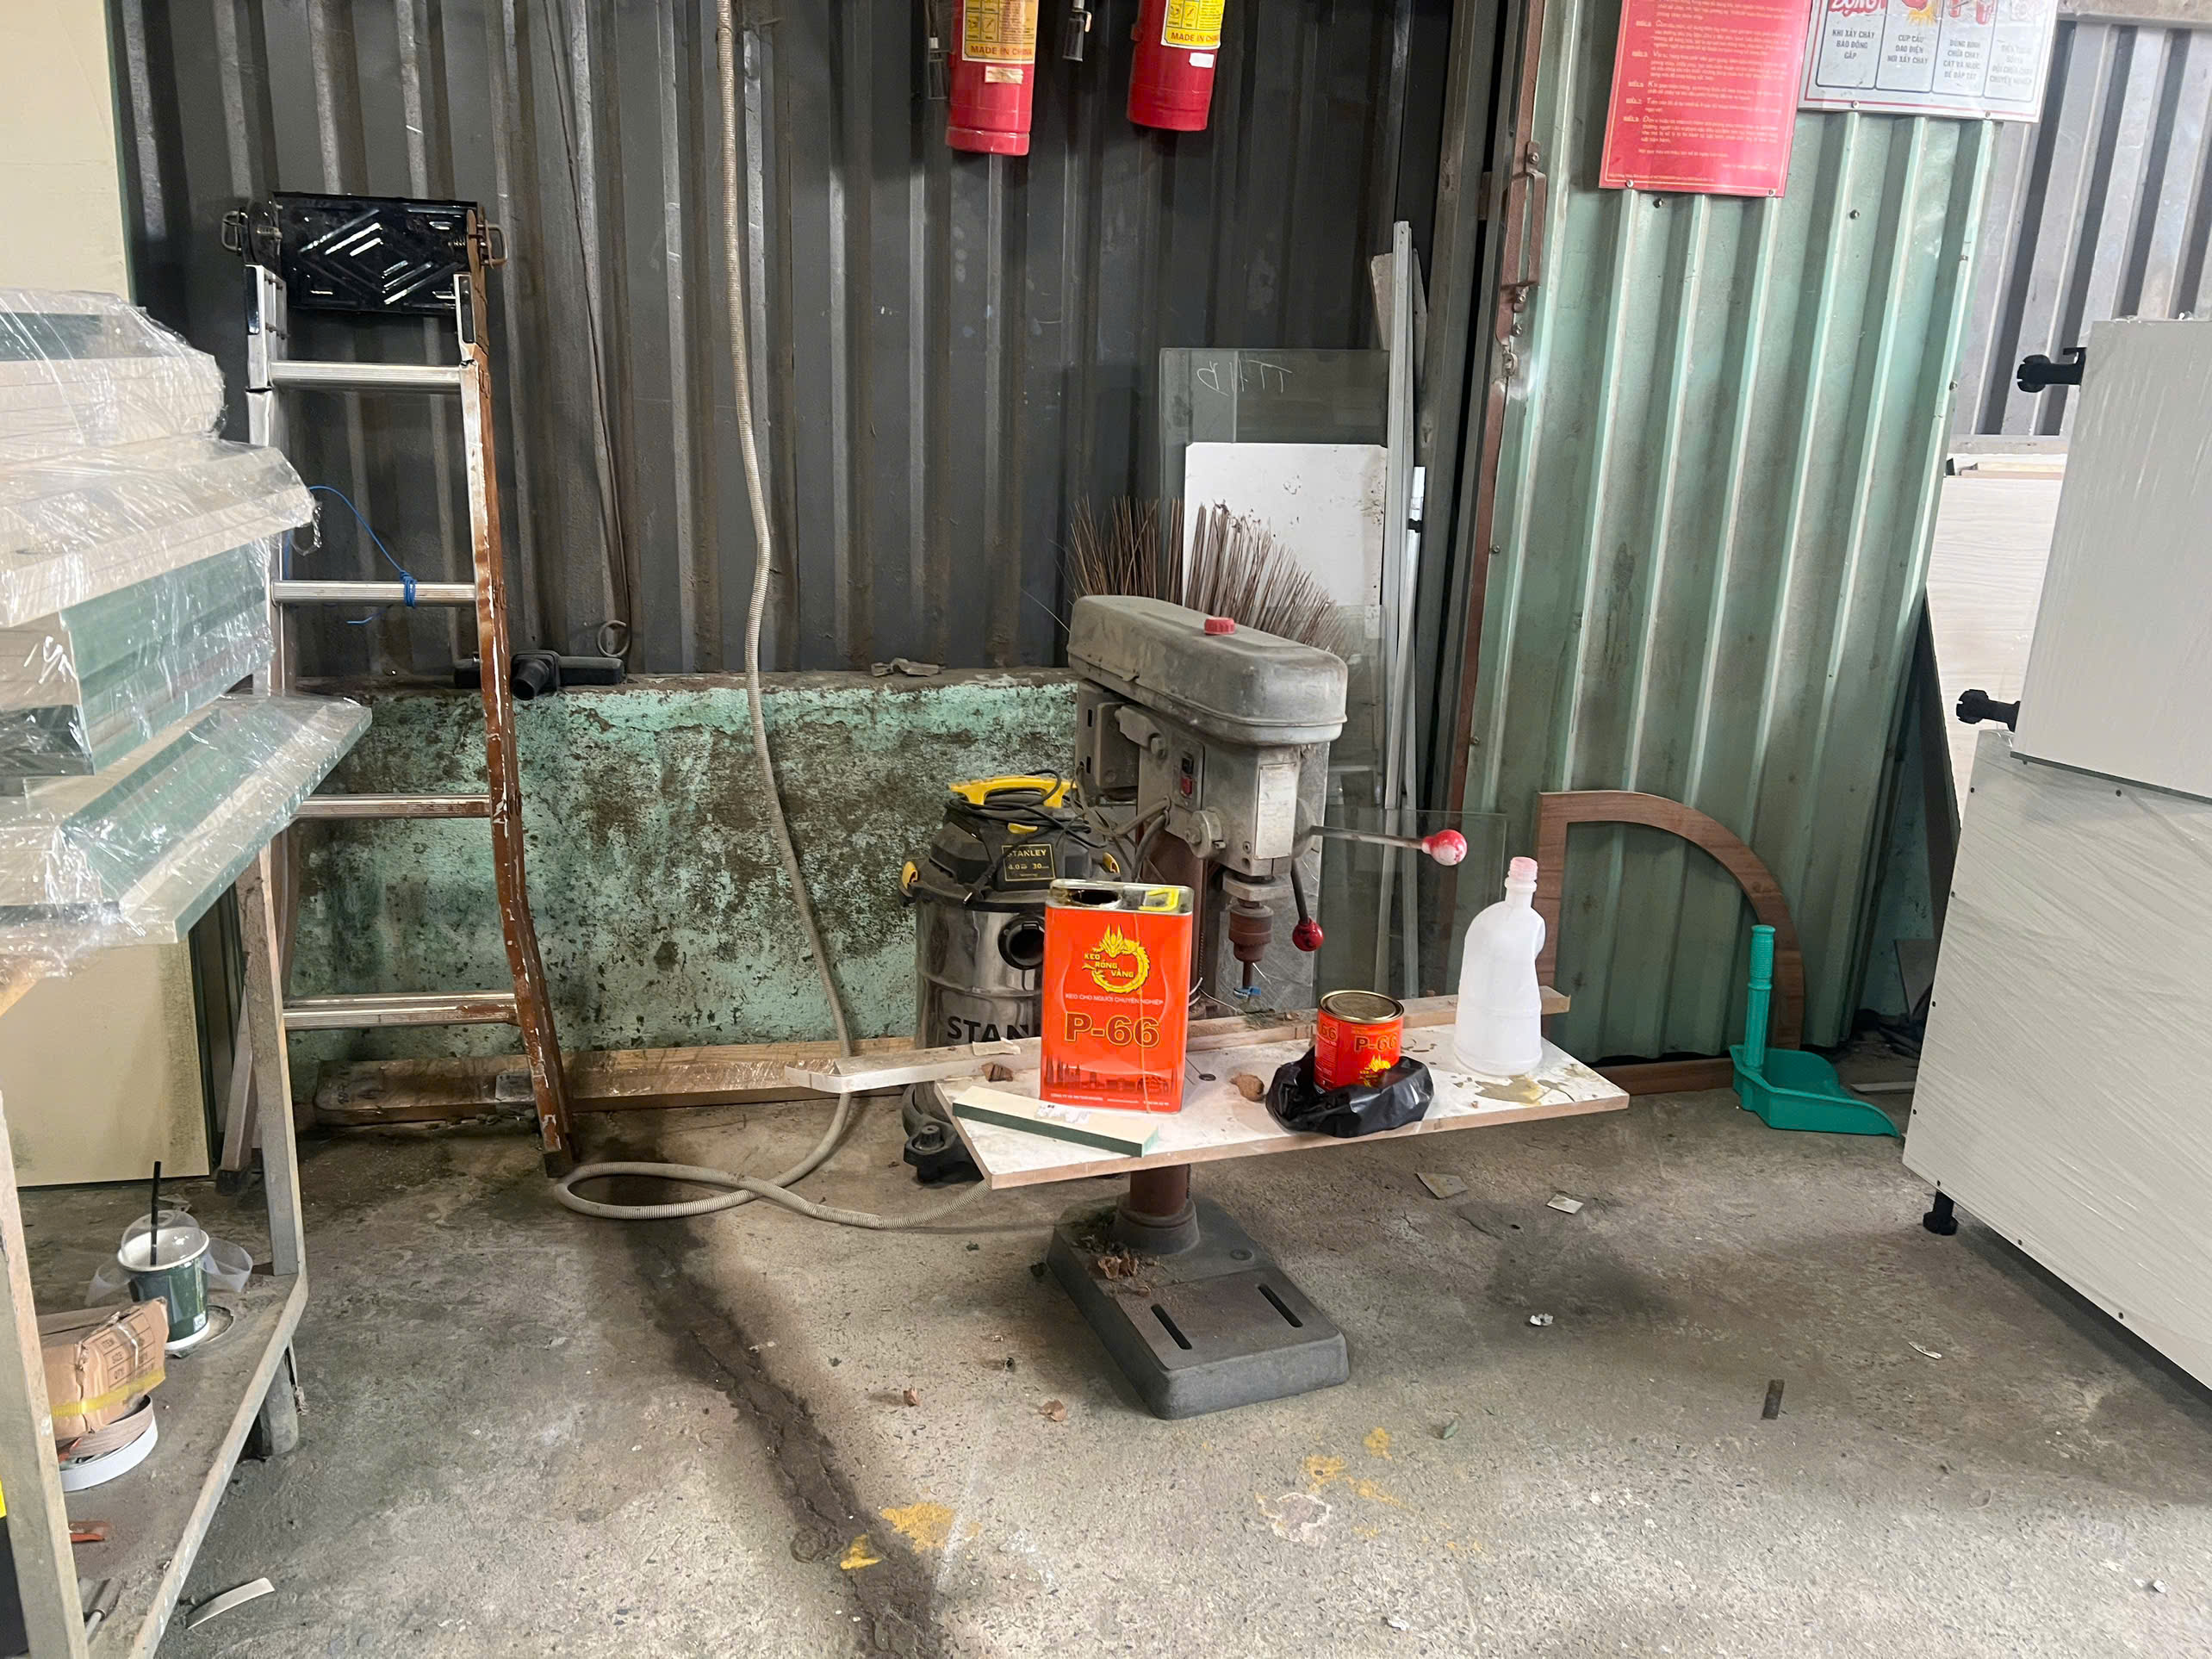
A rejected shipment of stamped brackets last year taught our quality team a painful lesson about deburring and edge finishing of stamping parts — vague specs lead to costly disputes.
Quality standards for deburring and edge finishing of stamping parts include ISO 13715 edge definitions, the industry-standard 10% material thickness burr allowance, and application-specific limits such as 0.05 mm for electronics and 0.1 mm for automotive weld zones, all requiring clear drawing callouts and aligned inspection methods.
No single global standard covers every scenario. The right spec depends on your part’s function, your industry, and how your edges interact with mating surfaces, coatings, or human hands. Below, I break down exactly what you need to know — and what to demand from your supply chain.
How Do I Know Which Deburring Standard Applies to My Stamping Parts?
One lesson we learned early while managing supplier audits across Vietnam and China is this: if your drawing says nothing about edges, your supplier will do nothing about edges. That silence costs more than you think.
The correct deburring standard depends on your part’s function, industry, and material. ISO 13715 provides universal edge symbols, the 10% material thickness rule sets a general burr limit, and industry mandates like IATF 16949 for automotive or IPC-6012 for electronics override general tolerances with stricter requirements.
The "Missing Standard" Problem
There is no single, globally accepted standard for burrs on stamped parts. This is the root cause of most quality disputes I see between U.S. buyers and Asian suppliers. When a drawing is silent on edge condition, most shops treat it as "Level 1" — no deburring required. The edges come off the press as-is.
This default catches many purchasing managers off guard. They assume "clean parts" means "deburred parts." It does not.
The Seven Levels of Edge Finishing
Industry practice recognizes seven progressive levels. Understanding where your part falls is the first step.
| Level | Edge Condition | Typical Application |
|---|---|---|
| 1 | No deburring required | Internal non-contact surfaces |
| 2 | Remove sharp edges (safe to handle) | General industrial hardware |
| 3 | Remove all visible burrs (unaided eye) | Cosmetic assemblies |
| 4 | Remove burrs visible at 10x–30x magnification | Precision metal stamping for mating surfaces |
| 5 | Break edges to a specific minimum dimension | Fatigue-critical structural parts |
| 6 | Round edges to a specific edge rounding radius | Sealing surfaces, coating prep |
| 7 | Chamfered edges to spec | Aerospace or medical connectors |
The 10% Rule — And When It Fails
The general benchmark across sheet metal fabrication tolerances is simple: burr height 1 should not exceed 10% of material thickness. For a 1 mm thick bracket, that means a 0.1 mm burr is acceptable. For a 2 mm part, 0.2 mm.
But this rule breaks down fast. If that bracket goes into a weld zone, Ford's WSS-M1P92 spec limits burrs to 0.1 mm regardless of thickness — because excess burr causes porosity in resistance welds 2. If the part is an electronics enclosure, IPC-6012 caps burrs at 0.05 mm to prevent electrical shorts.
Our team always asks U.S. clients one question early in co-development: "Where does this part live in your assembly?" The answer determines whether the 10% rule applies or a stricter industry-specific limit takes over.
ISO 13715: The Universal Language
ISO 13715 3 is the international standard for defining edges of undefined shape on technical drawings. It uses a simple symbolic system:
- + symbol: Material excess (burr) is permitted
- – symbol: Material must be removed (deburring required)
- ± symbol: Either excess or removal is acceptable
ISO 13715 also defines three edge classes that set maximum allowable burr height:
| ISO 13715 Class | Max Burr Height | Typical Use |
|---|---|---|
| Class A | 0.05 mm | Visible and mating surfaces |
| Class B | 0.1 mm | Functional parts, general assemblies |
| Class C | 0.2 mm | Structural parts, strength not compromised |
If your drawing references ISO 13715 edge definitions with a specific class, your supplier has a clear, measurable target. If it does not, you are relying on assumptions — and assumptions are where quality escapes.
What Edge Finishing Defects Should I Watch for During Incoming Inspection?
A client in the Midwest once returned an entire shipment of stamped mounting clips because tiny burrs on punched holes were tearing nitrile gloves during assembly. The parts met the 10% rule, but they failed the real-world handling test. That experience changed how we write our incoming inspection checklists.
During incoming inspection, watch for rolled burrs on punched holes, sharp edge projections exceeding the drawing’s allowable limit, uneven edge rounding radius, visible oxide layer residue, torn or ragged edges from dull tooling, and edge pull-back areas that compromise coating adhesion or assembly fit.

Visual and Tactile Checks
The simplest method is still the most common: visual inspection criteria combined with a tactile check. The "fingernail test" — dragging your fingernail across an edge to feel for snags — is a quick pass/fail screen for handling safety. But it is not precise enough for functional edges.
For precision metal stamping, inspectors should use 10x to 30x magnification under raking illumination. Burrs show up as bright projections against the shadow of the edge. This method catches defects that the unaided eye misses, especially on thin-gauge stainless steel or aluminum.
Measurement Tools and Methods
When you need numbers, not just visual confirmation, the right tool matters.
| Inspection Method | What It Measures | Best For |
|---|---|---|
| Fingernail / tactile test | Sharp edge presence | Handling safety (Level 2) |
| 10x–30x magnification | Burr visibility | Cosmetic and general functional edges |
| Optical comparator | Burr height measurement, edge profile | Mating surfaces, weld zones |
| Surface profilometer | Surface roughness Ra 4, edge geometry | Post-finishing verification |
| Go/No-Go gauge | Pass/fail on burr height | High-volume sampling |
| Borescope / fiberscope | Internal and cross-hole burrs | Hydraulic ports, threaded holes |
| 3D laser profiling | Full edge geometry data | Automated, repeatable QC |
Our inspection teams in Vietnam and China use optical comparators 5 for first-article checks and go/no-go gauges for production sampling. When a client specifies surface roughness Ra requirements, we verify pre- and post-deburring with a profilometer to confirm the process is actually improving the finish — not just moving material around.
The Defects That Matter Most
Not all edge defects are equal. Here is how I prioritize them based on risk:
- Rolled burrs on hole exits. These catch on fasteners during assembly and create misalignment. Common when punches are worn.
- Torn or ragged edges. A sign of dull blanking dies. These edges have micro-fractures that reduce fatigue life in structural components.
- Edge pull-back zones. After mechanical edge breaking or vibratory finishing, check that the process has not created recessed areas where powder coating 6 will thin out. Sharp edges cause edge pull-back in coatings, leading to localized thinning and accelerated corrosion.
- Oxide layer removal inconsistency. If parts are deburred by tumbling or vibratory finishing, the media should also remove the heat-affected oxide layer 7 on sheared edges. Uneven removal creates adhesion problems for plating and paint.
- Dimensional distortion. Aggressive deburring can shift hole diameters or bend thin tabs. Always verify critical dimensions after the deburring step — not just before it.
The key takeaway: your incoming inspection plan must match the edge intent on the drawing. If the drawing says Class A (0.05 mm max), your inspector needs a comparator, not just a fingernail.
How Can I Verify My Supplier's Deburring Process Meets Drawing Requirements?
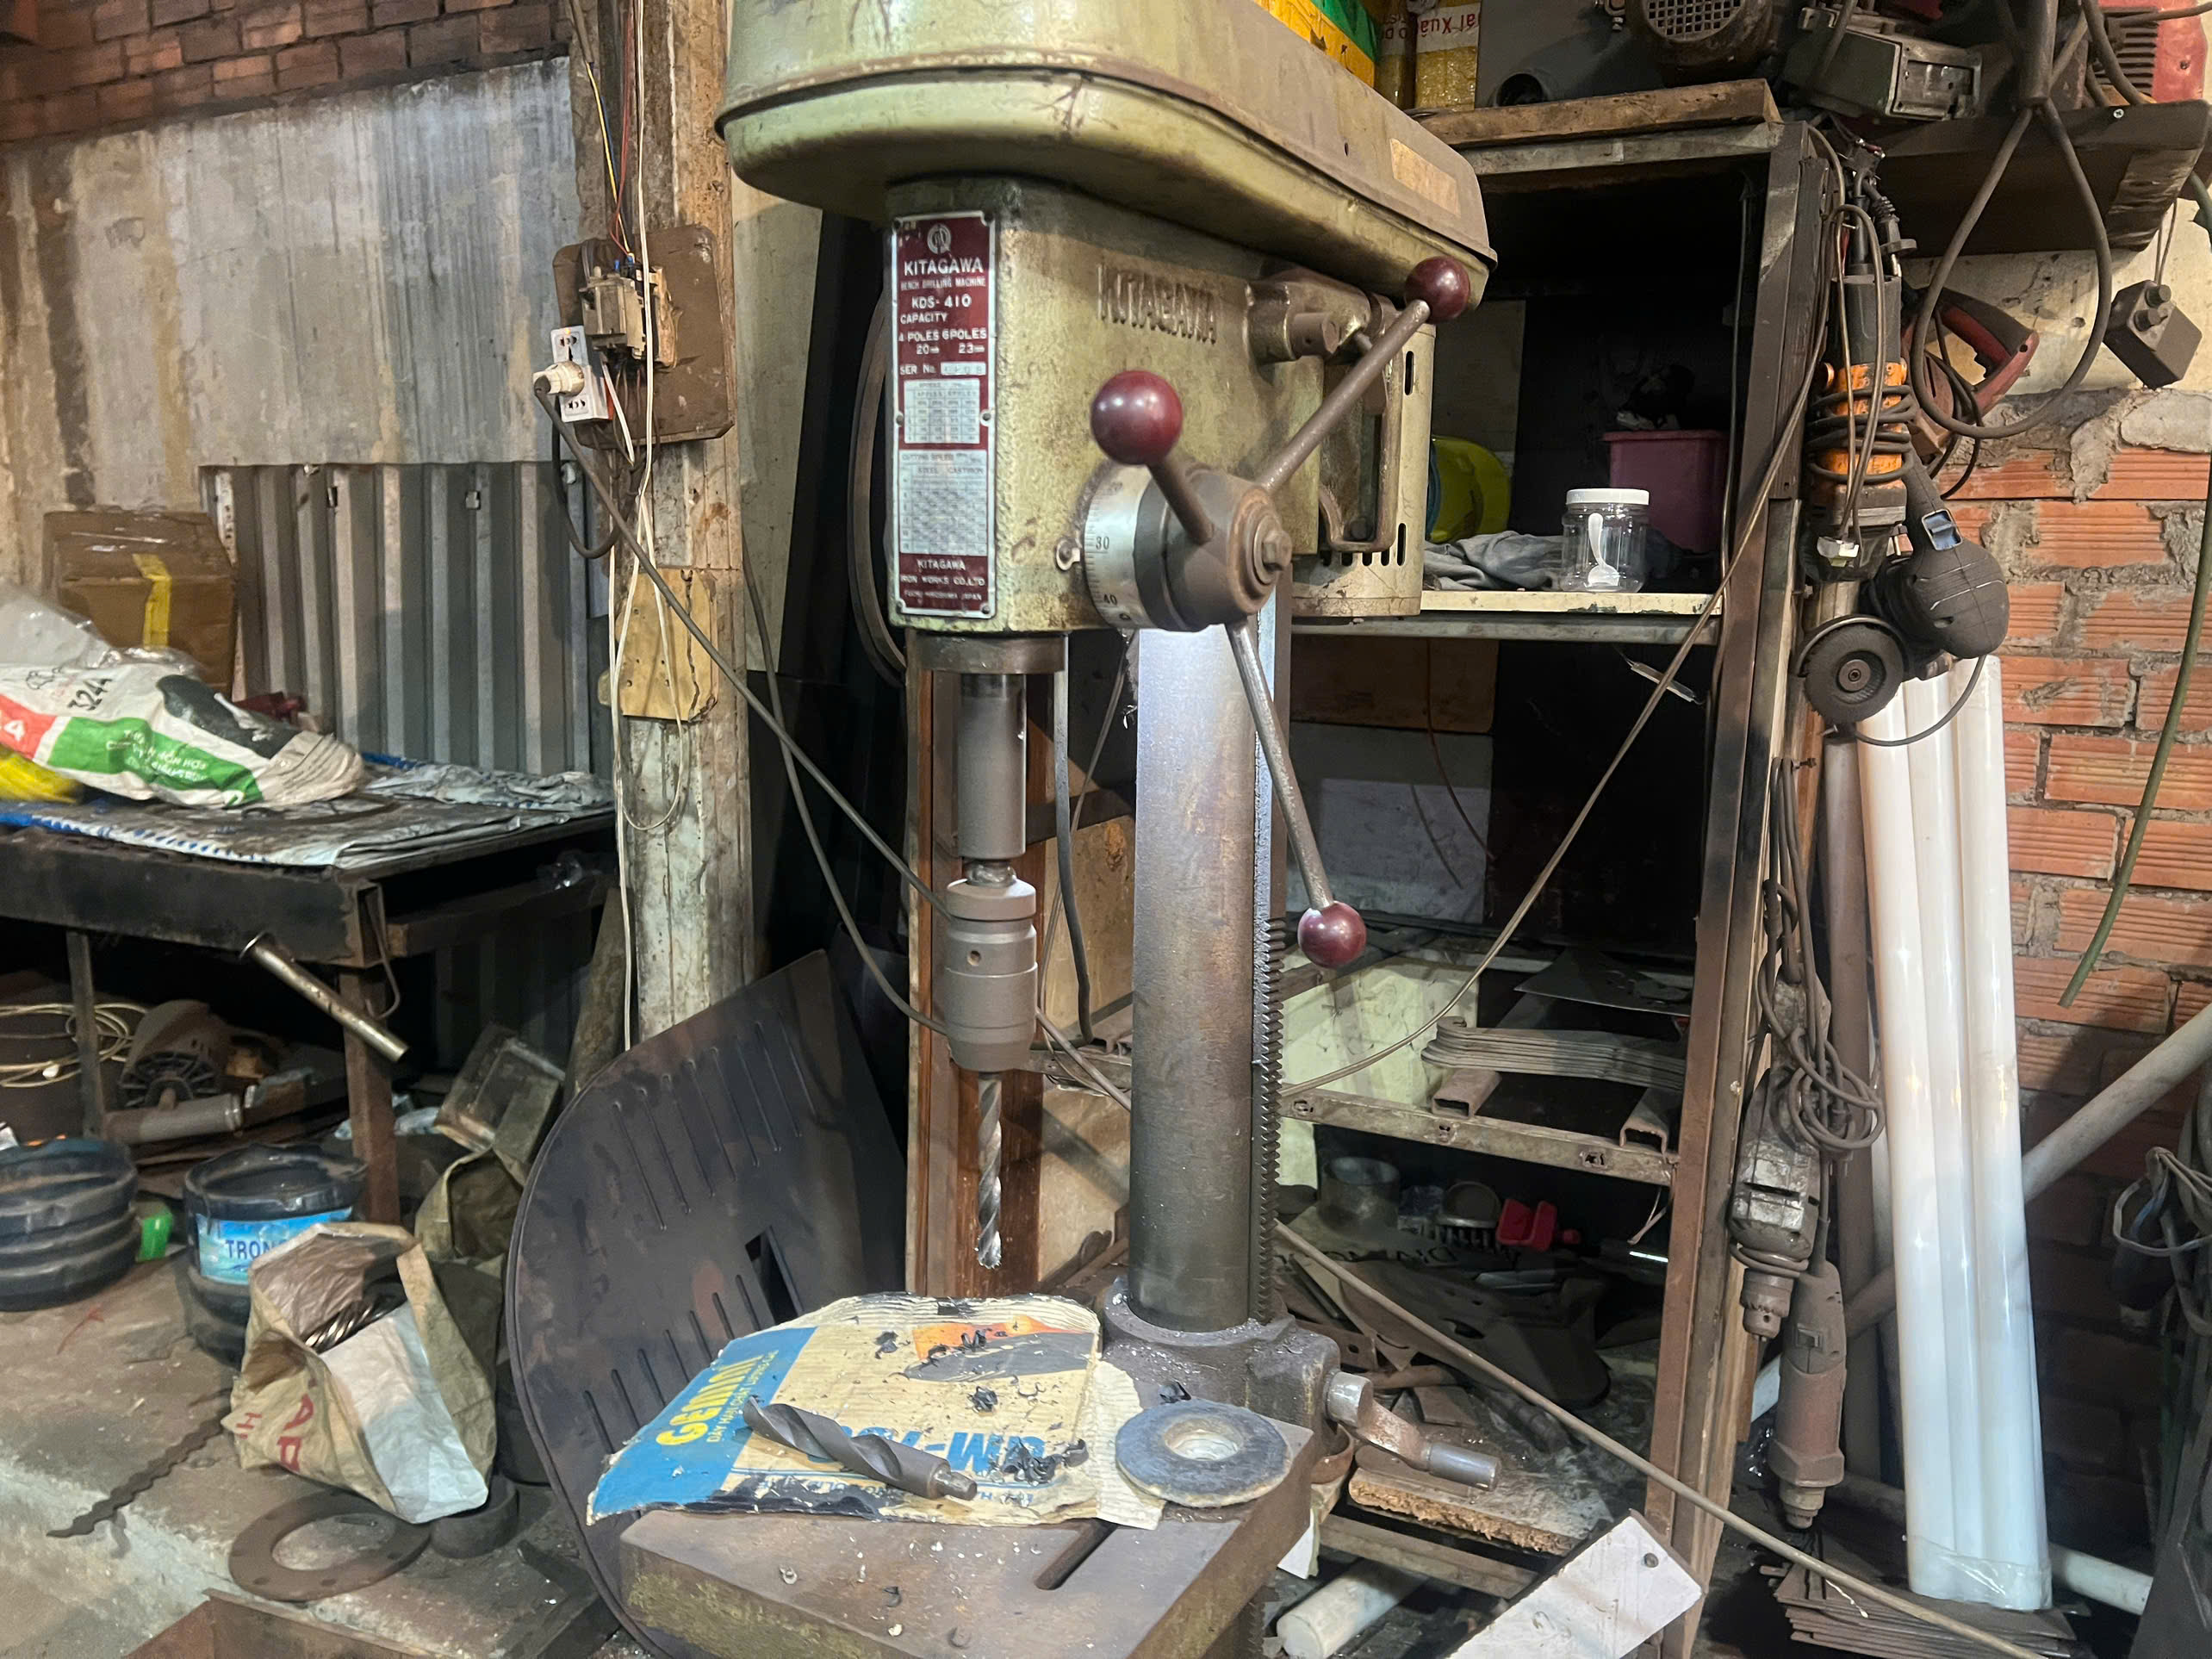
When we onboard a new stamping supplier in Asia, one of the first things our process engineers ask to see is the deburring station. You can tell a lot about a supplier's quality mindset by how they handle edges — whether it is a disciplined, documented step or an afterthought done at the end of the shift.
Verify your supplier’s deburring process by aligning three elements: the edge requirement on the drawing, the deburring method in the process route sheet, and the inspection method tied to a defined sampling plan. Request process validation records, first-article burr height measurement data, and evidence of tooling maintenance schedules.

The Three-Point Alignment Check
Most deburring disputes happen because one of three links is broken:
- The drawing specifies the edge condition (e.g., ISO 13715 Class B, 0.1 mm max burr).
- The process route defines the method (e.g., vibratory finishing with ceramic media for 20 minutes).
- The inspection plan defines the measurement method, sampling frequency, and acceptance criteria.
If any one of these is missing or misaligned, you will get inconsistent results. I have seen cases where the drawing calls for rounded edges with a 0.3 mm edge rounding radius, but the supplier uses barrel tumbling 8 — a process that removes burrs effectively but does not create a controlled radius. The result looks smooth but fails the dimensional check.
Deburring Methods and Their Limits
Different methods produce different edge conditions. Choosing the wrong one is a common supplier mistake.
Vibratory finishing works well for general burr removal and surface roughness Ra improvement on small to medium stamped parts. Cycle times and media type vary with material hardness — stainless steel and high-strength alloys need more aggressive media and longer cycles than aluminum or soft copper.
Manual deburring with files or scrapers gives the most control for critical features like threads, ports, and sealing faces. But it is slow, operator-dependent, and hard to standardize.
In-die deburring technology is gaining traction. It performs mechanical edge breaking inside the stamping press, eliminating secondary handling. This reduces part deformation risk and improves consistency — but it requires tooling investment upfront.
Thermal energy deburring (TED) vaporizes burrs in a controlled combustion chamber. It reaches cross-holes and internal passages that no other method can. It is expensive and reserved for high-value components.
What to Ask During a Supplier Audit
When our team conducts supplier audits, we use a simple checklist for the deburring station that aligns with how we evaluate supplier deburring and edge finishing for safety standards:
- Is the deburring method documented in the process flow diagram?
- Does the operator know the allowable burr height for the current job?
- Are measurement tools (comparator, gauge) calibrated and available at the station?
- Is there a tooling maintenance schedule to prevent dull punches from creating excessive burrs in the first place?
- Are deburred parts inspected before moving to the next operation (coating, plating, assembly)?
If the answer to any of these is "no," the process is not controlled. And an uncontrolled process cannot meet drawing requirements consistently.
What Quality Documentation Should I Request to Confirm Edge Finishing Compliance?
A purchasing manager I work with in Texas has a rule: "If it's not documented, it didn't happen." That mindset has saved his company from accepting non-conforming stamped parts more than once. Documentation is your safety net — especially when your supplier is 8,000 miles away.
Request first-article inspection reports with burr height measurement data, process flow diagrams showing the deburring step, control plans identifying edge-critical features, material certificates confirming alloy and thickness, and PPAP documentation that includes edge condition validation against ISO 13715 or your drawing’s specific limits.

The Documentation Package
Here is what a complete edge finishing compliance package looks like. We compile these for every PPAP submission to our U.S. clients.
First-Article Inspection Report (FAIR): This must include actual burr height measurements on every CTQ (Critical to Quality 9) edge identified on the drawing. If the drawing calls for Class A edges (0.05 mm max), the FAIR should show measurement data — not just a "pass" checkbox. We use optical comparators and record actual values, not estimates.
Process Flow Diagram (PFD): The deburring step must appear as a discrete operation in the flow, not lumped into "finishing" or "packing." It should specify the method (e.g., vibratory finishing, manual file), the media or tooling used, and the cycle time or procedure.
Control Plan: This document ties the edge requirement to the inspection method, the measurement frequency, and the reaction plan if a burr exceeds tolerance. For edge-critical parts, I recommend 100% inspection on the first run and AQL-based sampling once the process is validated.
Material Certificate: Material hardness affects burr formation. A certificate confirming the alloy grade and actual thickness lets you verify whether the 10% rule baseline is even appropriate for the material in question.
Edge Intent Documentation
Beyond the standard PPAP package, one practice that has dramatically reduced disputes for us is the "Edge Intent Map." This is a marked-up drawing — or a separate document — that classifies every edge on the part into one of three categories:
- Functional edges: Sealing surfaces, mating faces, weld zones. These get the tightest tolerance (e.g., 0.05 mm max, no visible burrs at 10x magnification).
- Cosmetic edges: Visible surfaces, touch points. These must be smooth and free of snags, but dimensional control is less critical. Learning how to communicate appearance and aesthetic standards effectively is key for these edges.
- Handling/safety edges: Any edge a person touches during assembly. Must not cut hands or damage wires. The fingernail test is often sufficient.
This map tells the supplier exactly which edges matter, why they matter, and how they will be inspected. It eliminates the "deburr all edges" trap — a vague instruction that drives up cost, creates ambiguity, and still does not guarantee the right edges get the right treatment.
Linking Documentation to Automated Inspection
The trend in quality verification is moving away from subjective manual checks. Automated 3D laser profiling and AI-driven optical inspection systems now generate quantifiable, repeatable edge geometry data. If your supplier has this capability, request the raw scan data as part of the documentation package. It provides a digital record that is far more defensible than a handwritten inspection sheet.
Even without automation, a well-structured documentation package — FAIR, PFD, Control Plan, and Edge Intent Map — gives you the evidence you need to confirm compliance before parts ever leave the factory floor.
Conclusion
Quality standards for deburring and edge finishing of stamping parts are not one-size-fits-all. Define edge intent clearly, align your drawing with the process and inspection plan, and demand documentation that proves compliance — before parts ship.
Frequently Asked Questions
How Do I Know Which Deburring Standard Applies to My Stamping Parts?
One lesson we learned early while managing supplier audits across Vietnam and China is this: if your drawing says nothing about edges, your supplier will do nothing about edges. That silence costs more than you think.
What Edge Finishing Defects Should I Watch for During Incoming Inspection?
A client in the Midwest once returned an entire shipment of stamped mounting clips because tiny burrs on punched holes were tearing nitrile gloves during assembly. The parts met the 10% rule, but they failed the real-world handling test. That experience changed how we write our incoming inspection checklists.
How Can I Verify My Supplier's Deburring Process Meets Drawing Requirements?
When we onboard a new stamping supplier in Asia, one of the first things our process engineers ask to see is the deburring station. You can tell a lot about a supplier's quality mindset by how they handle edges — whether it is a disciplined, documented step or an afterthought done at the end of the shift.
Footnotes
1. Background reference explaining burr formation and measurement relevant to stamping tolerances. ↩︎
2. American Welding Society provides authoritative guidance on porosity and weld quality standards. ↩︎
3. ISO is the official standards body defining edge condition symbols and classes referenced in the drawing. ↩︎
4. Explains the Ra parameter used to quantify surface finish after deburring processes. ↩︎
5. Describes the optical measurement tool used for burr height and edge profile verification. ↩︎
6. Comprehensive overview of the powder coating process and standards. ↩︎
7. Authoritative definition of oxide layers on metal surfaces. ↩︎
8. NIST manufacturing resources cover mass finishing processes like barrel tumbling used in deburring. ↩︎
9. Standard definition of CTQ parameters in quality management. ↩︎