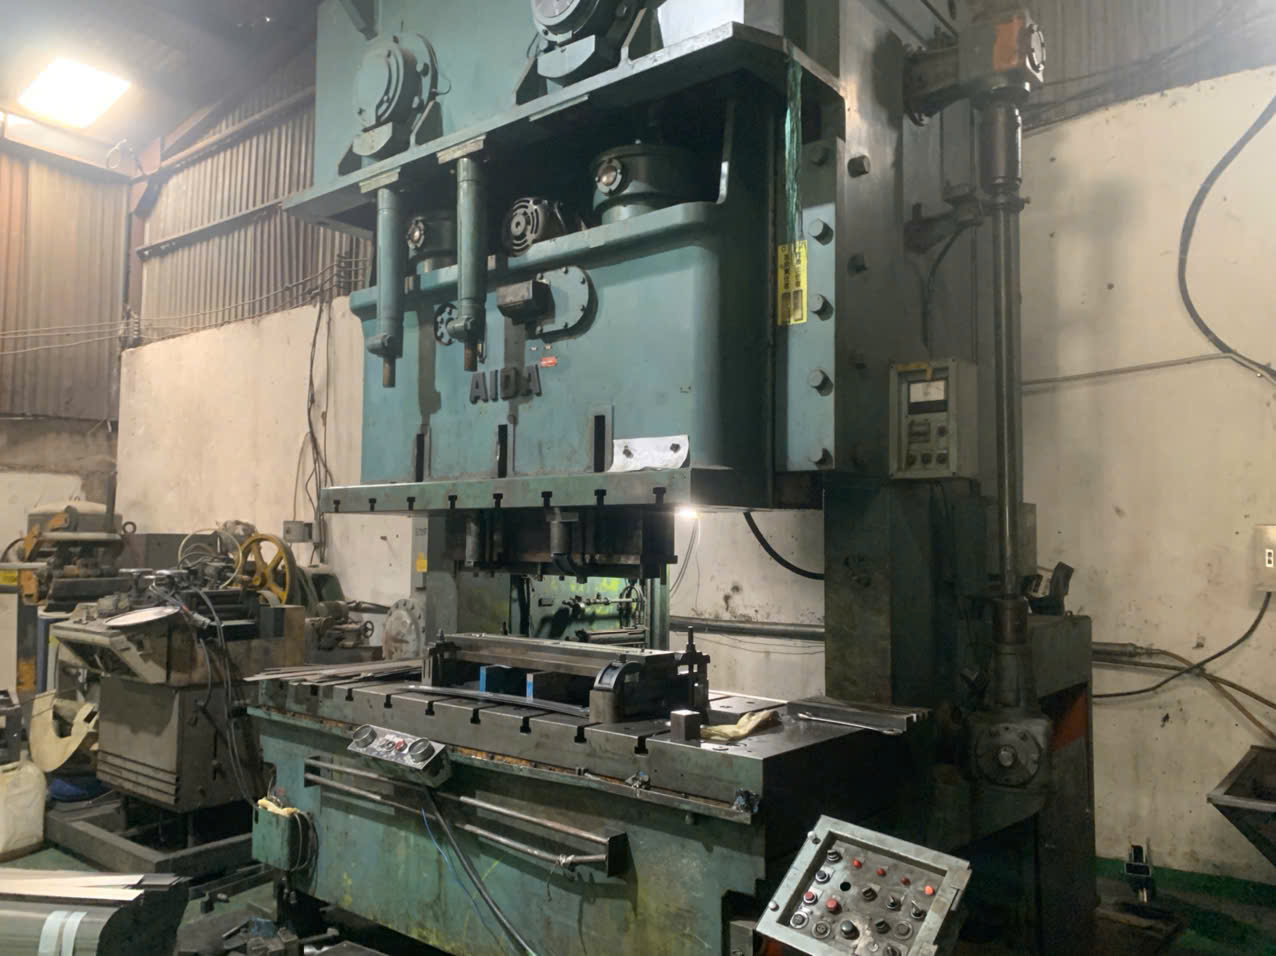

Regular maintenance on stamping parts and dies is the difference between smooth production and costly downtime. On our production lines, I have seen neglected tooling quietly destroy entire shipments.
Regular maintenance for stamping parts includes daily cleaning of dies, inspection of cutting edges and guide components, scheduled lubrication of moving parts, alignment and calibration checks, sharpening of worn edges, replacement of consumable wear parts, and proper rust-protected storage between production runs.
Each of these tasks has a purpose and a schedule. Below, I break down how often to do them, what to check, and how to catch wear early.
How Often Should I Schedule Preventive Maintenance for My Stamping Dies?
A few years ago, one of our Vietnam partner factories lost a full week of output because a progressive die 1 cracked mid-run. That failure taught our team to schedule maintenance by stroke count, not by the calendar alone.
Schedule preventive maintenance using a hybrid approach: daily visual cleaning and lubrication, weekly measurement checks, comprehensive inspections every 10,000 cycles, complete servicing every 100,000–300,000 parts, professional calibration every three months, and precision regrinding with dimensional recertification after roughly one million strokes.
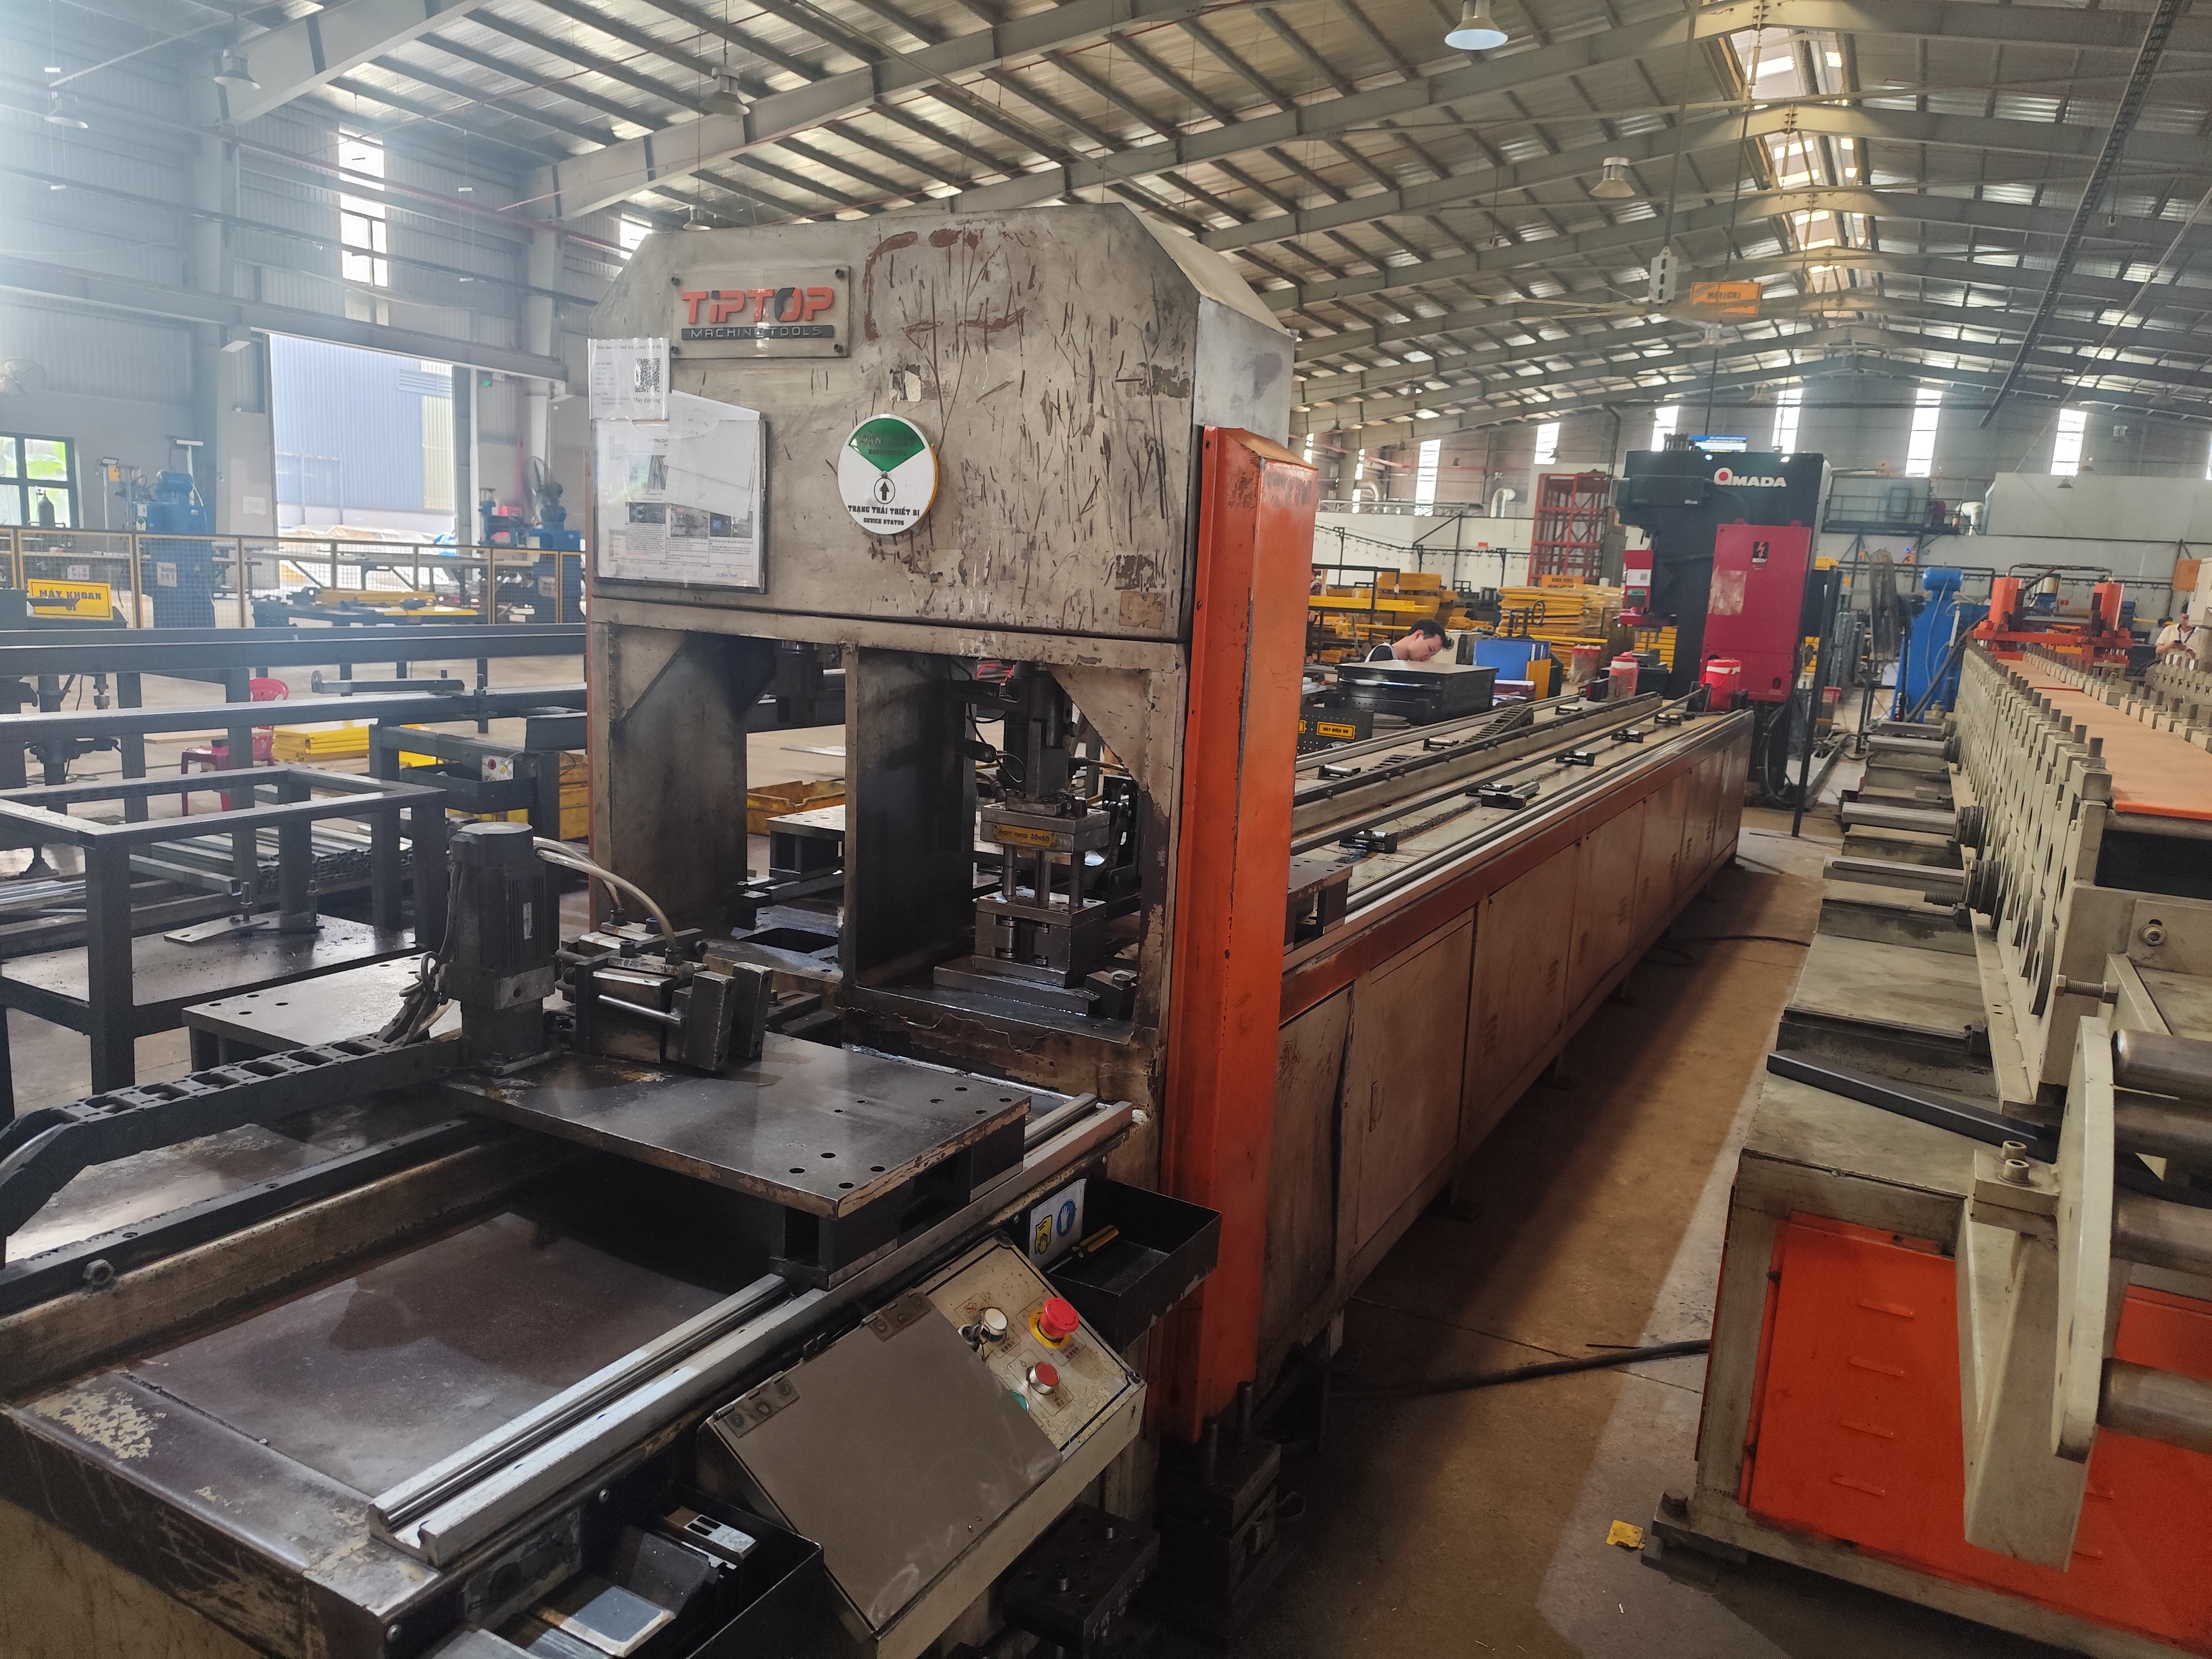
The biggest mistake I see buyers and suppliers make is treating maintenance as a fixed calendar event. A die running high-strength steel 2 two shifts a day wears far faster than one stamping soft aluminum a few hours a week. So the smartest programs combine two triggers: time and usage.
Calendar-Based vs. Usage-Based Triggers
Calendar schedules are easy to manage. Everyone knows what happens on Monday. But they ignore how hard the tool actually worked. Stroke-count triggers fix that problem. They tie maintenance directly to real wear. In our supplier audits, we always ask factories to show both types of triggers in their maintenance logs. If a shop only has one, we flag it.
Here is the baseline schedule we recommend to clients sourcing stamped brackets and clips from Asia:
| Interval | Maintenance Task |
|---|---|
| Every shift / daily | Clean debris, visual check, spot lubrication |
| Weekly or 5,000 cycles | Lubricate guide pillars, sleeves, lifter rods |
| Every 10,000 cycles | Comprehensive inspection of edges and clearances |
| Every 3 months | Professional calibration of positioning components |
| 100,000–300,000 parts | Full servicing and wear-part replacement |
| ~1,000,000 strokes | Precision regrind and dimensional recertification |
Adjust for Material and Complexity
These numbers are starting points, not laws. Abrasive materials, coated metals, and tight-tolerance parts all shorten the intervals. Historical wear data from your maintenance log should refine the schedule over time. That is why documentation matters so much. A good log turns guesswork into prediction, and prediction into fewer surprises on the press floor.
What Daily Inspection Checks Should I Perform on Stamping Tooling to Prevent Downtime?
During a final inspection in Vietnam last year, I noticed slight burrs on a batch of Z-fold mounting clips. The root cause turned out to be a loose stripper plate that a simple daily check would have caught.
Daily inspection of stamping tooling should cover cleaning of metal shavings and slugs, checking cutting edges for chips or dulling, verifying that guide pins, springs, fasteners, and stripper plates are secure, confirming smooth return functions, and listening for unusual noise during the first strokes.
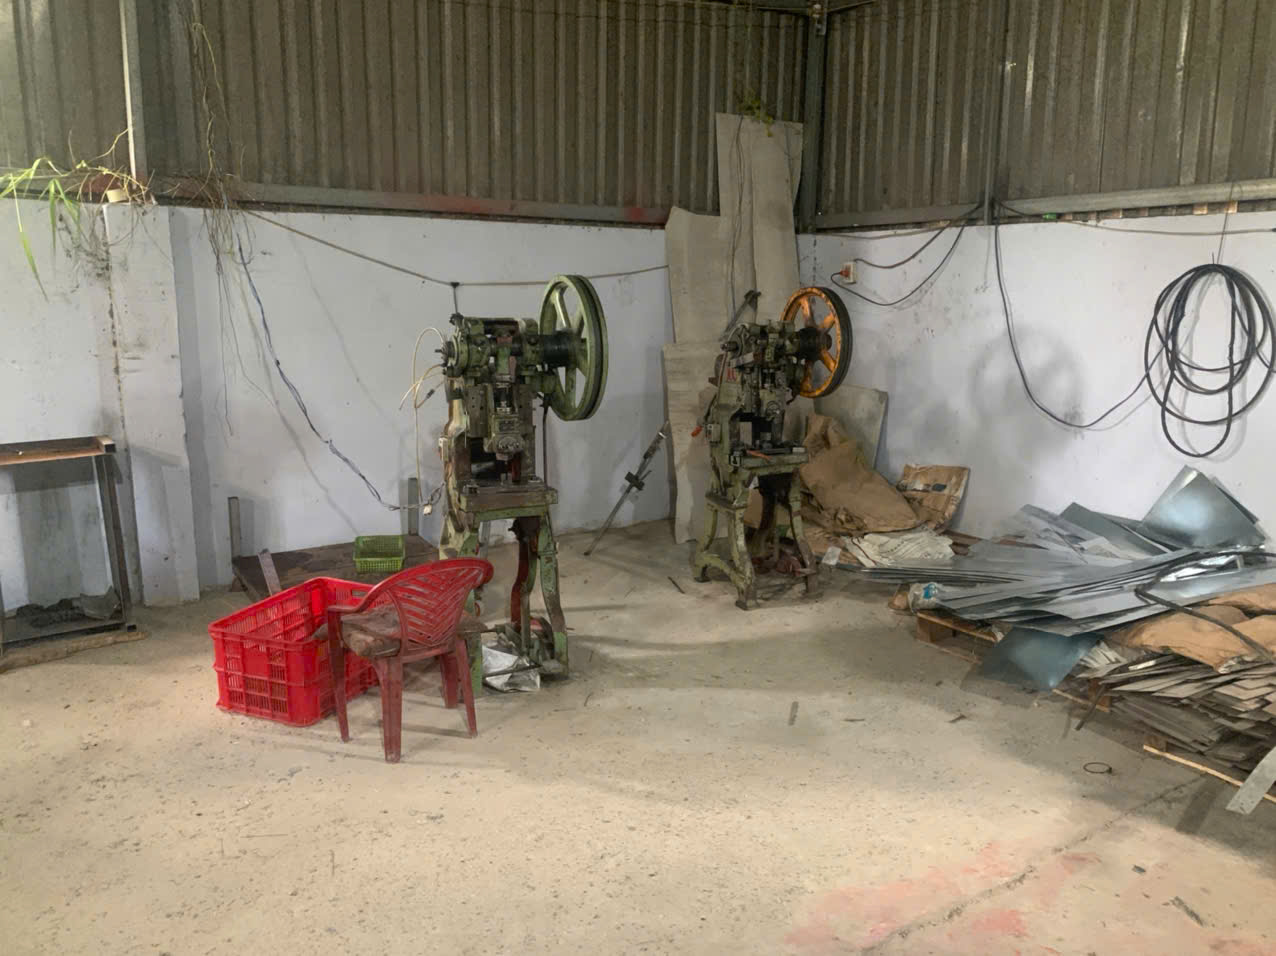
Daily checks take minutes. Skipping them can cost days. The goal is simple: catch small defects before they become scrap, dimensional drift, or a snapped punch. I coach our partner factories to build the check into shift start-up, so it becomes habit rather than a chore.
The Start-of-Shift Routine
A practical daily routine follows a fixed sequence. Operators should work through it the same way every time.
- Clear all metal shavings, slugs, dust, and lubricant buildup from die surfaces, cavities, and vents.
- Visually inspect punches and cutting edges for chipping, dulling, or galling.
- Check guide pins, guide sleeves, and wear plates for scoring or misalignment.
- Confirm screws, dowel pins, and fasteners are tight.
- Test springs, pilots, and stripper plates for free, smooth movement.
- Run the first few parts slowly and inspect them against the drawing.
Train Operators to Use Their Ears
Visual checks alone are not enough. Experienced press operators can hear trouble before they see it. Unusual noise, chatter, or a change in resistance during the stroke often signals a cracked component or misfeed forming. We ask factories to empower operators to stop the press the moment something sounds wrong. Fast intervention beats periodic inspection every time. First-article inspection 3 at shift start also catches overnight shifts in alignment. If the first part fails, the tooling gets attention before the run continues, not after a pallet of nonconforming brackets is stacked up.
Which Lubrication and Cleaning Practices Extend the Life of My Stamping Parts?
One trade-off we weigh constantly in process control is how much lubricant is enough. Too little accelerates wear on guide components; too much attracts debris that scratches part surfaces and forms sludge.
Clean dies after every use to remove shavings, slugs, and oil residue, then dry them and apply rust-preventive oil. Lubricate guide pillars, sleeves, bushings, cam units, and lifter rods with high-temperature grease weekly or every 5,000 cycles, avoiding both over- and under-lubrication.
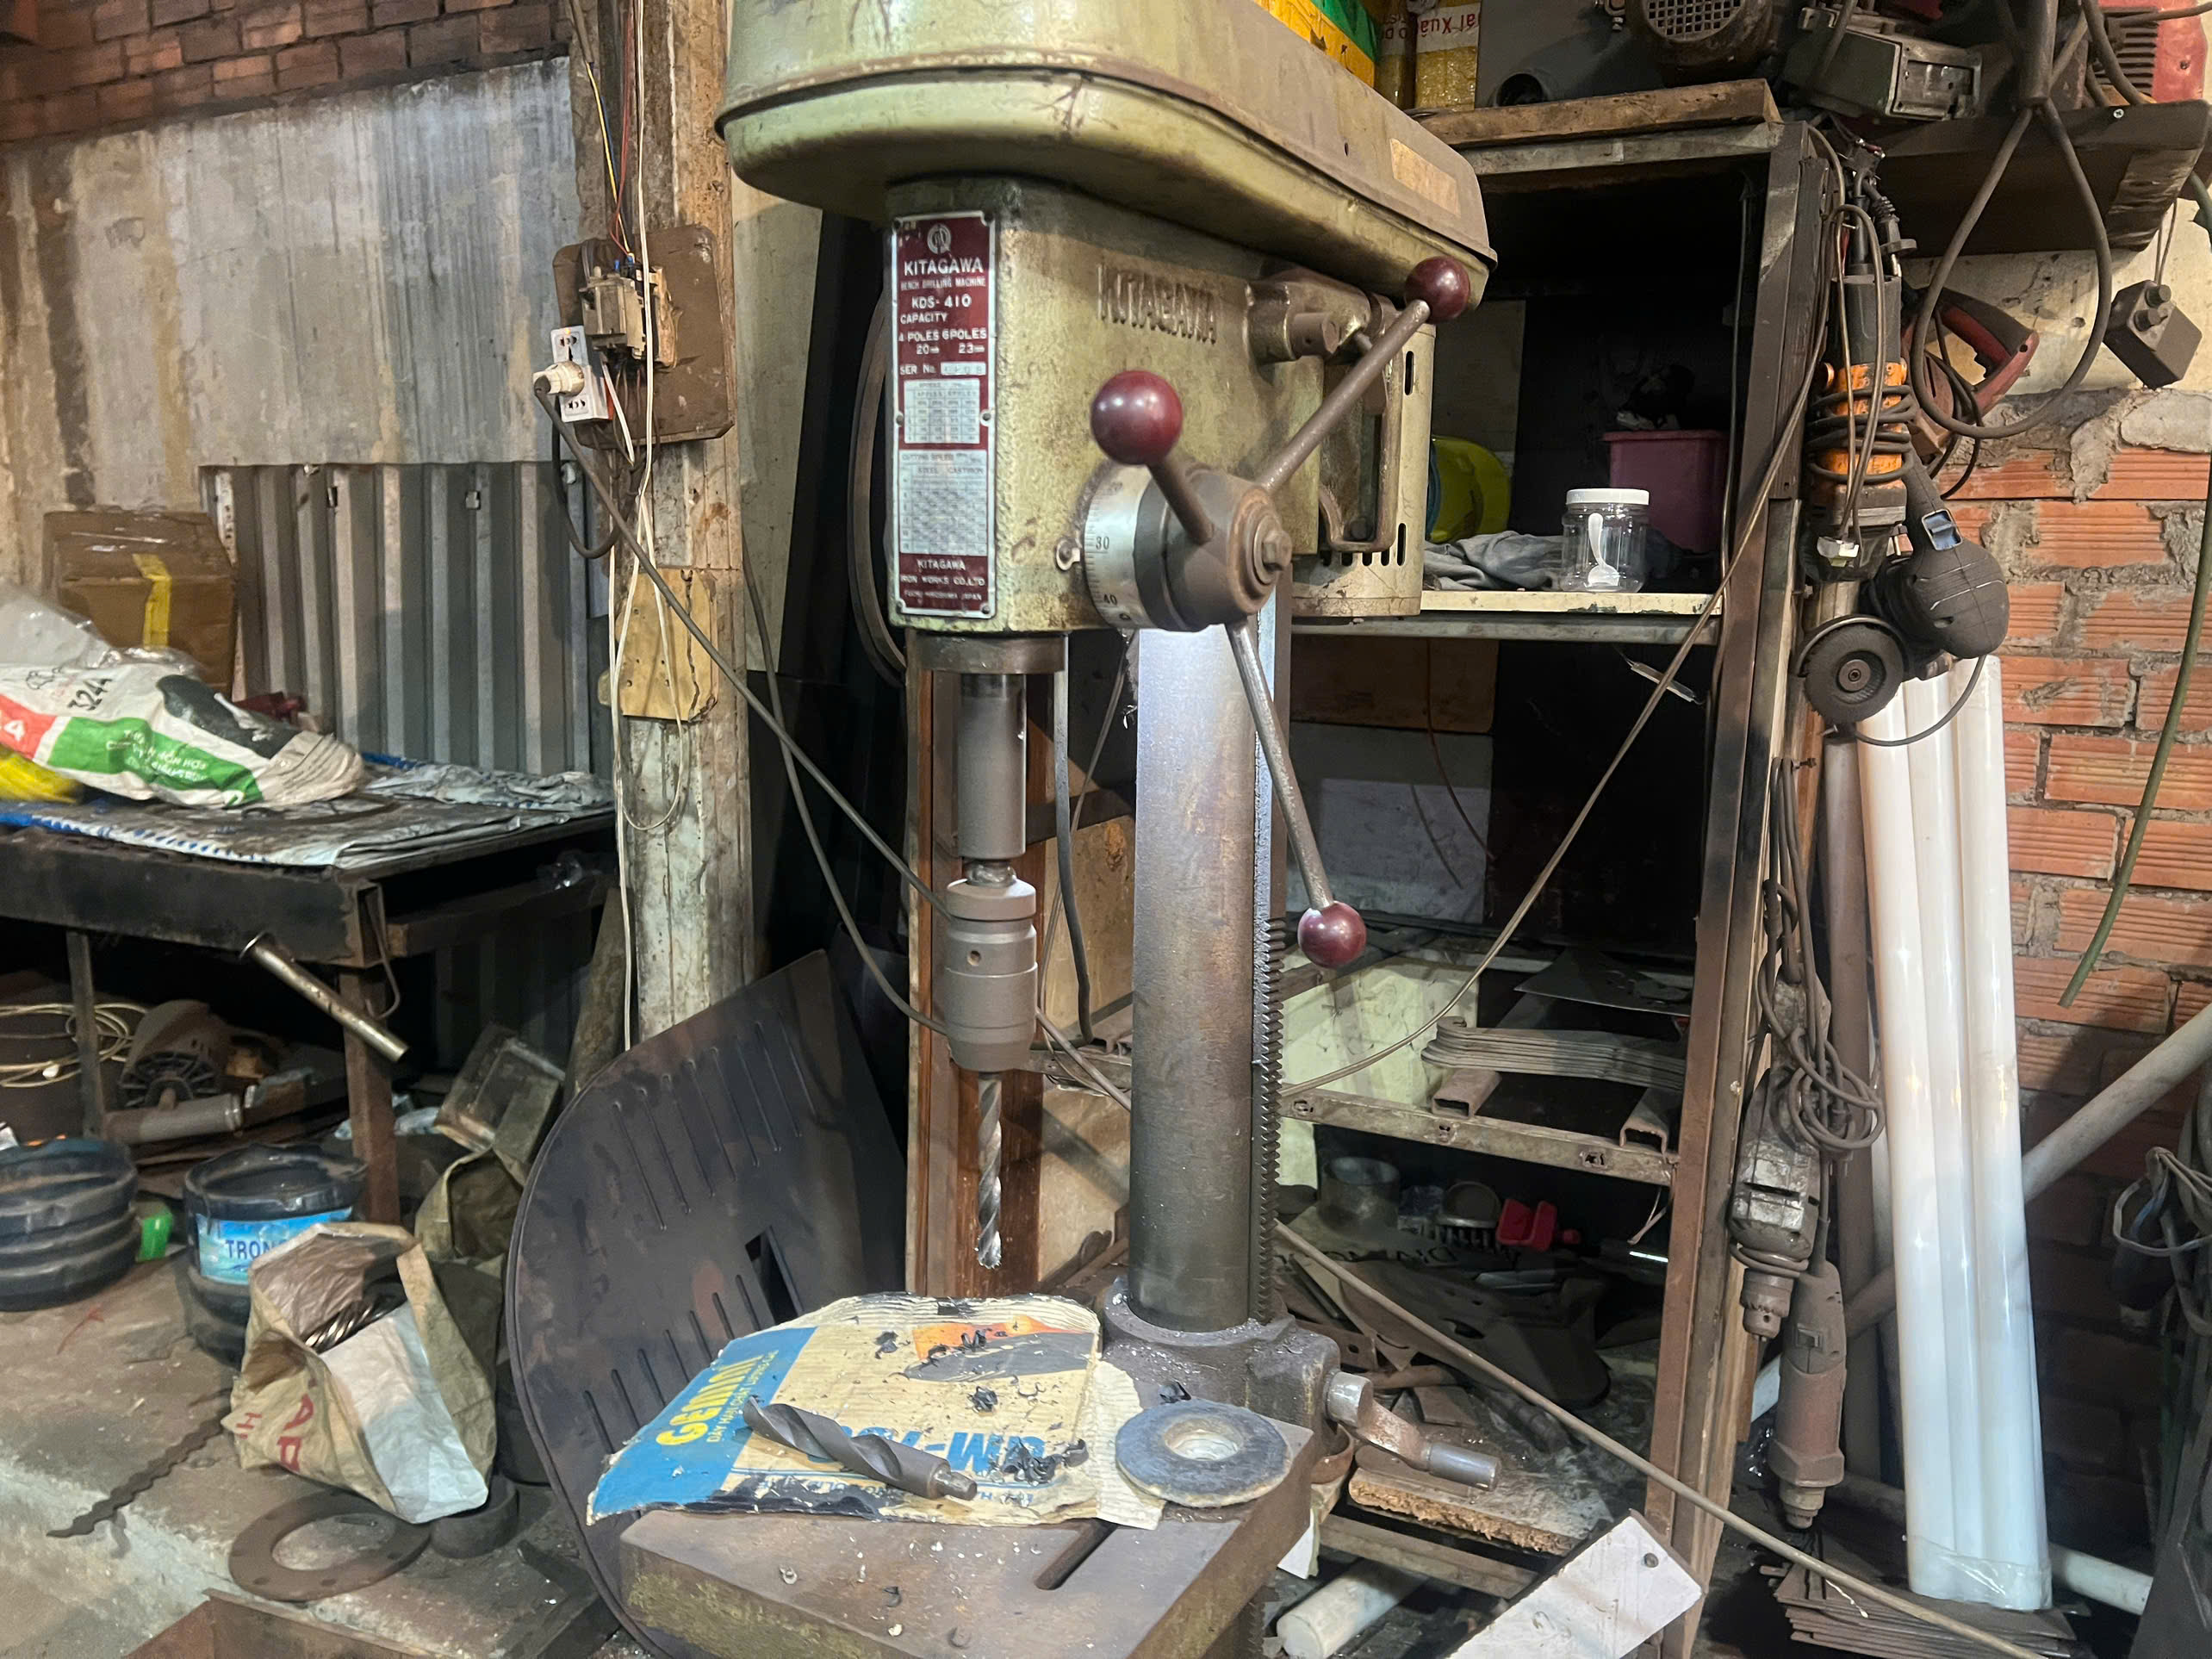
Cleaning and lubrication are the cheapest insurance in stamping. Yet they are the tasks most often rushed at the end of a busy shift. When we run supplier audits, the condition of dies in storage tells us almost everything about a factory's discipline.
Cleaning Done Right
Good cleaning is systematic. Remove all metal shavings, dust, slugs, and lubricant buildup from die surfaces, cavities, vents, and every moving interface. Then dry the tool completely. Moisture left in a cavity becomes rust by morning. Avoid harsh or highly corrosive cleaners 4, because they can attack the tool surface and undo the protection you are trying to provide. After cleaning, apply a rust-preventive oil if the die will sit idle, and cover it against dust.
Lubrication Points and Frequency
| Component | Lubricant | Frequency |
|---|---|---|
| Guide pillars and sleeves | High-temperature grease | Weekly or every 5,000 cycles |
| Guide bushings | High-temperature grease | Weekly or every 5,000 cycles |
| Cam units and sliding surfaces | High-temperature grease | Per usage intensity |
| Lifter rods | Light machine oil or grease | Weekly |
| Stored dies (all surfaces) | Rust-preventive oil | Before storage and monthly checks |
Storage Is Part of the Routine
After maintenance, dies belong in a dry, ventilated, controlled environment. They should never sit exposed on the floor near moisture. For long idle periods, preservation matters as much as operational upkeep. Coated, covered, and logged: that is the standard we hold our partner factories to before we release payment milestones.
How Can I Detect Early Signs of Wear Before My Stamping Dies Cause Production Defects?
A U.S. purchasing manager once asked me why his previous supplier shipped a container of brackets with oversized holes. The answer was tool wear that nobody measured until the customer complained.
Detect early die wear by tracking dimensional drift in stamped parts through SPC data, watching for growing burrs and inconsistent hole sizes, monitoring for unusual noise, misfeeds, or sticking, inspecting edges for micro-chipping, and reviewing scrap-rate trends before visible defects appear.

Wear never announces itself. It creeps. The parts drift a few microns per thousand strokes until one day they fall out of tolerance. The factories that catch it early are the ones measuring parts, not just looking at tools.
Measure the Parts, Not Just the Tools
Statistical process control 5 is the most powerful early-warning system available. When we set up process control plans for custom stamped parts 6, we identify two or three critical dimensions and chart them across the run. A slow, steady drift in hole diameter or flange angle signals edge wear long before burrs become visible. This condition-based approach lets you schedule a regrind at a convenient time instead of reacting to a scrapped batch.
Warning Signs and Their Likely Causes
| Warning Sign | Likely Cause | Recommended Action |
|---|---|---|
| Growing burrs on edges | Dull or chipped cutting edges | Sharpen or regrind edges |
| Dimensional drift on charts | Progressive edge or clearance wear | Schedule regrind, recheck clearances |
| Misfeeds or sticking parts | Worn pilots, weak springs, debris | Replace springs, clean and inspect |
| Unusual noise or chatter | Loose fasteners, cracked components | Stop press, inspect immediately |
| Rust spots on die surfaces | Poor storage or cleaning practices | Clean, dry, apply rust-preventive oil |
| Rising scrap rate | Combined wear across the tool | Full inspection and wear-part replacement |
Modern Monitoring Options
Higher-volume shops are adding IoT sensors 7 that track vibration, temperature, and press load in real time. These systems trigger maintenance alerts automatically. For most custom-part programs, though, disciplined SPC charting plus trained operators delivers most of the benefit at a fraction of the cost. Also remember that materials wear tooling differently. High-strength steels, aluminum, and coated metals each degrade edges at their own rate, so your detection thresholds should reflect the material you are actually running.
Conclusion
Neglected stamping tooling means burrs, drift, and missed shipments. Consistent cleaning, lubrication, inspection, and usage-based servicing prevent that. Build the routine, keep the logs, and your stamping parts stay right first time.
Frequently Asked Questions
How Often Should I Schedule Preventive Maintenance for My Stamping Dies?
A few years ago, one of our Vietnam partner factories lost a full week of output because a progressive die 1 cracked mid-run. That failure taught our team to schedule maintenance by stroke count, not by the calendar alone.
What Daily Inspection Checks Should I Perform on Stamping Tooling to Prevent Downtime?
During a final inspection in Vietnam last year, I noticed slight burrs on a batch of Z-fold mounting clips. The root cause turned out to be a loose stripper plate that a simple daily check would have caught.
Which Lubrication and Cleaning Practices Extend the Life of My Stamping Parts?
One trade-off we weigh constantly in process control is how much lubricant is enough. Too little accelerates wear on guide components; too much attracts debris that scratches part surfaces and forms sludge.
Footnotes
1. Background on die tooling referenced in the progressive die failure example. ↩︎
2. ISO sets material and manufacturing standards relevant to high-strength steel stamping. ↩︎
3. Explains the quality process referenced for catching overnight alignment shifts. ↩︎
4. EPA guidance on safer chemical cleaners relevant to avoiding corrosive die cleaners. ↩︎
5. Defines the SPC methodology used to detect dimensional drift before defects appear. ↩︎
6. Alibaba.com is a major sourcing platform for buyers of custom stamped parts. ↩︎
7. NIST’s manufacturing program supports adoption of IoT sensors for factory monitoring. ↩︎