
I have seen firsthand how a single overlooked sharp edge on custom sheet metal parts can send someone to the emergency room — and it happens far more often than people expect.
When installing custom sheet metal parts, individual users must wear cut-resistant gloves, safety glasses, and steel-toed boots, use proper lifting techniques for heavy panels, inspect all parts for burrs and defects, secure workpieces firmly, and maintain a clean, well-ventilated workspace to prevent cuts, crush hazards, and respiratory injuries.
The sections below break down each critical safety measure mechanical aids 1. Whether you are mounting a single bracket or fitting multiple panels, these steps will help you work confidently and avoid common injuries.
What personal protective equipment should I wear to prevent cuts from sharp sheet metal edges?
A lesson we learned early on our production floor in Vietnam is that even a perfectly finished bracket can still have micro-burrs that slice through bare skin in an instant power drill 2.
You should wear heavy-duty, cut-resistant gloves rated ANSI A4 or higher, ANSI-rated safety glasses with side shields, long-sleeved shirts, long pants, and steel-toed boots every time you handle custom sheet metal parts to prevent cuts, eye injuries, and crush hazards.
Why Cuts Are the Most Common Sheet Metal Injury
Sharp edges are the number one hazard. Every freshly cut or sheared piece of sheet metal leaves an edge that can be razor-like. Even parts that have been deburred can develop new burrs during shipping or handling. That is why Personal Protective Equipment (PPE) is non-negotiable.
When our quality control team in China packages finished parts for export to U.S. clients, we always wrap edges in protective material. But once the packaging comes off at the install site, your hands are the first thing at risk. Gloves are your last line of defense.
Choosing the Right Gloves
Not all gloves are equal. You need a balance between cut resistance and dexterity. A glove that is too thick makes it hard to grip fasteners or align holes. A glove that is too thin will not stop a sharp edge.
| Glove Type | Cut Rating (ANSI) | Dexterity | Best Use Case |
|---|---|---|---|
| Leather work gloves | A2–A3 | Moderate | General handling, carrying panels |
| Cut-resistant knit gloves | A4–A6 | High | Precision fitting, aligning holes |
| Kevlar-lined gloves | A4–A5 | Moderate–High | Sustained handling of sharp-edged parts |
| Nitrile-coated cut gloves | A3–A5 | High | Oily or slippery metal surfaces |
I recommend keeping two pairs on hand: a heavier pair for moving panels and a lighter, flexible pair for fastening and alignment work.
Eye and Body Protection
Safety glasses 3 protect against flying debris, especially if you are drilling pilot holes or driving self-tapping screws into metal. Side shields matter because metal fragments travel at unpredictable angles. If you wear prescription glasses, get ANSI-rated safety frames or use over-glasses goggles.
Long sleeves and long pants create a physical barrier. Metal dust from cutting or grinding can irritate exposed skin and cause rashes. Steel-toed boots 4 guard against crush hazards — a single sheet of 16-gauge steel can weigh enough to break a toe if it slips from your grip.
Respiratory and Hearing Protection
If you need to cut, grind, or drill metal on-site, metal dust becomes a real concern. A properly fitted dust mask or half-face respirator with P100 filters keeps fine particles out of your lungs. Good ventilation in the workspace helps, but a respirator adds an extra layer of safety.
Loud power tools also demand hearing protection. Foam earplugs or over-ear muffs rated NRR 25 or higher will protect your hearing during extended work sessions.
How can I safely handle heavy or oversized custom metal panels during the installation process?
One of our U.S. clients once described how a single 4-foot stainless steel panel slipped from a solo carry attempt and gashed his forearm — an injury that proper lifting techniques 6 and a second pair of hands would have prevented entirely.
To safely handle heavy or oversized custom metal panels, never lift alone, use proper lifting techniques by bending at the knees with the load close to your body, and employ mechanical aids like suction cups, panel carts, or hoists whenever the weight exceeds 50 pounds or the panel is unwieldy.
Understanding the Weight Problem
Sheet metal weight scales fast. A 4×8-foot panel of 16-gauge mild steel weighs roughly 100 pounds. Add a bend or a flange and the center of gravity shifts, making it even harder to control. Oversized panels also catch wind if you are working outdoors. These factors combine to create serious risks: dropped panels, back strains, and pinched fingers.
Proper Lifting Techniques Step by Step
- Stand close to the panel with your feet shoulder-width apart.
- Bend your knees — not your waist.
- Grip the panel firmly at balanced points.
- Lift by straightening your legs. Keep the load against your body.
- Pivot with your feet. Never twist your torso while holding a heavy panel.
- Set the panel down by reversing the process — legs first, back straight.
When to Use Mechanical Aids
| Panel Weight / Size | Recommended Handling Method |
|---|---|
| Under 25 lbs, small dimensions | One person with gloves, firm grip |
| 25–50 lbs or awkward shape | Two people, coordinated lift |
| 50–100 lbs | Two people plus panel cart or suction lifter |
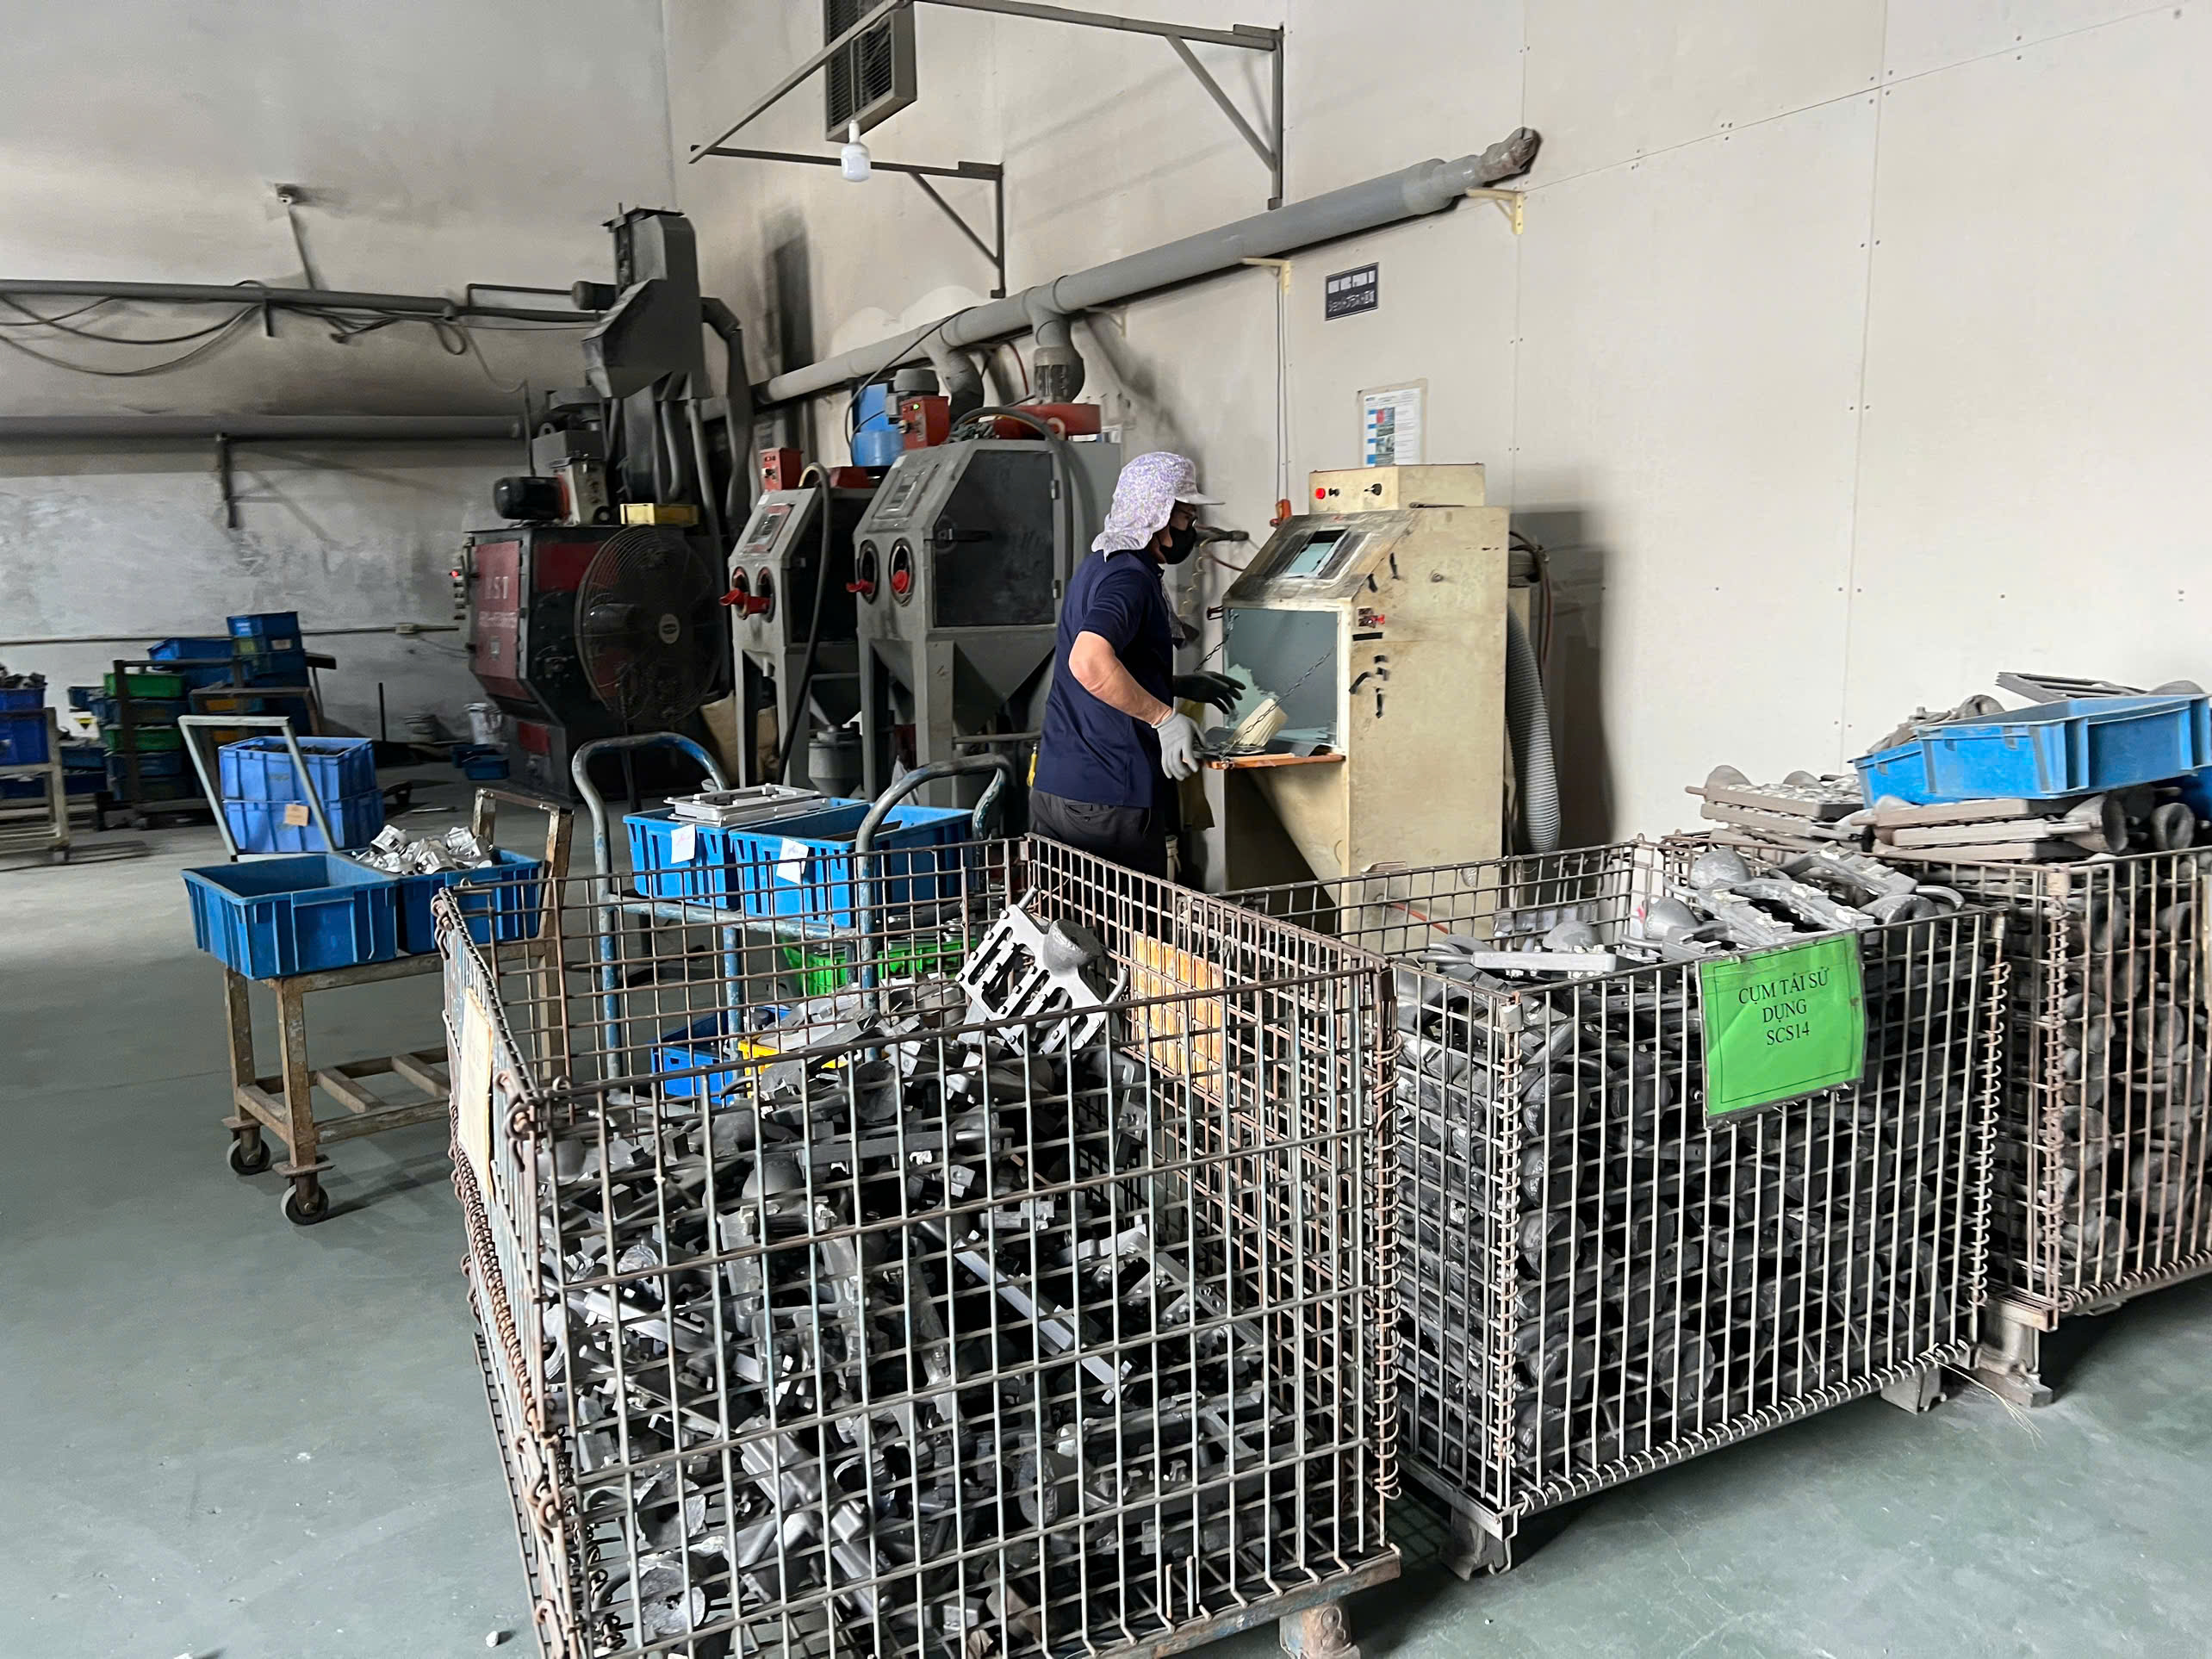
| Over 100 lbs or oversized | Mechanical hoist, forklift, or overhead crane |
In our facilities, we train every team member to default to two-person lifts for anything over 25 pounds. Fatigue is a factor too — after several lifts, your grip weakens. Rotate tasks or take breaks.
Planning the Installation Sequence
Before you start, plan the order in which panels go up. Minimize how many times you pick up and put down each piece. Lay panels on padded sawhorses near the install location. Stage your fasteners, drill, and level within arm's reach. A well-planned sequence cuts handling time in half and slashes the risk of drops.
If a panel must travel across a room or up a flight of stairs, use a panel dolly or enlist a helper. Never carry a large sheet of metal through a cluttered area. Clear the path first — tripping while holding a heavy, sharp-edged panel is one of the most dangerous scenarios.
Which specific tools do I need to ensure my custom sheet metal parts are secured safely?
When we co-develop mounting brackets and enclosures with our engineering partners, we specify fastener types and torque values on the drawing — but those specs only matter if the installer uses the right tools to achieve proper workpiece stability.
You need a power drill or impact driver with the correct bit, self-tapping or machine screws matched to the gauge, a pop rivet gun for blind fastening, aviation snips for minor trimming, a deburring tool, clamps or a vise, a level, and a torque-limited driver to secure custom sheet metal parts safely and accurately.
Matching Tools to the Job
Using the wrong tool is a fast track to injury and wasted parts. A dull drill bit generates excessive heat and can grab the metal, yanking the drill from your hands. A mismatched screw strips the hole and leaves the panel loose. Here is a practical tool list organized by task.
| Task | Recommended Tool | Why It Matters |
|---|---|---|
| Drilling pilot holes | Corded or cordless drill, cobalt or titanium bits | Clean holes, less heat, reduced metal dust |
| Driving fasteners | Impact driver with hex-head socket | Consistent torque, faster install |
| Trimming or adjusting fit | Aviation snips (left, right, straight) | Clean cuts without deforming the panel |
| Removing burrs from cuts | Handheld deburring tool 7 or metal file | Eliminates sharp edges immediately |
| Securing workpiece | C-clamps, locking pliers, or bench vise | Prevents movement during drilling or fastening |
| Checking alignment | Torpedo level, square, tape measure | Ensures parts mount plumb and true |
| Riveting | Manual or pneumatic pop rivet gun 8 | Creates permanent blind fasteners |
Power Tool Safety Essentials
Before plugging in or charging any power tool, inspect it. Check the cord for fraying. Confirm the chuck tightens fully. Make sure the battery is not swollen or damaged. Loose or damaged tools can cause kickback, sparks, or electrical shock.
Keep your workspace free of metal scraps while using power tools. A drill bit that catches a loose piece of scrap can fling it at high speed. Fire prevention also matters — sparks from grinding or cutting can ignite nearby flammable materials. Keep a fire extinguisher within reach.
Clamping and Workpiece Stability
Never hold a small bracket with one hand while drilling with the other. Clamp it down. The drill bit can grab the metal and spin it, slicing your fingers. A bench vise or a pair of locking pliers gives you full control. For larger panels, use at least two clamps to prevent any rotation or shift.
When I review installation photos from clients who had issues, the most common mistake is an unsecured workpiece. It leads to elongated holes, crooked mounting, and — worst case — a bracket that falls under load. Taking thirty seconds to clamp a part saves hours of rework.
What steps can I take to inspect my custom parts for burrs or defects before I start installing them?
During our PPAP and final inspection processes, we check every critical dimension and edge condition before parts leave the factory — but once a box arrives at your door, a quick hands-on inspection is still essential.
Before installation, visually examine each custom part under good lighting for burrs, cracks, warping, and dimensional accuracy; run a gloved finger along all edges to detect sharp spots; verify hole locations against your drawing; and use a deburring tool or file to smooth any rough edges you find.

A Simple Pre-Installation Inspection Process
You do not need a coordinate measuring machine 9 in your garage. A systematic visual and tactile check catches the vast majority of issues. Here is a step-by-step approach.
- Unpack carefully. Lay parts on a clean, flat surface. Look for shipping damage — dents, bends, or scratches.
- Visual scan under bright light. Tilt the part at different angles. Burrs and surface cracks reflect light differently than smooth metal. A well-lit area is critical here.
- Edge check with gloved hand. Slowly run your gloved fingertip along every cut edge. A burr will snag the glove fabric. Mark any rough spots with a grease pencil.
- Dimensional spot-check. Use calipers or a tape measure to verify a few key dimensions — overall length, hole-to-hole distance, bend angle. Compare against your drawing or spec sheet.
- Flatness check. Place the part on a known flat surface. Rock it. If it wobbles, there may be a twist or bow in the metal that will affect fit-up.
Deburring Metal Safely
If you find burrs, remove them before installation. A handheld deburring tool with a swivel blade is the fastest option. For heavier burrs, a flat metal file works well. Always stroke away from your body. Wear your cut-resistant gloves during this step — a slip on a freshly deburred edge can still cut. For a more comprehensive look at handling this common hazard, see our guide on how to manage sharp edges and burrs in sheet metal fabrication safely.
What to Do If You Find a Defect
Not every defect is a deal-breaker. Here is a quick decision guide.
| Defect Found | Severity | Recommended Action |
|---|---|---|
| Minor surface scratch | Low | Install as-is; cosmetic only |
| Small burr on non-critical edge | Low | Deburr with file or tool, then install |
| Hole location off by more than 1 mm | Medium–High | Contact supplier; do not force-fit |
| Crack at bend line | High | Do not install; request replacement |
| Significant warping or twist | High | Do not install; contact supplier |
Forcing a defective part into place creates stress concentrations that can lead to failure over time. When we work with purchasing managers in the U.S., we encourage them to flag issues immediately so we can ship replacements fast. Getting it right the first time — or catching it before installation — saves everyone time and money.
Long-Term Considerations
Think about what happens after the part is installed. Corrosion can expose previously smooth edges over time. If your installation is outdoors, use appropriate sealants and corrosion-resistant fasteners — stainless steel or zinc-plated hardware, for example. Check installed parts periodically, especially in high-moisture environments, to make sure edges have not deteriorated into sharp hazards.
Conclusion
Installing custom sheet metal parts safely comes down to wearing the right PPE, handling heavy panels wisely, using proper tools, and inspecting every part before it goes up. For a broader overview of workplace hazards and protocols beyond installation, review the essential safety protocols for a sheet metal fabrication shop.
Frequently Asked Questions
What personal protective equipment should I wear to prevent cuts from sharp sheet metal edges?
A lesson we learned early on our production floor in Vietnam is that even a perfectly finished bracket can still have micro-burrs that slice through bare skin in an instant power drill 2 .
How can I safely handle heavy or oversized custom metal panels during the installation process?
One of our U.S. clients once described how a single 4-foot stainless steel panel slipped from a solo carry attempt and gashed his forearm — an injury that proper lifting techniques 6 and a second pair of hands would have prevented entirely.
Which specific tools do I need to ensure my custom sheet metal parts are secured safely?
When we co-develop mounting brackets and enclosures with our engineering partners, we specify fastener types and torque values on the drawing — but those specs only matter if the installer uses the right tools to achieve proper workpiece stability.
Footnotes
1. Describes different ergonomic lifting aids and their role in reducing strain and improving safety. ↩︎
2. Provides essential safety guidelines and practices for working with powered hand drills. ↩︎
3. Details the ANSI/ISEA Z87.1 standard for occupational eye and face protection devices. ↩︎
4. Explains the ASTM F2413 standard for protective footwear, including impact and compression resistance. ↩︎
5. Explains ANSI/ISEA 105-2016 cut levels and testing for cut-resistant gloves. ↩︎
6. Offers guidelines and principles for safe manual material handling and lifting to prevent injuries. ↩︎
7. Defines deburring tools and their importance in removing sharp edges for safety and quality. ↩︎
8. Explains the function and proper use of a pop rivet gun for secure fastening. ↩︎
9. Explains what a CMM is and its role in precise dimensional measurement and quality control. ↩︎