
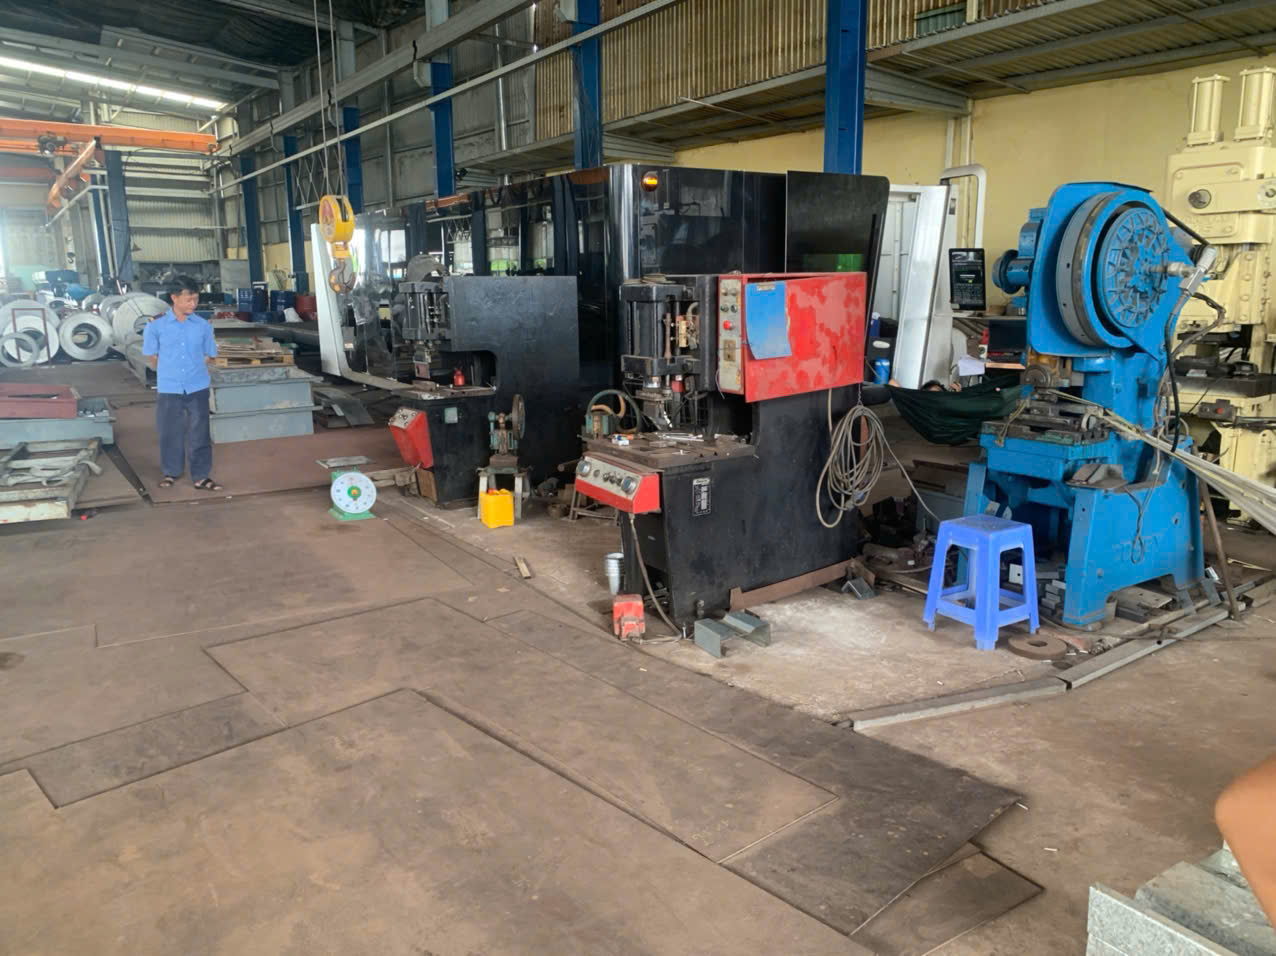
Technical documents for custom stamping parts decide whether a project runs smoothly or fails RoHS declaration 1. On our sourcing projects, incomplete files cause most quoting delays, tooling errors, and costly rework.
Customers need a dimensioned 2D drawing, a 3D CAD model (STEP or IGES), exact material specifications, tolerance and GD&T callouts, quantity and finish requirements, plus quality documents such as material certifications, FAI or PPAP expectations, and packaging instructions for custom stamping parts.
Let me break each document down. I will explain what to prepare, why suppliers need it, and how a complete package protects your budget and your launch date.
What drawings and specifications should I prepare before requesting a stamping quote?
A buyer once sent our team a single photo of a bracket and asked for pricing. We spent two weeks recreating drawings before we could even approach a stamping house in Vietnam.
Prepare a dimensioned 2D drawing in PDF or DWG with tolerances, revision level, and critical features, plus a 3D CAD model in STEP or IGES format. Add material grade, thickness, quantity, finish, and delivery schedule to complete your stamping RFQ package.
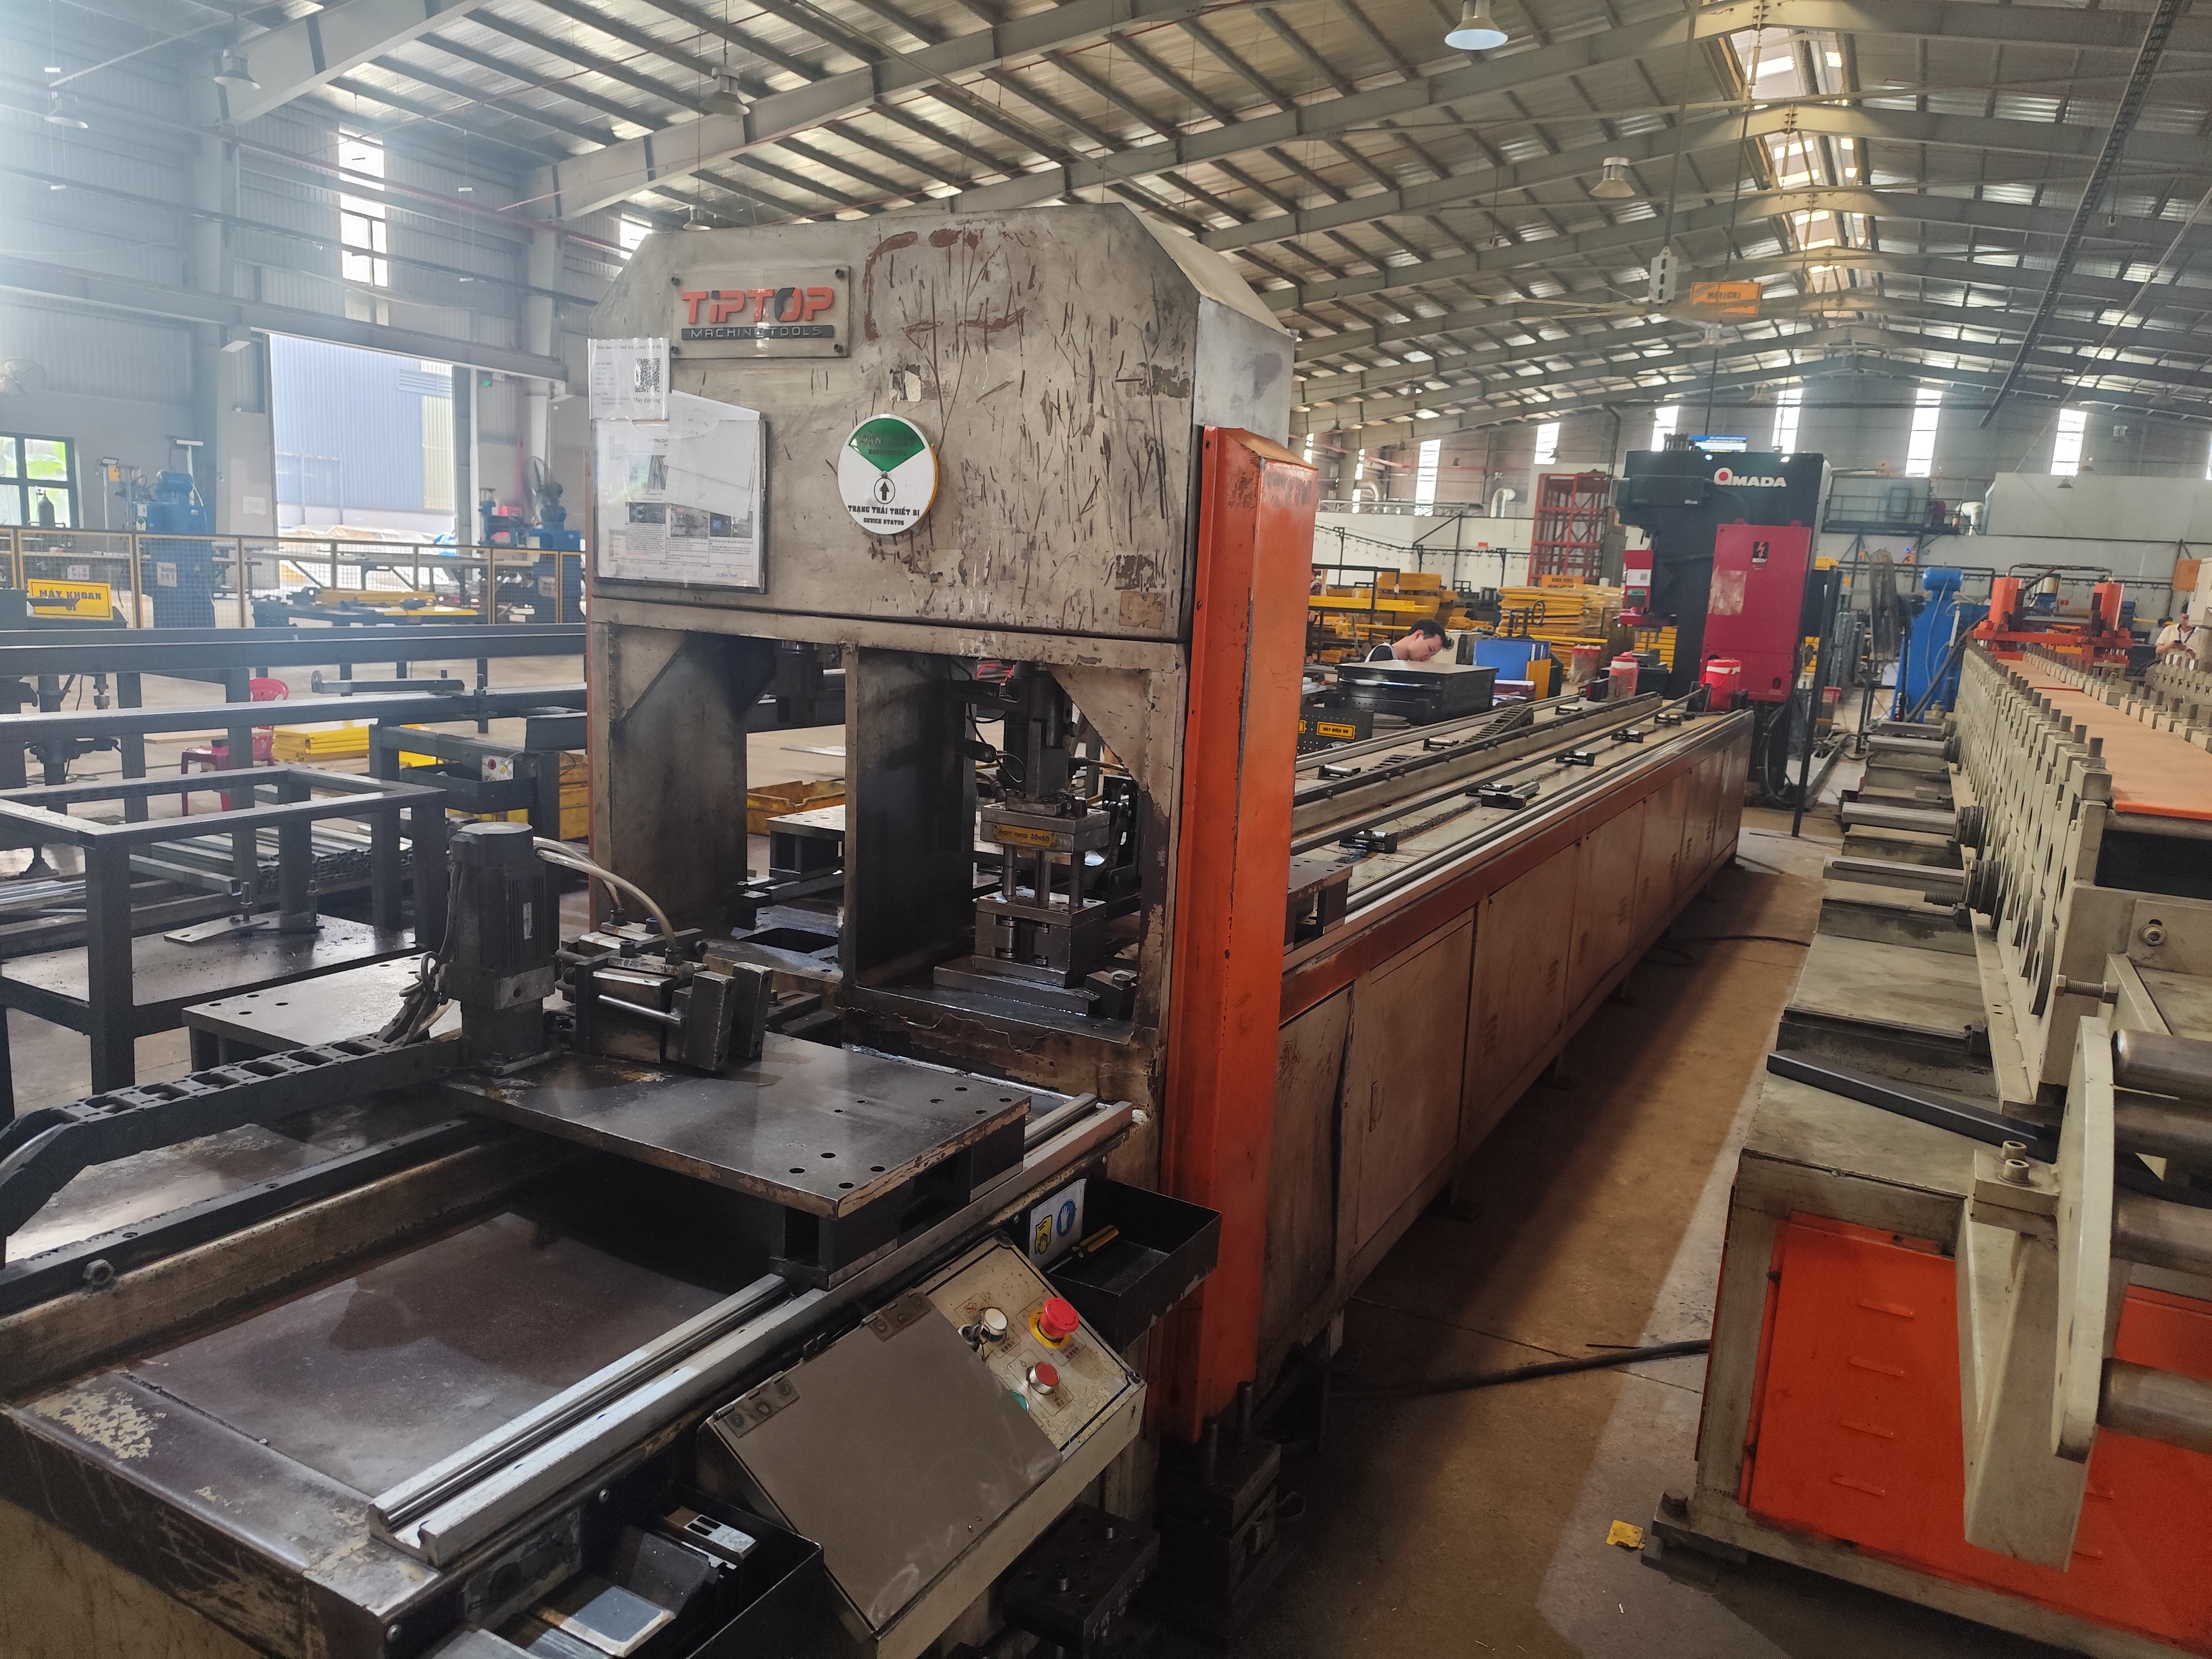
The drawing and CAD model 2 are the foundation of everything. Tooling design, formability analysis, cost calculation, and inspection planning all start here. When one of these files is missing or outdated, the quote you receive is a guess, not a commitment.
The core RFQ document set
Here is the minimum package we ask buyers to assemble before we approach any stamping supplier:
| Document | Format | Why the supplier needs it |
|---|---|---|
| 2D drawing | PDF, DWG, DXF | Defines dimensions, tolerances, and critical features |
| 3D CAD model | STEP, IGES, Parasolid | Enables tool design and formability simulation |
| Revision level | Noted on drawing | Prevents quoting an outdated design |
| Quantity forecast | Email or RFQ form | Determines tooling strategy and unit price |
| Material callout | On drawing or spec sheet | Fixes grade, thickness, and temper |
| Finish requirement | On drawing or note | Covers plating, coating, and deburring |
Details buyers often forget
Our engineers see the same gaps again and again. Units are missing, so nobody knows if the print is metric or imperial. Burr direction is not specified, so the burr ends up on the cosmetic face. Grain direction is ignored, so bends crack during forming. Bend radii are drawn tighter than the material allows.
A simple bracket with two punched holes may only need a clean drawing and a STEP file. But even then, note which side is the show face and where burrs are acceptable. Also state your prototype quantity, first order quantity, and annual usage. Volume drives whether the supplier quotes soft tooling or hardened production tooling, and the price difference is significant.
If you are transferring an existing part from another supplier, include photos or physical samples. They resolve questions the drawing cannot answer.
Which material certifications do I need to submit for my custom stamping project?
During a supplier audit in Vietnam last year, we rejected a batch of coil stock because the mill certificate did not match the drawing callout. That single check saved the client an entire production run.
Submit or request material mill certificates showing grade, thickness, temper, and chemical composition, plus a Certificate of Conformance for each lot. Automotive, medical, and aerospace projects also require traceability records, RoHS and REACH declarations, and sometimes conflict minerals documentation.
Material documentation works in two directions. You define what you need, and the supplier proves what was used. Your job as the buyer is to state the requirement clearly at the RFQ stage, not after the parts ship.
What a material callout must include
Never write just "steel" or "stainless" on a drawing. Forming behavior, springback, and final part strength all depend on the exact specification. A complete callout includes:
- The exact grade, such as SPCC, 304 stainless, or 5052 aluminum.
- The thickness or gauge with tolerance.
- The temper or condition, such as half-hard or annealed.
- Any approved substitutes, if you allow them.
- The applicable standard, such as ASTM, JIS, or EN.
Certifications by industry
Different end markets carry very different documentation burdens. This table reflects what we typically manage across our export programs to the United States and Europe:
| Industry | Typical material documents | Traceability level |
|---|---|---|
| General industrial | Mill cert, CofC | Lot-level, on request |
| Automotive | Mill cert, IMDS-style data, PPAP records | Full lot traceability |
| Medical | Mill cert, biocompatibility evidence if needed | Full traceability, audit-ready |
| Electronics | Mill cert, RoHS, REACH declarations | Lot-level |
| Construction hardware | Mill cert, coating certs | Lot-level |
State your compliance needs at quoting, not at shipment. We have seen U.S. buyers discover a missing RoHS declaration 3 at customs clearance. Fixing paperwork after production means retesting, delays, and sometimes scrapped inventory. Providing or requesting these certificates upfront costs nothing and prevents all of that.
If your application involves regulatory audits, tell the supplier. Audit-ready record keeping must be planned before the first coil is cut.
How detailed should my tolerance and GD&T documentation be for accurate manufacturing?
One trade-off I weigh on almost every stamping project is tolerance tightness versus cost. Tight tolerances everywhere please nobody: the supplier over-quotes, and inspection time balloons for features that never mattered.
Apply tight tolerances and GD&T callouts only to critical features such as hole positions, mating surfaces, and bend angles. Use a general tolerance block for everything else, mark critical dimensions clearly, and specify datums, units, and the drawing standard used.
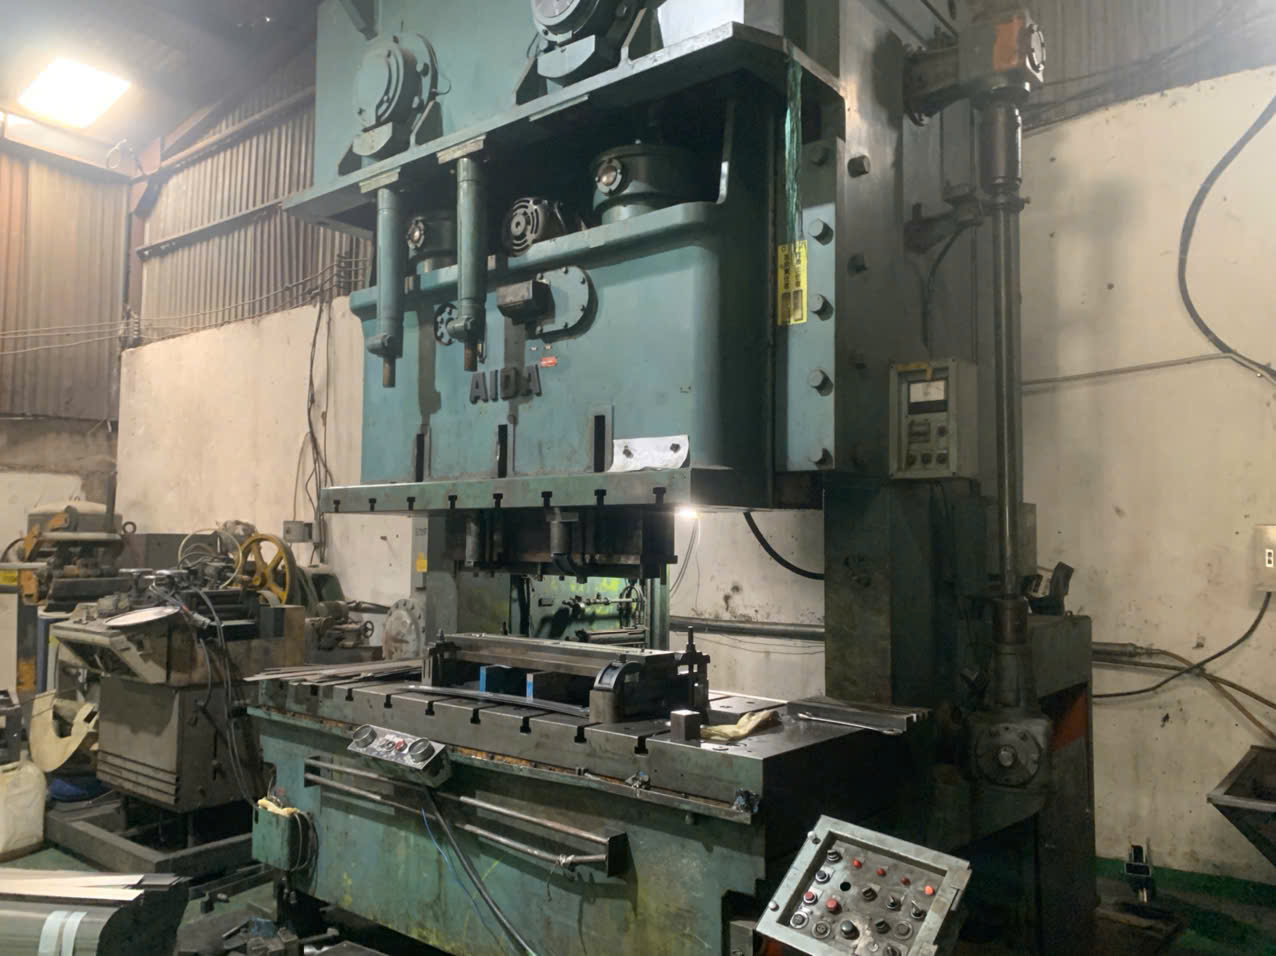
Good tolerance documentation tells the supplier what is critical and what is flexible. That distinction drives tooling design, process control, and price. A drawing that treats every dimension as critical forces the supplier to price for the worst case.
A practical tolerance hierarchy
We coach our clients to sort dimensions into three tiers before releasing a drawing:
| Tier | Examples | Typical approach |
|---|---|---|
| Critical | Hole positions for mating fasteners, datum surfaces, bend angles affecting assembly | Individual tolerance plus GD&T, marked as critical characteristics |
| Functional | Flange lengths, slot widths, edge distances | Standard stamping tolerances, checked per control plan |
| Cosmetic or loose | Overall blank size, non-mating edges | General tolerance block only |
What realistic stamping tolerances look like
Stamping is not machining. Punched hole diameters hold tighter tolerances than bend-related dimensions, because bending introduces springback variation 4. As a rough guide, dimensions across a bend need more allowance than dimensions on a flat blank. If your print demands machining-level precision on a formed feature, expect the supplier to push back, quote secondary operations, or decline.
GD&T essentials for stamped parts
Define datums that match how the part is actually fixtured and used. Use position tolerance 5 for hole patterns that must align with mating parts. Use profile tolerance for formed contours where a simple linear dimension cannot capture the shape. And always state the standard, such as ASME Y14.5 6, so there is no ambiguity in interpretation.
Finally, invite DFM feedback before freezing the drawing. On our co-development projects, a short drawing review between your engineers and the stamping house catches unbuildable radii and conflicting tolerances before tooling money is spent.
What additional files can I provide to speed up supplier communication and reduce errors?
A purchasing manager in the U.S. once told me his biggest frustration was suppliers who overlooked drawing notes and shipped nonconforming parts. His fix, and ours, was a richer document package that leaves nothing to interpretation.
Provide an assembly drawing, end-use application notes, packaging and labeling specifications, inspection report format, PPAP or FAI requirements, tool ownership terms, and a documented DFM review record. These files prevent misinterpretation, speed up quoting, and reduce first-run errors.

The core drawing package gets you a quote. The supporting files get you production-ready parts on the first run. Here is what we add on top of the basics for programs we manage.
Application context
Tell the supplier how the part is used. Is the bracket load-bearing? Does the clip need spring tension to grip a panel? Is there outdoor exposure or electrical contact? Engineers who understand the end use can flag a wrong material choice or suggest a better coating before tooling starts. A drawing shows geometry; context explains intent.
Quality and approval documents
Define the approval path in writing. For general industrial parts, a first-article inspection report against your critical dimensions is usually enough. For automotive programs, specify the PPAP level 7 upfront. A Level 3 PPAP package can include design records, DFMEA, a control plan, measurement system analysis, dimensional results, material and performance test results, PFMEA, and a signed Part Submission Warrant. That is a heavy lift, so the supplier must know before quoting, because the documentation effort is real cost.
Packaging, logistics, and commercial terms
Packaging is a technical document, not an afterthought. Stamped parts with sharp edges scratch each other in bulk bins. Specify layer separators, quantity per box, labeling content, and lot traceability marking. Add your target lead time, milestone dates, and the escalation path for deviations. On our door-to-door logistics programs, a clear packaging spec has prevented more damage claims than any other single document.
A note on balance
You do not need every file for a rough budgetary quote. A STEP file, material callout, quantity, and a toleranced print will get you a ballpark number fast. But before you commit to tooling, complete the full package. The minimum set starts the conversation; the full set protects the launch.
Conclusion
Incomplete documents cause delayed quotes, wrong parts, and blown launch dates. A complete package of drawings, CAD, material specs, tolerances, and quality files prevents all three. Prepare it once, and every custom stamping project runs faster.
Frequently Asked Questions
What drawings and specifications should I prepare before requesting a stamping quote?
A buyer once sent our team a single photo of a bracket and asked for pricing. We spent two weeks recreating drawings before we could even approach a stamping house in Vietnam.
Which material certifications do I need to submit for my custom stamping project?
During a supplier audit in Vietnam last year, we rejected a batch of coil stock because the mill certificate did not match the drawing callout. That single check saved the client an entire production run.
How detailed should my tolerance and GD&T documentation be for accurate manufacturing?
One trade-off I weigh on almost every stamping project is tolerance tightness versus cost. Tight tolerances everywhere please nobody: the supplier over-quotes, and inspection time balloons for features that never mattered.
Footnotes
1. RoHS is an EU directive restricting hazardous substances in manufactured products. ↩︎
2. ISO maintains neutral CAD exchange standards like STEP referenced for tooling design. ↩︎
3. Official EU source explaining RoHS compliance requirements mentioned in the article. ↩︎
4. Background on springback explains why bend tolerances differ from flat dimensions. ↩︎
5. Explains GD&T concepts like position tolerance used to define critical features. ↩︎
6. ASME Y14.5 is the recognized GD&T standard governing dimensioning and tolerancing practices. ↩︎
7. PPAP is a standardized automotive industry process for approving production parts. ↩︎