Every week, our team reviews returned custom sheet metal parts that failed during installation — not because of bad fabrication, but because the installer used the wrong tools or skipped basic safety steps.
DIY custom sheet metal installation requires cutting tools like aviation snips and power shears, forming tools such as hand seamers and bending bars, fastening tools including cordless drills with cobalt bits, and measuring instruments like speed squares and magnetic tape measures, along with essential Personal Protective Equipment including safety glasses, heavy-duty gloves, and ear protection.
This guide breaks down every tool category and safety measure you need. Whether you are working with a stainless steel sheet or mild steel panels, the right setup prevents injuries and ensures a professional result.
What essential tools do I need to safely handle and install my custom sheet metal?
A lesson we learned early in our supply chain operations 1: even the best-fabricated custom bracket fails if the installer lacks the right metal fabrication tools to finish the job on-site.
You need four core tool categories — cutting tools (aviation snips, double-cut shears, power shears), forming tools (hand seamers, flangers, bending bars, rubber mallets), fastening tools (cordless drill, cobalt drill bits, rivet gun, screw gun), and measuring tools (magnetic tape measure, speed squares, chalk lines, water-soluble pens).

Let me walk you through each category in detail. The goal is to help you understand not just what to buy, but why each tool matters and when you can skip one.
Cutting Tools — Your Most-Used Category
Cutting sheet metal is the single most frequent task during installation. You will reach for a cutting tool more than anything else.
Aviation snips 2 are the backbone. They come in three color-coded types:
| Snip Color | Cut Direction | Best Use |
|---|---|---|
| Red | Straight cuts | General trimming, straight edges |
| Green | Left-curving cuts | Left-hand curves, circular openings |
| Yellow | Right-curving cuts | Right-hand curves, arcs |
For longer, straight runs, double-cut shears 3 save time and reduce hand fatigue. If you plan to cut many panels, a power shear like the Malco Turbo Shear that attaches to a cordless drill is a game changer. Cordless nibblers, such as the Milwaukee M12, handle specialty cuts — tight curves and notches — with ease.
Duckbill snips also deserve a spot in your kit. They produce clean, long cuts across the flat of a panel without distorting the metal.
Forming and Bending Tools
After cutting sheet metal, you need to shape it. Bending sheet metal 4 requires control and the right leverage.
| Tool | Function | Typical Sizes |
|---|---|---|
| Hand Seamers / Tongs | Seam mechanical panels, close standing seams | 3" and 6" jaw width |
| Flangers | Create edge details and small bends | Standard single size |
| Bending Bars / Edge Folders | Fold edges for hems and returns | 12", 18", 24" |
| Rubber Mallet | Seaming and hemming without surface damage | 16 oz, 24 oz |
| Sheet Metal Hammer (Tinner's) | Shape metal, close gaps, flatten seams | 12 oz, 16 oz |
I have seen installers try to bend metal forming techniques with pliers and a vise. It works in a pinch, but the results are inconsistent. Dedicated forming tools give you repeatable, clean bends every time.
Fastening and Drilling Tools
A high-quality cordless drill is essential. Choose one with variable speed and adjustable torque. You need torque control to prevent overtightening screws, which can strip holes or crack panels.
Drill bits matter enormously. Use HSS (High-Speed Steel) or cobalt bits 5 designed for metal. Common sizes include 0.125", 0.1875", 0.25", and 0.375". Always use a center punch first. It creates a small indentation that keeps the drill bit from wandering across the surface.
A rivet gun paired with 1/8" drill bits handles blind rivets for permanent joints. For heavy-duty tasks, keep an impact driver and a reciprocating saw nearby.
Measuring, Marking, and Alignment Tools
Precision prevents waste. When we co-develop custom parts with our U.S. clients, we stress tolerances down to thousandths of an inch. On-site installation demands similar care.
A magnetic tape measure (like the FatMax or Lufkin Nite Eye) lets you hook onto a metal edge hands-free. Speed squares — both small and large — verify angles quickly. A chalk line ensures your deck surfaces are level before you fasten anything. Use a water-soluble pen for marking on finished surfaces. Standard markers and scoring tools can permanently damage coatings.
A 5–6 foot metal straight edge is far superior to a wood one for long, accurate markings. Pair it with C clamps and duckbill vise grips to hold your workpiece steady.
How can I protect myself from sharp edges and injuries during the installation process?
During a recent supplier audit at a fabrication shop in Vietnam, I watched a technician pick up a freshly sheared stainless steel sheet without gloves — the edge sliced his palm before he even realized it.
Protect yourself by wearing cut-resistant work gloves, safety glasses or goggles, ear protection when using power tools, and sturdy long-sleeved clothing; always deburr or file every cut edge immediately after cutting, and never handle freshly cut sheet metal bare-handed, as edges can be razor-sharp.
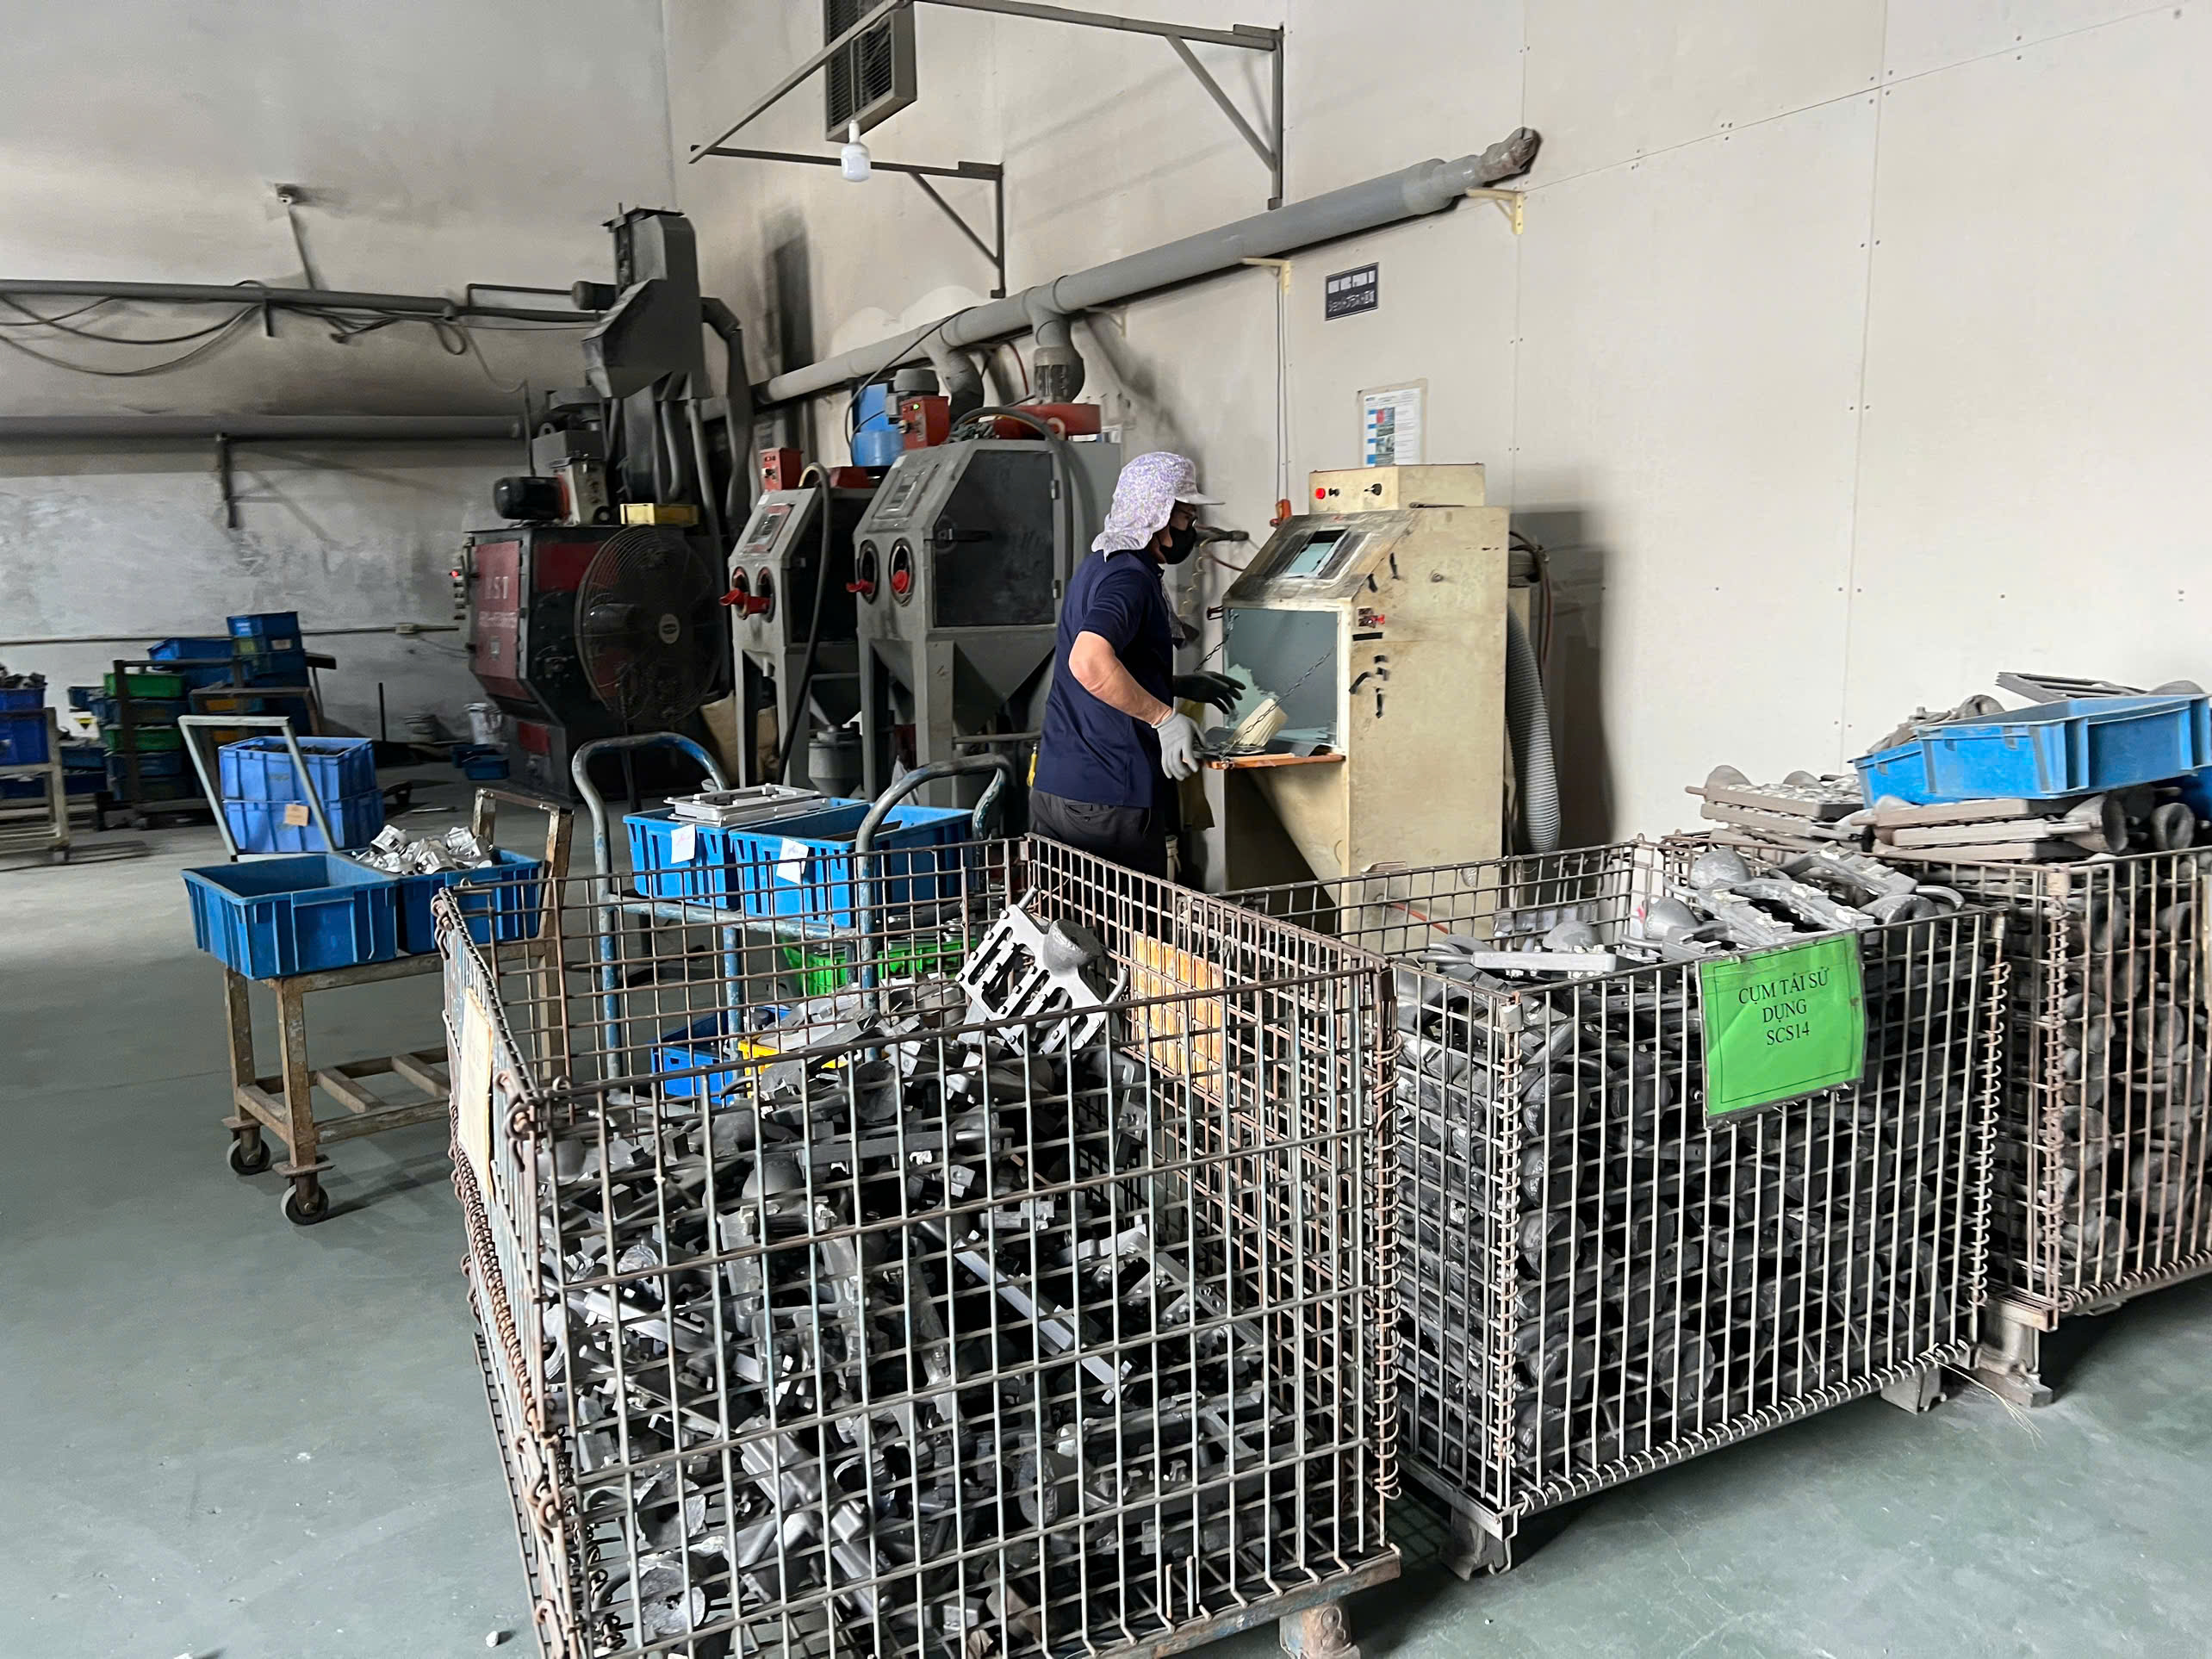
Sharp edges are the number one hazard in sheet metal work. But they are also the most preventable. Here is how to address every major risk.
Personal Protective Equipment Checklist
Your PPE is non-negotiable. Do not skip any item, even for quick tasks.
| PPE Item | Protects Against | Notes |
|---|---|---|
| Cut-resistant gloves | Lacerations from sharp edges | Choose gloves with good grip; leather or Kevlar-lined |
| Safety glasses / goggles | Metal shavings, sparks, debris | Wrap-around styles offer side protection |
| Ear protection (plugs or muffs) | Noise from power tools, hammering | Essential when using drills, nibblers, or grinders |
| Long sleeves and pants | Scratches, cuts, flying debris | Sturdy fabric — avoid loose or baggy clothing |
| Steel-toed boots | Dropped panels, heavy components | Especially important for large sheets |
Deburring Edges — The Step Most DIYers Skip
Every cut you make on sheet metal leaves a burr. That burr is a tiny, razor-sharp ridge of metal along the cut line. Deburring edges 6 is not optional. Use a deburring tool, a fine metal file, or even a piece of scrap leather to knock down the sharp edge immediately after each cut. For a deeper look at techniques and best practices, see our guide on how to manage sharp edges and burrs in sheet metal fabrication safely.
From our quality control process 7, we know that parts shipped with proper deburring have far fewer handling injuries during installation. We include edge finishing as a standard step in our inspection protocol. If you are doing the work yourself, adopt the same habit.
Handling Large or Awkward Panels
Large sheets flex and twist. A panel that shifts suddenly can slice fingers or forearms. Always use workpiece clamping before you cut or drill. C clamps and vise grips hold the metal steady. If the sheet is too large to manage alone, get a helper. Ergonomic practices matter — use a roller table or saw horses to support the panel at waist height. Bending over to work on metal on the ground increases the risk of back strain and lost control.
Welding Safety Considerations
If your installation involves any welding, the safety requirements expand significantly. Welding safety demands a proper welding helmet with auto-darkening lens, fire-resistant gloves, and a leather apron. Welding Safety Considerations 8 Ensure adequate ventilation. Fumes from welding stainless steel sheet or galvanized metal are toxic. Work outdoors or use a fume extraction system.
Even if you are not welding, be aware that grinding and cutting can produce sparks. Keep a fire extinguisher within arm's reach.
What steps should I take to ensure my measurements are accurate for a professional fit?
One trade-off I weigh on every custom project is whether to dimension from the CAD file or from the physical structure on-site — and the honest answer is you need both.
Ensure accurate measurements by using a magnetic tape measure for linear dimensions, speed squares for angle verification, a 5–6 foot metal straight edge for long runs, chalk lines for alignment on large surfaces, and always follow the "measure twice, cut once" rule while marking with water-soluble pens to protect finished surfaces.

Measurement errors are the most expensive mistakes in custom sheet metal installation. A panel cut 1/4 inch too short cannot be stretched. A bend placed in the wrong spot ruins the entire piece. Here is how to get it right.
Why Metal Straight Edges Beat Wood
Some installers use a wooden board as a straight edge. I have seen this cause problems. Wood warps over time. It absorbs moisture. A 5–6 foot metal straight edge stays true. It does not flex or bow. For long markings on panels, metal is the only reliable choice.
Pair the straight edge with a water-soluble pen. Standard markers leave permanent lines on coated surfaces. Chalk lines work well on large deck surfaces, but clean the chalk dust off the metal promptly to avoid staining.
The "Measure Twice, Cut Once" Process
This old saying exists for a reason. Here is a step-by-step approach:
- Take the first measurement. Hook your magnetic tape measure to the edge. Read the dimension.
- Verify with a second measurement. Measure again from the opposite end or use a different reference point.
- Mark with a water-soluble pen. Place a small, clear mark at the cut line.
- Check the angle. Use a speed square or adjustable square to confirm that your mark is square to the edge.
- Double-check the fit. Hold the panel in position before cutting. Does it align with adjacent pieces?
Understanding Sheet Metal Gauge and Its Impact on Measurement
The sheet metal gauge of your material affects how it behaves during cutting and bending. Thicker gauges (lower numbers) are stiffer and less forgiving of small errors. Thinner gauges (higher numbers) are more flexible but easier to distort. For a more detailed comparison, see our article on how thin and thick plate processing differ in sheet metal fabrication.
| Gauge Number | Approximate Thickness (inches) | Common Material | Flexibility |
|---|---|---|---|
| 16 | 0.0598 | Mild steel | Rigid — less room for error |
| 20 | 0.0359 | Mild steel, aluminum | Moderate |
| 24 | 0.0239 | Galvanized steel, aluminum | Flexible — easier to adjust |
| 26 | 0.0179 | Galvanized steel | Very flexible |
Thicker material requires more force to bend, so your bend radius must be larger to prevent cracking. If you try to force a tight bend on 16-gauge steel, you risk fracturing the metal at the bend line. Our engineering team always specifies minimum bend radii on drawings for this reason.
Leveraging Digital Tools for Precision
CAD design tools and digital measuring instruments can dramatically improve accuracy. Even a simple free sketching app on a tablet helps you plan relief cuts and notch placements before you touch the metal. If you are working from a fabricator's drawings, print them at 1:1 scale and use them as templates. Lay the template directly on the panel and transfer your marks.
For complex installations — such as custom mounting brackets or protective housings — physical templates made from cardboard or thin plywood help verify fitment before you commit to cutting expensive material.
How do I maintain a safe environment when working with heavy or sharp metal components?
A buyer interaction that stuck with me: a purchasing manager in Ohio told us his installer dropped a 4×8 foot panel off a scaffold. It dented the panel, cracked the flashing below, and nearly landed on someone's foot.
Maintain a safe environment by keeping your workspace clean and organized, securing all panels with clamps before working, using mechanical lifting aids or a helper for large sheets, storing sharp scraps in a designated container immediately, and ensuring adequate ventilation when grinding, cutting, or using any chemical treatments.
Workspace safety is not glamorous, but it prevents the most serious injuries. Heavy panels, sharp offcuts, and power tools in a cluttered space are a recipe for disaster.
Organizing Your Workspace
Before you start, set up your area. Clear the floor. Place tools on a workbench or tool belt — never on the ground where you might step on them. Designate a scrap bin for cut-offs. Metal scraps on the floor are a trip and cut hazard.
Good lighting matters. Shadows hide measurement marks and sharp edges. Use portable LED work lights to illuminate your cutting and fastening areas.
Workpiece Clamping and Panel Support
Never cut or drill a panel that is not secured. Workpiece clamping is a fundamental safety practice. Use C clamps, spring clamps, or vise grips to lock the metal to your work surface. For large panels, a pair of saw horses with a plywood top creates a stable platform.
When using a press brake or hand brake for bending sheet metal, ensure the material is fully seated against the backstop before you apply force. A slipped workpiece can send the panel flying or pinch your fingers.
Handling Heavy Components
Custom fabricated parts — like the mounting brackets and protective housings we produce for industrial clients — can be surprisingly heavy. A single large bracket may weigh 15–30 pounds. A full sheet of 16-gauge steel at 4×8 feet weighs over 100 pounds.
Here is a quick reference for safe handling:
| Panel / Component | Approximate Weight | Recommended Handling |
|---|---|---|
| 4×8 ft, 26-gauge galvanized | ~34 lbs | One person with gloves |
| 4×8 ft, 24-gauge galvanized | ~45 lbs | One person with care |
| 4×8 ft, 20-gauge steel | ~67 lbs | Two people recommended |
| 4×8 ft, 16-gauge steel | ~100+ lbs | Two people or mechanical aid required |
Use roller tables, panel carts, or a simple hand truck to move heavy sheets. Lift with your legs, not your back. If you are working at height, secure panels with ropes or temporary clamps before releasing your grip. For additional guidance on safety precautions when installing custom sheet metal parts, review our dedicated safety resource.
Ventilation and Fume Control
Cutting and grinding metal creates fine particles and sometimes toxic fumes — especially with galvanized or coated metals. Work outdoors when possible. In enclosed spaces, use a fan or portable fume extractor. If you are using chemical treatments (primers, cleaners, rust inhibitors), read the safety data sheet 9 and ventilate accordingly.
End-of-Day Cleanup
At the end of each work session, sweep the area. Collect all metal shavings with a magnet or magnetic sweeper. Dispose of sharp scraps safely. Wipe down tools and store them dry to prevent rust. A disciplined cleanup routine protects you and anyone else who enters the workspace.
Conclusion
Custom sheet metal installation demands the right tools, careful measurements, and consistent safety habits. Invest in quality cutting, forming, fastening, and measuring tools. Wear your Personal Protective Equipment 10 every time. Keep your workspace clean and organized, and never rush.
Frequently Asked Questions
What essential tools do I need to safely handle and install my custom sheet metal?
A lesson we learned early in our supply chain operations 1 : even the best-fabricated custom bracket fails if the installer lacks the right metal fabrication tools to finish the job on-site.
How can I protect myself from sharp edges and injuries during the installation process?
During a recent supplier audit at a fabrication shop in Vietnam, I watched a technician pick up a freshly sheared stainless steel sheet without gloves — the edge sliced his palm before he even realized it.
What steps should I take to ensure my measurements are accurate for a professional fit?
One trade-off I weigh on every custom project is whether to dimension from the CAD file or from the physical structure on-site — and the honest answer is you need both.
Footnotes
1. Defines supply chain management, a critical business process. ↩︎
2. Explains what aviation snips are, their types, and their primary uses in sheet metal work. ↩︎
3. Describes the features and benefits of double-cut shears for metal cutting. ↩︎
4. Explains the fundamental process and various methods of bending sheet metal. ↩︎
5. Describes what cobalt drill bits are, their composition, and their advantages for drilling hard metals. ↩︎
6. Explains the importance of deburring metal edges and various techniques for removal. ↩︎
7. Defines quality control in manufacturing, its importance, and key components. ↩︎
8. Replaced HTTP 404 with an official OSHA regulation page on general welding requirements, maintaining authority. ↩︎
9. Explains the purpose and standardized format of Safety Data Sheets for hazardous chemicals. ↩︎
10. Provides an overview of PPE, its importance, and general requirements for workplace safety. ↩︎