

Worn or aged stamping parts almost sank one of our bracket programs last year. Burrs crept up, tolerances drifted, and scrap piled fast. Our team learned exactly when replacement stops being optional.
Replace worn or aged stamping parts immediately when they are chipped, cracked, producing burrs above 15% of material thickness, or damaging adjacent tooling. If wear is measurable but parts still conform, schedule replacement at the next planned maintenance window instead.
That short answer hides a lot of judgment calls. Let me walk you through the signs, the thresholds, and the repair-versus-replace logic we actually use on real stamping projects.
How can I tell if my stamping dies are too worn to keep using?
During a supplier audit in Vietnam, I once picked up a freshly stamped clip and felt the burr before I saw it. That single touch told me the die was overdue.
Stamping dies are too worn to keep using when burr height exceeds 10–15% of material thickness, stamped parts drift out of tolerance, edges look rough or rounded, press tonnage rises, or the die shows chips, cracks, or visible edge deformation.

Wear rarely announces itself all at once. It creeps in stroke by stroke. So the smart approach is to know the specific indicators and check them on a schedule, not just when parts start failing inspection.
The main wear indicators
In our process control checklists 1, we track a handful of signals. Each one points to a different problem inside the die.
| Indicator | What it looks like | What it means |
|---|---|---|
| Burr growth | Sharp, raised edges on cut features | Cutting clearance has opened up from edge wear |
| Dimensional drift | Holes or bends slowly moving off nominal | Punch or die elements losing their geometry |
| Rough or torn edges | Fractured, uneven shear zones | Dull cutting edges tearing instead of cutting |
| Surface defects | Galling, scoring, scratches on parts | Die surface wear or lubrication breakdown |
| Rising tonnage | Press working harder per stroke | Dull edges increasing cutting force |
| Chips or cracks | Visible damage on punch or die edges | Immediate failure risk — stop the run |
Burr height as your best early warning
Burr height is the most reliable single measurement. A common rule of thumb works like this: burrs under 10% of material thickness are acceptable, 10–15% is a warning zone, and anything over 15% is critical. When we run first-piece and last-piece inspections 2 for our U.S. clients, burr measurement sits right at the top of the checklist. It catches wear weeks before dimensional problems appear.
Do not ignore heat and sound
An experienced operator can often hear a dull die. The press sounds harsher. Temperature matters too. If die temperature 3 climbs roughly 40–50°F above ambient, friction or misalignment is likely at work. Both signals justify pulling the die for inspection even if parts still measure in tolerance.
What signs of aging should I look for in my custom stamping parts?
A purchasing manager we work with in the U.S. once returned a batch of mounting clips because the finish looked scratched. The die surface, not the material, was the real culprit.
Look for growing burrs, rough or torn edges, scratches and galling on part surfaces, inconsistent hole sizes, bend angles drifting off spec, and increasing part-to-part variation. These aging signs on custom stamping parts trace directly back to worn punches, dies, guides, or springs.

The stamped part is a mirror of the tool. Every defect on a bracket or clip tells you something specific about which tooling element is aging. Learning to read those clues saves enormous diagnostic time.
Reading the part to find the tool problem
When we inspect stamped brackets before shipment, we map each defect back to a likely tooling cause. Here is the simple translation table we use.
| Sign on the part | Likely aging component | Urgency |
|---|---|---|
| Burrs on punched holes | Worn punch or die button 4 edges | High if over 15% of thickness |
| Oversized or oval holes | Punch wear or punch-to-button misalignment | High |
| Scratches and galling | Worn die surfaces or failed lubrication | Medium |
| Bend angle springback drift | Worn forming radii or sagging springs | Medium |
| Uneven flange heights | Guide pin or bushing wear causing tilt | High |
| Random variation batch to batch | Loose retainers, general looseness | Medium to high |
Aging is not only about stroke counts
Two dies with identical hit counts can age very differently. Environmental factors matter. Humidity causes corrosion on unprotected die surfaces. Lubricant breakdown accelerates galling. Thermal cycling stresses tool steel 5 over time. On one program we manage from Singapore, a die stored poorly between runs corroded faster than a sister die that ran twice the volume. So we inspect condition, not just count strokes.
Cyclic fatigue hides below the surface
The scariest aging sign is the one you cannot see. Repeated loading creates micro-cracks inside punches long before visible failure. Watch for tiny stress cracks near cutting edges during every teardown. Catching fatigue early prevents a punch shattering mid-run and destroying the die button beneath it.
How do I decide between repairing or replacing my stamping tooling?
The trade-off I weigh most often on custom parts projects is simple: reconditioning can cost 40–60% less than new tooling, but only if the wear has not spread.
Regrind or repair when wear is limited to cutting edges and the tool structure is sound. Replace individual components when damage is contained to one station. Rebuild or redesign when failures repeat after maintenance, bores are worn beyond tolerance, or regrind limits are reached.
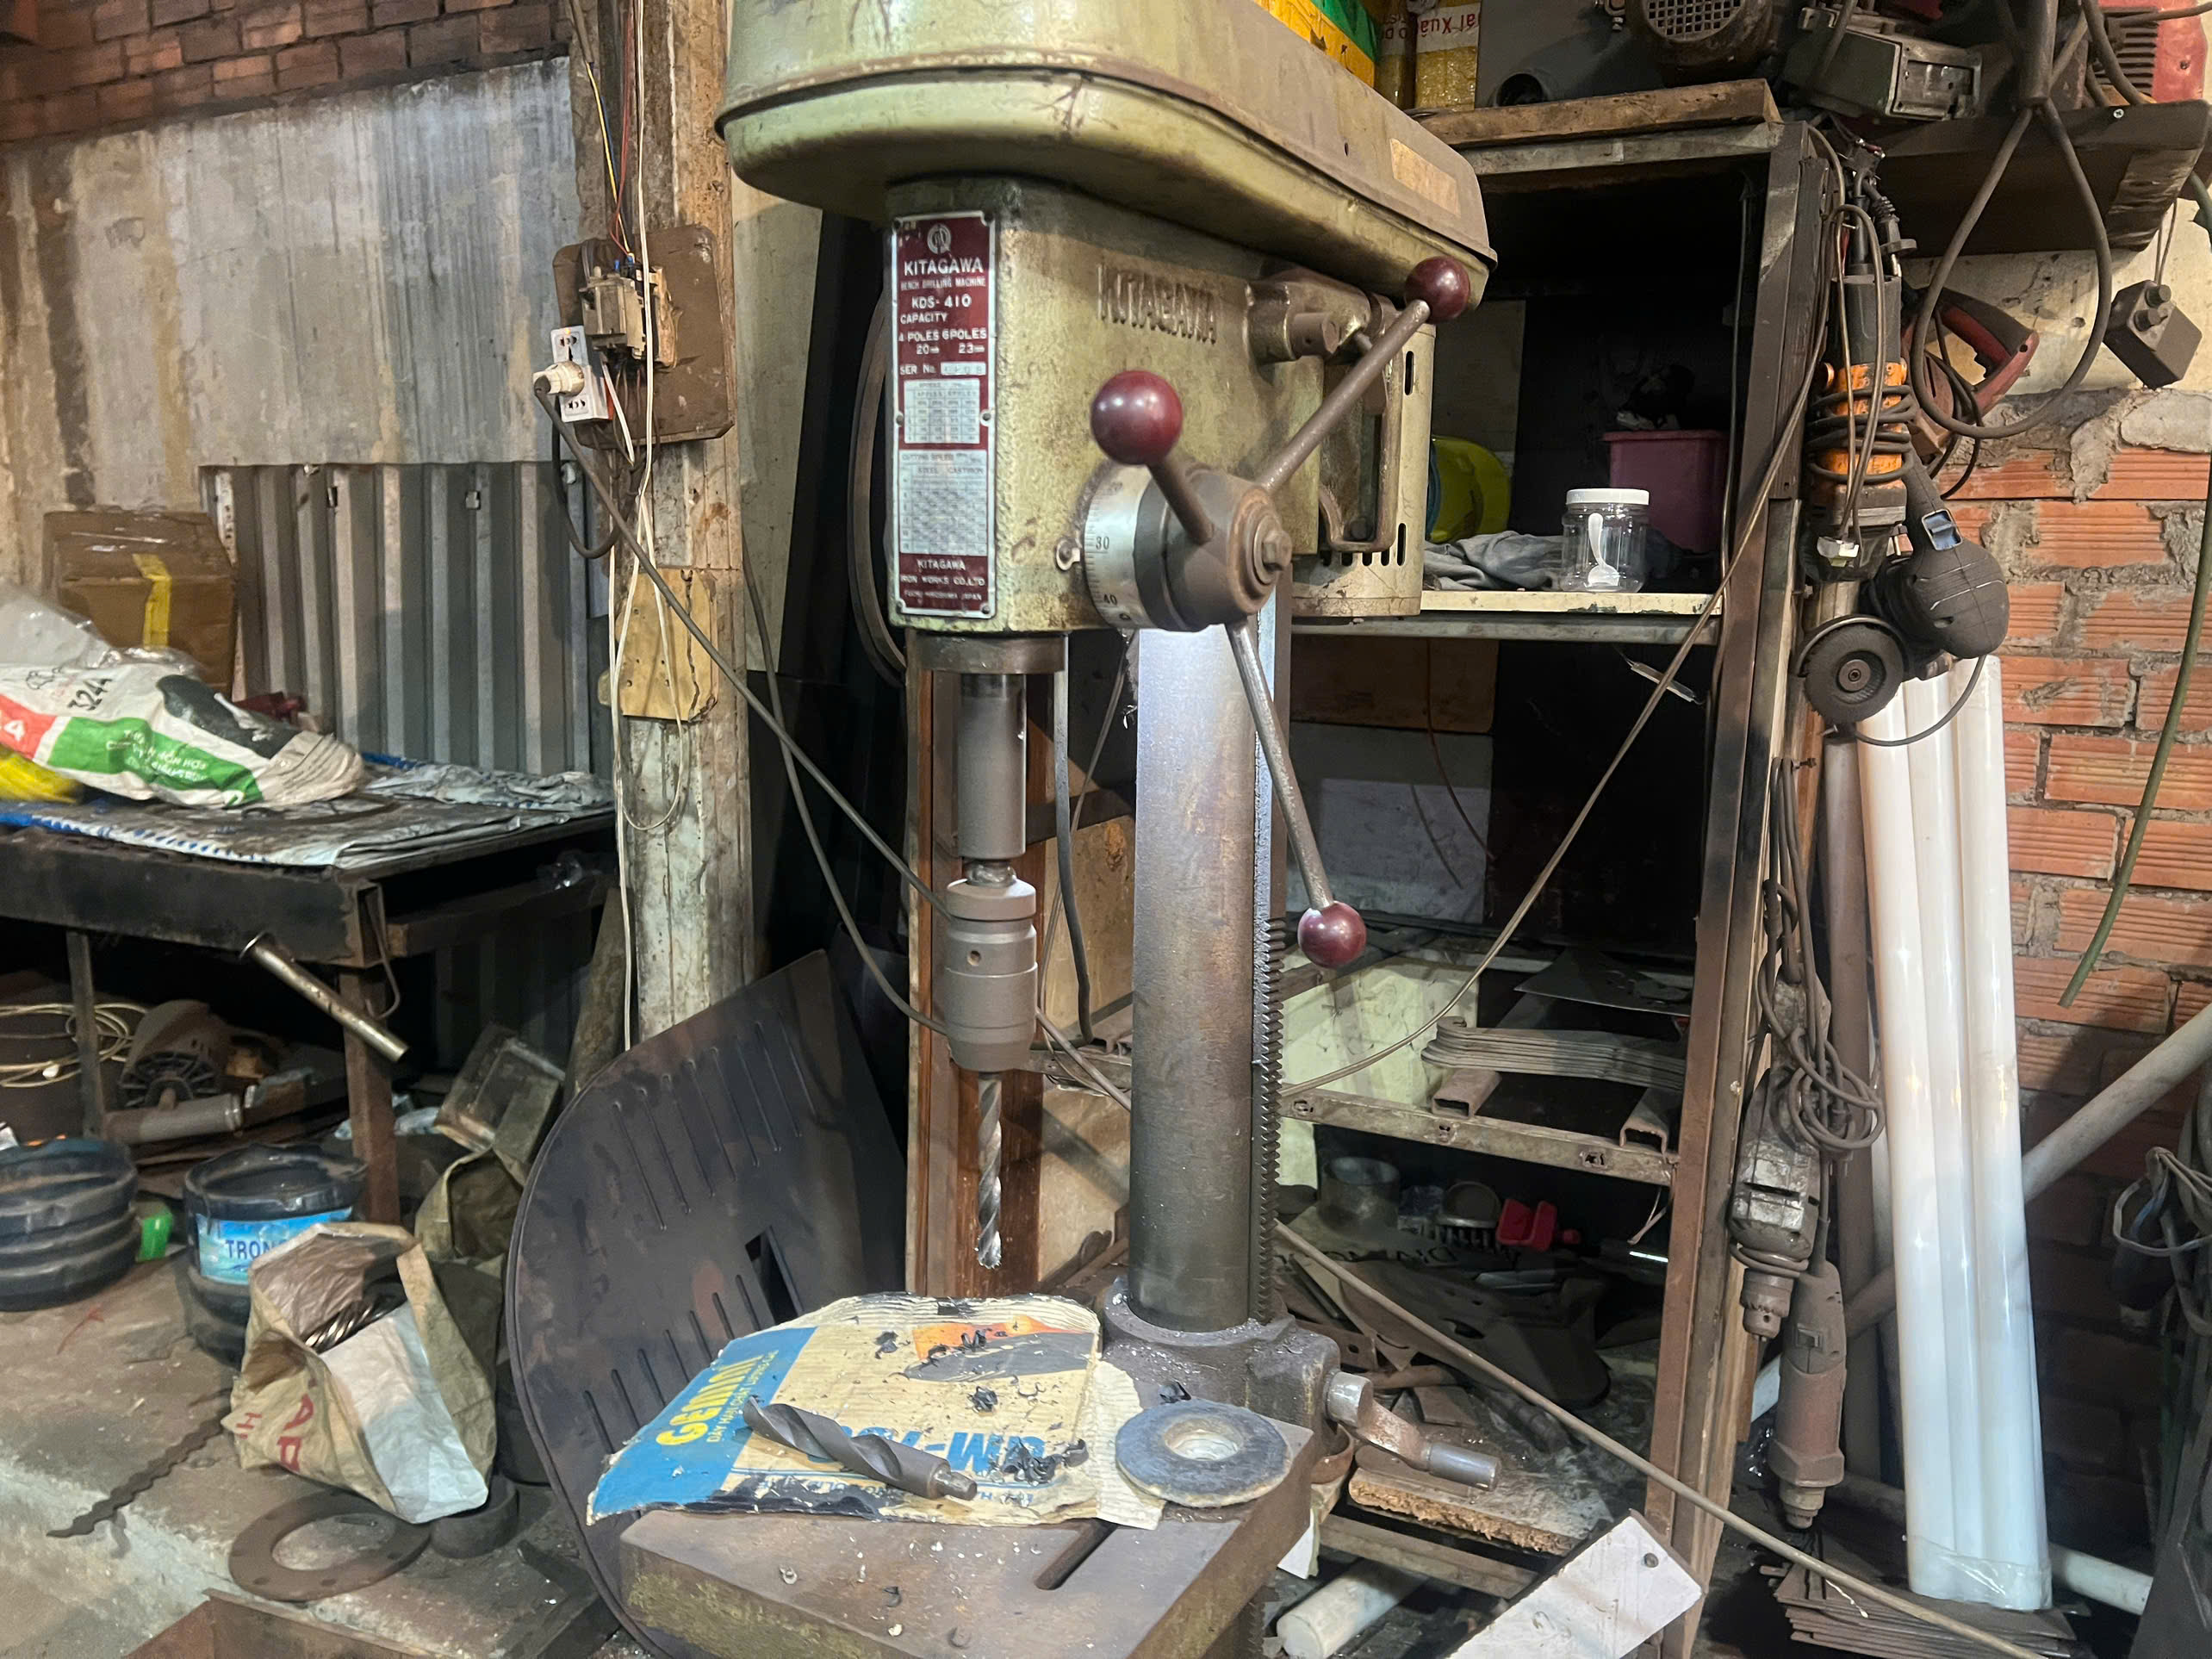
This is really a four-option decision, not a two-option one. Regrind, repair, replace a component, or rebuild the die. Picking the right lane depends on where the wear sits and whether it keeps coming back.
A practical decision ladder
- Regrind first. If the punch is simply dull and the structure is intact, resharpen it. For standard tool steels punching mild steel up to 3 mm, punches typically run 50,000–200,000 strokes before needing a regrind.
- Repair or recondition. If surface wear can be corrected economically and the die is otherwise stable, recondition it. The 40–60% cost saving versus new tooling is real money on custom programs.
- Replace the component. If one punch, spring, or insert is chipped or cracked but the damage is isolated, swap only that element. Do not rebuild what is not broken.
- Rebuild or redesign. If the same station fails repeatedly after verified maintenance, alignment keeps drifting, or a punch has lost roughly 20% of its length after 3–5 regrinds, escalate to a rebuild or a design fix.
When repair stops making sense
| Situation | Repair? | Why |
|---|---|---|
| Simple edge dulling, sound structure | Yes, regrind | Cheap, fast, restores full function |
| One cracked punch, rest of die healthy | No, replace that punch | Cracks propagate; regrinding will not fix them |
| Recurring failure at the same station | No, rebuild or redesign | The root cause is structural, not surface wear |
| Enlarged bores, worn retainers, multiple failures | No, full rebuild | Cumulative wear has compromised the die body |
Verify after every intervention
Whatever you choose, validate it. On our projects we require trial production and dimensional checks 6 after any regrind or repair before releasing the tool back to full-rate production. A repair that is not verified is just a guess. This step is also where PPAP-style documentation earns its keep, because it gives everyone a measured baseline to compare against next time.
What happens if I keep using stamping parts past their service life?
A hard lesson from early in my sourcing career: a client's supplier ran a chipped punch for two extra shifts to hit a delivery date. The punch destroyed the die button and cost three weeks.
Running stamping parts past their service life turns a cheap worn insert into cascading damage: destroyed die buttons, scrapped material, unplanned downtime, missed deliveries, and quality escapes reaching customers. The cost of delay almost always exceeds the cost of timely replacement.

The math here is brutal and one-directional. A worn punch might cost very little to replace. The failure chain it triggers can cost hundreds of times more. Let me break down how the damage escalates.
The cascade, step by step
First, the dull edge stops cutting cleanly. Burrs grow and edge quality drops. Second, cutting forces rise, which stresses the punch, the retainer, and the press itself. Third, the weakened punch chips or snaps. Fragments then score or crack the die button, which is usually far more expensive than the punch. Fourth, the die comes offline unplanned, right in the middle of a production run, when you can least afford it.
Then the costs spread beyond the pressroom. Scrap parts must be sorted, contained, and remade. Deliveries slip. If defective brackets or clips escape to a customer, you add returns, rework, and damaged trust to the bill. For the U.S. buyers we serve, a late or non-conforming shipment often hurts more than the tooling cost itself, because their own production lines are waiting on those parts.
Why early intervention wins
There is a nuance worth stating. Early replacement is not always the answer; often a regrind or a single insert swap is cheaper and perfectly safe. But that option only exists before the wear spreads. Wait too long and you lose the cheap options entirely. That is why we push clients toward stroke counters, wear logs, and condition-based checks 7 instead of pure calendar schedules. Data tells you when the cheap fix window is closing. The calendar does not.
Conclusion
Worn stamping parts fail quietly, then expensively. Watch burrs, dimensions, and tonnage; regrind early, replace decisively, and let inspection data — not the calendar — drive every tooling decision.
Frequently Asked Questions
How can I tell if my stamping dies are too worn to keep using?
During a supplier audit in Vietnam, I once picked up a freshly stamped clip and felt the burr before I saw it. That single touch told me the die was overdue.
What signs of aging should I look for in my custom stamping parts?
A purchasing manager we work with in the U.S. once returned a batch of mounting clips because the finish looked scratched. The die surface, not the material, was the real culprit.
How do I decide between repairing or replacing my stamping tooling?
The trade-off I weigh most often on custom parts projects is simple: reconditioning can cost 40–60% less than new tooling, but only if the wear has not spread.
Footnotes
1. ISO 9001 defines quality management process controls referenced by the checklist approach. ↩︎
2. Background on formal first article inspection practices used to catch early tooling wear. ↩︎
3. OSHA guidance covers safe monitoring of industrial press equipment including temperature signals. ↩︎
4. Background on die components clarifies why punch failures cascade into die button damage. ↩︎
5. Explains tool steel properties that determine die wear resistance and thermal cycling durability. ↩︎
6. NIST provides measurement and metrology standards underlying dimensional verification practices. ↩︎
7. ISO promotes condition-based maintenance standards supporting data-driven tooling replacement decisions. ↩︎